Install, configure and update Citrix XenServer 6.2
- Citrix
- Citrix XenServer
- 13 March 2015 at 10:51 UTC
-

- 4/4

12. Create a Virtual Machine
We have already seen the creation of a virtual machine, but there is a small detail that changes relative to earlier.
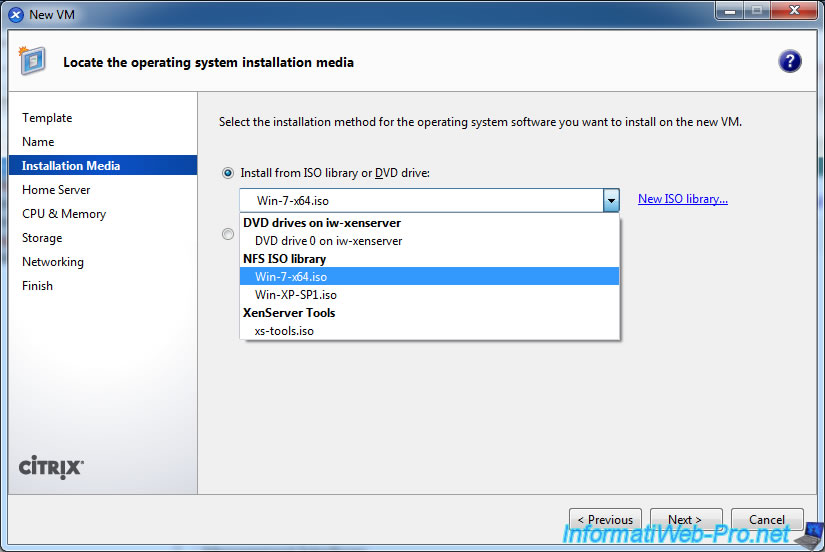
To begin, click on "New VM".
Select the OS to install and provide a name for your virtual machine.
Earlier, we had used the physical CD / DVD drive of the server. Now, you can use the shared folder (NFS or CIFS if you have configured it).
Notes about available storage spaces :
- CIFS ISO library : Sharing Windows (may take some time, depending on network usage)
- NFS ISO library : Sharing Linux (of our Debian VM).
- DVD drives on iw-xenserver : physical CD/DVD drive of the "XenServer" server.
- XenServer Tools : the driver CD for Citrix virtual machines.
The rest is the same as earlier.
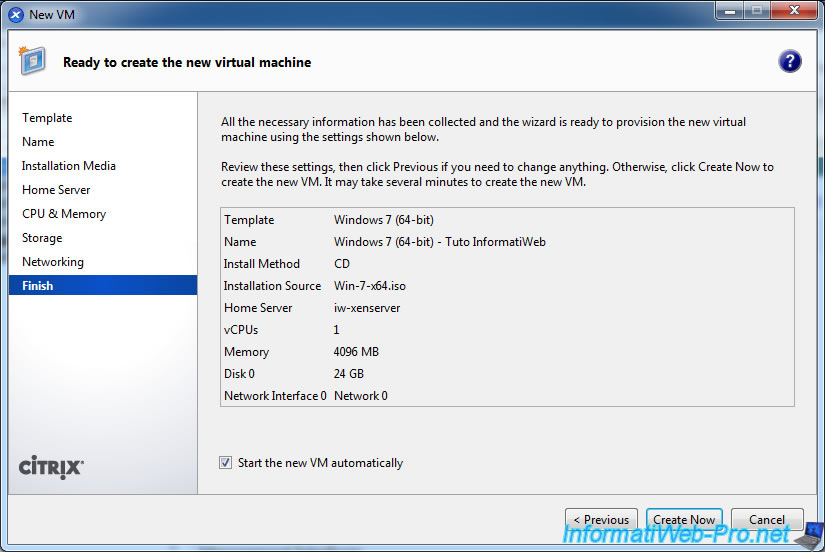
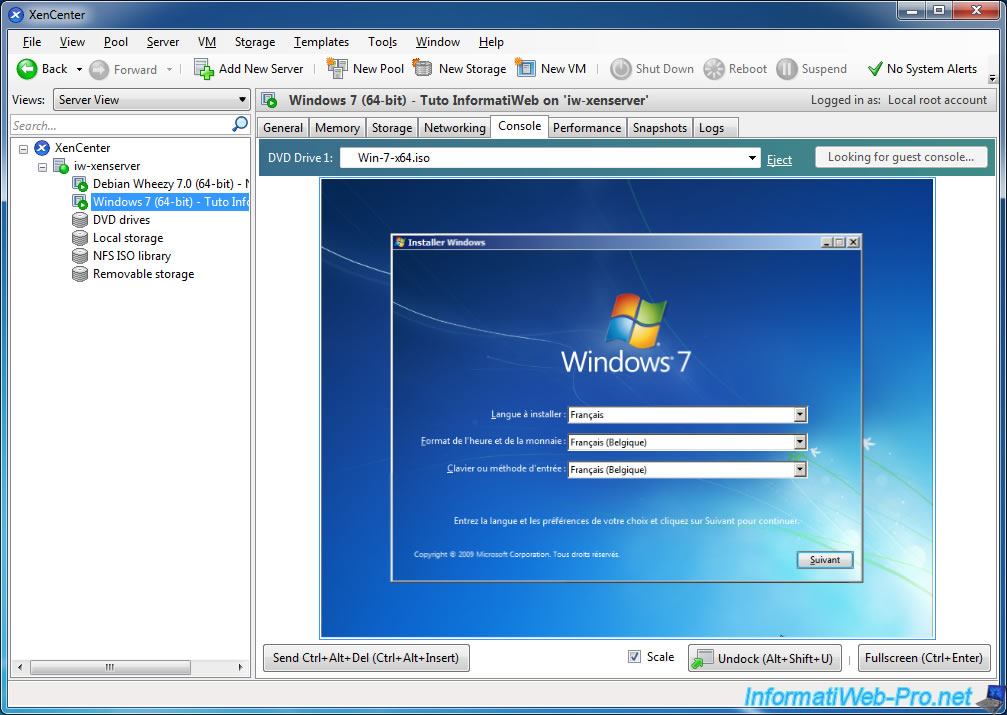
Start the virtual machine and install the OS as you would do on a normal computer.
If necessary, refer to these tutorials :
- Windows XP - Formatting and reinstalling
- Windows Vista / 7 - Formatting and reinstalling
13. Installing the drivers of the virtual machine
Once you have finished installing the desired OS, be sure to install the drivers for the virtual machine.
These drivers are named "XenServer Tools". It's the equivalent of VMware Tools for VMware and Guest Additions for VirtualBox.
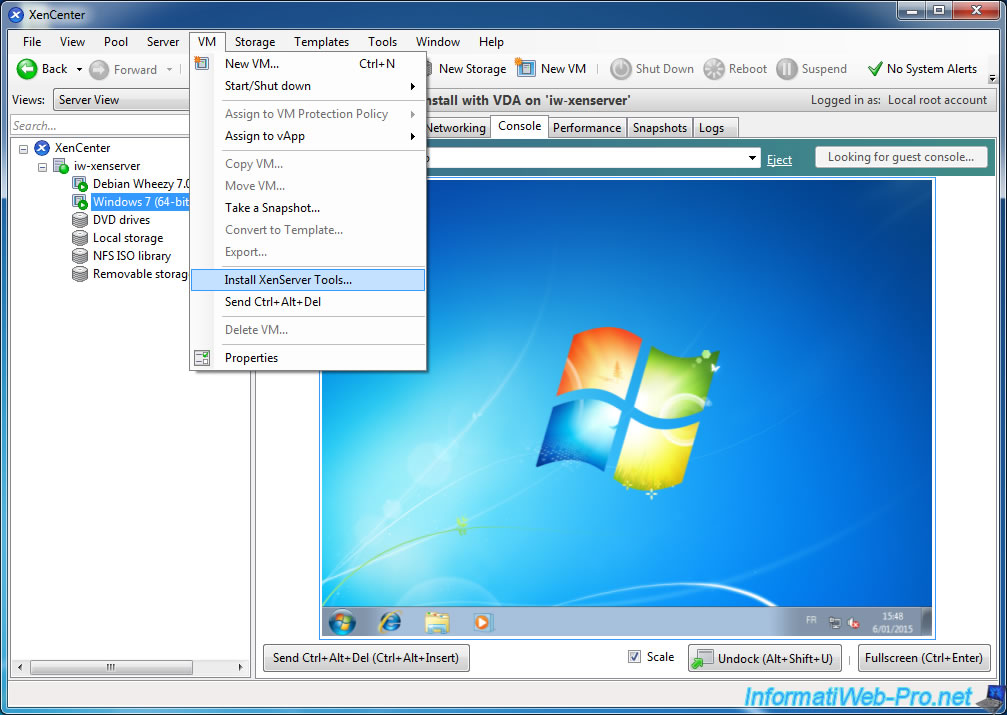
To install the drivers, XenCenter should remove the CD/DVD inserted in the virtual CD/DVD drive of the virtual machine, by the driver CD.
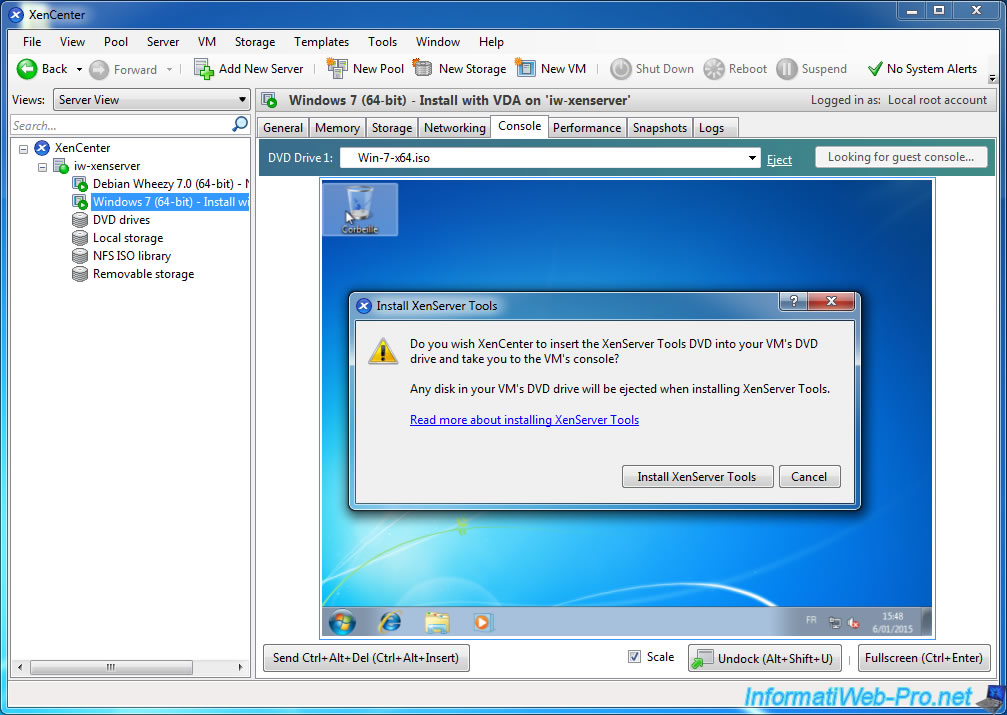
If the CD isn't inserted automatically, you can select it from the list "DVD Drive 1" at the top.
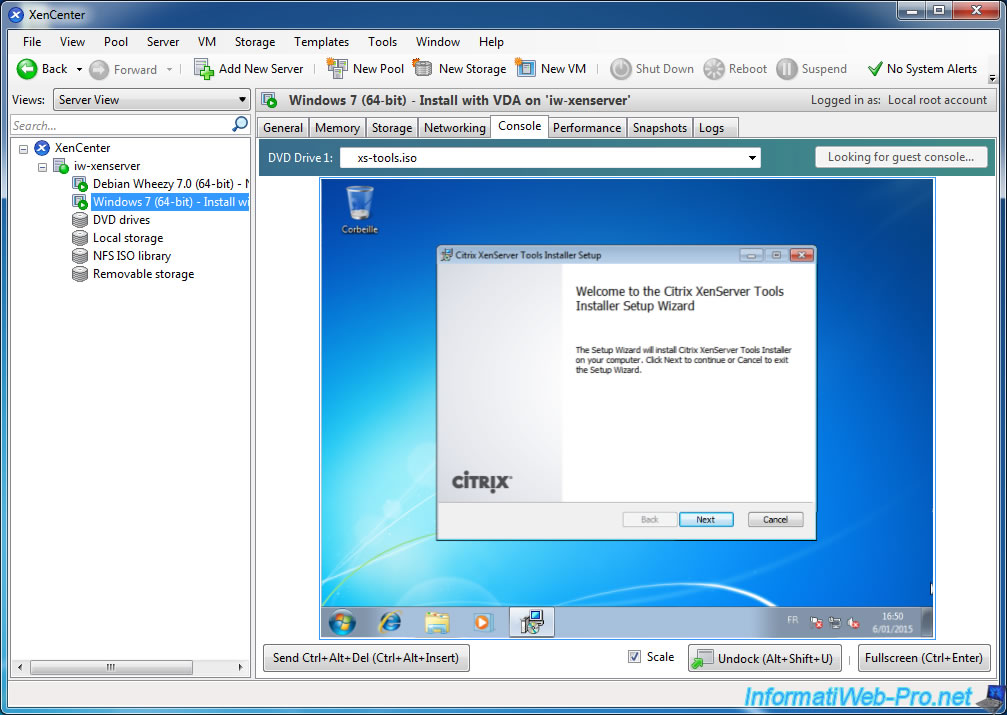
If the CD is inserted, but the installer doesn't start, go to the workstation (or Computer in recent versions of Windows).
The installer will ask you to reboot the virtual machine at the end of the installation.
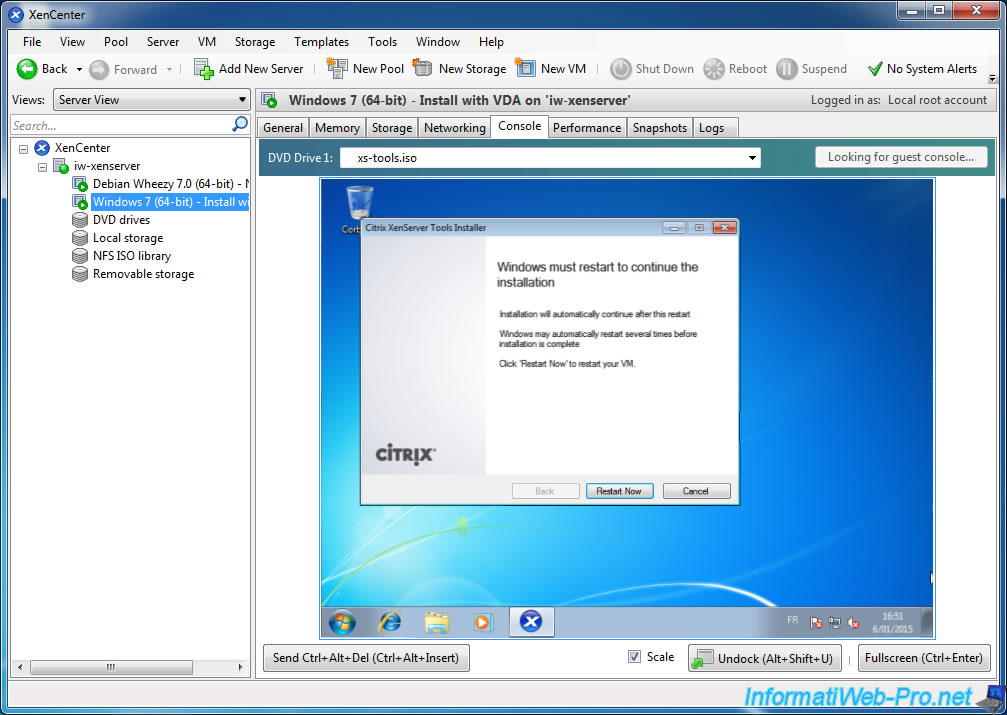
And another driver of Citrix will ask you to reboot a second time, the virtual machine.
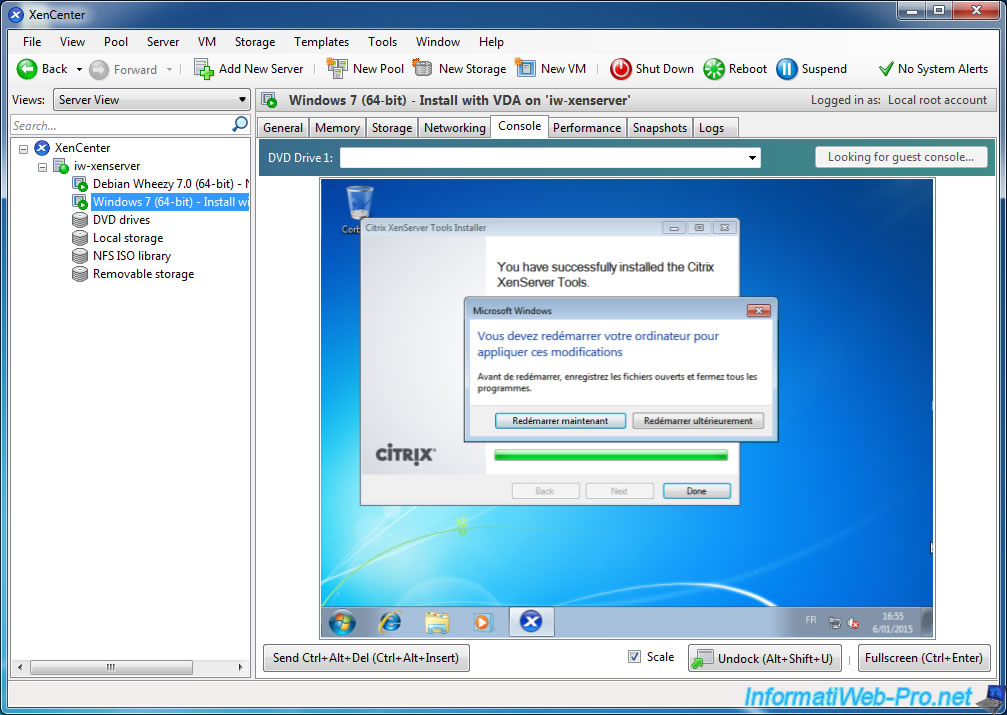
Your virtual machine is installed.
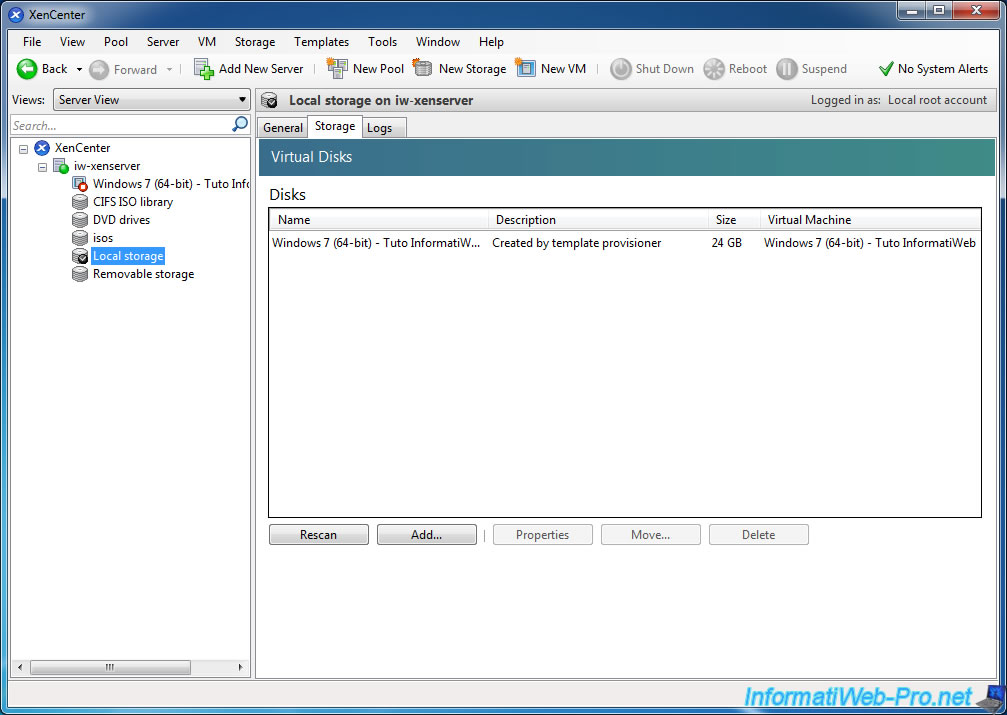
14. Virtual machines stored on the server
Finally, you will find hard drives and snapshots (backup of a state of a virtual machine) of virtual machines in the "Local storage" storage space.
15. Secure the connection with SSL (HTTPS protocol)
To secure the connection between the server (XenServer) and the client (for example : Citrix Studio), you must use a valid SSL certificate on the server to use HTTPS with the client.
For this, see our tutorial : Citrix XenServer - Securing the connection using SSL (HTTPS)
Share this tutorial
To see also
-

Citrix 11/25/2015
Citrix XenServer 6.5 - PCI passthrough
-
Citrix 10/27/2016
Citrix XenServer 6.5 - Pools and high availability (HA)
-
Citrix 4/30/2015
Citrix XenServer 6.5 - Secure the connection using SSL (HTTPS)
-
Citrix 5/21/2016
Citrix XenServer 6.5 - VGA passthrough
No comment