Deliver desktops by using PVS with Citrix XenDesktop 7.6
- Citrix
- Citrix XenApp / XenDesktop
- 31 May 2015 at 15:13 UTC
-

- 3/5

7. Creating a virtual machine that will serve as model (template) for PVS
For this tutorial, we will install Windows 7 x64 in a virtual machine running on a XenServer server.
If you need help with XenServer, refer to our tutorial : Citrix XenServer - Installation, configuration, updates and use
Once you've installed Windows and XenServer Tools (drivers of the virtual machine), continue the tutorial without installing any additional programs.
8. Enable WinRM to improve compatibility with Citrix Director
As indicated in the official Citrix documentation, it's recommended to enable WinRM to allow Citrix Director to retrieve data that it needs (such as profiles, VDA HDX data, ...).
For this, you must run the command "winrm quickconfig" as administrator.
The problem is that this command doesn't work correctly when Windows 7 UAC is enabled.
To avoid this problem, we will use the "runas" Windows command.
Source : microsoft.com (answer of : David Shen).
Note : The administrator account must be enabled and be protected by a password in order to use the "runas" command.
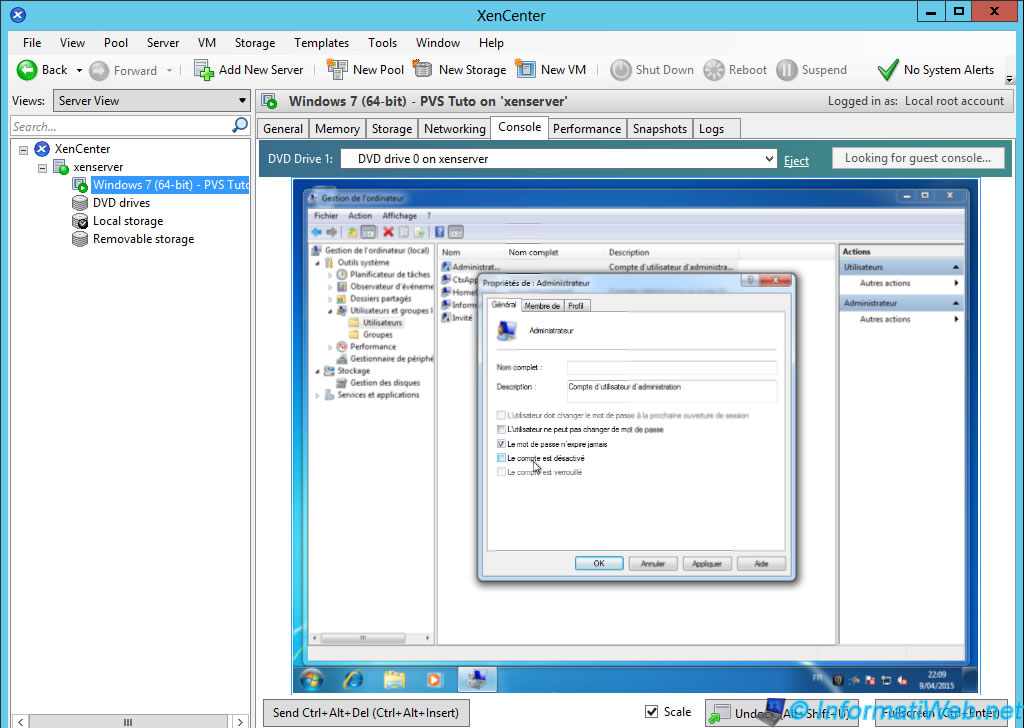
To activate the account local administrator of the virtual machine, go to the start menu -> Right click on "Computer" -> Manage -> Local Users and Groups -> Users.
Double click on Administrator and uncheck the "Account is disabled" box.
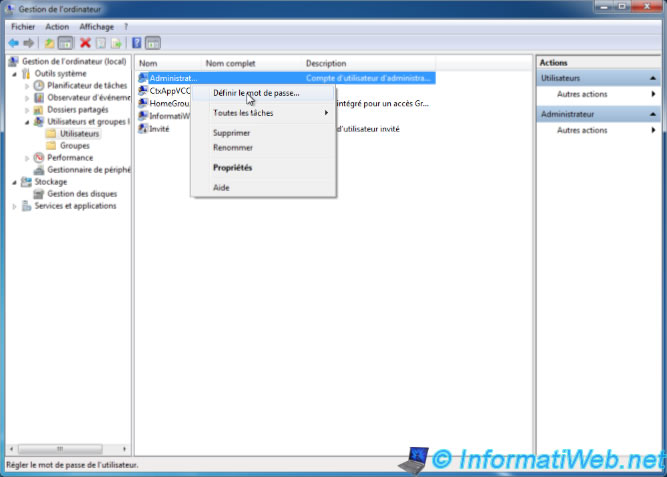
Then, right click on "Administrator" and click "Set Password".
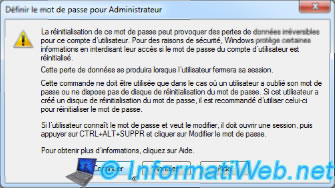
Ignore the warning and click "Continue".
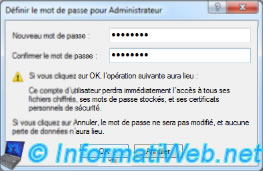
Specify a strong password to avoid that the user finds it.
Then, open a command prompt (not need to run it as administrator) and type this command :
Batch
runas /user:Administrator "winrm.cmd quickconfig"
This command will prompt you for the password of the "Administrator" account.
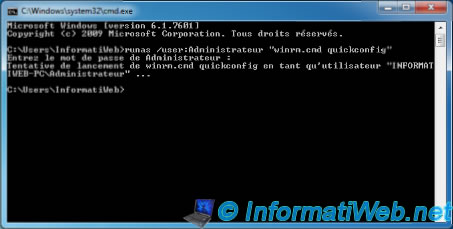
If the password is correct, a second window will open. Answer "y" to 2 questions.

WinRM is enabled on the virtual machine.
9. Improved network traffic TCP / IP
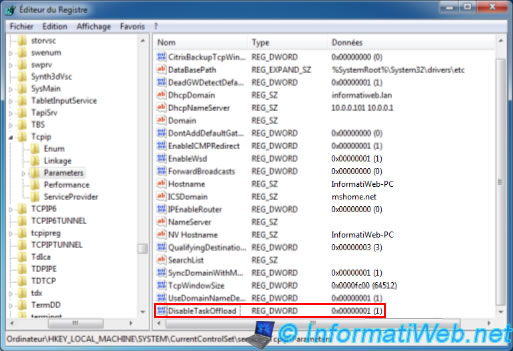
To improve data transfers over the network, it's recommended to disable the "TaskOffload" option.
For that, go to the registry key "HKLM\System\CurrentControlSet\Services\TCPIP\Parameters".
In this key, add a key "32-bit DWORD" key :
- Name : DisableTaskOffload
- Value : 1
Official documentation : Using Registry Values to Enable and Disable Task Offloading
10. Creating virtual hard disks for the caching system and the personal vDisk
In this tutorial, we will use a write cache on client side and a personal vDisk.
By default :
- The personal vDisk will always have the "P" letter.
- The virtual disk to be used as write cache will have the first free letter on the OS installed in the virtual machine.
In our case, there is only one partition (+ a hidden partition, because we have Windows 7 installed with the WinRE partition with a size of 100 MB). So, the write cache will have the letter "D".
Note : Changes made in section 3.1 of this tutorial will redirect the logs on this virtual disk.
Before starting, you need to change the CD drive letter, to allow Windows to automatically assign the letter D to the "write cache" disc.
For that, go to the Start Menu -> Right click on "Computer" -> Manage -> Disk Management.
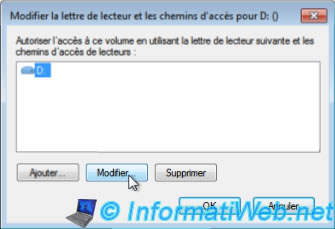
Then, right-click on the CD-ROM drive and click "Change Drive Letter ...".

Click "Edit".
Choose another letter. For example : Z.
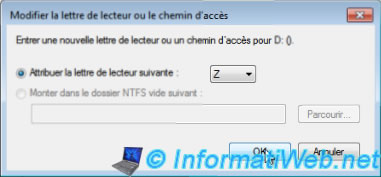
Click "Yes".
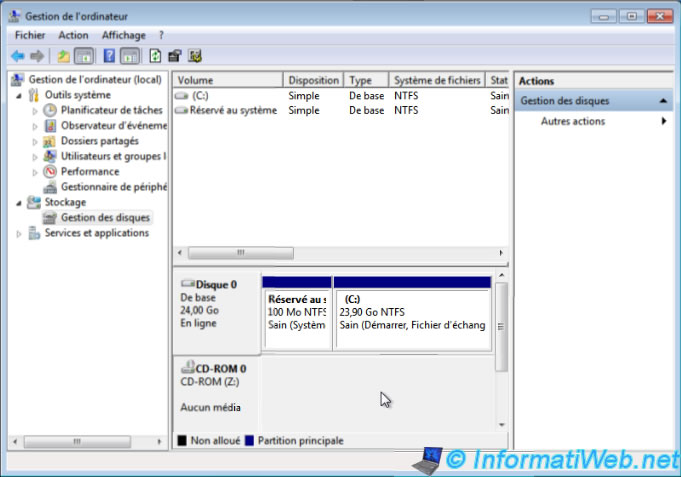
Now, the CD-ROM drive has the "Z" letter.
Finally, link the virtual machine to your domain and then turn it off.
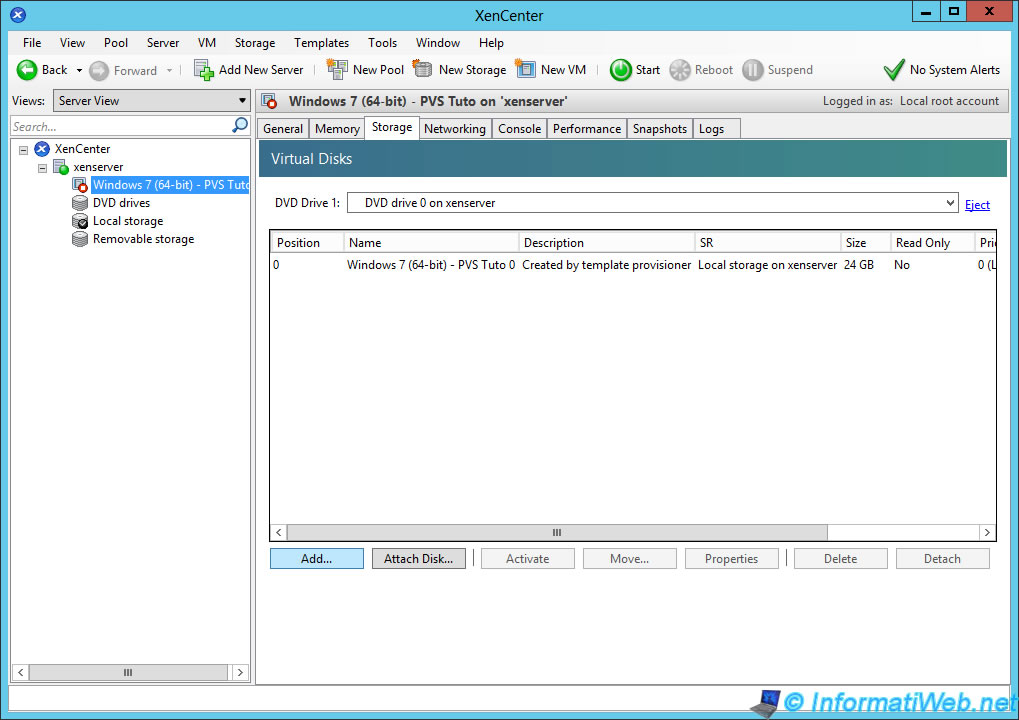
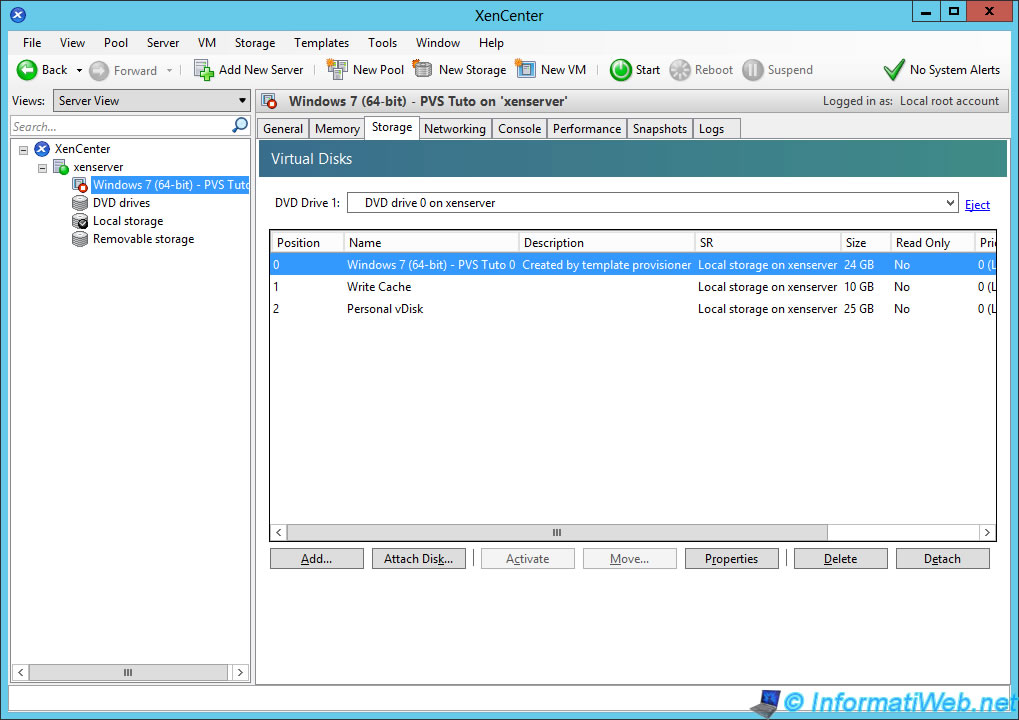
Once turned off, go to the "Storage" tab and click "Add" to add 2 virtual hard disks.
Notes :
- These 2 discs will not be formatted or used, but allow Windows to know there will be 2 extra hard drives (those that PVS will map automatically for client virtual machines).
- These two discs must be different sizes. Otherwise, problems may occur (eg : The system "pagefile.sys" file (Windows virtual memory) can be placed on personal vDisk instead of the "write cache" virtual disk drive).
- The Personal vDisk size must be greater than the "write cache" disk size to avoid the problem mentioned above.
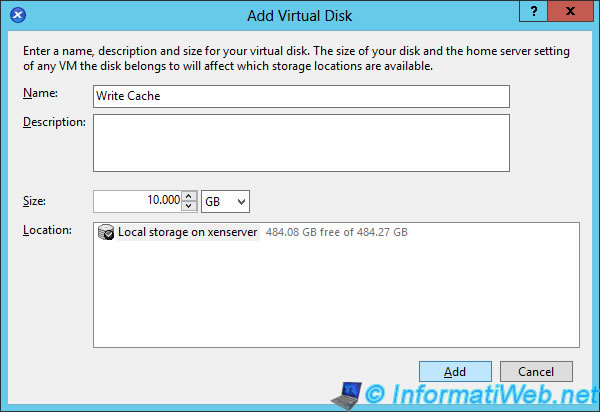
Create a "Write Cache" drive.
In our case, this will be a virtual disk with a 10 GB size.
Then, do the same for personal vDisk.
As you can see, the virtual machine has 3 virtual hard disks :
- The main virtual hard disk where Windows is installed
- The virtual hard disk for the write cache (10 GB)
- The virtual hard disk for the personal vDisk (25 GB)
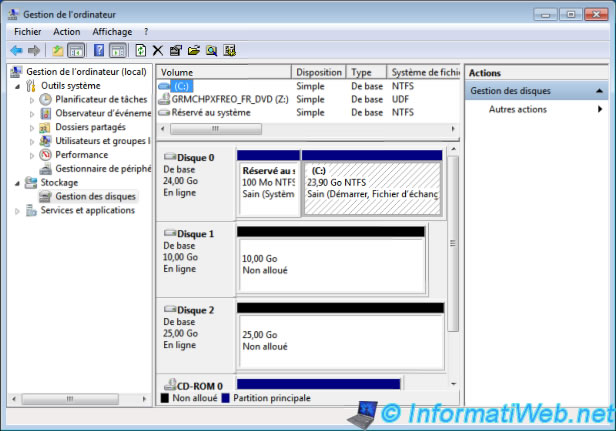
Start the virtual machine and return to the start menu -> Right click on "Computer" -> Manage -> Disk Management.
After a few seconds, a "Initialize Disk" window will appear. Click "OK" and close the "Computer Management" window.
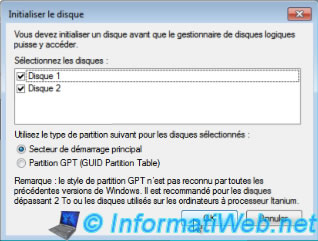
Now, Windows knows that the machine has three hard disks.
Share this tutorial
To see also
-
Citrix 4/9/2016
Citrix NetScaler Gateway 11.0 - Configuration and integration with XenApp/XenDesktop
-
Citrix 8/2/2016
Citrix XenApp / XenDesktop 7.6 - Single Sign-On (SSO)
-
Citrix 3/22/2015
Citrix XenApp 7.6 - Applications delivery
-
Citrix 5/13/2015
Citrix XenDesktop 7.6 - Deliver desktops by using MCS
No comment