Install and configure an NFS server and an NFS client on Windows Server 2016
- Windows Server
- WS2016
- 04 August 2023 at 11:18 UTC
-

- 2/2

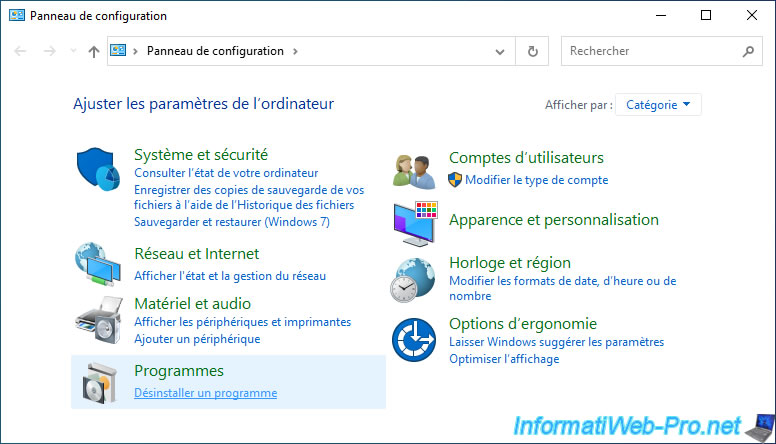
3. Install NFS Client on Windows 10
On Windows 10, open the control panel and click on : Uninstall a program.
Click on : Turn Windows features on or off.
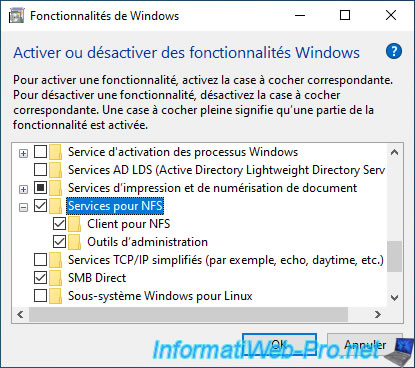
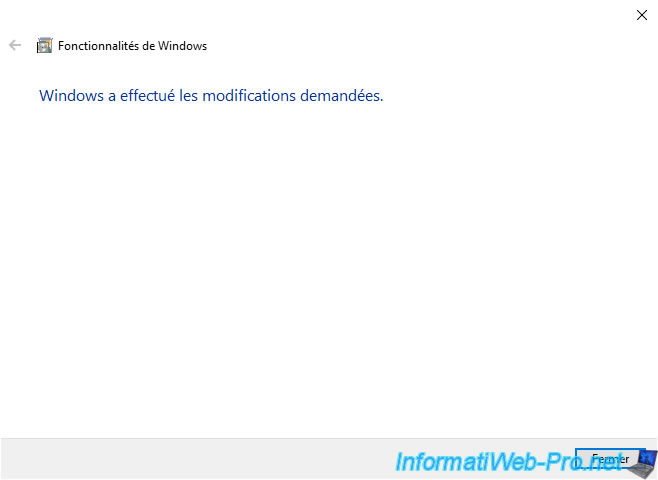
In the "Windows Features" window that appears, expand the "Services for NFS" node and check the "Client for NFS" box there.
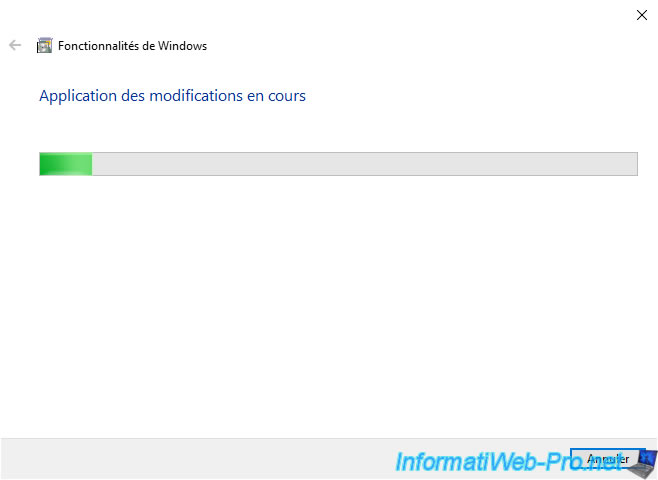
Wait while installing the NFS client.
This is very fast.
The NFS client has been installed.
Click Close.
4. Access an NFS share from a client PC on Windows 10
To add an NFS network location on Windows 10, you need to open a command prompt and use the "mount" command.
- nfs-server : NETBIOS name or IP address of the NFS server.
- nfs-share : NFS share name on the NFS server.
- Z : letter to use for the network drive that will be mapped to the desired NFS share.
Batch
mount nfs-server:/nfs-share Z:\
Plain Text
Z: is now successfully connected to nfs-server:/nfs-share

The command completed successfully.
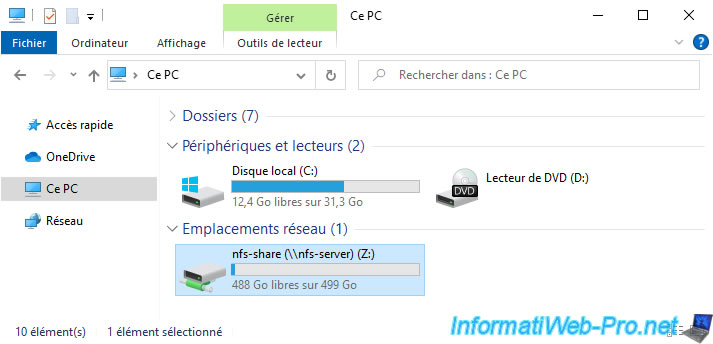
In the file explorer, click "This PC" (or "Computer") and you will see that a new network drive has appeared with the name of the desired NFS share.
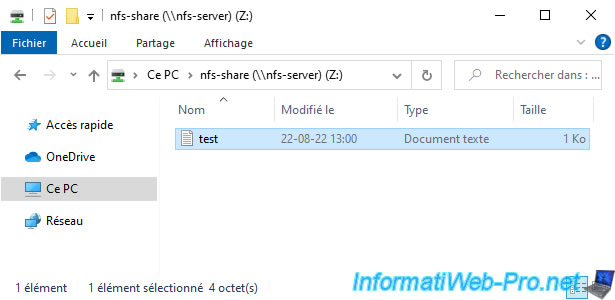
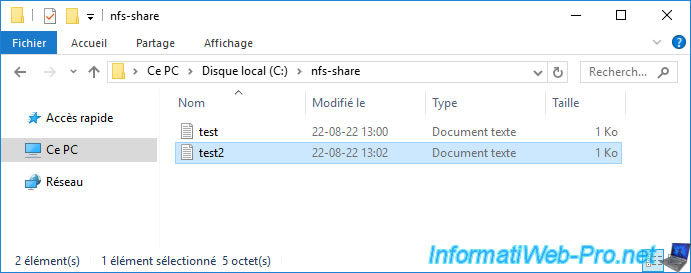
As expected, we find our "test.txt" file created from the NFS server.
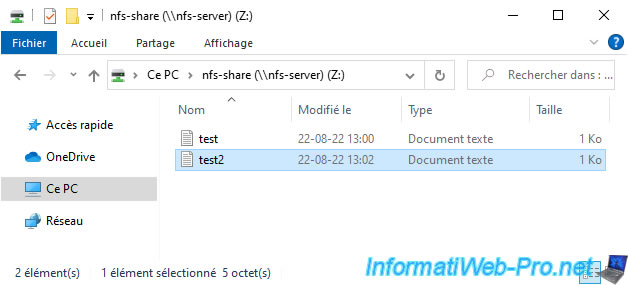
We can also create files in this NFS share.

The text file has been created.
The content of the "test.txt" file previously created from the NFS server is readable from the NFS client.

On your NFS server, you will see that additional icons have appeared on the shared folder through the NFS server.
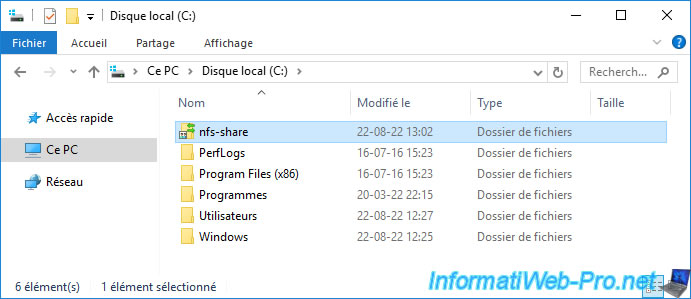
The "test2.txt" file created from the client PC also appears on the NFS server.
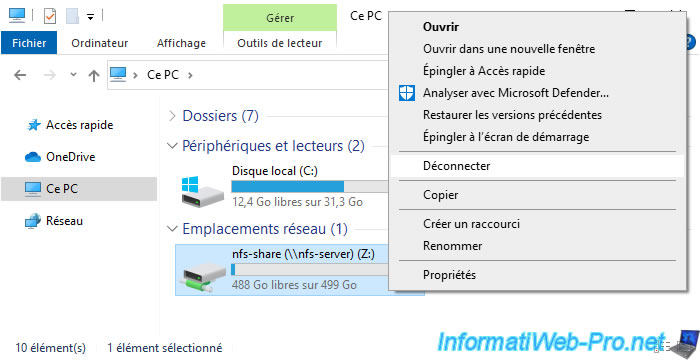
To disconnect the network drive mapped to your NFS share, right-click "Disconnect" on it.
Note that you can also disconnect this network drive via the command prompt (cmd.exe) using the "umount" command.
To do this, use the "umount" command, specifying the letter of the network drive to disconnect as a parameter.
Batch
umount Z:
Plain Text
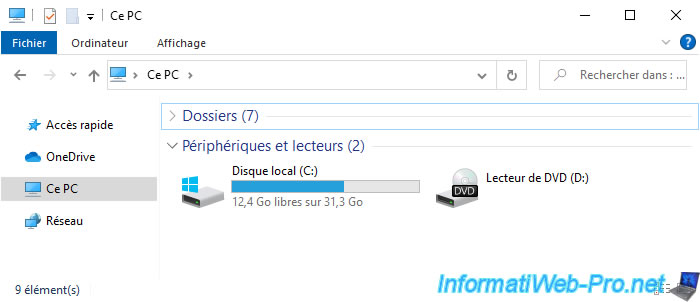
Logout             Z:      \\10.0.0.11\nfs-share
The command completed successfully.
The desired network drive has disappeared.
Share this tutorial
To see also
-

Windows Server 4/3/2021
Windows Server - AD DS - The basics of Active Directory
-

Windows Server 12/29/2023
WS 2016 - AD CS - Backup and restore a certificate authority (CA)
-

Windows Server 1/5/2024
WS 2016 - AD CS - Create a recovery agent to recover certificates
-

Windows Server 10/1/2021
WS 2016 - AD DS - Managing preferences (GPP) from GPOs
No comment