Install the web interface of a certificate authority (CA) on Windows Server 2016
- Windows Server
- 06 October 2023 at 08:40 UTC
-

- 4/4
7. Request a certificate for a web server using this web interface
Now that you have a web interface to request certificates, here's how to request one for an IIS web server (for example).
For this example, we have installed an additional server named "web" and joined it to our "informatiweb.lan" domain.
This web server will therefore be accessible with the domain name : web.informatiweb.lan.
To begin, in the IIS manager of this new server, select your web server, then go to : Server Certificates.
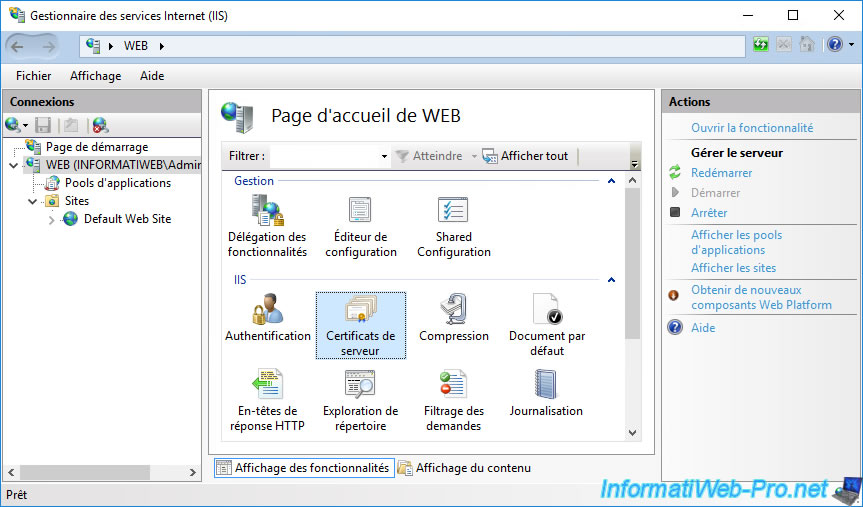
In the right column, click on : Create Certificate Request.
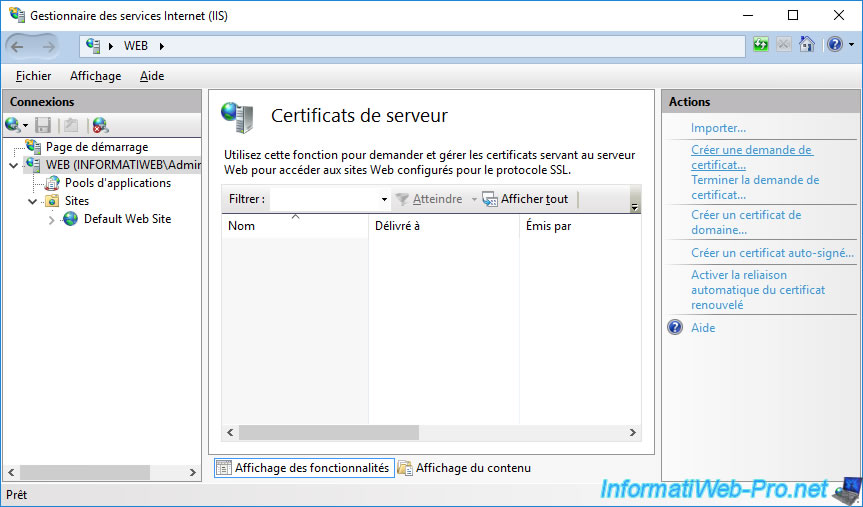
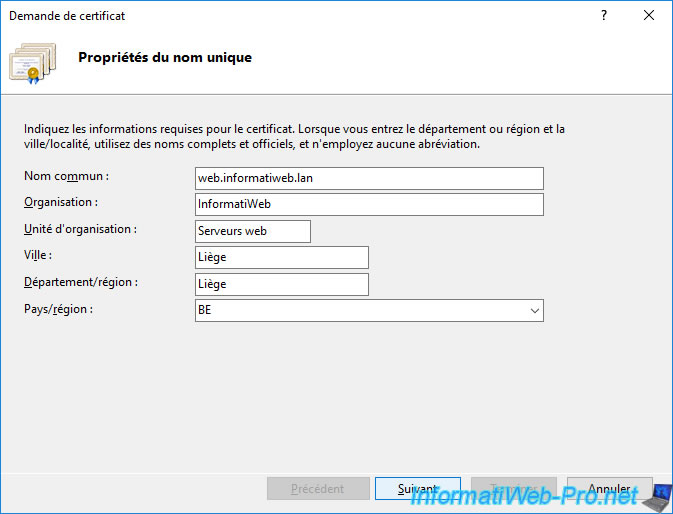
Provide the information requested by IIS :
- Common name : the domain name of your web server.
- Organization : the name of your company.
- Organizational unit : an indication allowing you to "group" your certificates. You can specify whatever you want.
- City/locality : the city / locality where your company is located.
- State/province : the state or province where your company is located.
- Country/region : country code where your company is located.
Important : the most important information is the common name you provide in this form.
Indeed, for your web browser to consider the future certificate as valid, it's absolutely necessary that the common name indicated here corresponds to the domain name that you will specify in the address bar of your web browser to access the website hosted on this server.
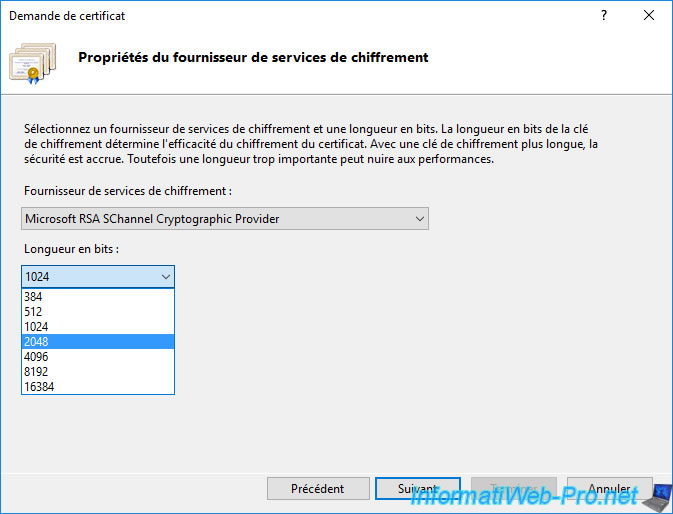
Choose the provider and key length that matches your CA settings.
In our case, we select "2048" so that the key size of the certificate that will be issued matches the key size used for our certificate authority's certificate.
Click the "..." button to choose where you want to save the certificate request (which you will then send to your certificate authority).
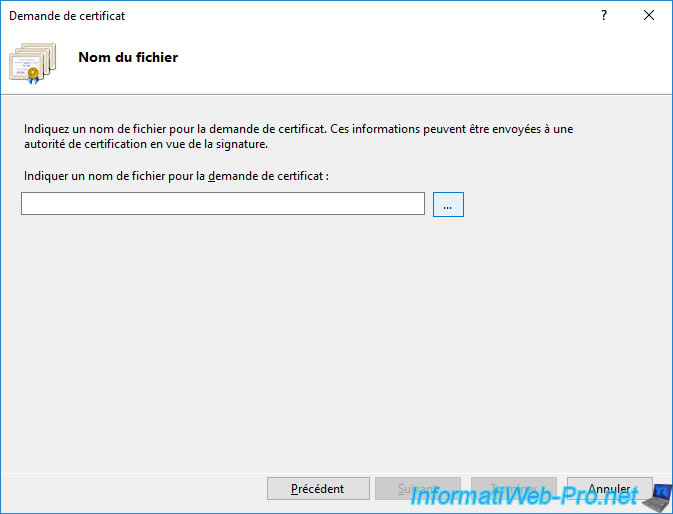
The certificate request will be saved in text format.
Note : the button is named "Open", but it should have been "Save".
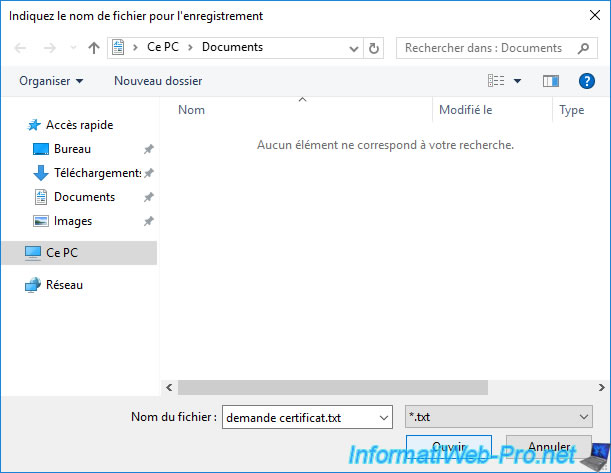
Click Finish.
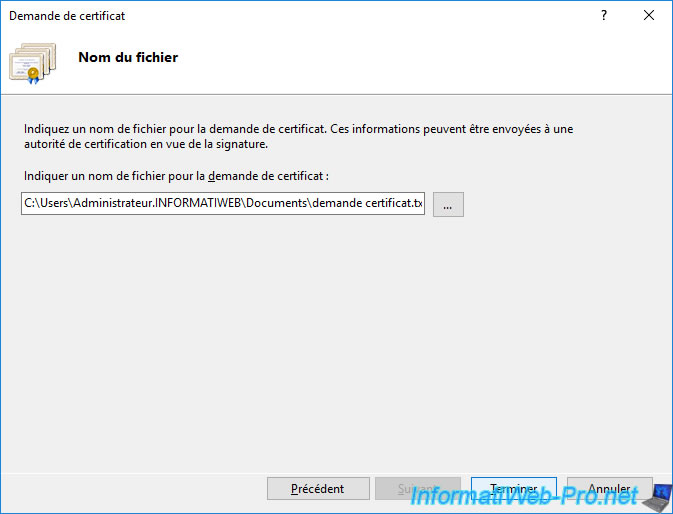
The file containing the certificate request has been created.
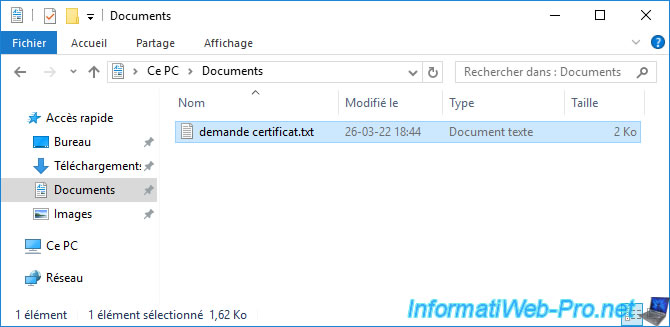
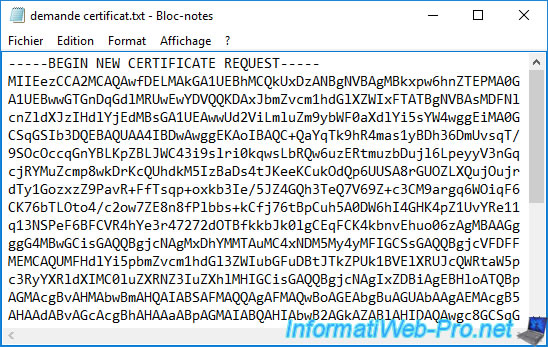
If you open this text file, you will see that its contents look like this :
Plain Text
-----BEGIN NEW CERTIFICATE REQUEST-----
xxxxxxxxxxxxxxxxxxxxxxxxxxxxxxxxxxxxxxxxxxxx...
-----END NEW CERTIFICATE REQUEST-----
This format corresponds to a base 64 encoded certificate request.
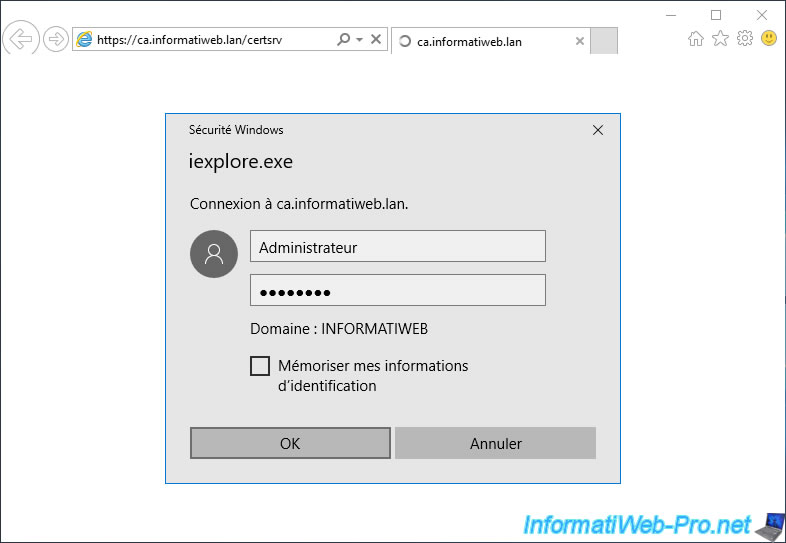
Go to the secure (HTTPS) version of your certificate authority's web interface and authenticate as the domain administrator (or another user allowed to enroll certificates for web servers).
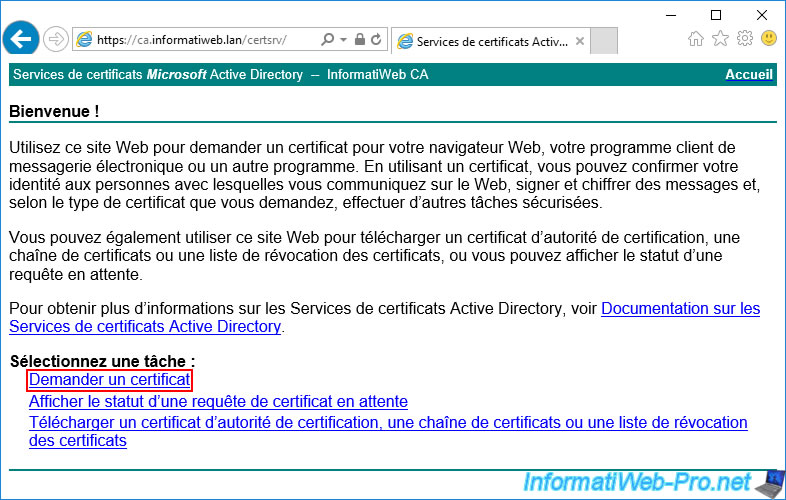
In the web interface of your certification authority, click on the "Request a certificate" link.
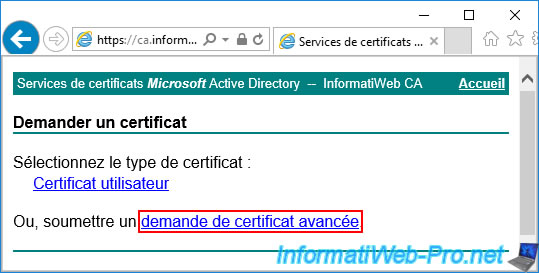
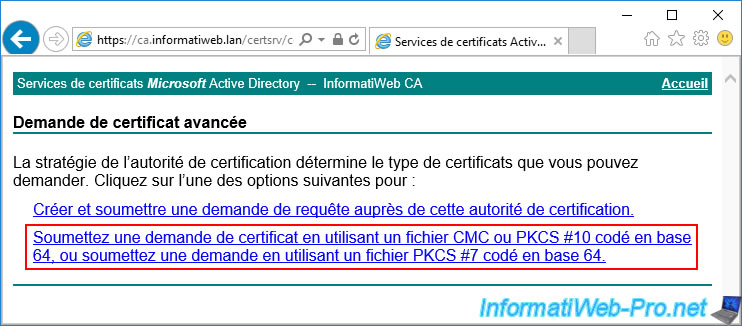
Then, click on the "advanced certificate request" link.
And finally, on the long link : Submit a certificate request by using a base-64-encoded CMC or PKCS #10 file, or submit a renewal request by using a base-64-encoded PKCS #7 file.
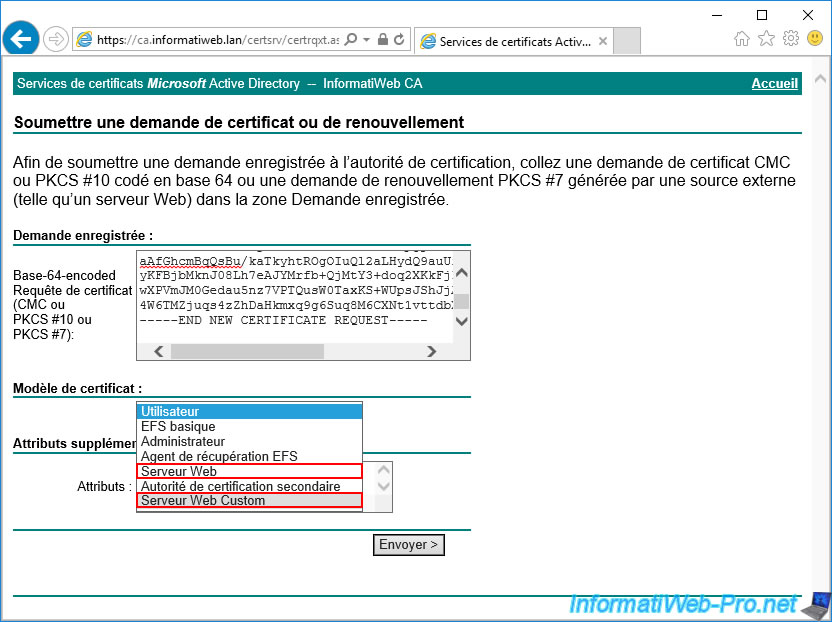
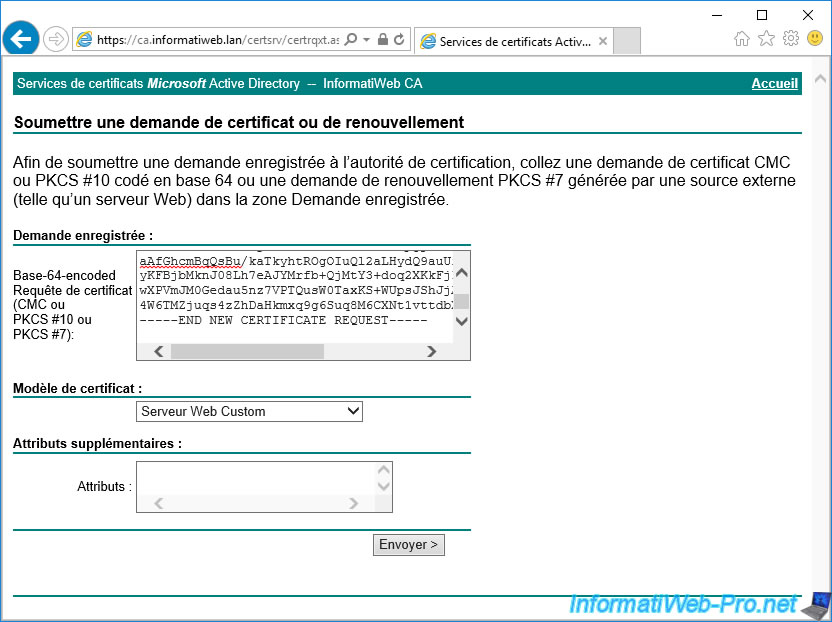
Copy/paste the certificate request created on your hard disk by IIS in the "Base-64-encoded certificate request (CMC or PKCS #10 or PKCS #7)" box, then select the certificate template created previously allowing you to secure a web server.
Then, click Submit.
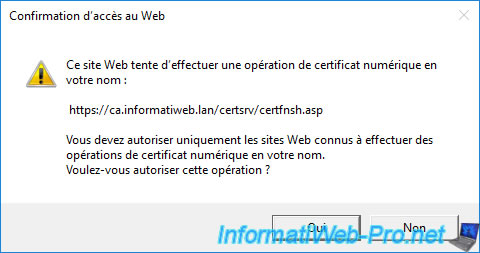
A warning will appear to let you know that this website is attempting to perform a digital certificate operation on your behalf.
Allow this operation by clicking Yes.
The certificate has been issued.
As you can see, you have the possibility to download this certificate in 2 formats :
- DER encoded : Microsoft format.
- Base 64 encoded : Linux format. This format has the advantage of being able to be opened with the notepad to simplify its importation on the service that you wish to protect with this certificate.
For the download links, you will have the choice between :
- Download certificate : allows you to download only the certificate (WITHOUT its associated private key).
The downloaded file will be in ".cer" format. - Download certificate chain : allows you to download this certificate (WITHOUT its associated private key), as well as the parent certificates (root certification authority and secondary certification authority (if applicable)).
The downloaded file will be in ".p7b" format.
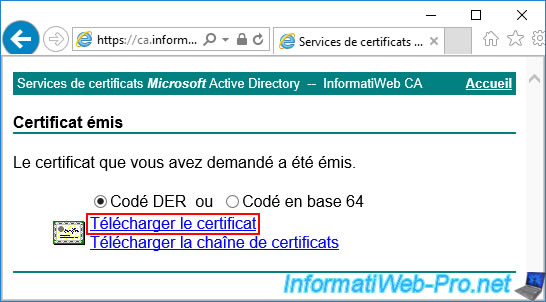
Click on the "Download certificate" link and a "certnew.cer" file will be offered for download (or downloaded automatically depending on your web browser settings).
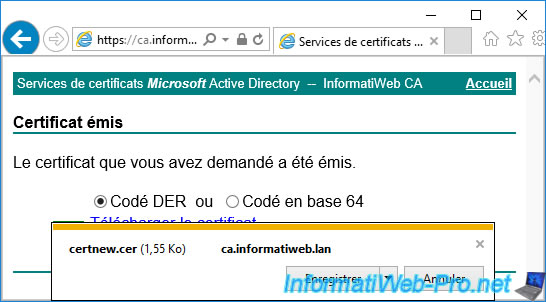
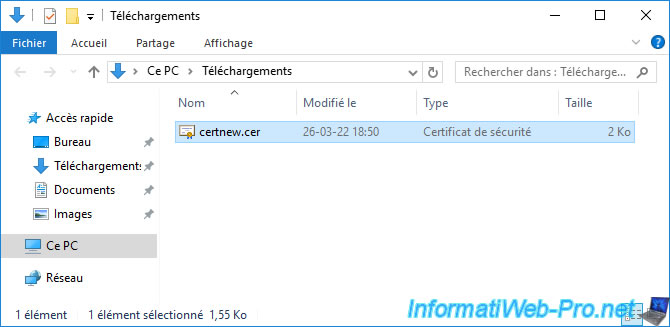
The certificate has been downloaded to your hard drive.
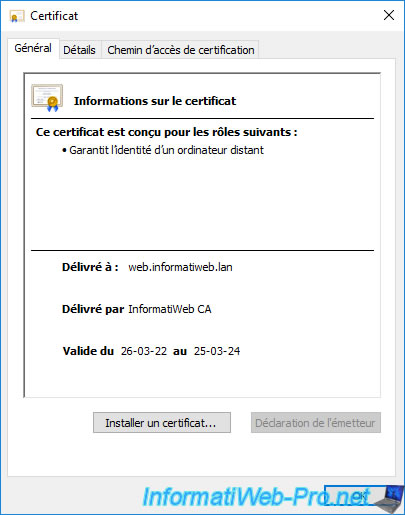
If you open it, you will see that this certificate :
- is intended to ensures the identity of a remote computer
- was issued to : domain name of your web server
- was issued by your certification authority
- is valid for 2 years (or the duration you specified in the certificate template chosen when requesting the certificate)
Warning : as you can see, the private key associated with the certificate is not present in the downloaded certificate.
Moreover, it's not possible to download the certificate with its private key from this web interface.
Nevertheless, you will see a little later that the private key associated with it is hidden on your computer or server.
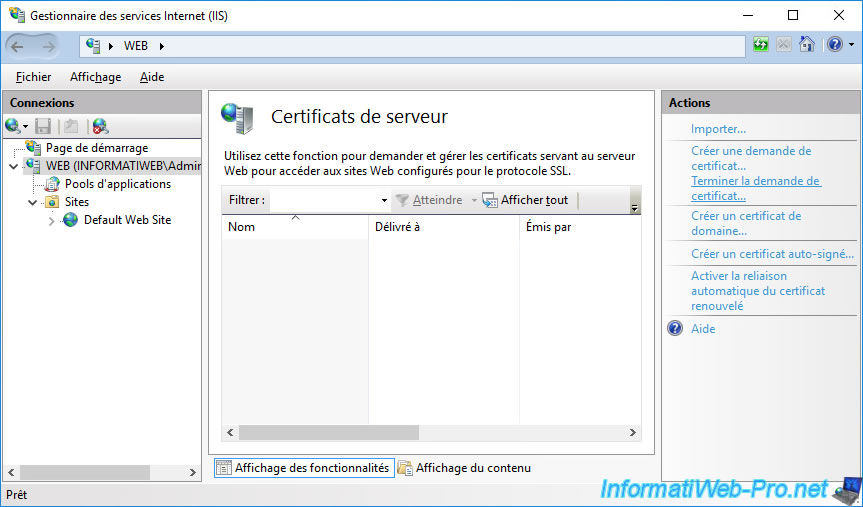
In the "Server Certificates" section of IIS Manager, you will notice that no certificates appear at this time.
Indeed, for it to appear, you must first click on "Complete Certificate Request" (in the right column).
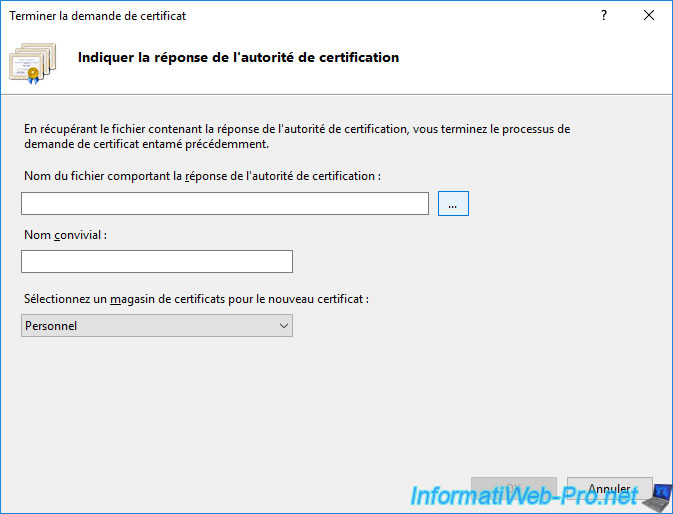
In the "Complete Certificate Request" window that appears, click on the "..." button.
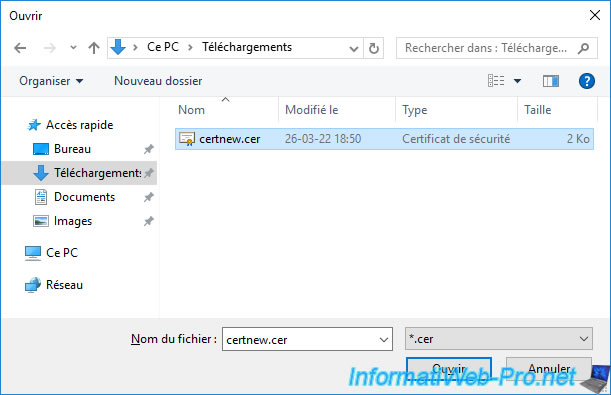
Select the downloaded certificate in ".cer" format and click Open.
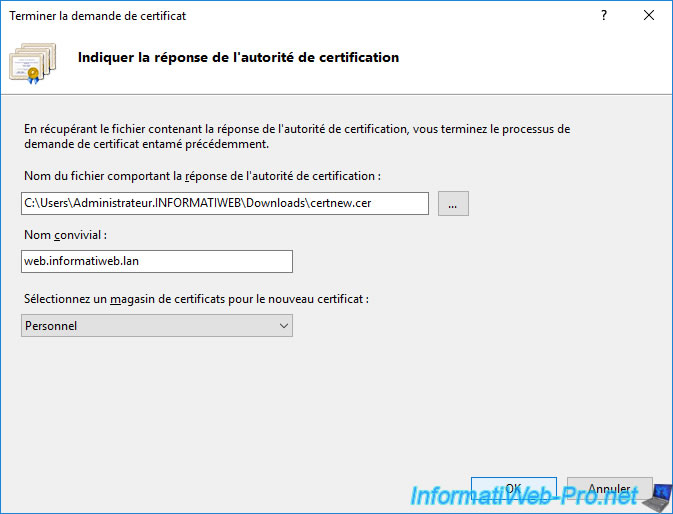
Provide a friendly name for this certificate.
For example : the domain name specified as the common name (CN) in this certificate.
Then, select in which certificate store you want to import this one.
You have the choice between "Personal" and "Web Hosting". However, this choice doesn't really matter.
This simply indicates in which certificate store you will find this one if you use the "Certificates" component of the "mmc" console.
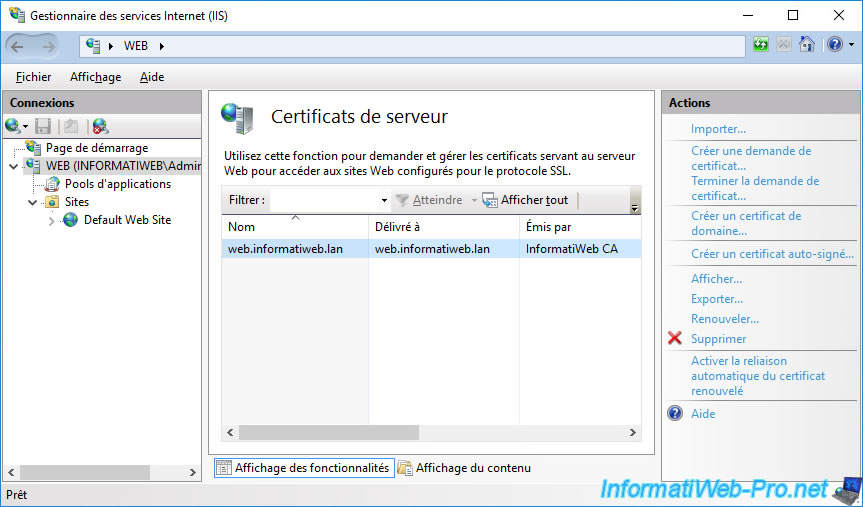
Now, your new certificate issued by your certification authority appears in the list of server certificates of IIS.
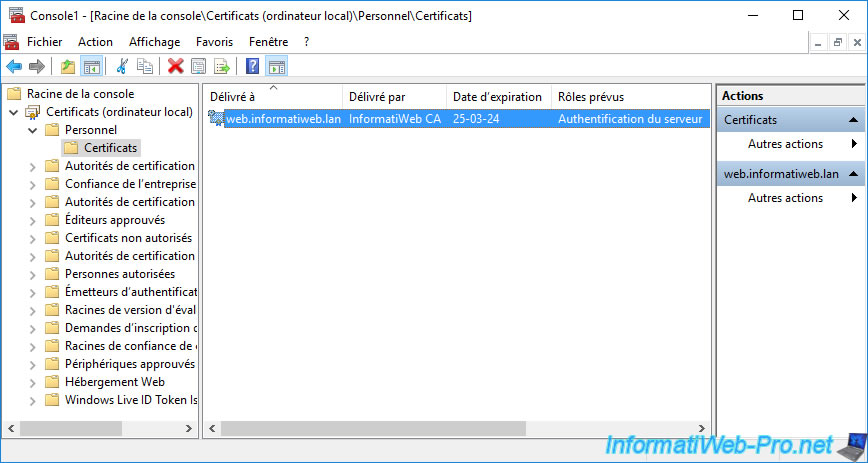
If you open the "mmc" console on this server and add the "Certificates" component in it for the local computer, you will see that your new certificate (imported in the "Personal" or "Web Hosting" certificate store) is present.
But, this time, the private key associated with it is present.
You can therefore export this certificate in ".cer" format (without the private key) or in ".pfx" format (with the private key) if you wish.
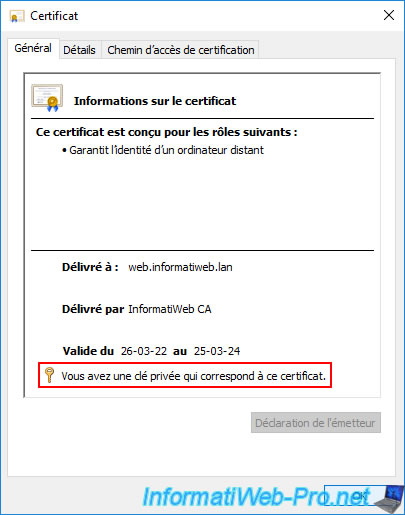
As expected, if you double click on the certificate displayed by the "mmc" console, you will see that the private key associated with this certificate is present.
8. Securing the new web server
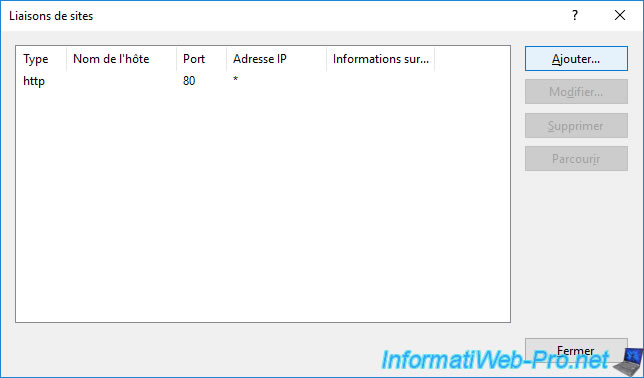
Now that you have a new certificate for your new web server and that IIS recognizes it, you can secure access to this new web server by adding the "https" site binding as explained above.
Select your default web site "Default Web Site" and click on : Bindings.
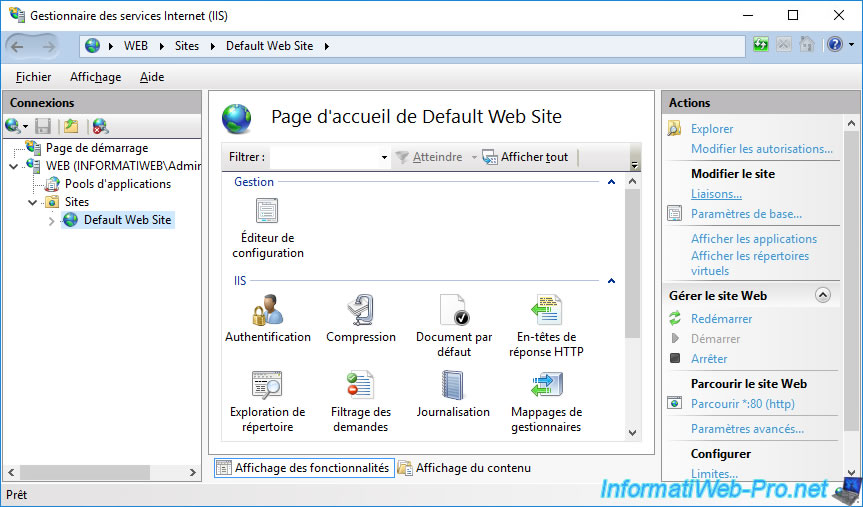
Click on : Add.
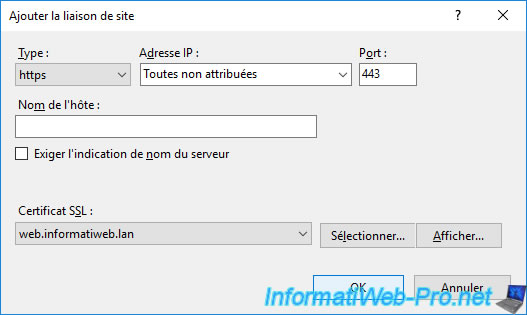
Select "Type: https" and "SSL certificate: name of your new certificate", then click OK.
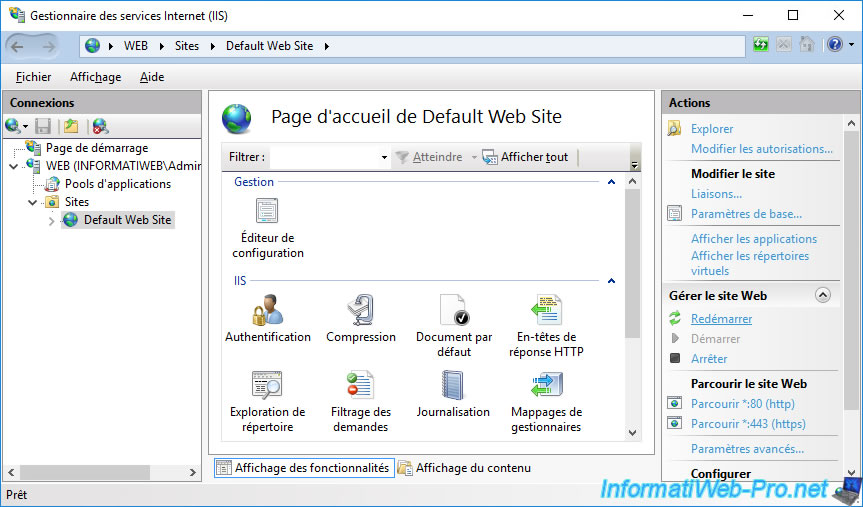
Then, restart this website.
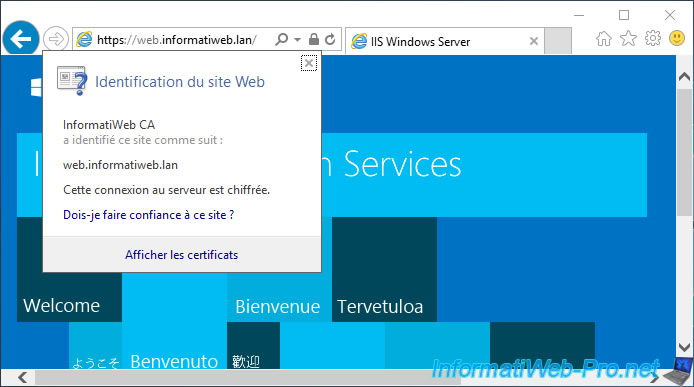
If you try to access your new web server via the HTTPS protocol, you will see that the certificate used comes from your certification authority and that your web browser considers it valid.
Share this tutorial
To see also
-
Articles 1/26/2024
SafeNet Authentication Client (SAC) - Installation and overview
-
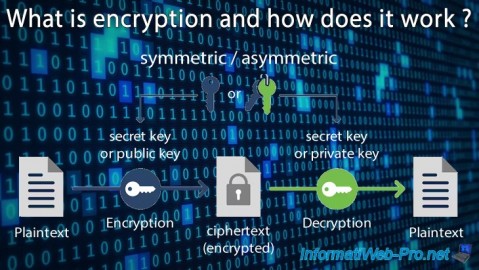
Articles 9/8/2023
What is encryption and how does it work ?
-
Windows Server 12/29/2023
WS 2016 - AD CS - Backup and restore a certificate authority (CA)
-

Windows Server 1/19/2024
WS 2016 - AD CS - Buy smart cards and log in via them

No comment