Install and configure CEP and CES servers for certificate requests from a workgroup on Windows Server 2016
- Windows Server
- 24 November 2023 at 12:09 UTC
-

- 3/3
7. Import your CA certificate on the client PC
Transfer your CA certificate to your client PC and open a "mmc" console.
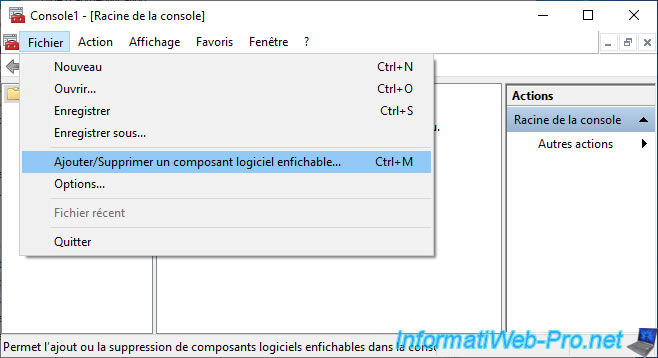
In this "mmc" console, go to : File -> Add/Remove Snap-in.
Next, add the "Certificates" component for the local computer.
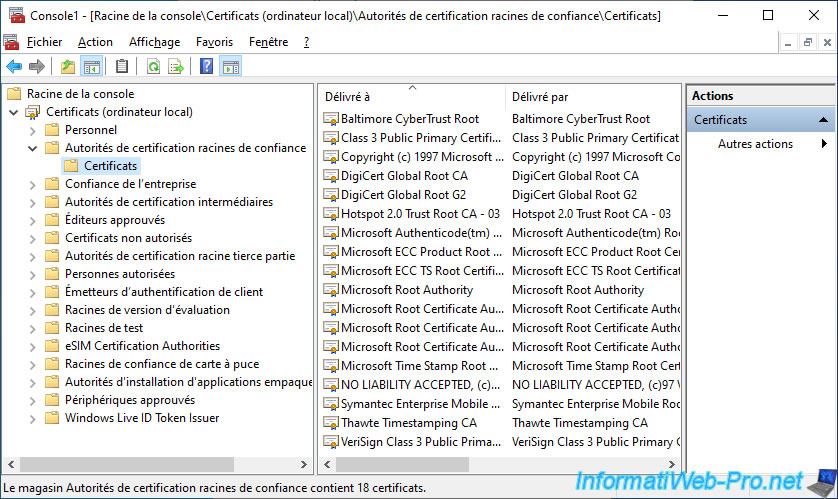
As you can see, your CA is not one of your client PC's Trusted Root Certification Authorities.
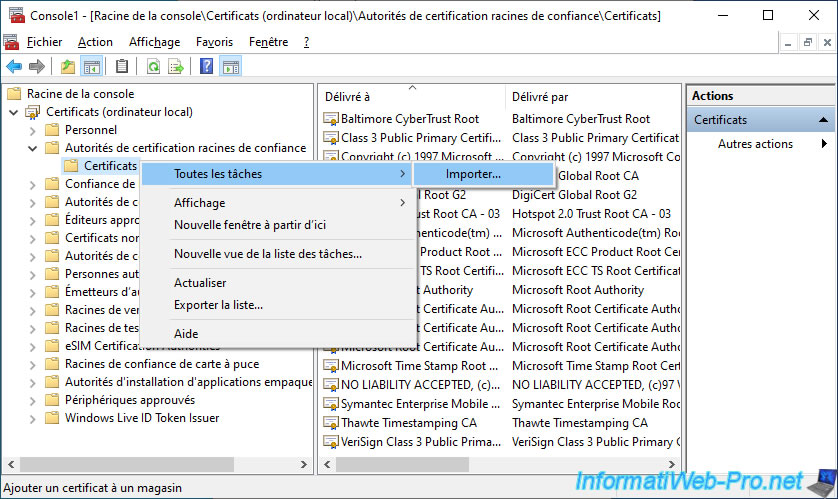
In order for your client PC to know your CA, you must import its certificate into this certificate store by right-clicking "All Tasks -> Import" on it.
In the certificate import wizard that appears, click on "Browse" and select the certificate of your certification authority.
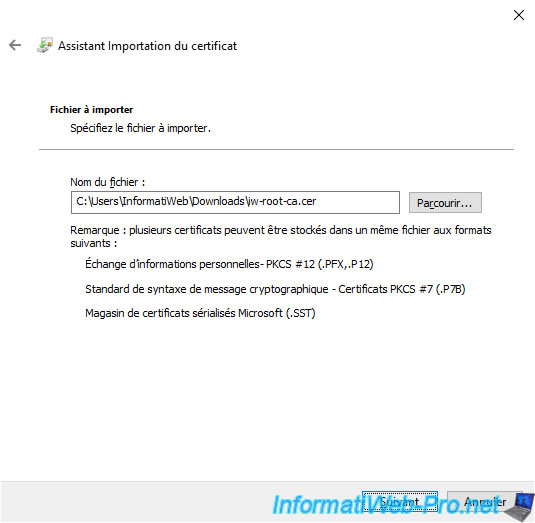
Since you right-clicked on your computer's "Trusted Root Certification Authorities" certificate store, this certificate will be imported into this certificate store by default.
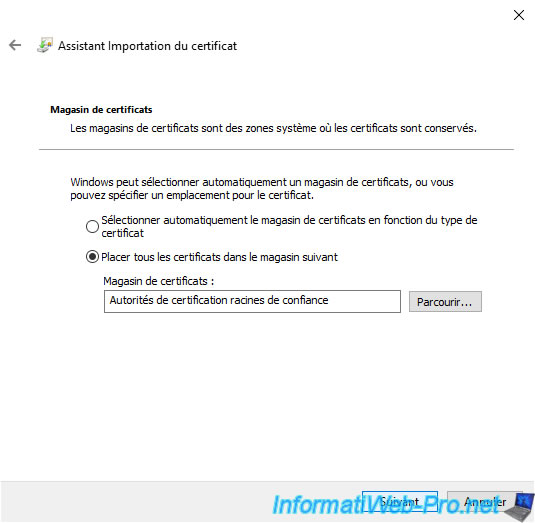
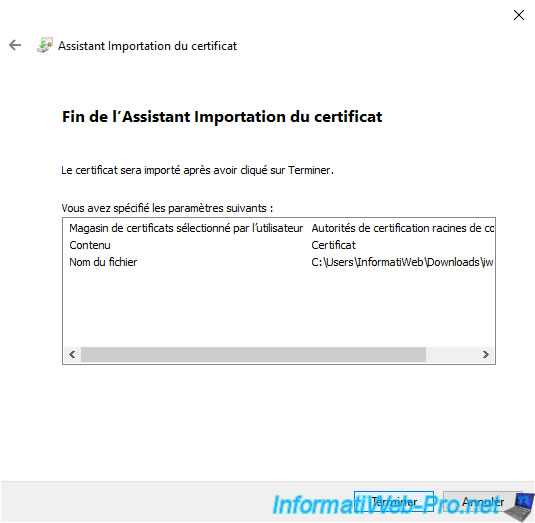
Click Finish.
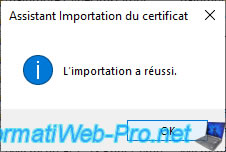
The "The import was successful" message appears.
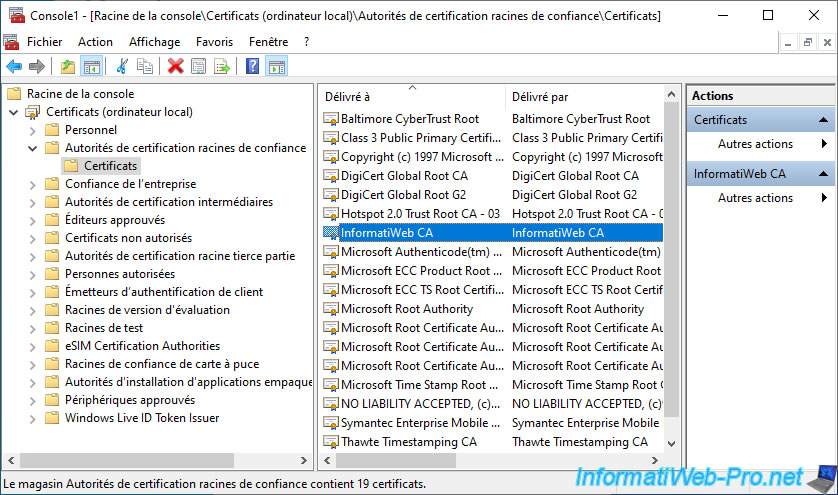
Your CA certificate has been imported to your client PC.
8. Configure client PC to use CEP/CES
In order for your client PC to be able to request a certificate from your CA via your CEP/CES server, it needs its address.
To find it, just open the IIS manager on your CEP/CES server and select the "ADPolicyProvider_CEP_UsernamePassword" folder of the Default Web Site.
Then, in the central part, double click on : Application Settings.
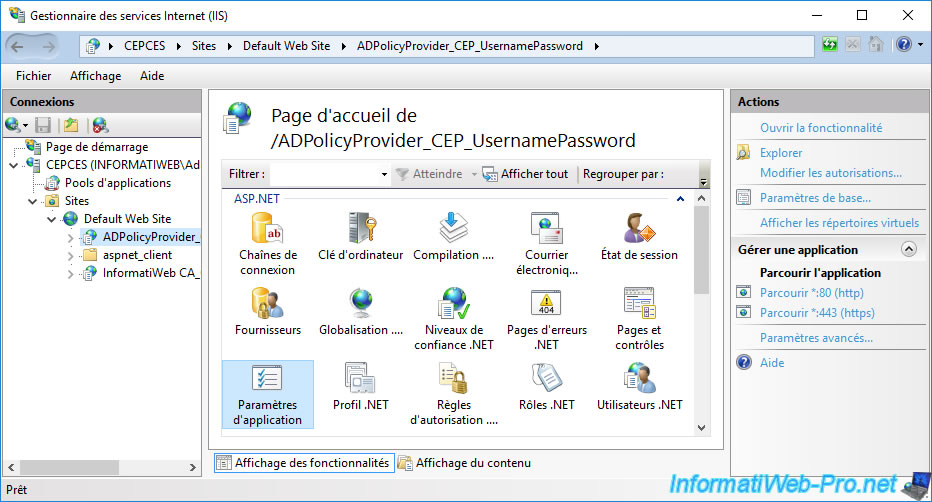
In the list of application settings that appears, you will find an "URI" application setting.
Double click on it.
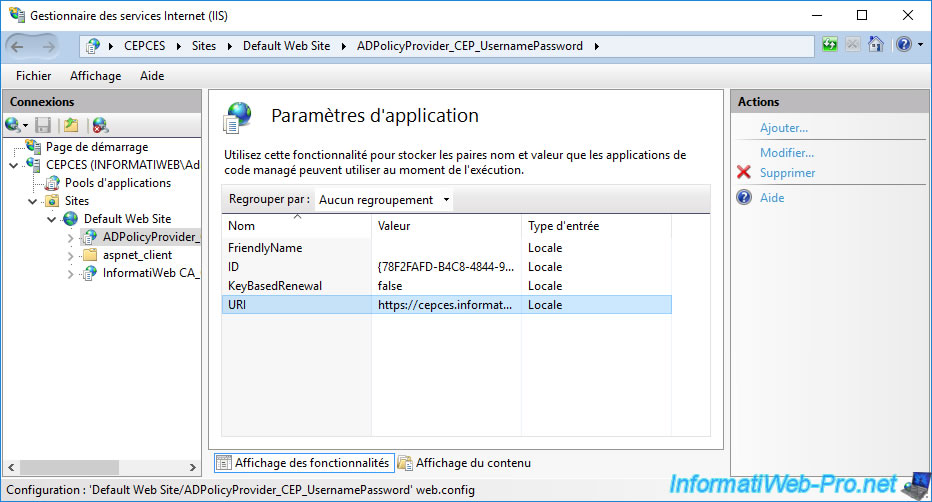
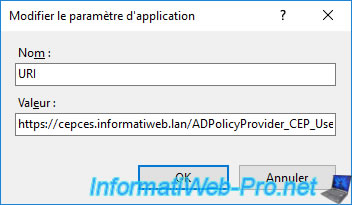
The address of your CEP / CES server appears.
Copy this address.
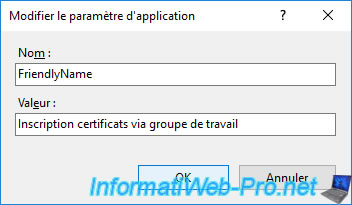
Note that you can change the name that will display on the client PC for this certificate enrollment policy by modifying the "FriendlyName" application setting.
Note : this is optional, but a warning will be displayed when validating the URL on the client PC if this value is empty.
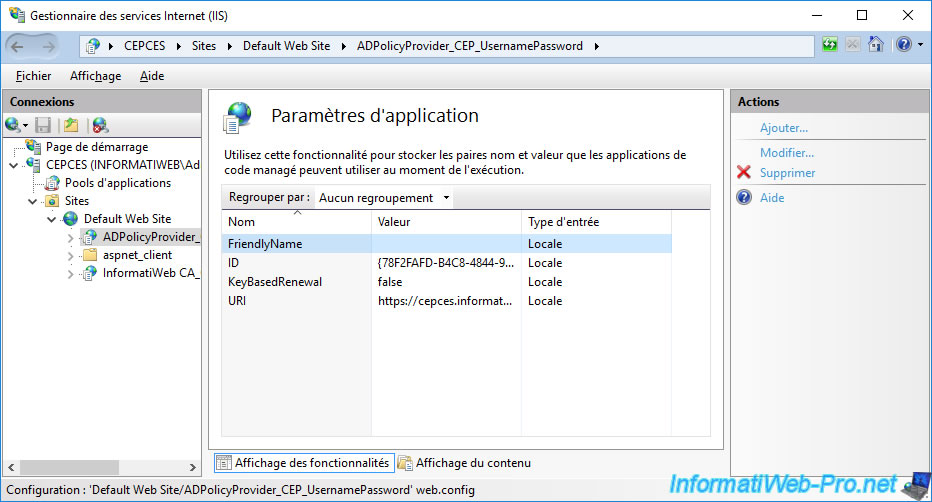
Specify for example : Enroll certificates via workgroup.
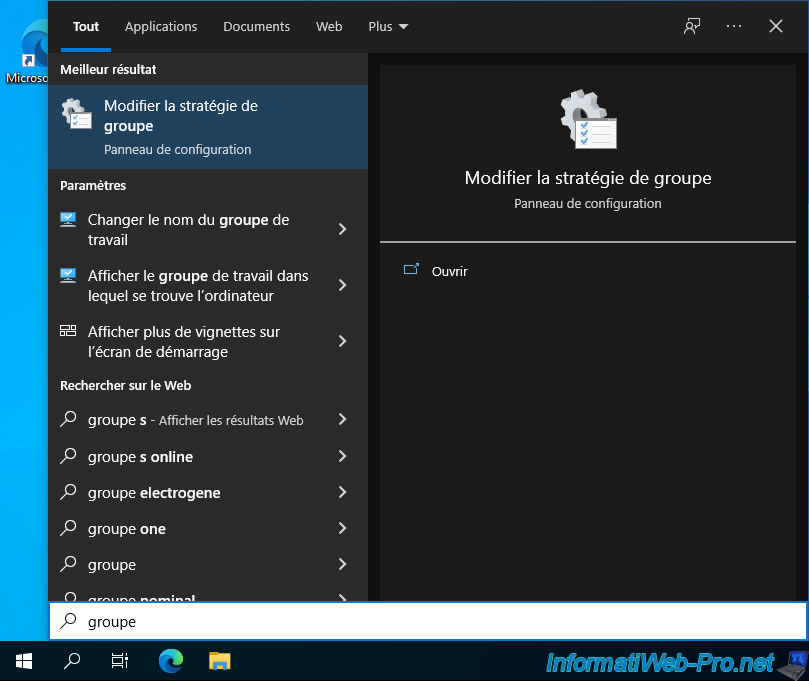
On your client PC, edit its local group policy by searching for the keyword "group".
Note that you are forced to configure this manually on this client PC.
Indeed, since it's not a member of your Active Directory domain, you can't configure this setting from your domain controller.
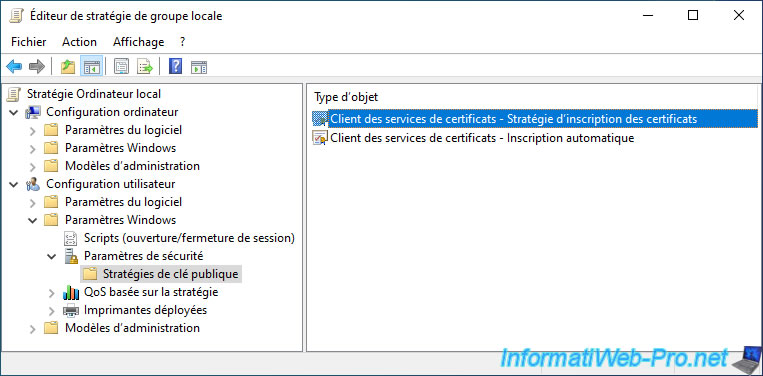
The Local Group Policy Editor appears.
Since we want to enroll a certificate for a user from this client PC, we go to the "User Configuration" section.
Then, go to "Windows Settings -> Security Settings -> Public Key Policies" and double click on the "Certificate Services Client - Certificate Enrollment Policy" policy.
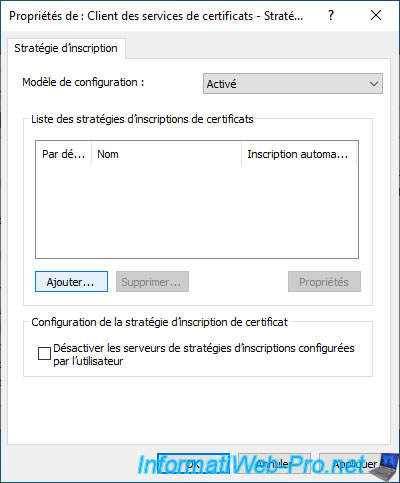
In the "Certificate Services Client - Certificate Enrollment Policy" window that appears, click : Add.
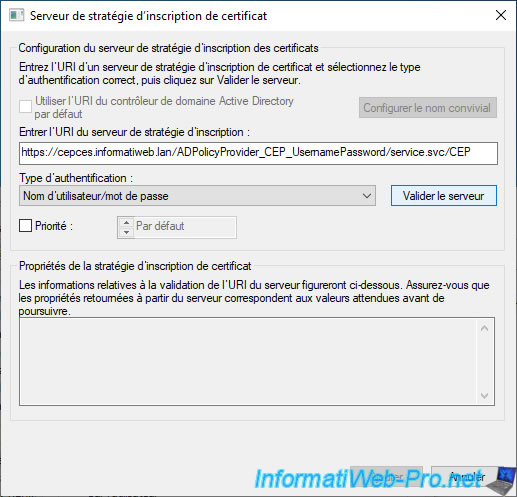
Specify the address of your CEP / CES server copied from the IIS manager of this CEP / CES server and select the type of authentication "Username/password" chosen during the configuration of your CEP / CES server.
Then, click on the "Validate Server" button.
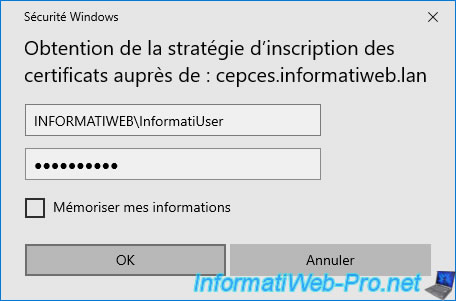
An "Obtain certificate enrollment policy from: [domain name of CEP / CES server]" authentication window is displayed.
Specify the credentials of the user account in your Active Directory domain for which you want to enroll a user certificate.
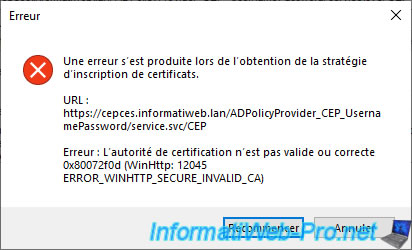
If the error message below appears, it means that your certification authority certificate is not part of the trusted root certification authorities of your client PC.
Plain Text
An error occurred while obtaining certificate enrollment policy.

URL: https://.../ADPolicyProvider_CEP_UsernamePassword/service.svc/CEP

Error: The certificate authority is invalid or incorrect 0x80072f0d (WinHttp: 12045 ERROR_WINHTTP_SECURE_INVALID_CA)
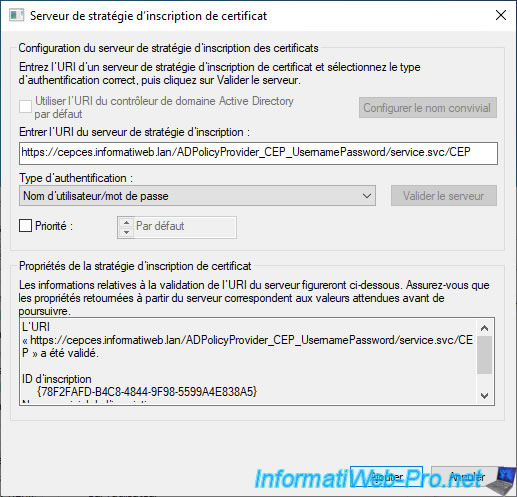
Otherwise, the validation will succeed :
Plain Text
The URI "https://.../ADPolicyProvider_CEP_UsernamePassword/service.svc/CEP" was validated successfully.

Enrollment ID {...}
Once the validation is successful, click on : Add.
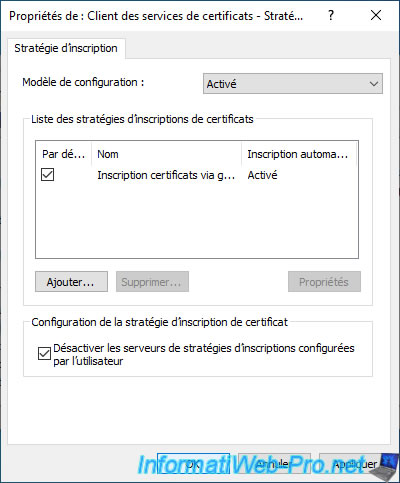
The desired certificate enrollment policy appears.
Check the box of the added certificate enrollment policy and also check the "Disable user configured enrollment policy servers" box to prevent the user from manually adding others.
9. Request a certificate via the CEP / CES server
Now that the server and the client PC are correctly configured, you can request a certificate from your client PC by opening a simple "mmc" console.
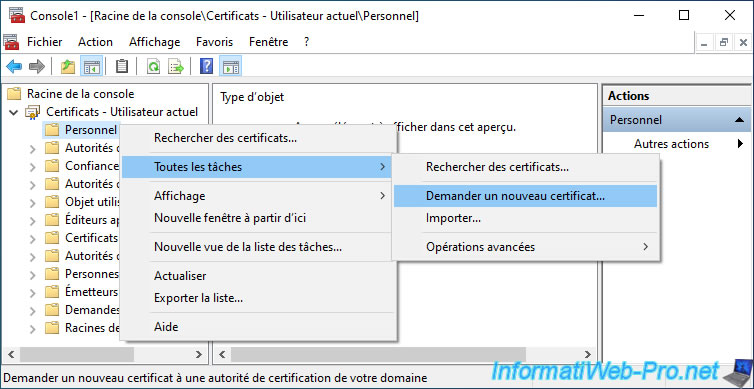
In this "mmc" console, add the "Certificates" component for the current user, then right click "All Tasks -> Request New Certificate" on your "Personal" certificate store.
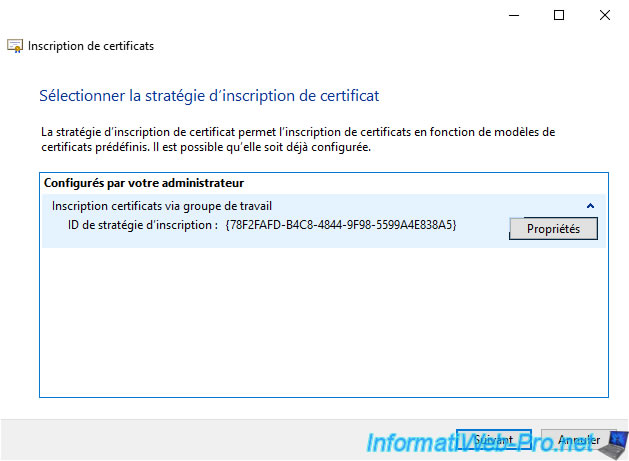
In the certificate enrollment wizard that appears, you will see that your new certificate enrollment policy for workgroup member computers appears.
Note that the name displayed matches the name configured as the "FriendlyName" application setting in the IIS manager of your CEP/CES server.
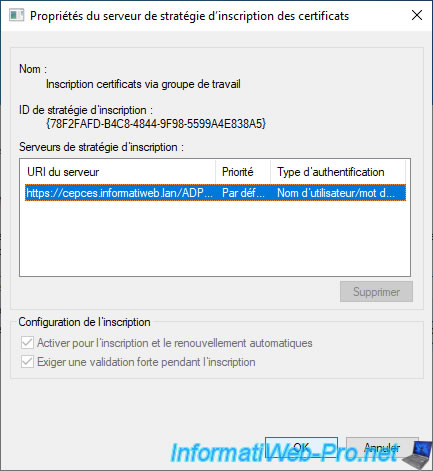
If you click on the small arrow, you can click on "Properties" to get information about this certificate enrollment policy.
In the "Certificate Enrollment Policy Server Properties" window that appears, you will also be able to see the corresponding server address and the type of authentication used.
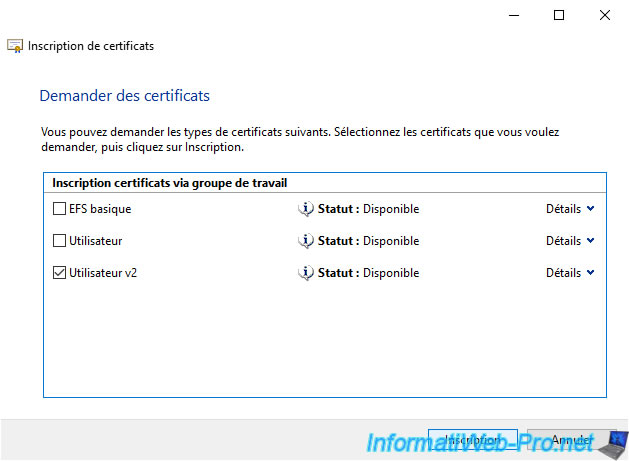
As expected, the different certificate templates that you can enroll as a domain user appear.
In our case, we had created a new "User v2" certificate template for the example.
So, we select it and we click on Enroll.
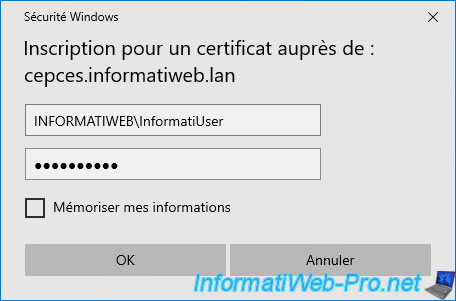
Specify the credentials of the Active Directory user account for which you want to enroll this certificate.
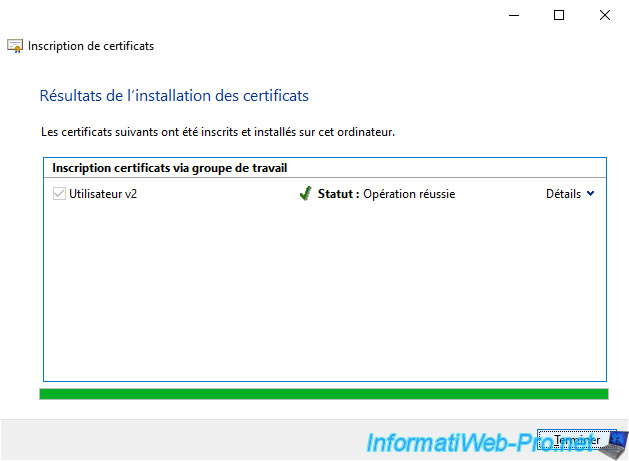
The certificate has been enrolled.
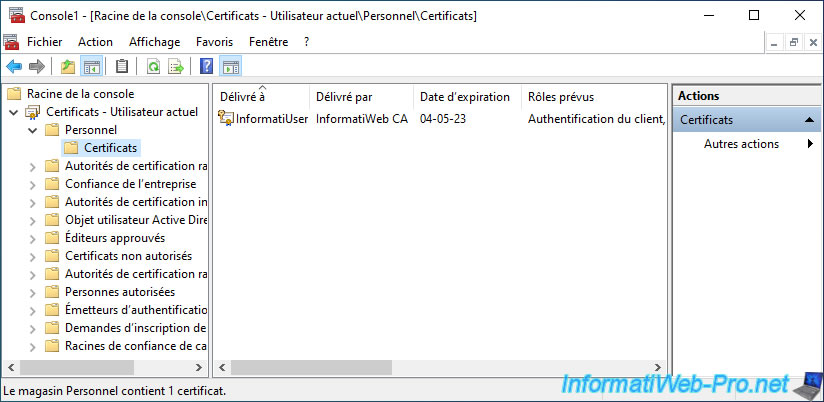
As expected, your user's certificate appears in your "Personal" certificate store.
Share this tutorial
To see also
-
Articles 1/26/2024
SafeNet Authentication Client (SAC) - Installation and overview
-
Articles 9/8/2023
What is encryption and how does it work ?
-
Windows Server 12/29/2023
WS 2016 - AD CS - Backup and restore a certificate authority (CA)
-

Windows Server 1/19/2024
WS 2016 - AD CS - Buy smart cards and log in via them

No comment