Install and configure CEP and CES servers for certificate requests from a workgroup on Windows Server 2016
- Windows Server
- 24 November 2023 at 12:09 UTC
-

- 2/3

4. Request a certificate for the CEP/CES server
As explained earlier, CEP/CES allows you to obtain certificates using the HTTPS protocol.
Since you will be using the HTTPS protocol, you will need an SSL certificate to secure the connection.
To do this, on your CEP/CES server, open a "mmc" console and add the "Certificates" component for the local computer.
Next, right-click on the "Personal" certificate store and click : All Tasks -> Request New Certificate.
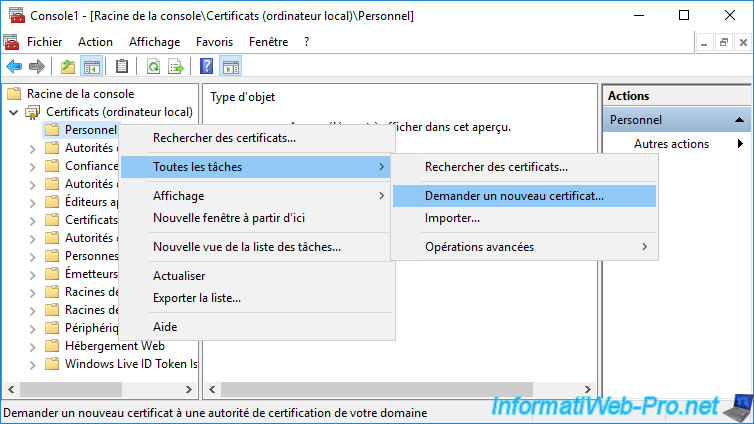
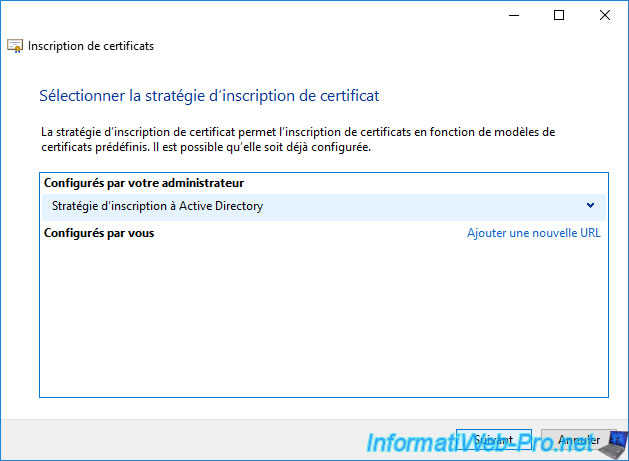
Since your CEP / CES server is linked to your Active Directory domain, it knows the information to enroll a certificate from your certification authority thanks to the Active Directory Enrollment Policy visible here.
Select the "Web Server v2" certificate template created at the beginning of this tutorial and click the "More information is required to enroll for this certificate" link that is displayed.

Select "Type : Common Name", specify the domain name of your CEP / CES server and click on Add.
Note : if your CEP / CES server must allow certificates to be obtained from outside your company, you will use a public domain name defined on a DNS server available on the Internet.
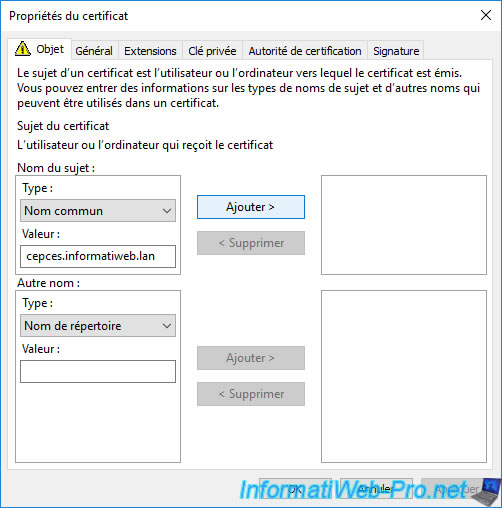
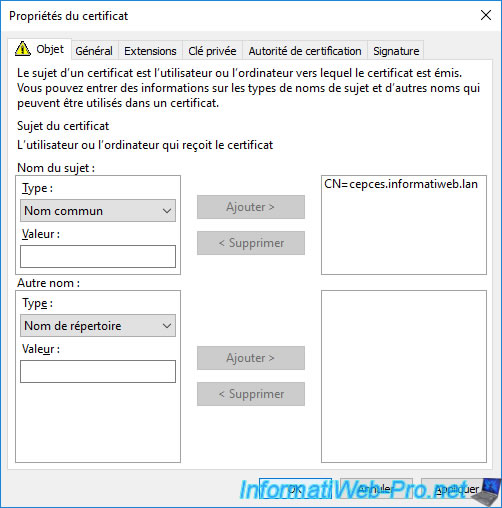
Once the common name (CN) has been added, click OK.
Now, click on Enroll.

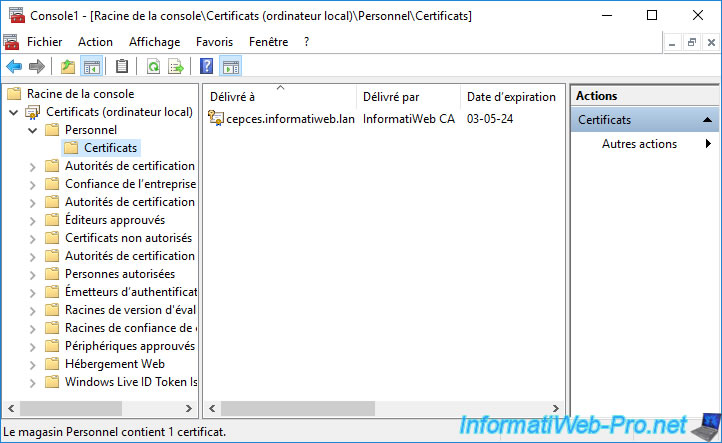
The certificate has been enrolled.
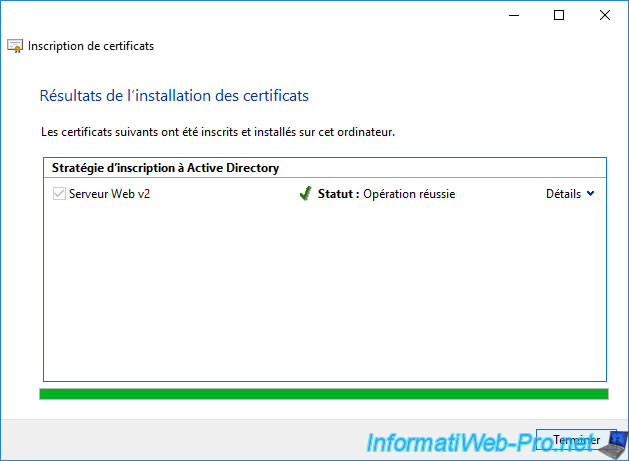
Your CEP/CES server certificate appears in your "Personal" certificate store.
5. Configure the CEP/CES server
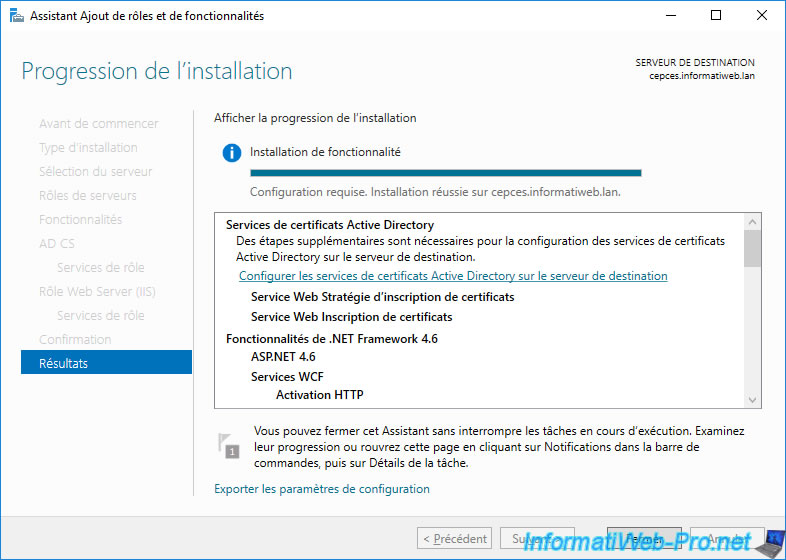
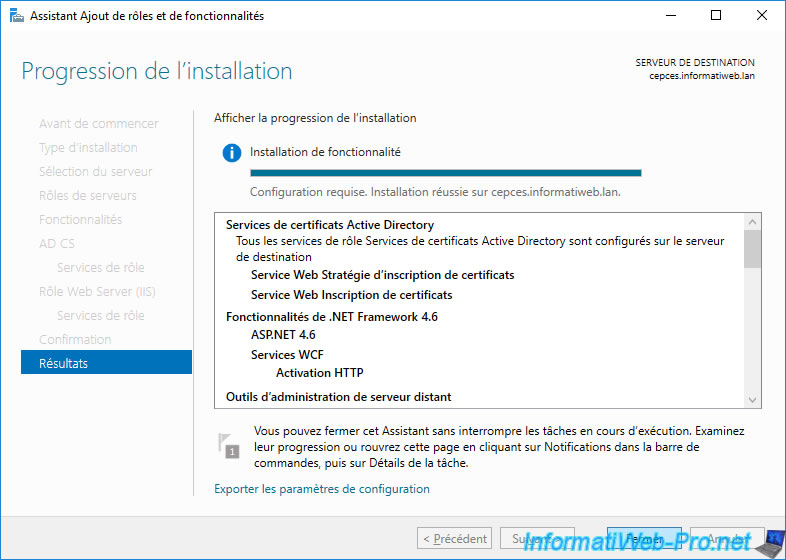
In the Add Roles and Features wizard that you had left open on your CEP / CES server, click on the link displayed : Configure Active Directory Certificate Services on the destination server.
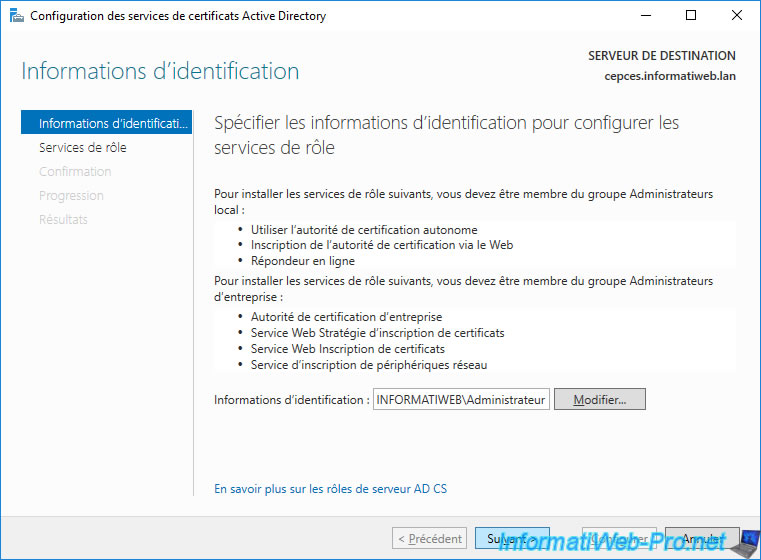
The "AD CS Configuration" wizard appears.
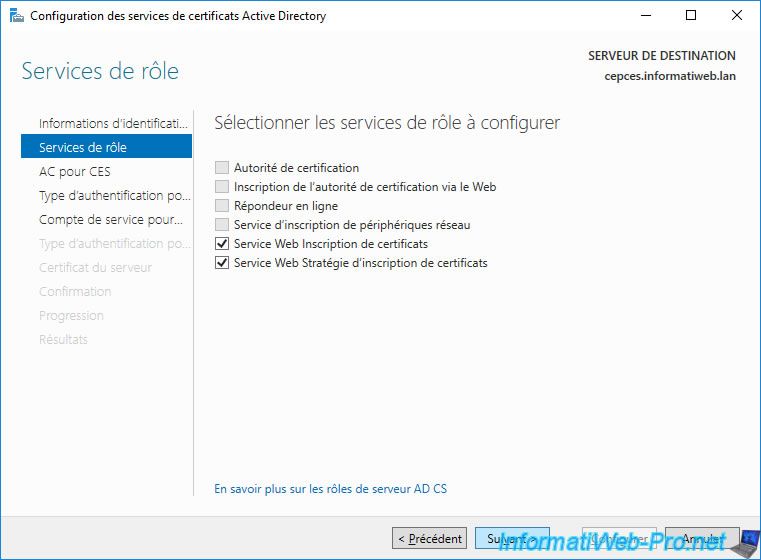
Check the boxes :
- Certificate Enrollment Web Service (CES)
- Certificate Enrollment Policy Web Service (CEP)
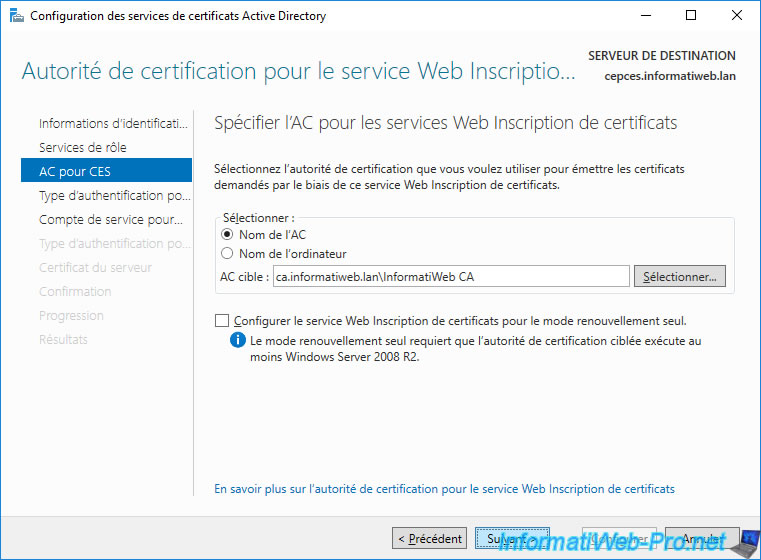
To find out which certification authority this CEP / CES server should contact, you must click on : Select.
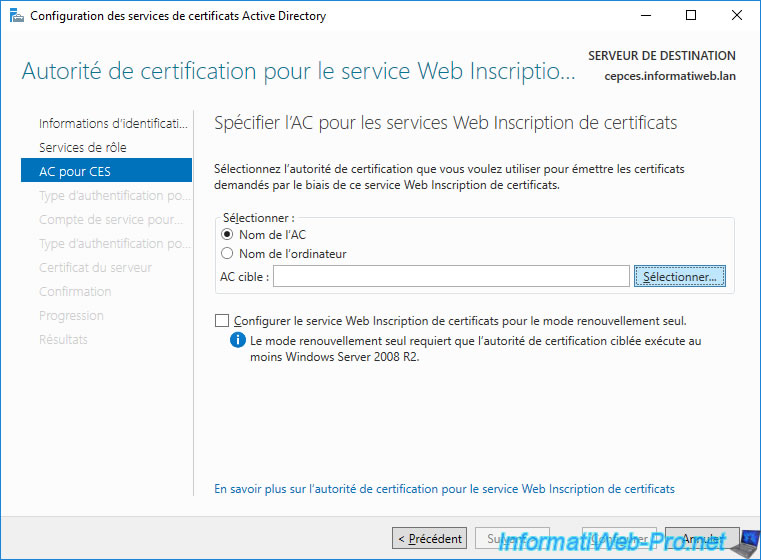
Select your CA and click OK.

Once your CA has been selected, click Next.
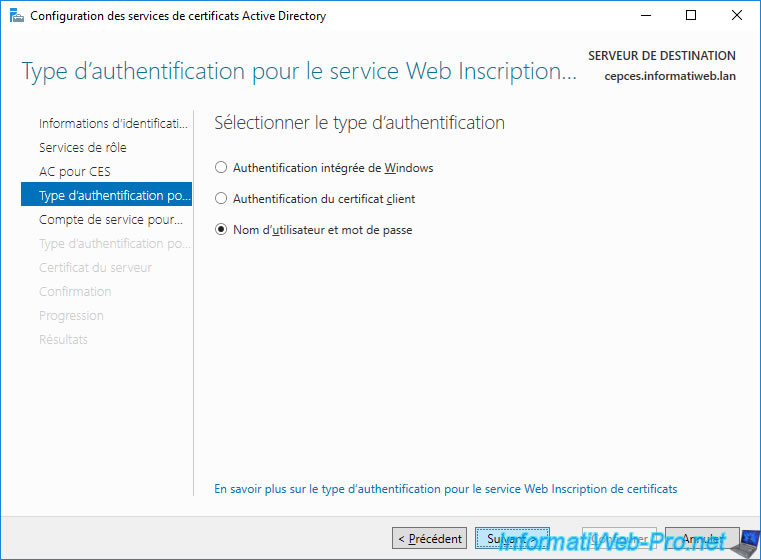
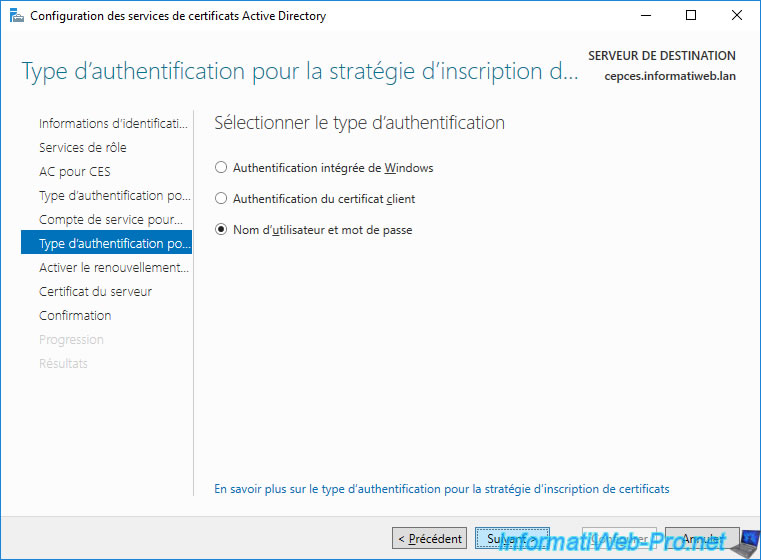
For the type of authentication to use to access the Certificate Enrollment Web Service (CES), you will have the choice between :
- Windows integrated authentication
- Client certificate authentication
- User name and password
Since this server may be accessible from the outside, you will not be able to use Windows Authentication.
Since your client doesn't yet have a certificate, you won't be able to use client certificate-based authentication either.
So, select "User name and password" and click Next.
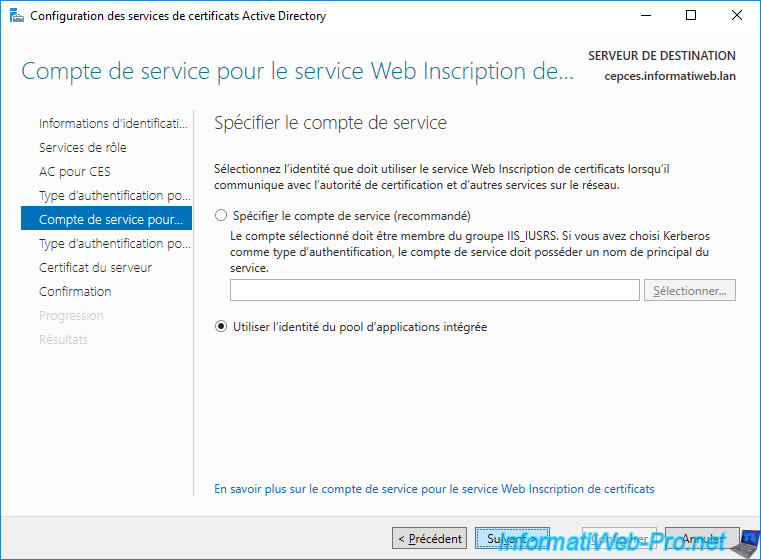
The CES server can run under a service account, but this requires a few additional settings.
To simplify its configuration, select : Use the built-in application pool identity.
A type of authentication is requested again.
However, this time it concerns access to the CEP server.
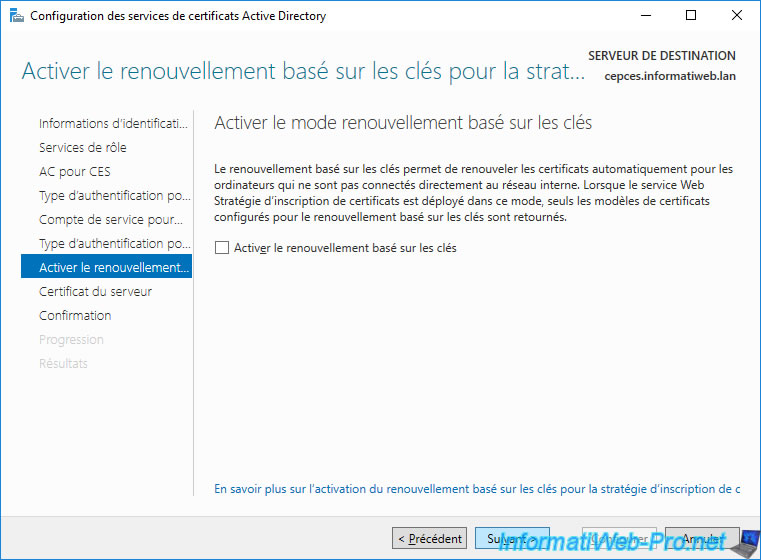
Since our client doesn't yet have a certificate, we can't enable key-based renewal.
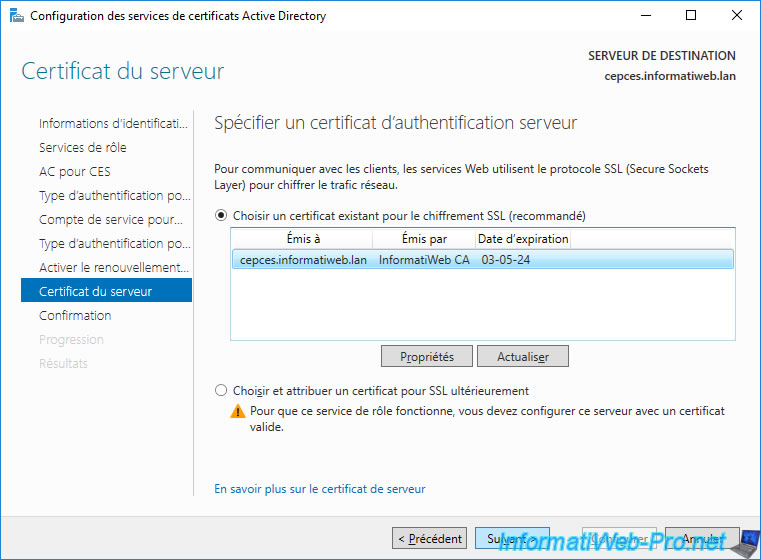
Select the certificate that appears (the one you requested earlier) and click Next.
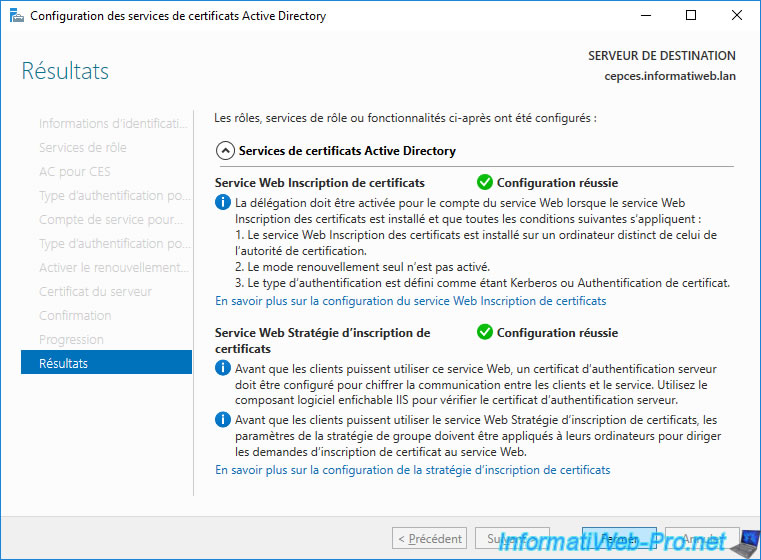
Confirm the configuration of these CEP and CES services.

The "Configuration succeded" status appears for these 2 web services.
Click Close.
You can also close the Add Roles and Features wizard.
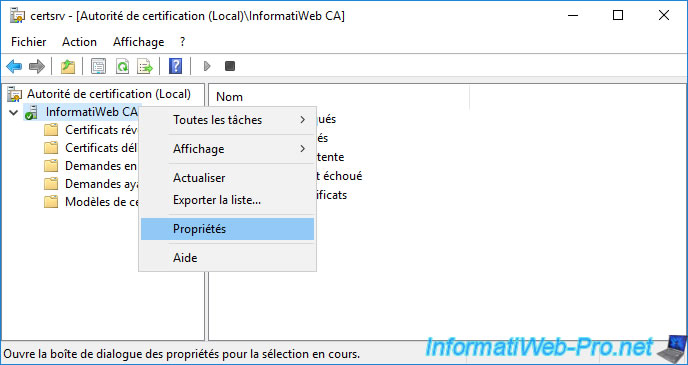
6. Export CA certificate
In order for your client to be able to request a certificate from your certification authority, he must know it.
However, since your client is not a member of your Active Directory domain, it didn't automatically receive the certificate from your CA.
To resolve the issue, you will need to manually export your CA certificate and import it into the "Trusted Root Certification Authorities" certificate store on your client.
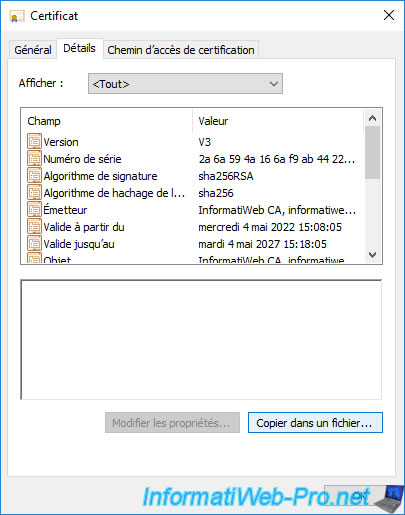
To do this, on your certification authority, right-click "Properties" on its name.
In the "General" tab, click : View Certificate.
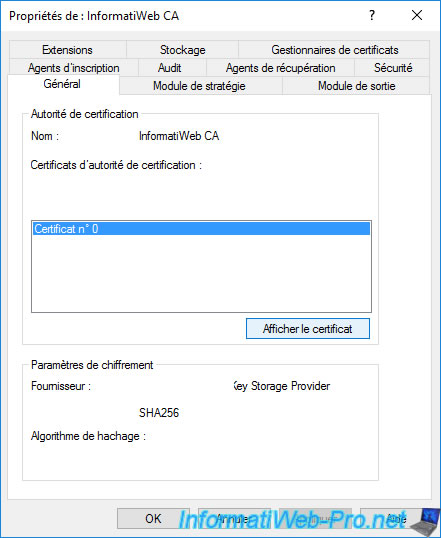
In the "Details" tab, click on "Copy to File" to export this certificate.
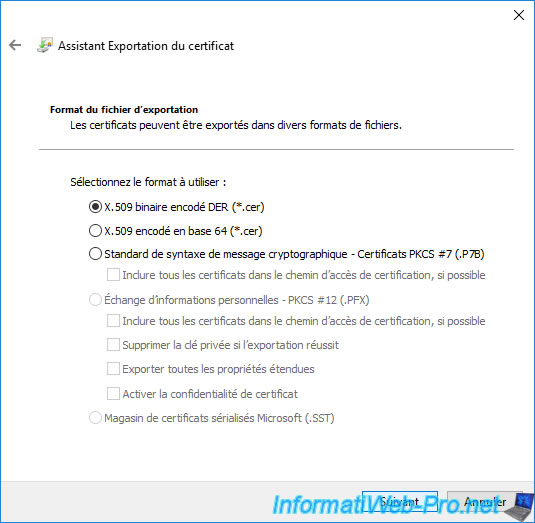
Select the "DER encoded binary X.509 (*.CER)" format and click Next.
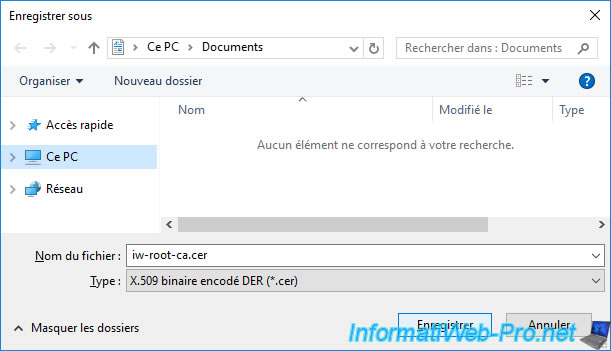
Save the certificate in ".cer" format.
Click Next.
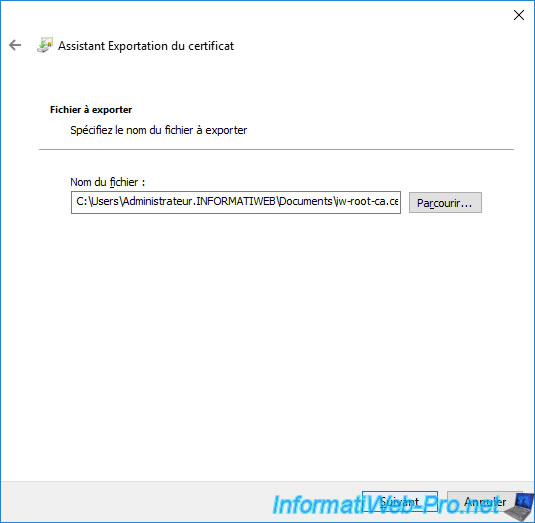
Click Finish.
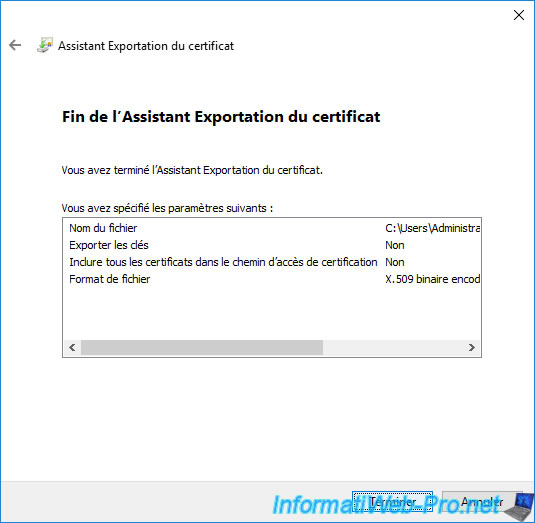
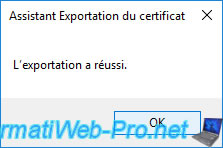
The certificate has been exported.
Share this tutorial
To see also
-

Articles 1/26/2024
SafeNet Authentication Client (SAC) - Installation and overview
-

Articles 9/8/2023
What is encryption and how does it work ?
-
Windows Server 12/29/2023
WS 2016 - AD CS - Backup and restore a certificate authority (CA)
-

Windows Server 1/19/2024
WS 2016 - AD CS - Buy smart cards and log in via them
No comment