Set up high availability (HA) on your RDS infrastructure (step by step) on Windows Server 2012 / 2012 R2
- Windows Server
- 07 June 2019 at 11:07 UTC
-

- 9/12

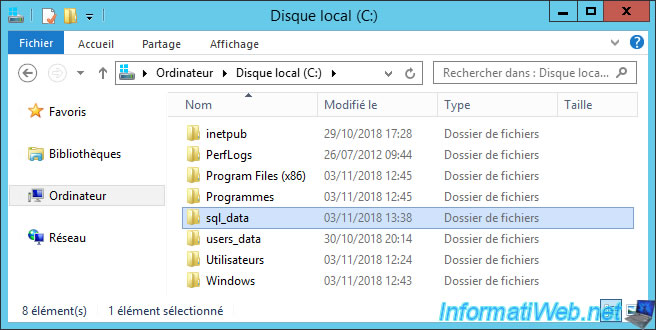
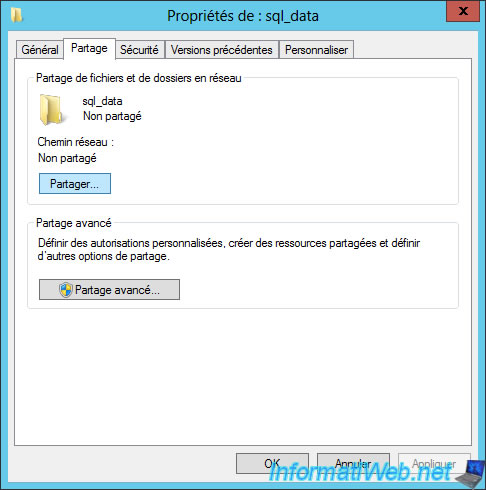
10.8. Creating the folder to store SQL data
When you want to enable the high availability of the broker service of your RDS infrastructure, you will need to tell the wizard where you want to store the SQL data, including the database created for the high availability of this service.
In our case, we will use a shared folder of our Active Directory server.
However, in production, you should store it on a highly available file server so that RDS doesn't become inaccessible if the server hosting this folder fails.
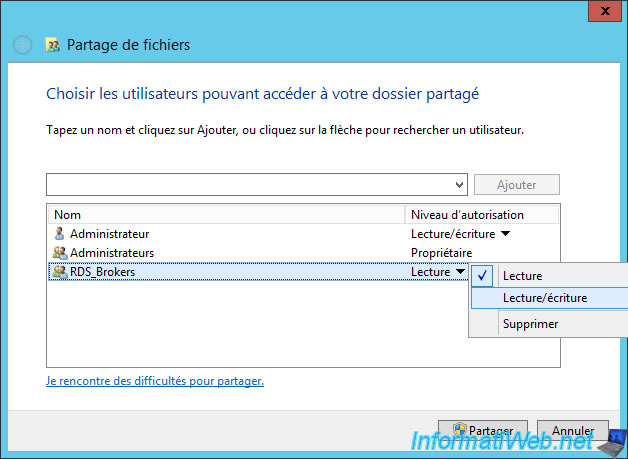
Click Share.
Add the group containing your brokers servers.
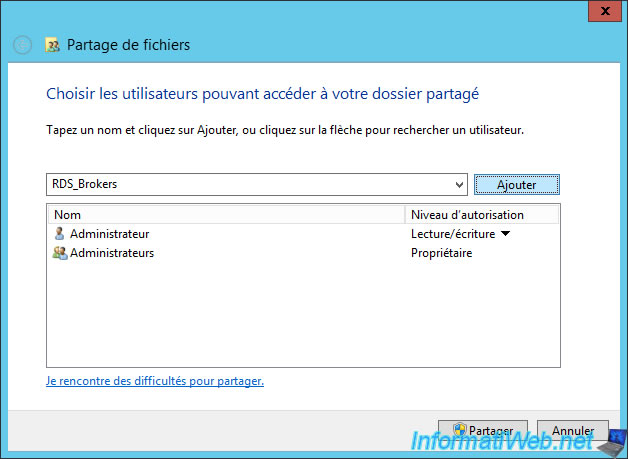
Select the "Read/Write" permission level for this group.
Click Finish.
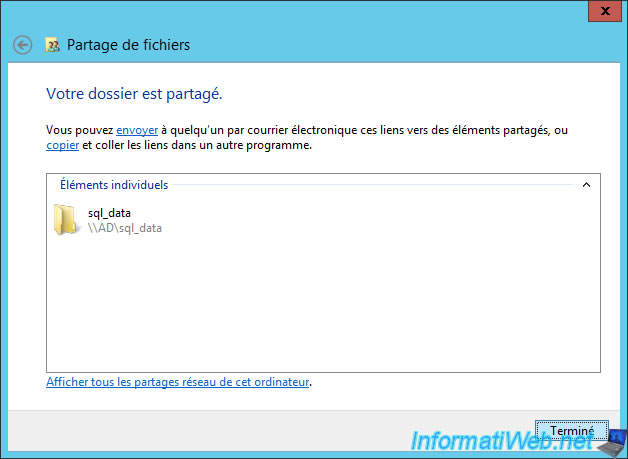
The network path of this share appears.

10.9. Creating the round robin DNS record for your brokers
As the wizard will ask when you want to activate the high availability of the broker service, you must also create a DNS round robin record pointing to the IP address of each broker server.
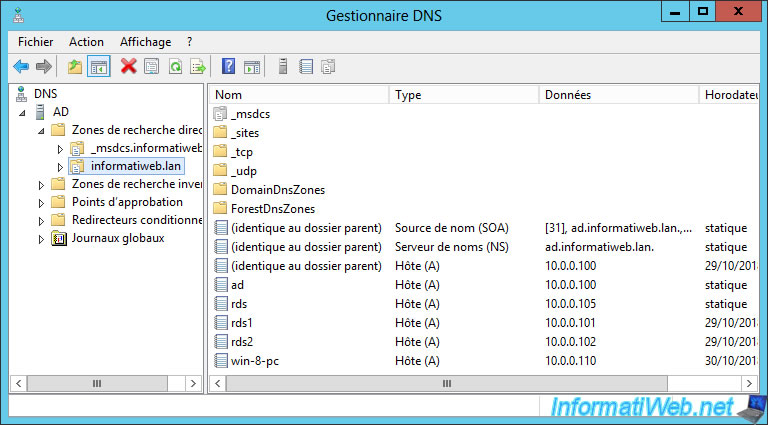
In other words, you will need to create multiple DNS records with the same name, but each one points to a different broker server.
In our case, we will create 2 records of type A :
- rdcb : 10.0.0.101
- rdcb : 10.0.0.102

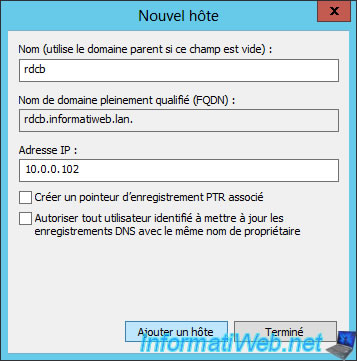
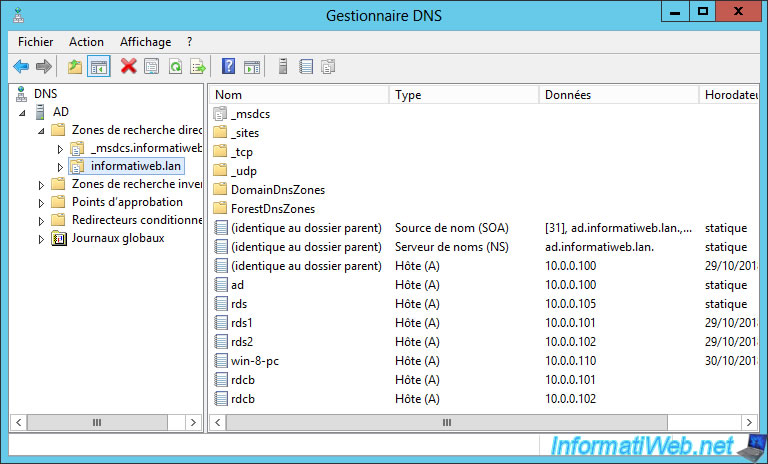
Here is our new "rdcb" DNS record for the broker.
10.10. Allow your brokers to connect to the SQL Server 2012 server
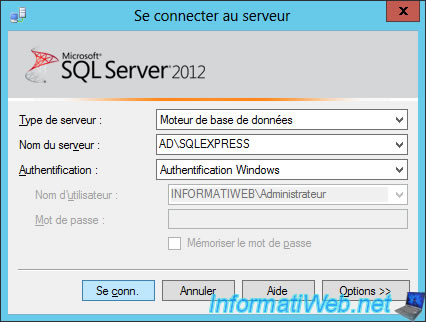
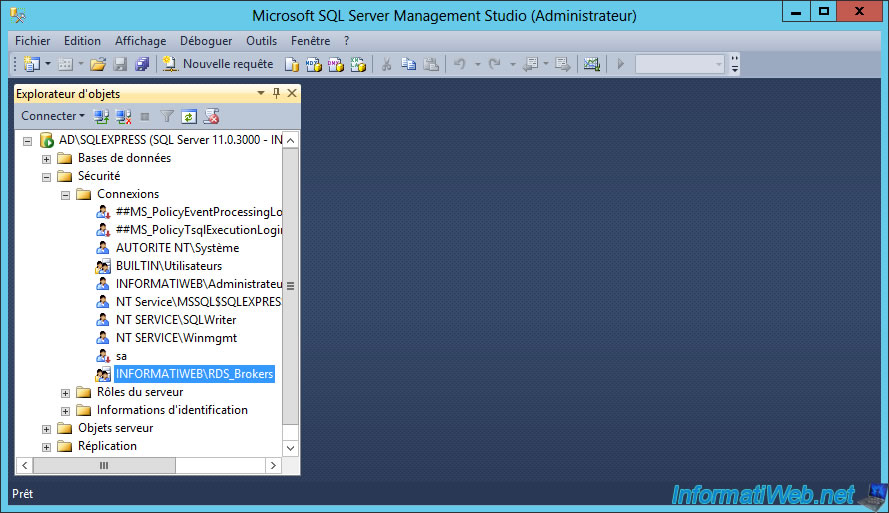
To allow your brokers to connect to your SQL Server 2012 server and to create and manage the database they will need, you will need to add a SQL connection through the "SQL Server Management Studio" program.

The program "Microsoft SQL Server 2012 Management Studio" appears.
A SQL Server 2012 login window appears.
If you are logged in with the Active Directory account that you added as an administrator when you installed SQL Server, you only need to click "Connect".
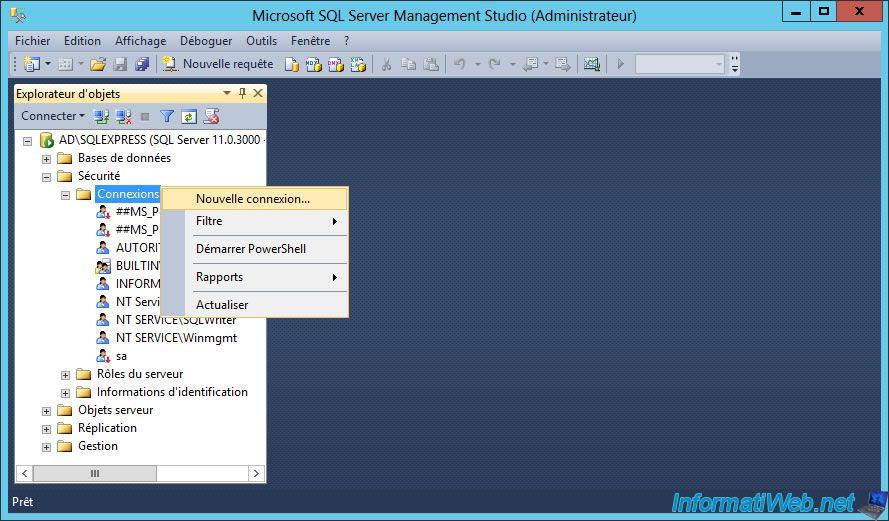
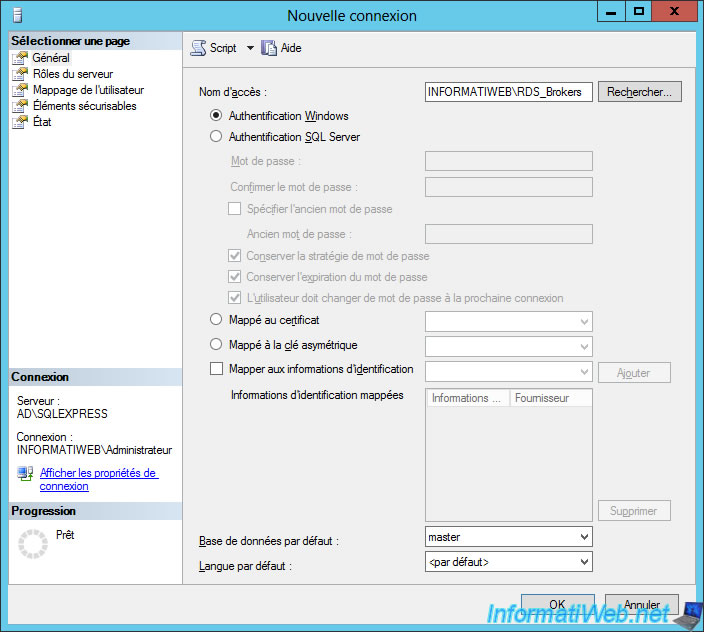
Then, deploy the "Security" node and right-click "New Connection" on "Connections".
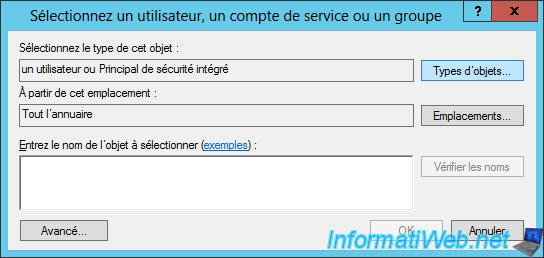
Click on the "Search" button.
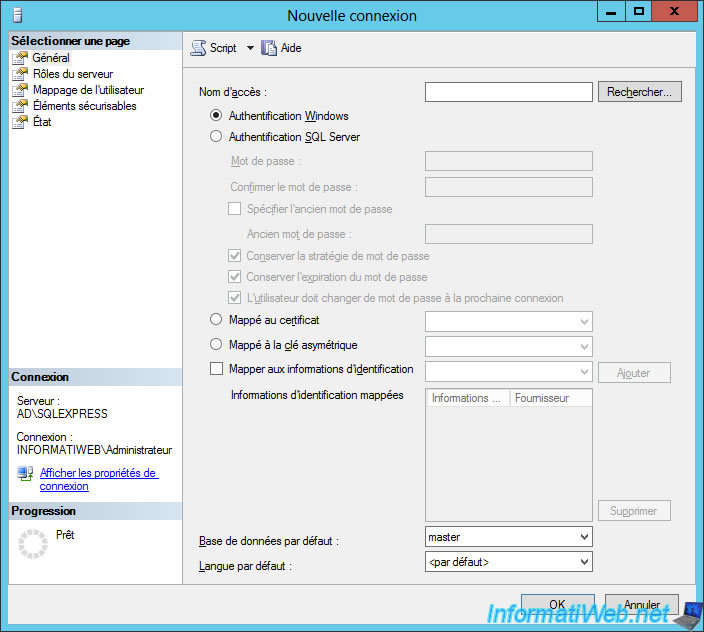
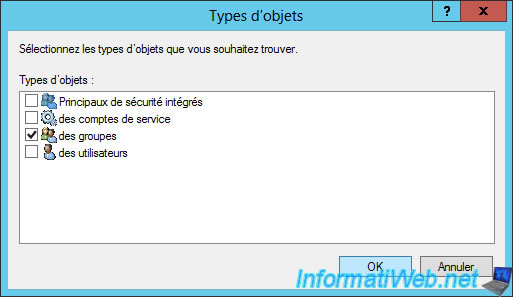
Click on "Object Types".
Check only the "Groups" box.
Then, indicate the name of the group "RDS_Brokers" in which you had added your brokers servers.
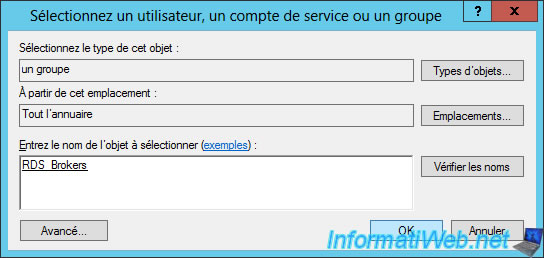
For the moment, this configuration indicates that your brokers servers will be able to connect to the SQL Server.
Nevertheless, for the 1st broker server to be able to create the database that your RDS infrastructure will need for the high availability of the broker service, you will have to add the "dbcreator" right.
Click OK.
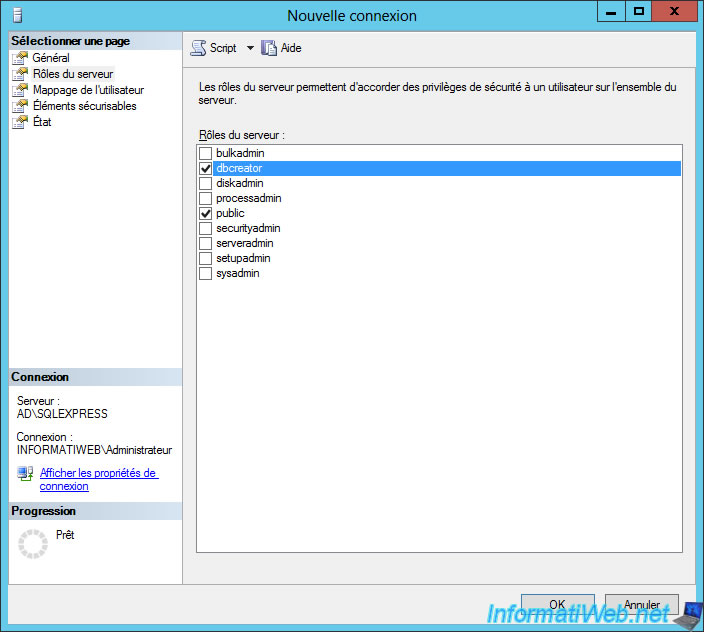
Now, a new connection "INFORMATIWEB\RDS_Brokers" is available on your SQL server.
Share this tutorial
To see also
-
Windows Server 3/8/2019
WS 2012 / 2012 R2 / 2016 - RDS - Access RemoteApp via a modern application
-

Windows Server 4/28/2019
WS 2012 / 2012 R2 / 2016 - RDS - Attempt to unblock the session as a user
-

Windows Server 3/16/2019
WS 2012 / 2012 R2 / 2016 - RDS - Change the properties of RemoteApps
-
Windows Server 1/13/2019
WS 2012 / 2012 R2 / 2016 - RDS - Configure user profile disks (UPD)
No comment