- Windows Server
- DirectAccess
- 15 October 2017 at 11:47 UTC
-

- 1/3

DirectAccess is a very interesting technology for system administrators because it allows them to manage the security of your company's computers. Even if they are temporarily outside the network.
For those who would like to implement this technology, please refer to our previous tutorial : Windows Server 2012 / 2012 R2 - DirectAccess - Installation, configuration and connection test from Windows 7, 8 and 10
When a DirectAccess client connects to your organization's network, he establishes 2 IPsec tunnels.
These 2 IPsec tunnels are bidirectional. This means that it's technically possible :
- to create a connection from the DirectAccess client to a machine in your company's network.
- to create a connection from a machine of your company's network to a DirectAccess client that is currently connected to your DirectAccess server.
This also means that DirectAccess can also allow you to manage your DirectAccess clients through, for example, SCCM (System Center Configuration Manager).
This is also called : DirectAccess Manage Out.
However, by default, you will not be able to access a DirectAccess client from a computer physically present in your company's network.
Indeed, for this to be possible, IPv6 would have to be deployed on the source network, the destination network and the intermediate networks (Internet). Obviously, this is not currently possible.
To solve this problem, we will therefore set up an ISATAP router in the network of our company.
ISATAP (Intrasite Automatic Tunnel Addressing Protocol) is an IPv4 to IPv6 transition mechanism that allows 2 IPv6 networks to communicate over an IPv4 network.
- Test connection from an internal client to a DirectAccess client
- Configuring ISATAP through Group Policy (GPO)
- Configuring the DirectAccess client firewall through Group Policy (GPO)
- Testing DirectAccess client management from outside (DirectAccess Manage Out)
1. Test connection from an internal client to a DirectAccess client
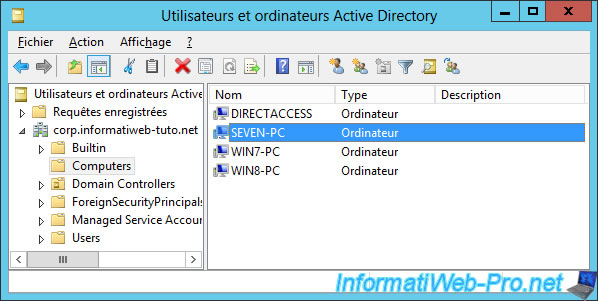
For this tutorial, we created a new client PC under Windows 7 and we joined it to the domain.
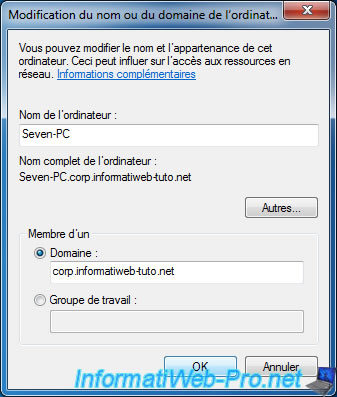
This computer appears in the Active Directory and is currently physically connected to our company's local network.
To test the DirectAccess technology, we use a little trick : share the 3G connection of our Android smartphone through a mobile access point.
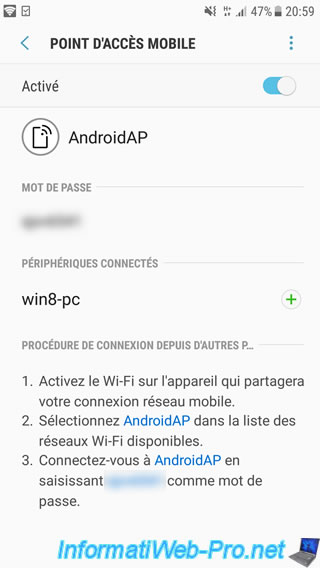
We connect our win8-pc client to our mobile access point and this PC automatically establishes a connection to our DirectAccess server since this PC is now outside of our local network.

If we try to ping the PC under Windows 8, you notice that this is not possible.
Although this PC is virtually connected to the network of our company thanks to the DirectAccess connection that it established with our server.

2. Configuring ISATAP through Group Policy (GPO)
To configure ISATAP, there are 2 possibilities :
- either you follow the standard of creating a DNS record named "ISATAP" and whose IP address is the address of your ISATAP server.
- either you manually configure ISATAP through GPOs and a you create a DNS record with another name.
If you choose the first option, it may create a large network flow to your ISATAP server. Which is rather discouraged.
We will therefore choose the 2nd possibility : configure ISATAP manually and choose computers that will be configured as ISATAP clients (for example : a SCCM (System Center Configuration Manager) server or any other computer management server).
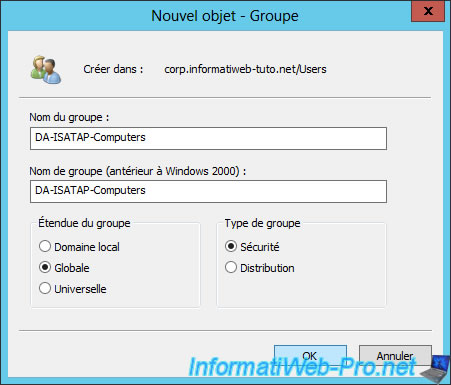
To begin, on your Active Directory server, open the "Active Directory Users and Computers" console and create a new security group named "DA-ISATAP-Computers".
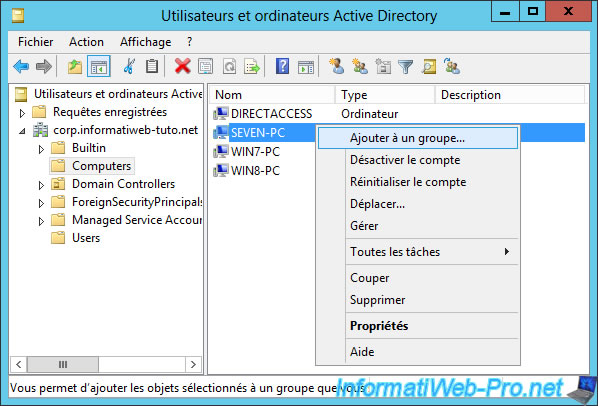
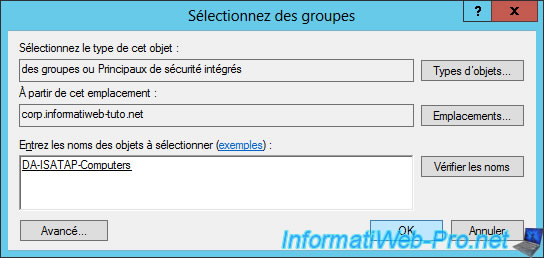
Then, add the client computers that will need to be able to contact a DirectAccess client to the "DA-ISATAP-Computers" group.
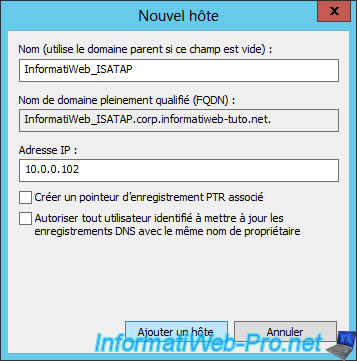
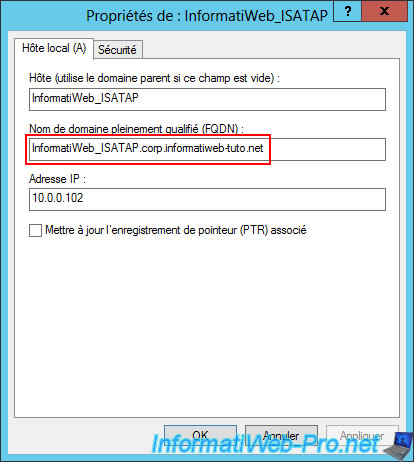
Since ISATAP is installed at the same time as the remote access server and DirectAccess, simply create a "A" DNS record pointing to the internal IP address of your DirectAccess server.
The name of this DNS record must be different from the name "ISATAP" that is reserved for the automatic configuration of ISATAP.
What we want to avoid for the reason explained earlier.
In short, in our case, we created a type A record named "InformatiWeb_ISATAP" that points to the IP address of our DirectAccess server : 10.0.0.102
Now, to enable ISATAP on the desired clients and let them know the address of your ISATAP server, we will create a new GPO.
To do this, launch the "Group Policy Management" console, right-click on your domain name and click "Create a GPO in this domain, and Link it here".
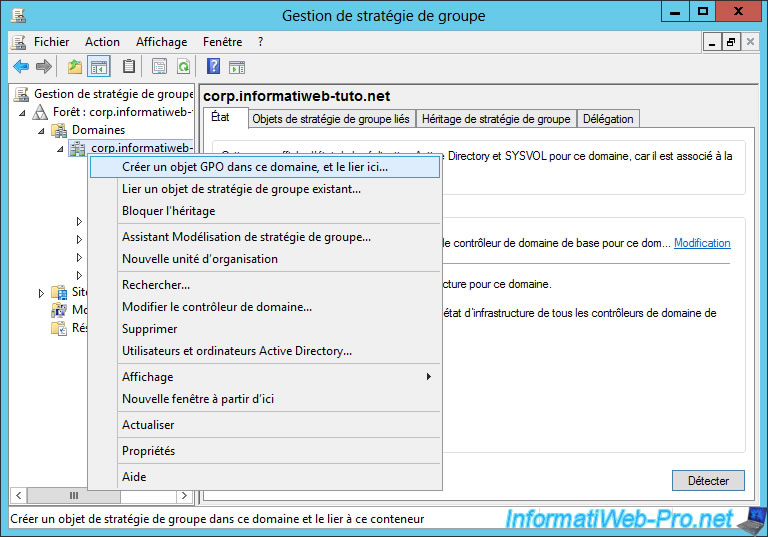
Name this object : DA - ISATAP config.

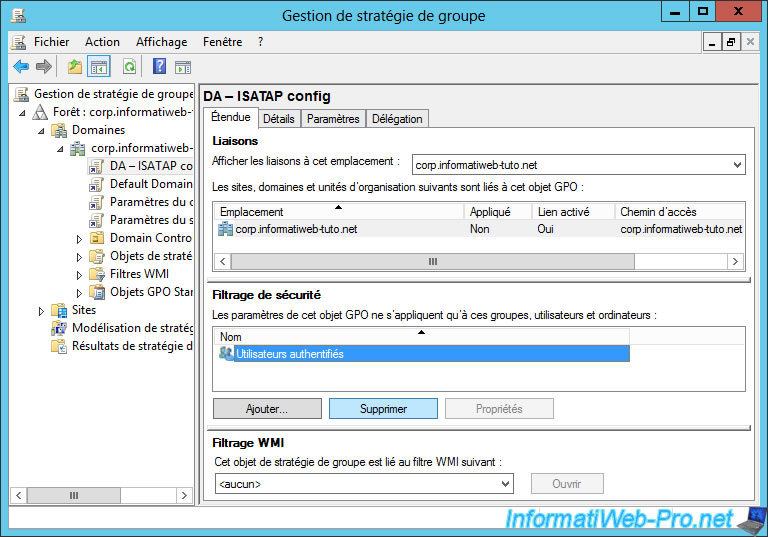
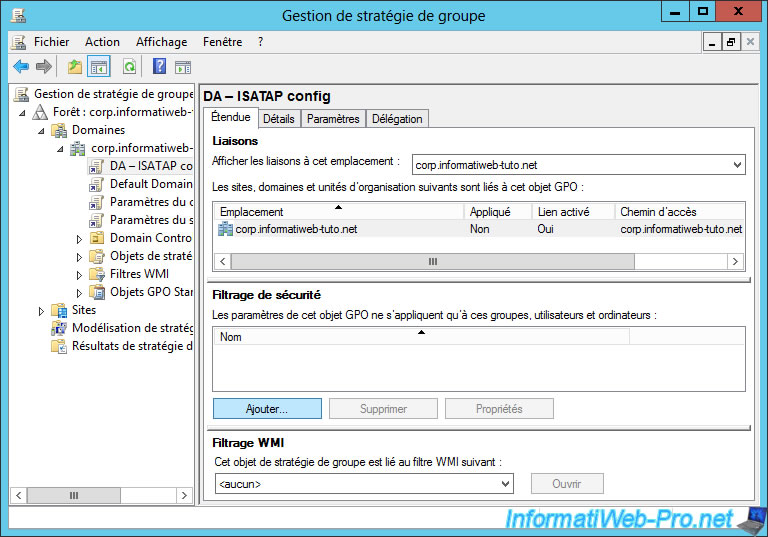
Select the new "DA - ISATAP config" object and delete the group listed in the "Security Filtering" section.
Then, click on the "Add" button.
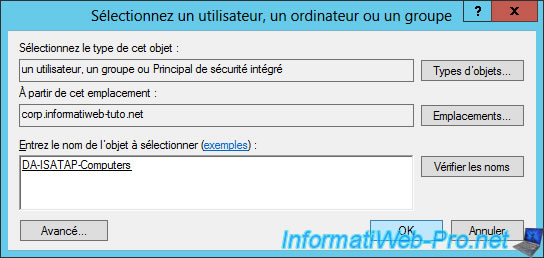
Then, add the "DA-ISATAP-Computers" group created previously.
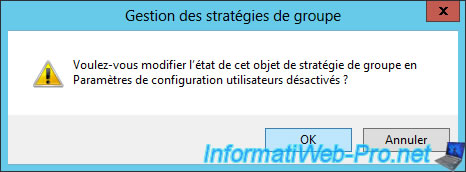
In the "Details" tab, select "GPO Status : User configuration settings disabled".
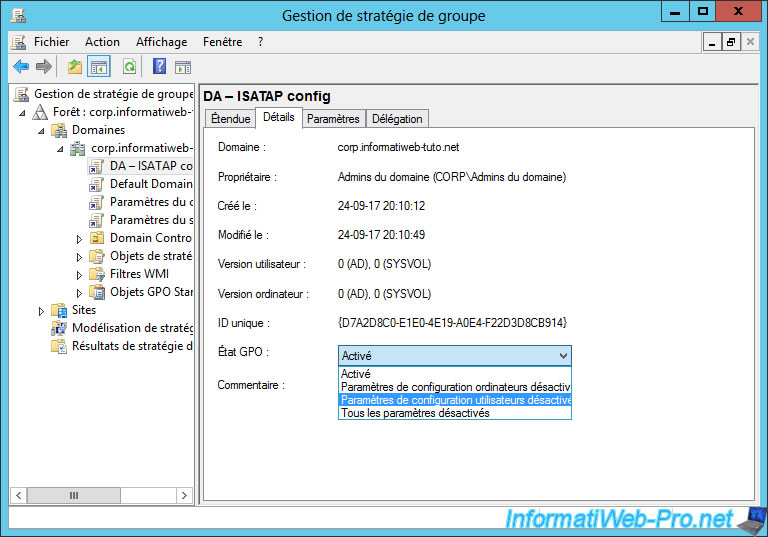
Then, confirm with OK.
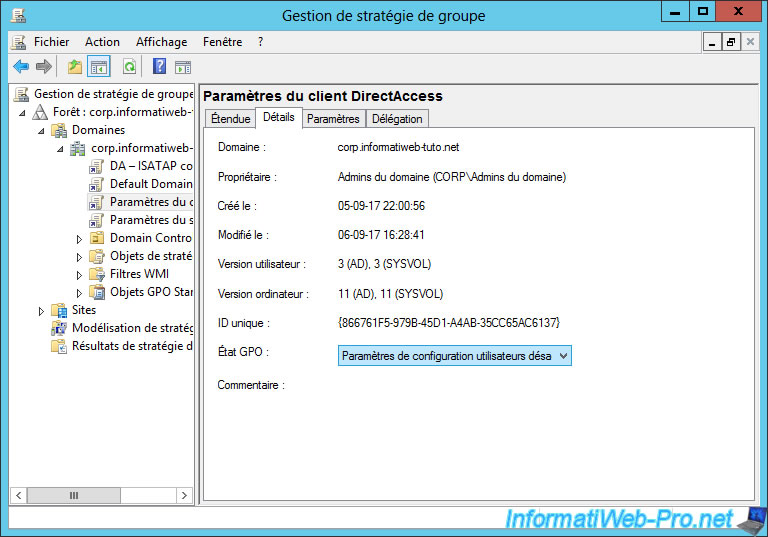
Thus, the configuration of our new GPO will be similar to that of the "DirectAccess Client Settings" GPO created automatically during the DirectAccess installation.
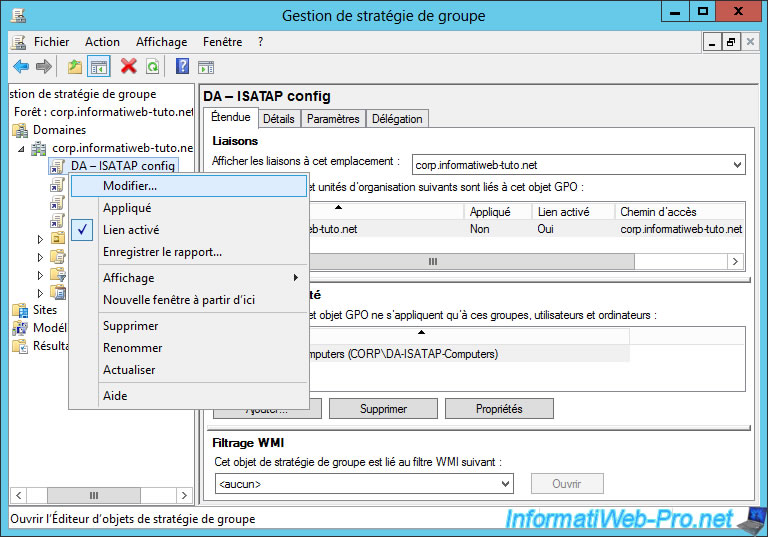
Now, edit this GPO : DA - ISATAP config.
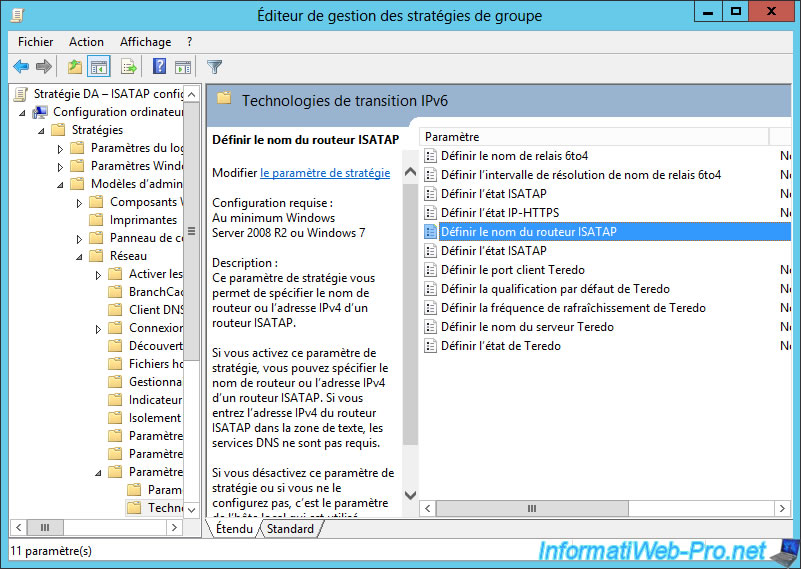
To configure ISATAP through group policies, go to : Computer Configuration -> Policies -> Administrative Templates -> Network -> TCPIP Settings -> IPv6 Transition Technologies.
As you can see, you can :
- set the name of your ISATAP router
- set the ISATAP state
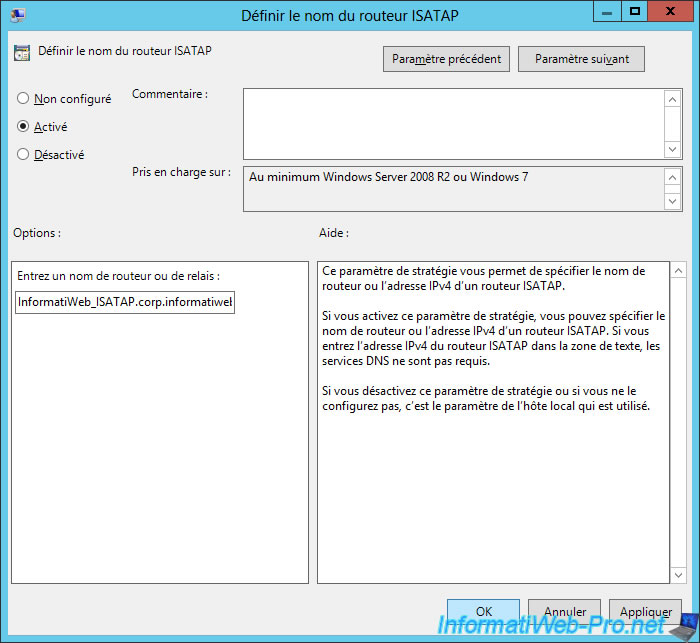
For the name of the ISATAP router, you will need to specify the FQDN name of the previously created DNS record.
Double-click the "Set ISATAP Router Name" policy, then select "Enabled" and enter the FQDN in the "Enter a router or relay name" box.
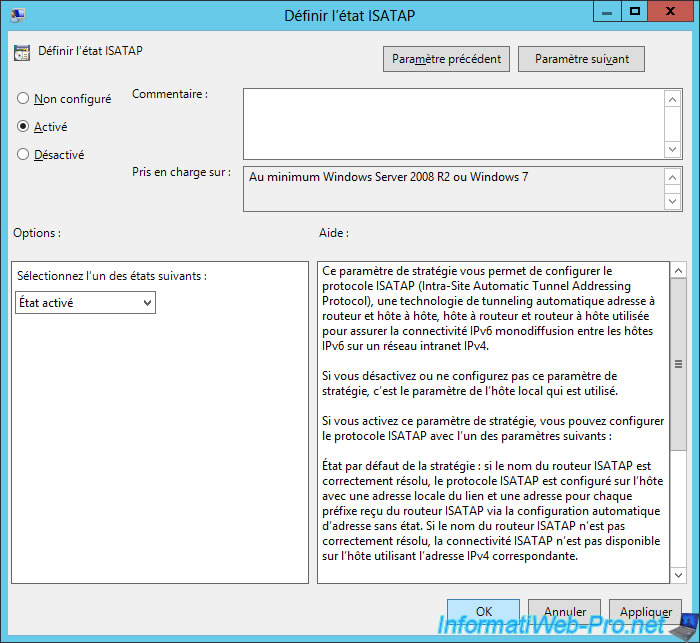
Then, for the "Set ISATAP State" policy, select "Enabled" to enable this policy and the "Enabled State" option to enable ISATAP on the client PCs affected by the previously created GPO.
Now, restart the client PC and log in with a domain account.
Then, open a command prompt (cmd) and type this command :
Batch
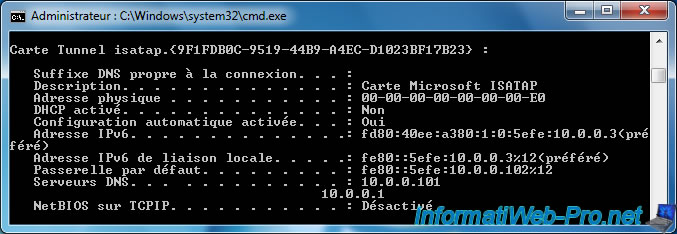
ipconfig /all
As you can see, Windows now has an isatap tunnel adapter.
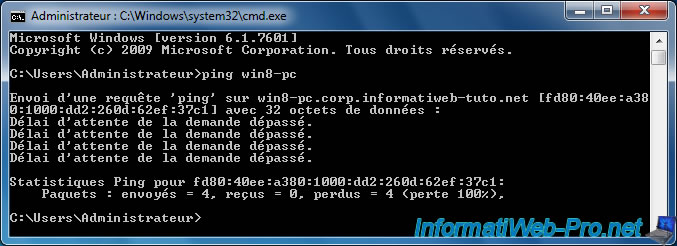
Now, if you attempt to ping the DirectAccess client from your local client, you see that this is done via IPv6.
However, the ping still does not pass.
Indeed, the routing of packets sent by the ping is successful with ISATAP, but the DirectAccess client firewall simply blocks the ping from outside.
Share this tutorial
To see also
-

Windows Server 9/12/2017
WS 2012 / 2012 R2 - DirectAccess - Installation, configuration and clients on Win 7 to 10
-
Windows Server 10/3/2017
WS 2012/2012 R2 - DirectAccess - Configure a Windows To Go client
You must be logged in to post a comment