

On Windows Server 2012, you can create storage pools, virtual disks, and finally volumes.
Looking more closely, you will find that it's a software RAID system that allows you to :
- secure the stored data (avoiding data loss and ensuring their integrity)
- increase the performance of your file server
Warning : as mentioned before, this will be a software RAID and not a hardware RAID (as it's possible to do with a real RAID controller, for example).
In this tutorial, we will explain how to create the main RAID levels :
- RAID 0 : better performance, but no fault tolerance (strongly discouraged)
- RAID 1 : data security, but no change in performance
- RAID 5 : allows you to combine security and performance (requires at least 3 disks)
- Storage pools
- Create a RAID 0
- Create a RAID 1
- Create a RAID 5
- Detailed overview of your server's storage
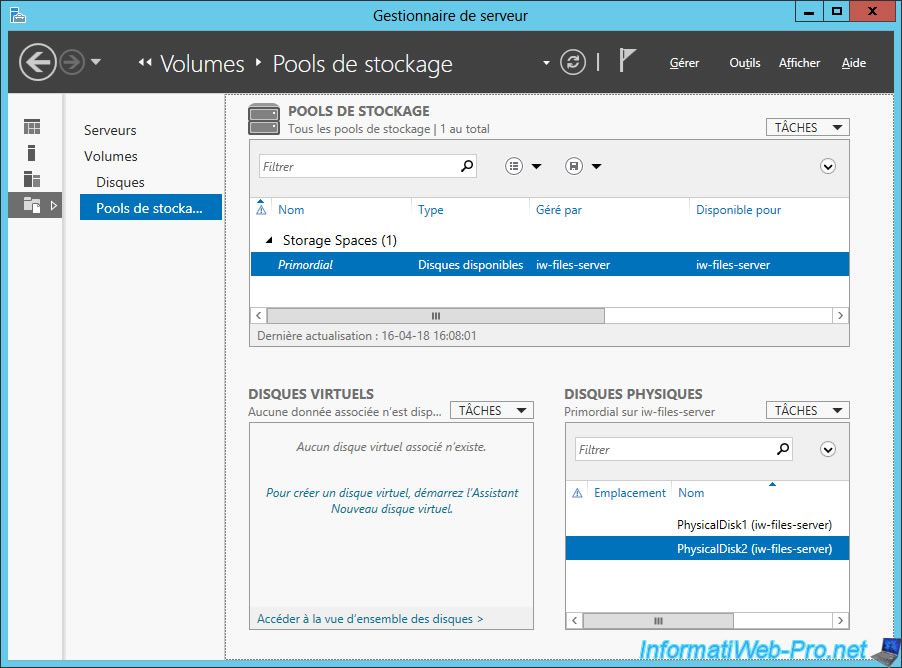
1. Storage pools
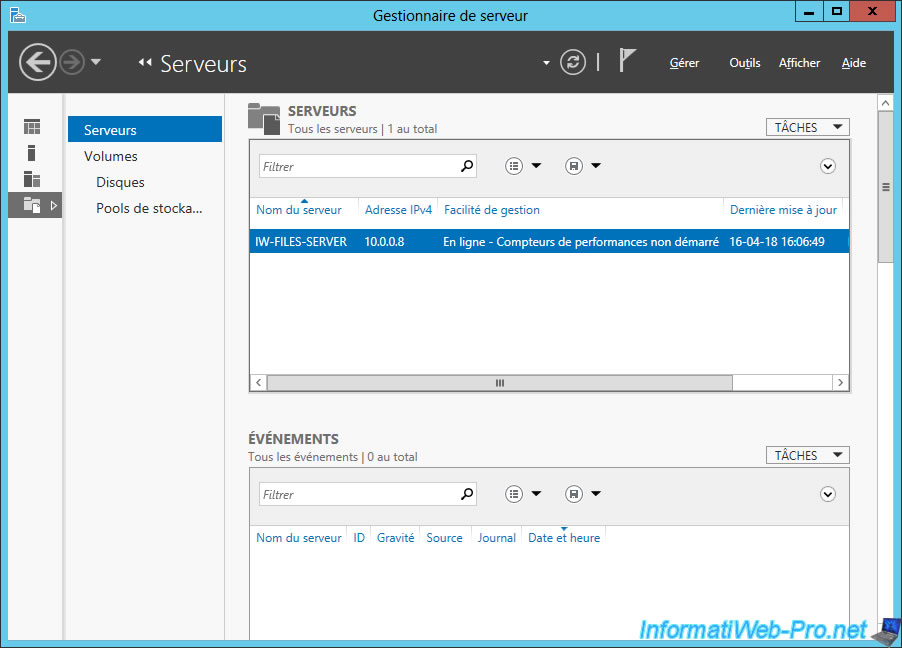
To get started, in the Server Manager, click "File and Storage Services".
Then, click on "Storage Pools".
As mentioned earlier, you will be able to create :
- storage pools : physical disk groups (your physical hard disks)
- virtual disks : these will appear as simple hard disks in Windows disk management.
- volumes : these are simply partitions that you can format in NTFS or ReFS (a new file system that allows the repair of the file system without stopping the system)
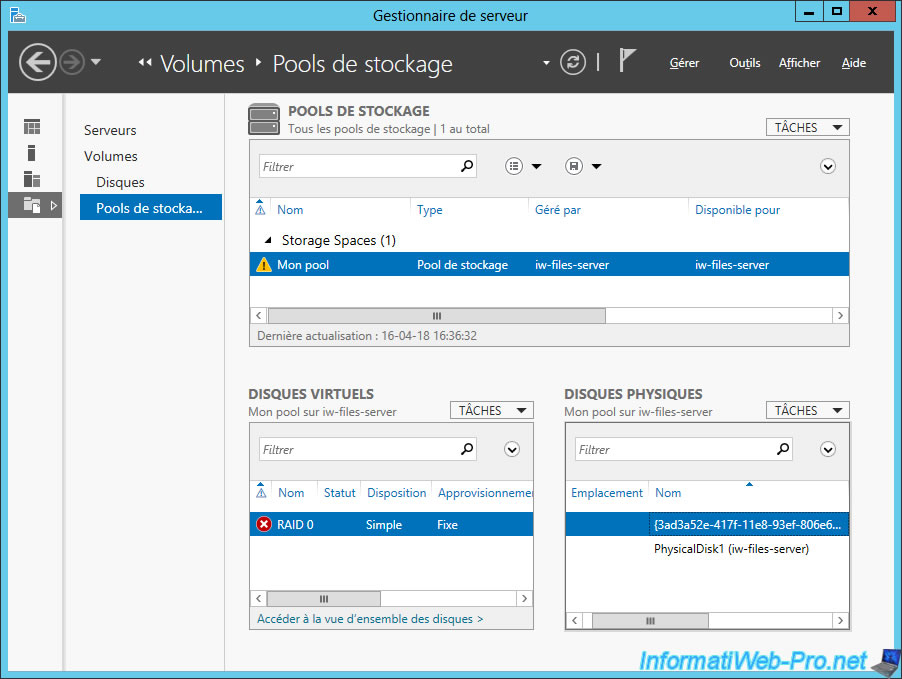
For now, we see a storage pool named "Primordial" which is of type "Available Disks".
In other words, it doesn't exist. It's simply Windows Server that tells you that you have 2 physical hard drives that are not yet used by your server.
2. Create a RAID 0
To begin, we will create a RAID 0 that increases performance for data storage, but it's strongly discouraged for the security of your data.
Indeed, when you store data on a RAID 0, the system will store :
- half of each data on the 1st hard drive
- and the other half on the 2nd hard drive
If you lose a hard drive, you will lose ALL data. Which is logical since you will only have half of each file left.
2.1. New storage pool
To start, you must create a storage pool in which you add 2 disks.
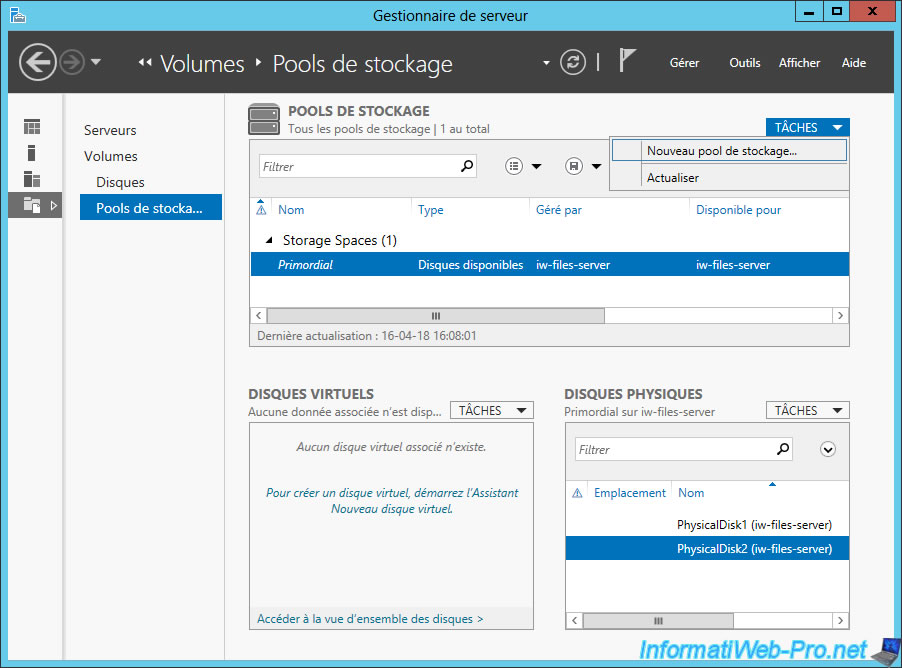
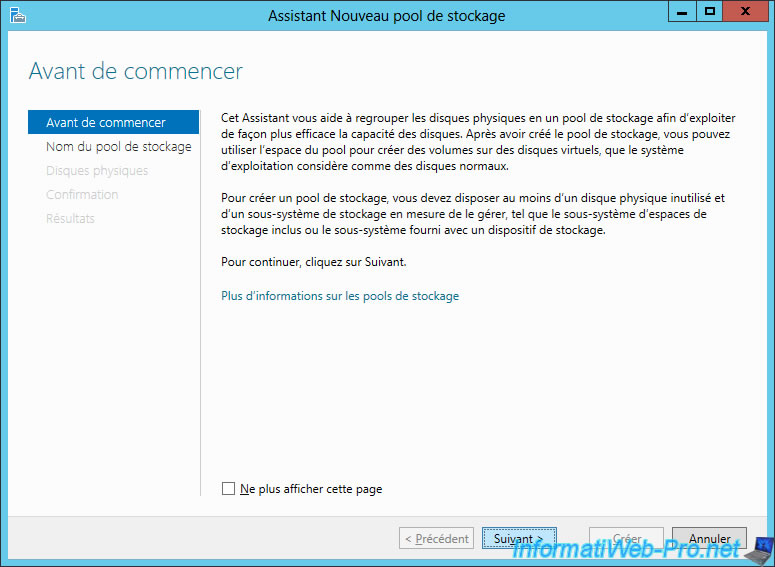
The new storage pool wizard is displayed.
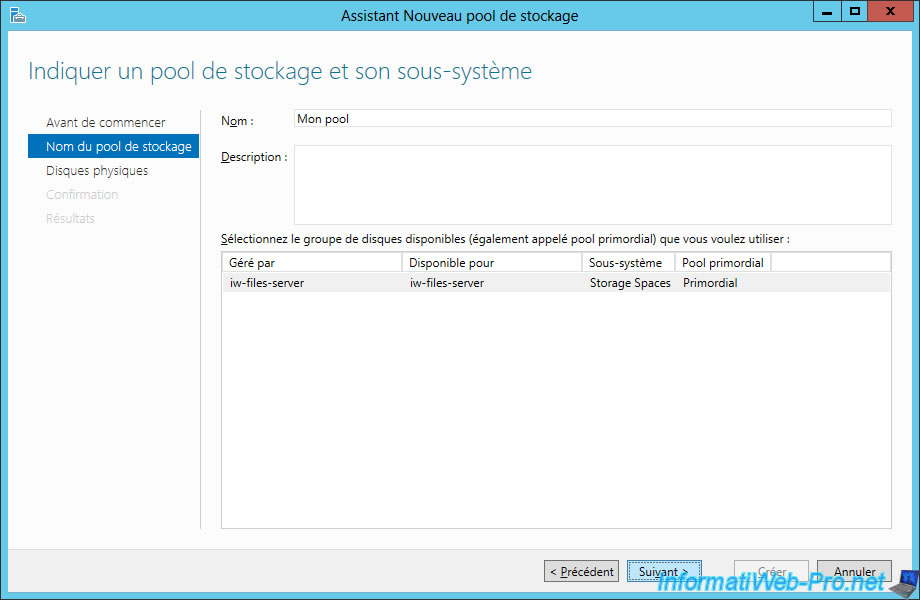
Specify a name for the storage pool.
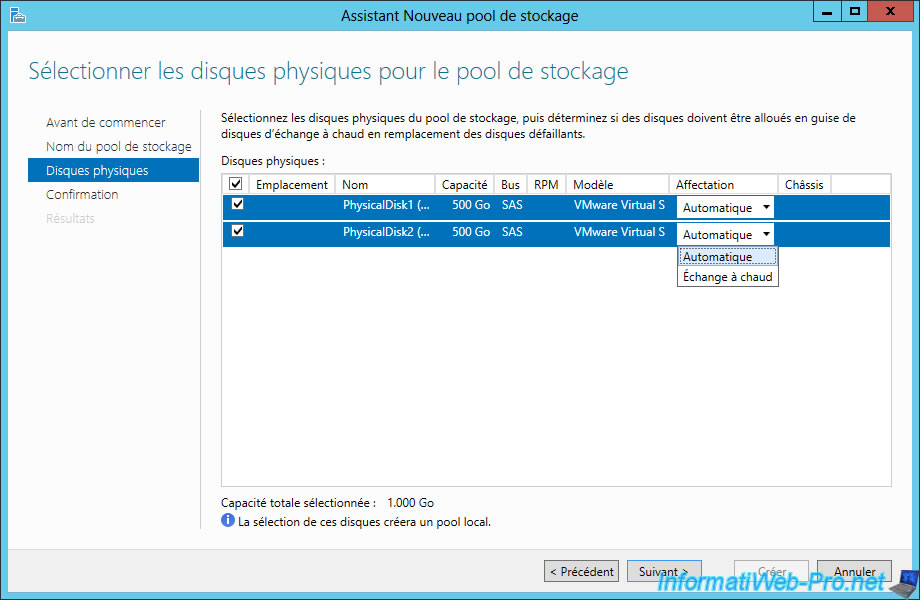
When you add a physical disk to a storage pool, you can choose the type of assignment :
- Automatic : the disk will be directly used by Windows Server
- Hot Spare : the disk will be used only when one of the disks fails. This drive will be considered as a spare drive (which should tell you something if you already know about RAID).
- Manual (2012 R2 only) : the disk will only be assigned to this pool and will not be used.
In our case, we will use the default option : Automatic.
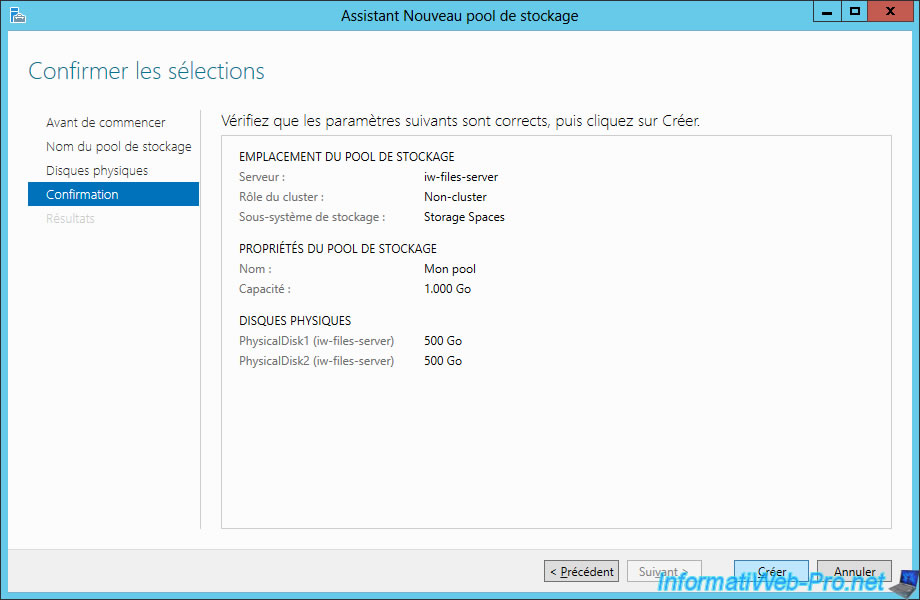
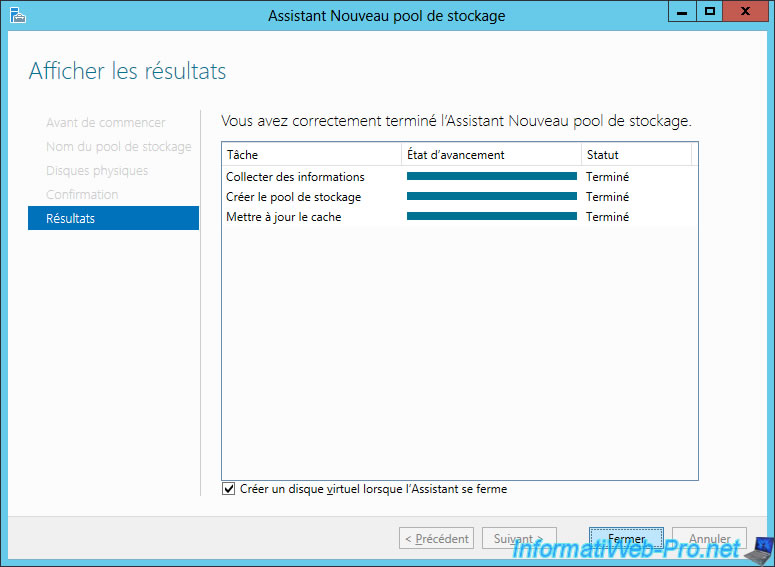
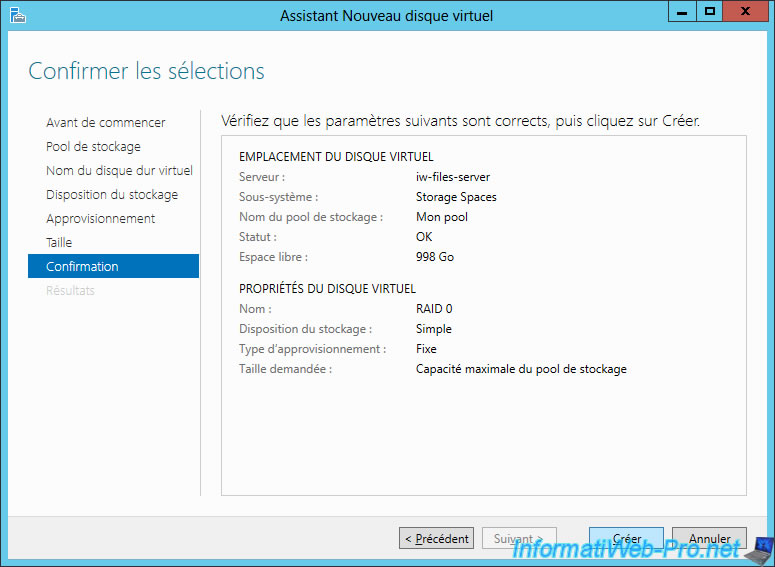
Confirm the creation of this pool.
Once the pool has been created, chek the "Create a virtual disk when the wizard closes" box.
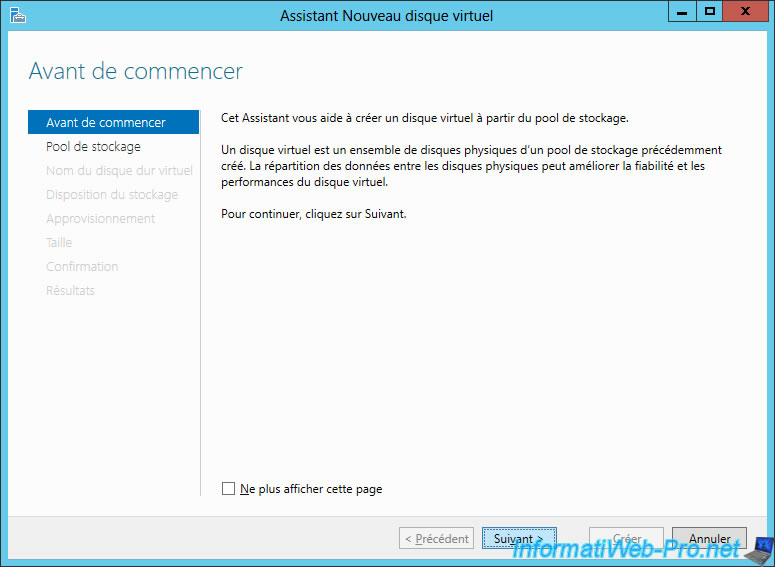
2.2. New virtual disk
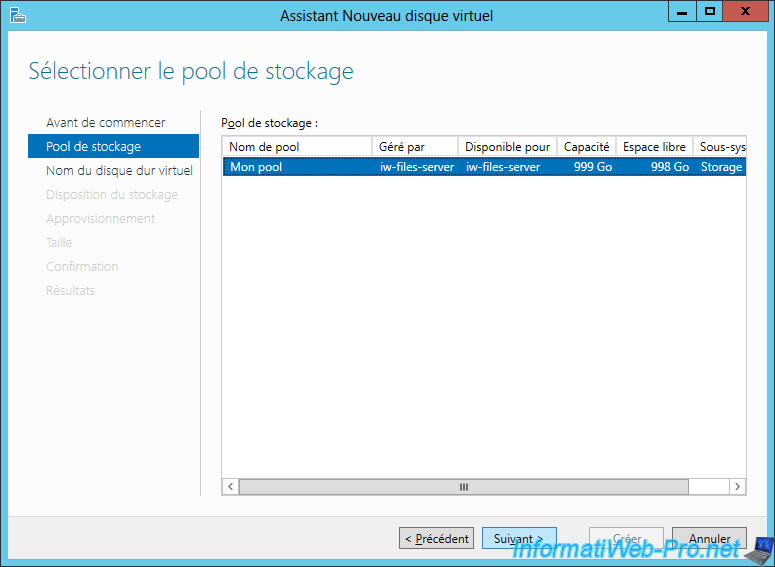
Now, we will create a virtual disk.
Select your storage pool and click Next.
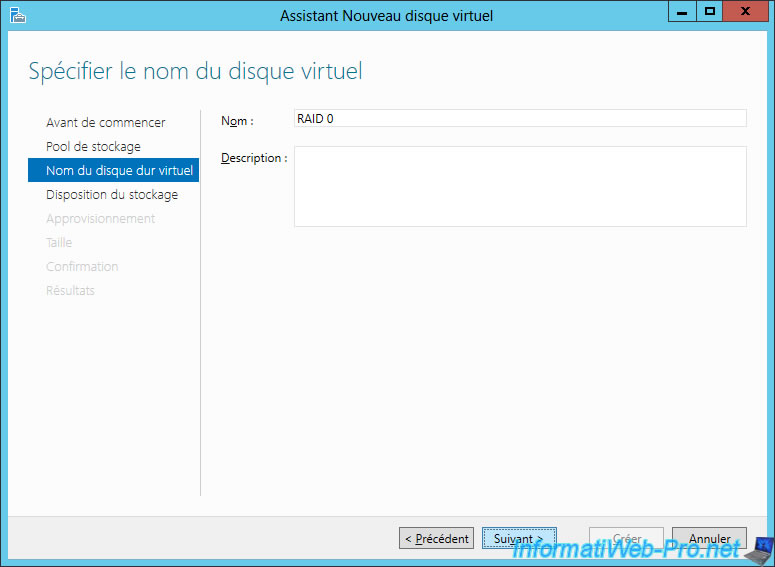
Provide a name for your virtual disk.
In our case, we specify "RAID 0" to make it clearer in the tutorial.
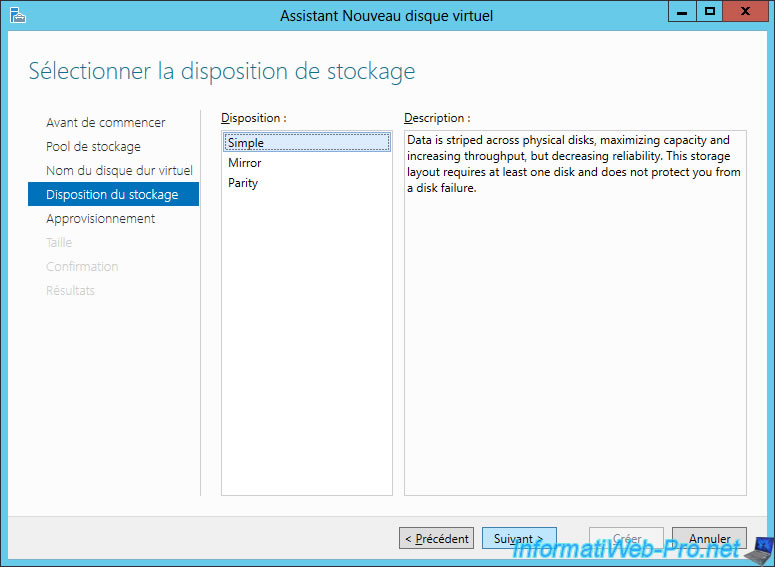
To create a "RAID 0" virtual disk, simply choose the "Simple" storage layout.
As indicated in its description, this type of layout divides the data to store the different parts on the different physical hard disks used.
Which corresponds to the RAID 0 level.
For the provisioning type, you will have the choice between :
- Thin : allows you to create a virtual disk that will grow according to the data you will store there
- Fixed : allows you to allocate the necessary space directly according to the maximum size of your virtual disk. This improves the performance of your virtual disk.
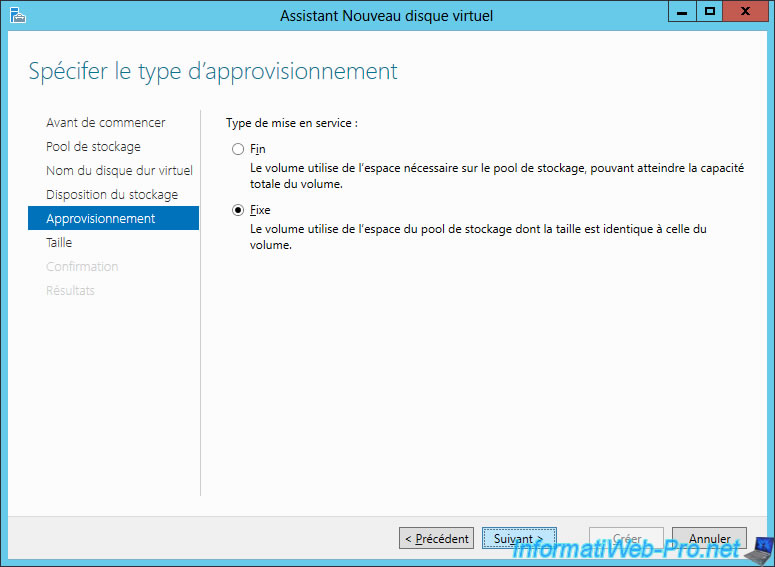
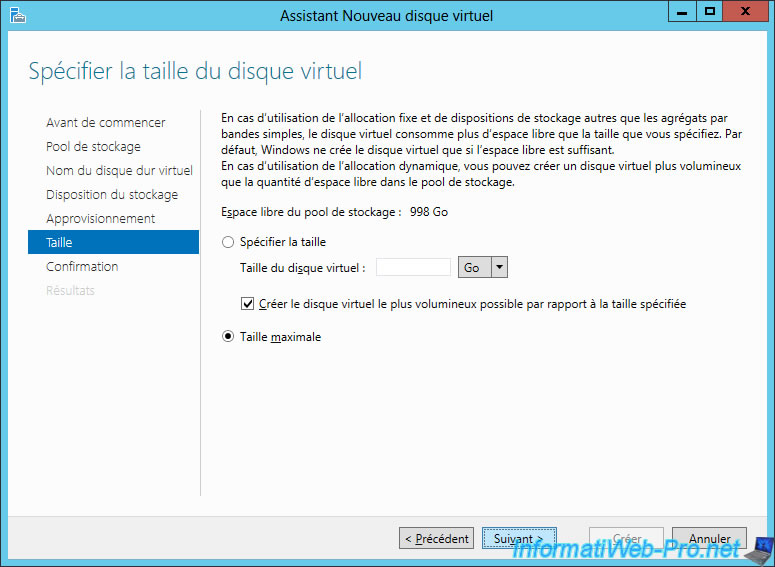
For now, we will create a virtual disk that will be the same size as our storage pool.
For this, we choose : Maximum size.
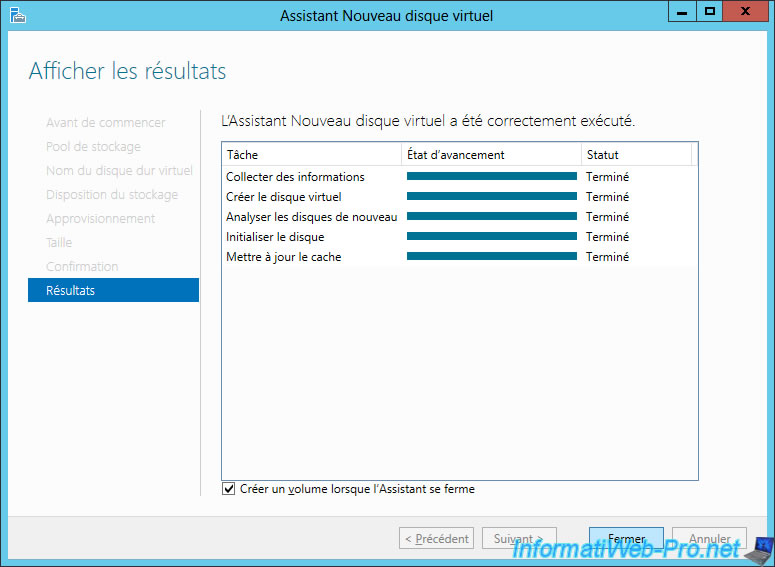
Confirm the creation of your virtual disk.
After the virtual disk is created, check the "Create a volume when the wizard closes" box and click Close.
2.3. New volume
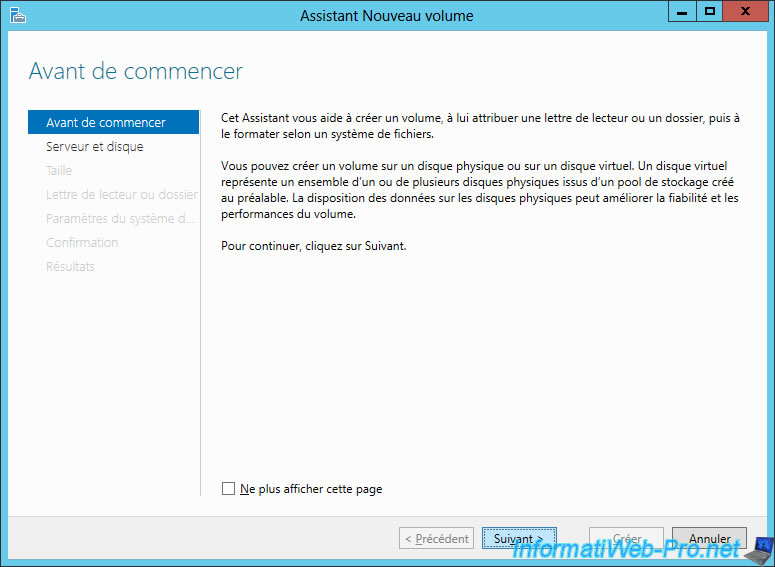
Finally, we will create a new volume on our virtual disk.
In other words, we will create our first partition on this virtual disk.
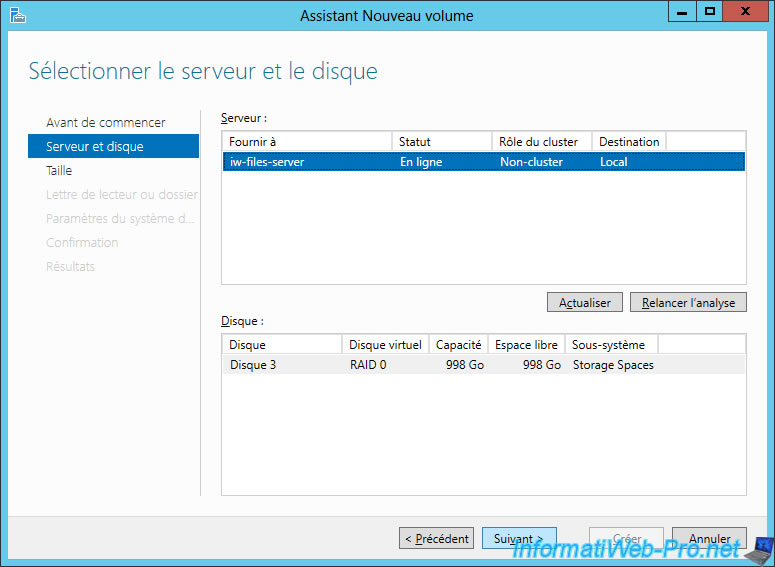
Select your virtual disk and click Next.
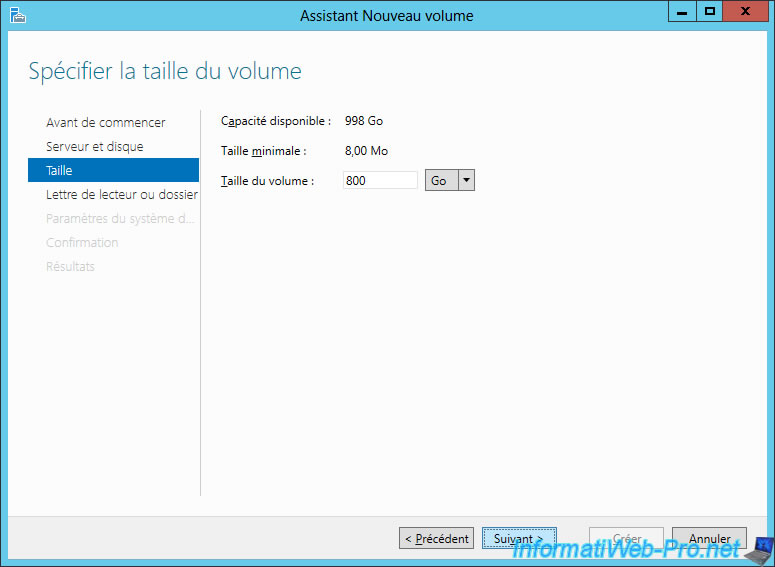
For RAID 0, we will simulate a virtual machine storage and ISO files to install various operating systems (such as Windows 7, Debian, ...).
In short, as you will understand, we will need a lot of space for virtual machines and little for ISO files.
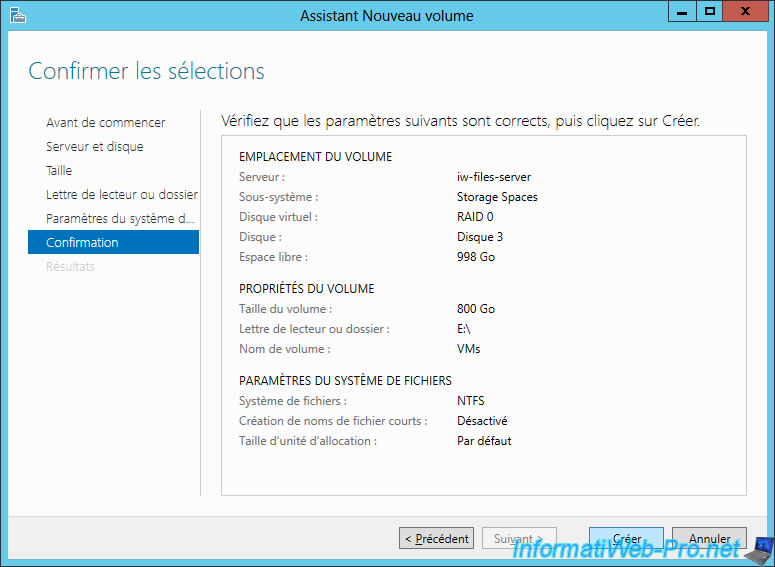
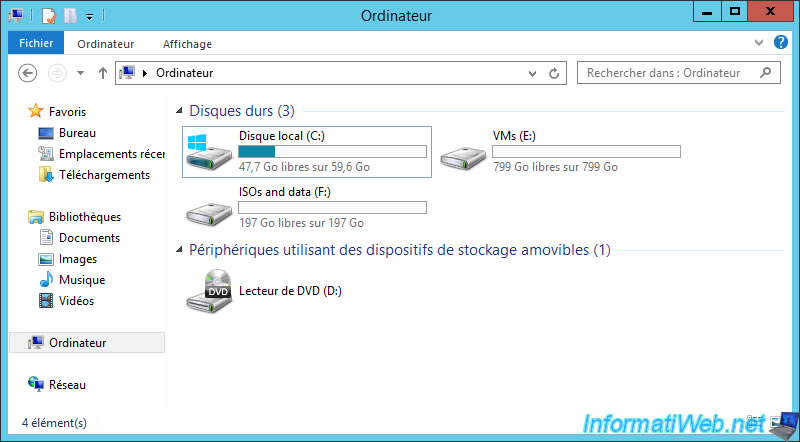
For our virtual machines, we will use 800 GB of the 998 GB available on this virtual disk.
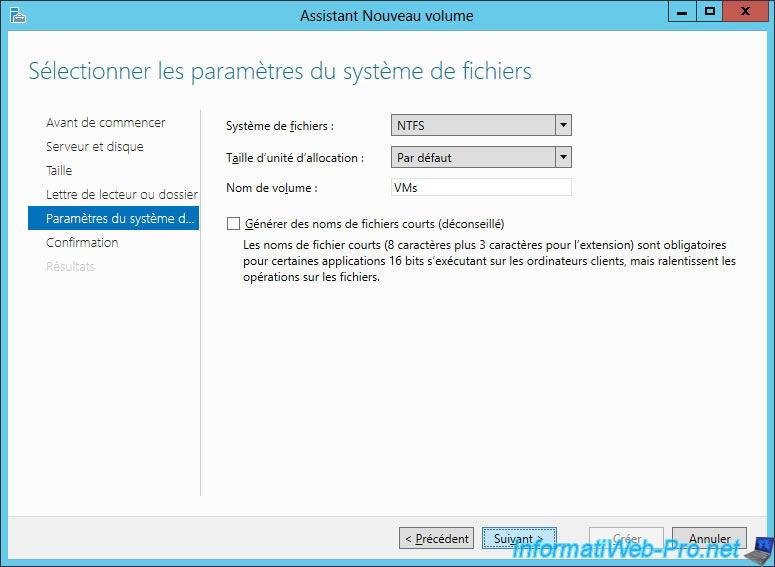
By default, a letter will be assigned to this volume (partition).
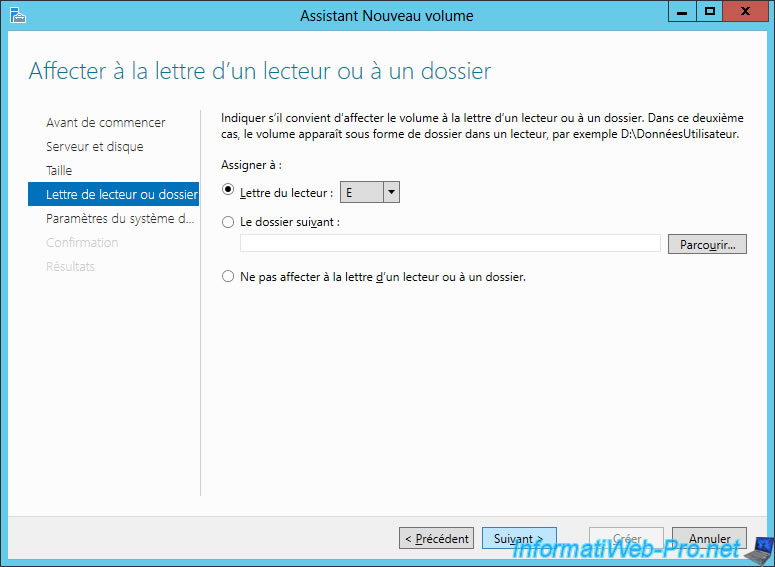
As expected, we have the opportunity to choose :
- the file system type : NTFS or ReFS
- the allocation unit size
- the name of the volume : in our case : VMs.
Confirm the creation of this first volume.
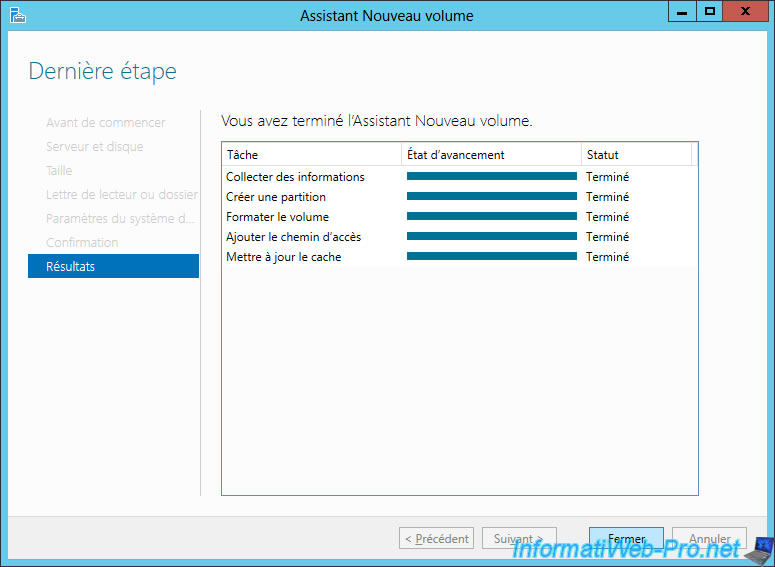
When the volume is created, click Close.
2.4. Add a volume to an existing virtual disk
In storage pools, if you select your storage pool, you will only see the virtual disks and physical disks that it's composed of.
But, you will not find the option to add a new volume.
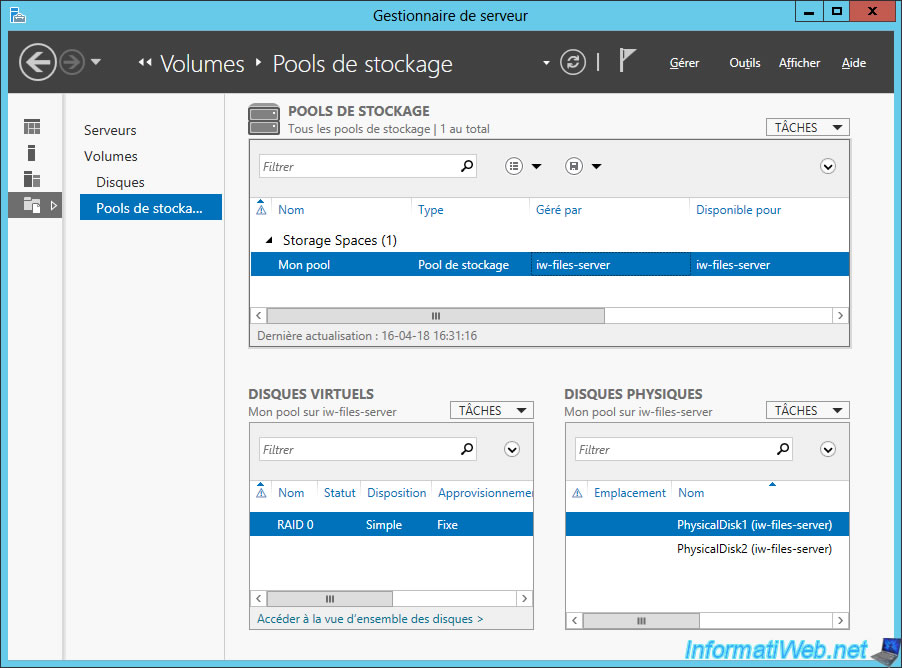
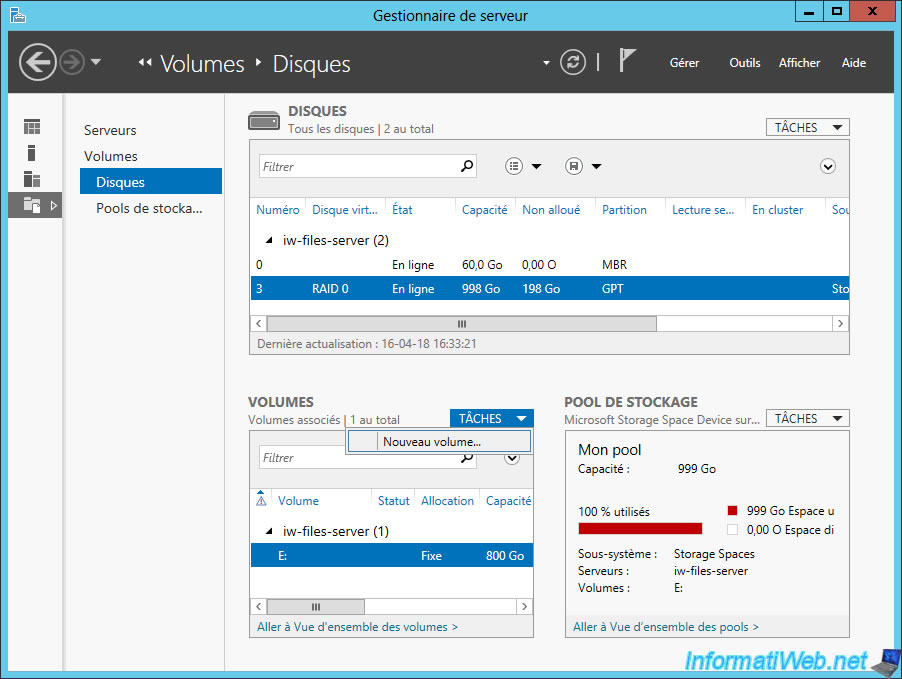
To add a new volume to your virtual disk, you will need to click on "Disks" on the left side and select your virtual disk from the list.
Then, in the "Volumes" block, click : Tasks -> New Volume.
Note : the first disk (numbered 0) on the image below corresponding to the physical disk where Windows Server 2012 is installed.
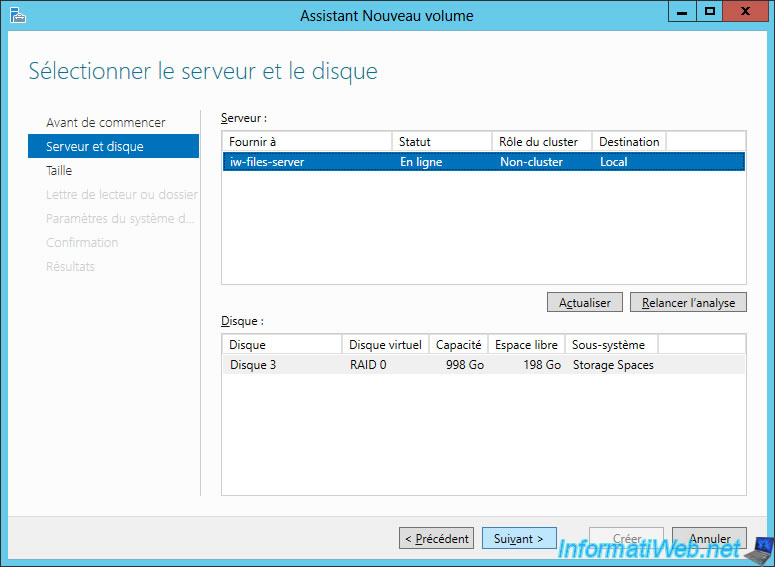
Click Next.
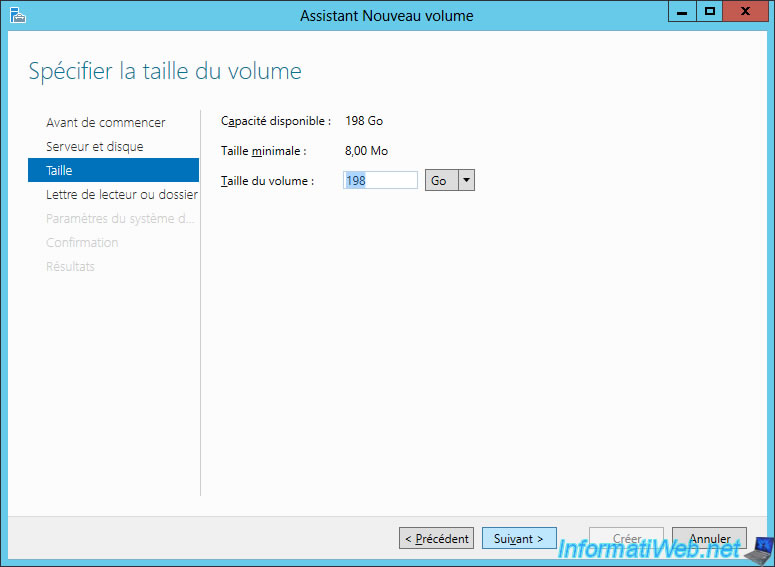
Leave the default value to use the remaining space.
Windows Server will also assign him a letter.
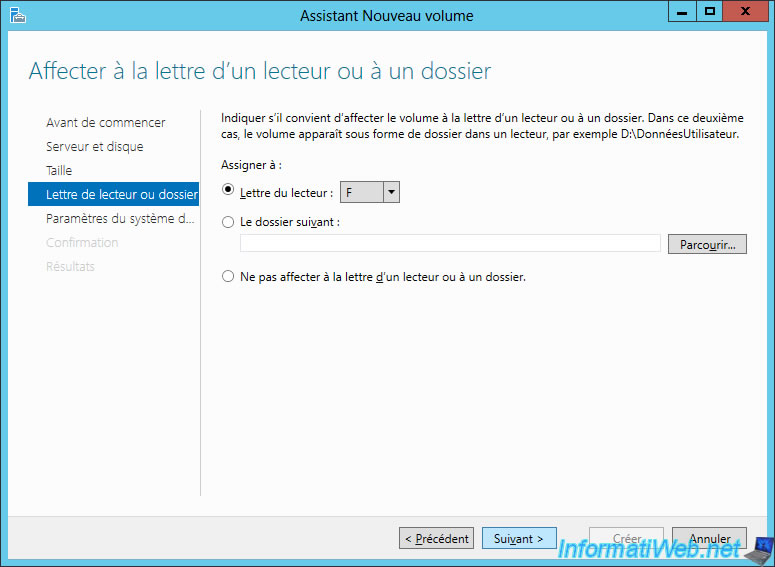
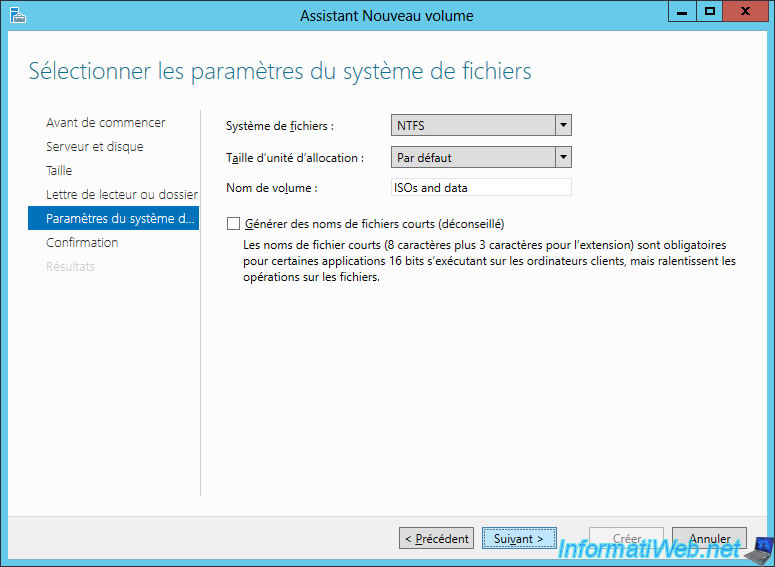
As before, we can choose the file system, as well as the name to use.
In this case, it will be : ISOs and data.
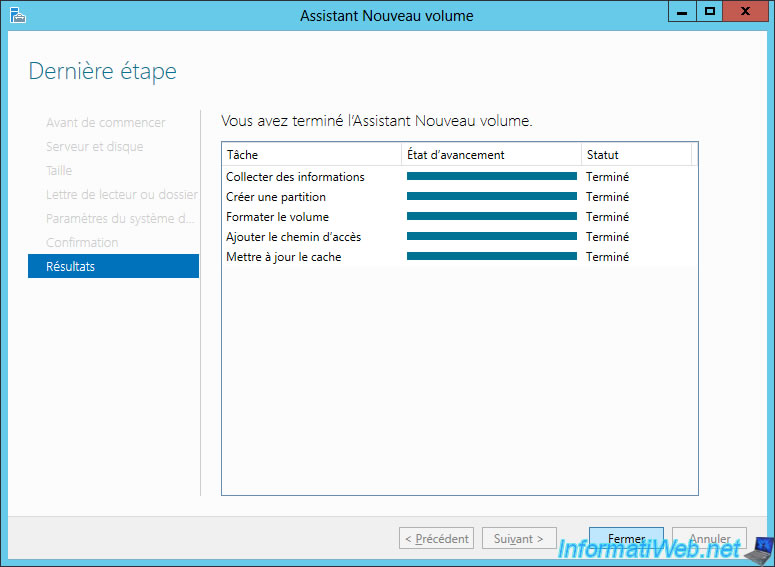
Click Create to create this second volume.

Once the volume created, click Close.
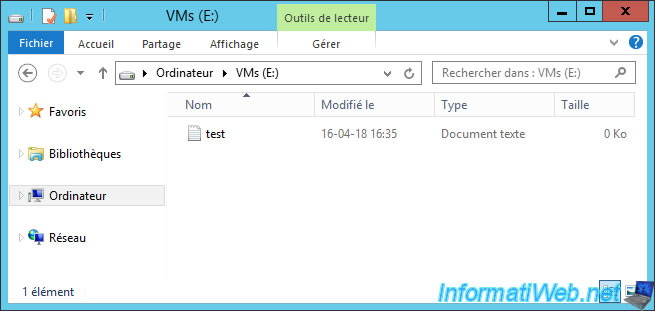
Now, our "RAID 0" virtual disk has 2 volumes (partitions).
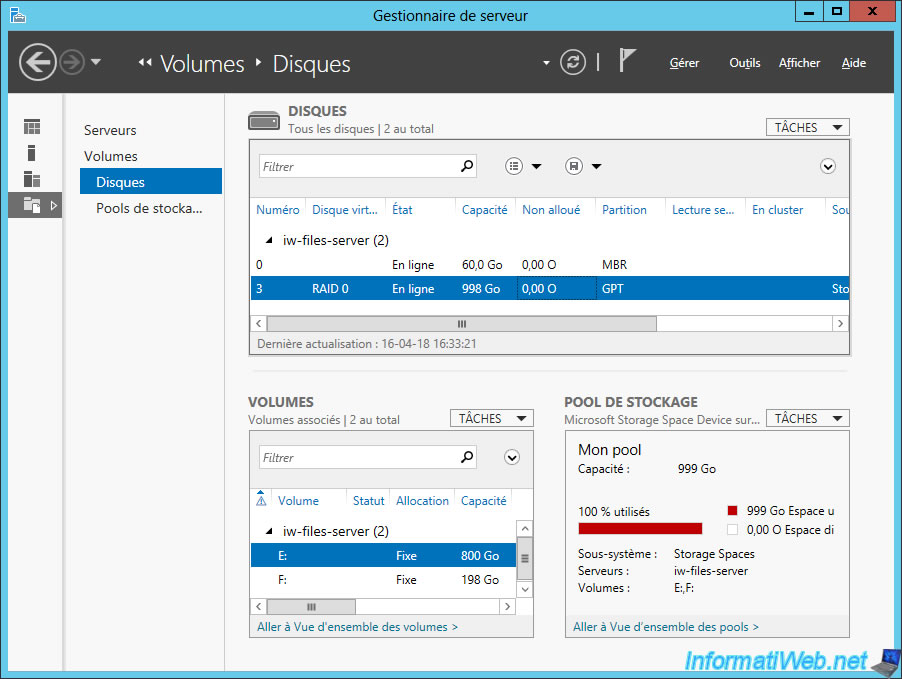
As expected, the created volumes (partitions) appear on Windows.
And we can of course store there data.
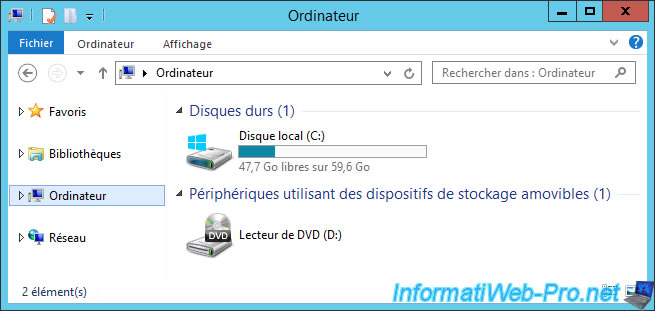
Finally, since RAID 0 doesn't provide any fault tolerance, if a hard drive fails (or is unplugged), the virtual disk will become inaccessible.
As well as the associated data.
In addition, it isn't possible to recreate the data that was present on the defective hard drive.
Share this tutorial
To see also
-
Windows Server 11/9/2017
Windows Server - Remote Server Administration Tools (RSAT)
-
Windows Server 6/7/2019
WS 2012 / 2012 R2 - RDS - Set up HA on your RDS infrastructure
-
Windows Server 1/13/2019
WS 2012 / 2012 R2 / 2016 - RDS - Configure user profile disks (UPD)
-

Windows Server 1/25/2019
WS 2012 / 2012 R2 / 2016 - RDS - Publish RemoteApp programs (CLI)
You must be logged in to post a comment