Create storage spaces to improve the performance and/or security of your file server on Windows Server 2012 / 2012 R2

4. Create a RAID 5
Finally, we will show you how to create a RAID 5.
This RAID level is the recommended minimum for combining performance and security. In addition, this RAID level tolerates the failure of 1 hard disk.
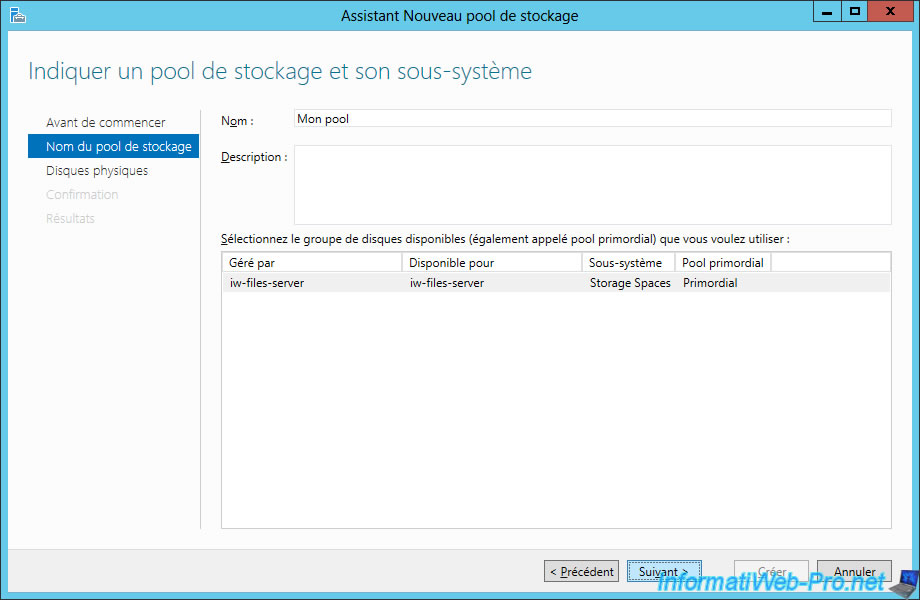
4.1. New storage pool
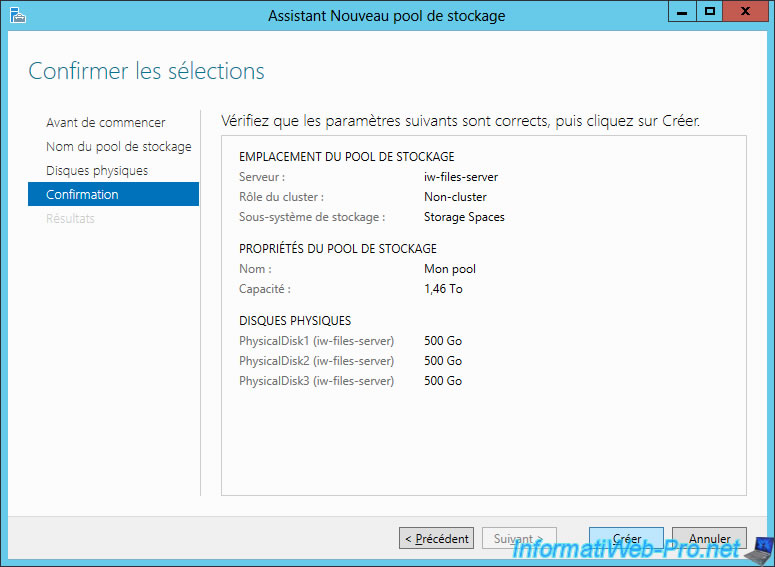
To create a RAID 5, you will need at least 3 hard drives.
To get started, go to "Storage Pools" and then click : Tasks -> New Storage Pool.
Click Next.
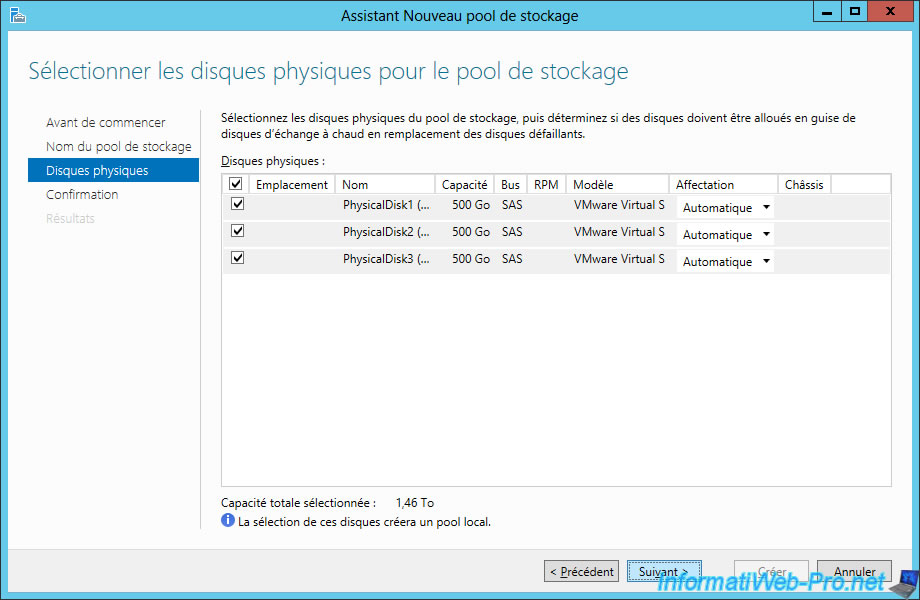
Select your 3 physical hard drives and click Next.
Click Create.
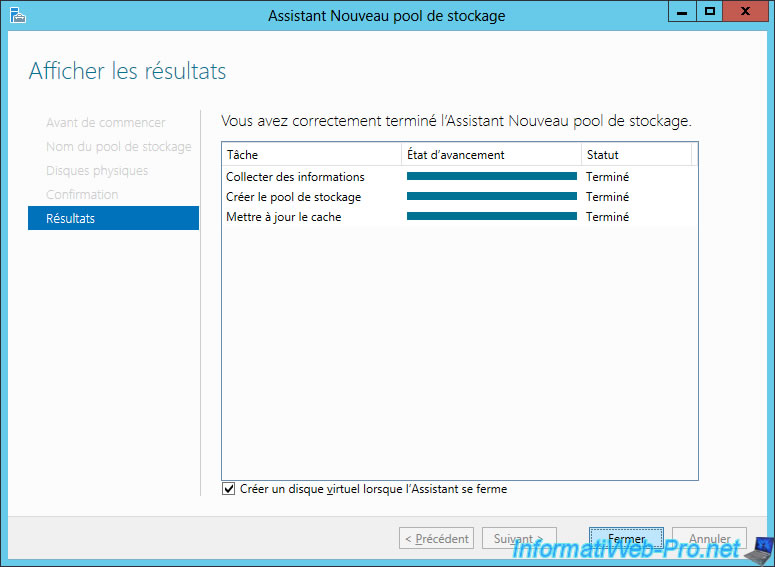
Once the storage pool has been created, check the "Create Virtual Disk ..." box and click Close.
4.2. New virtual disk
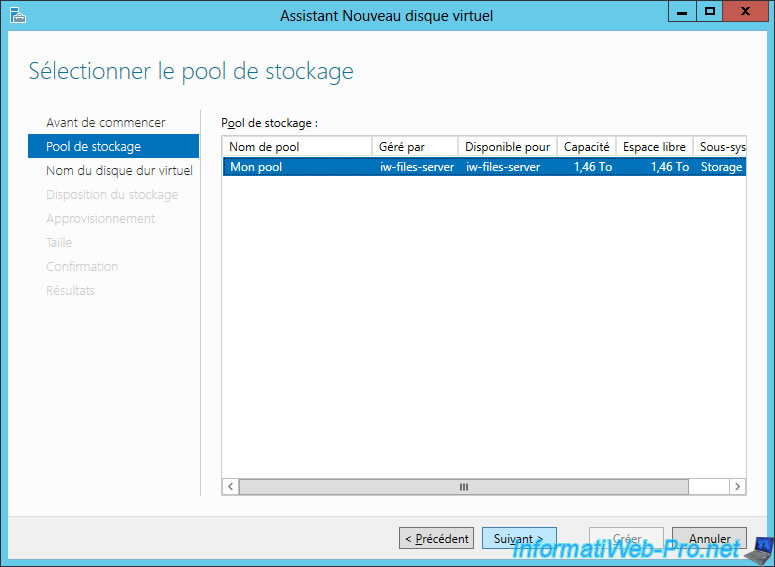
Select your storage pool and click Next.
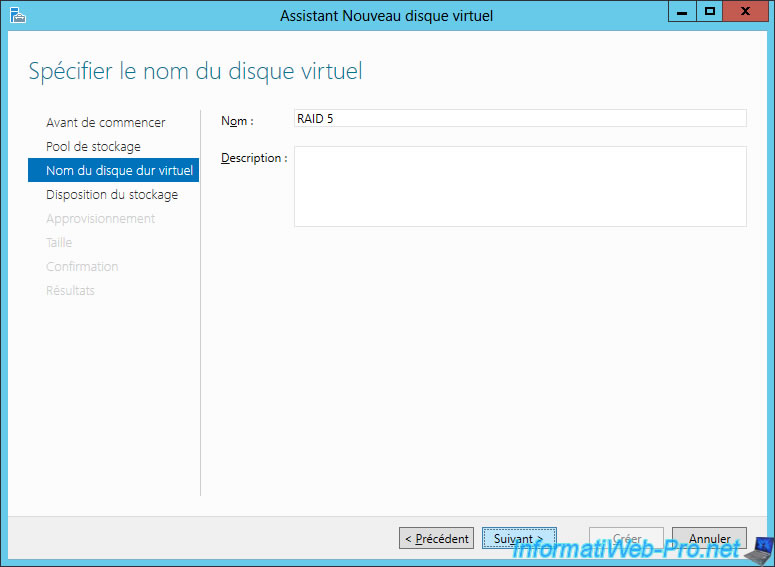
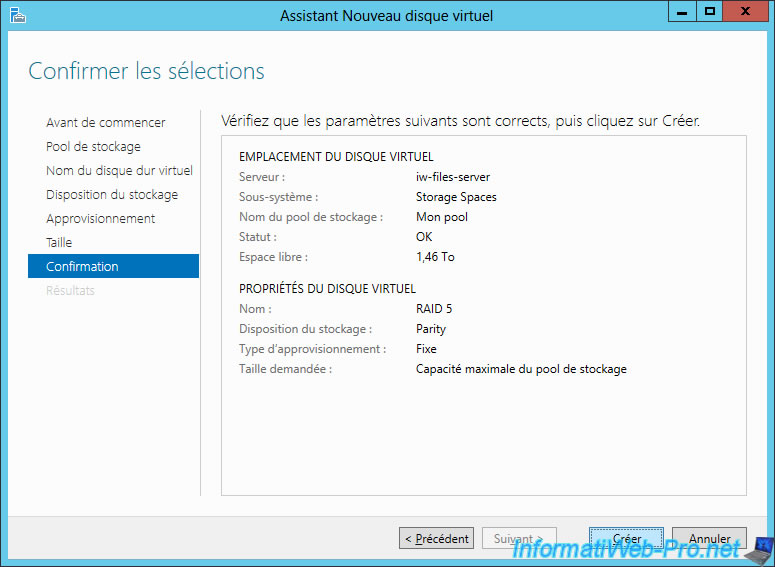
Provide a name for your virtual disk.
In our case : RAID 5.
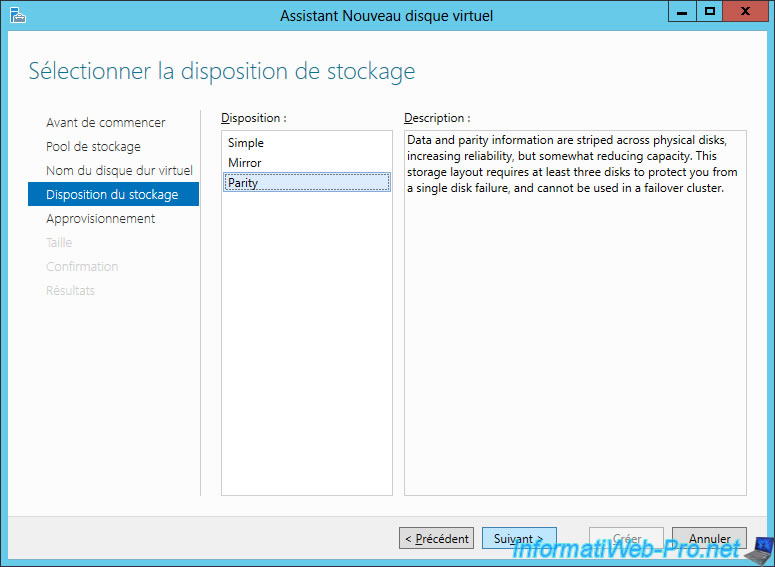
To create a RAID 5, you must use the "Parity" layout.
In summary, when you create a RAID 5, the system will store :
- the half of each data on the 1st hard drive
- the other half of each data on the 2nd hard drive
- a parity (information to recreate the missing part) on the 3rd hard drive
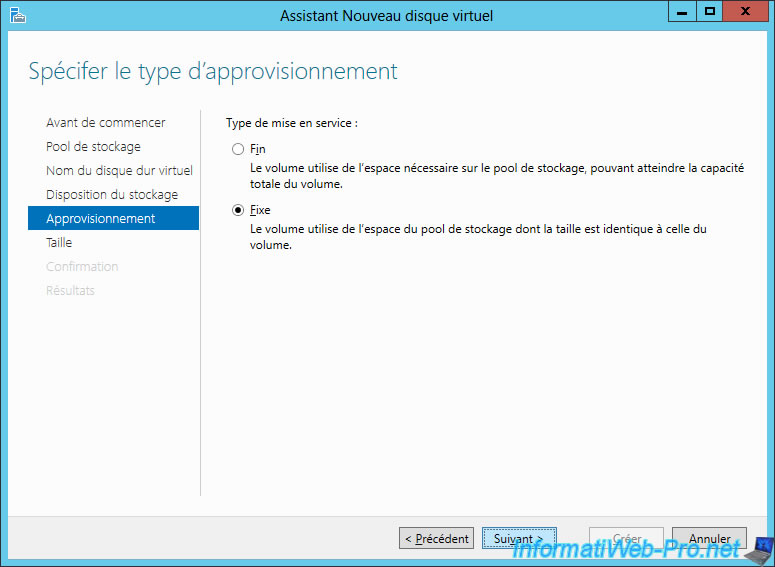
As before, we choose "Fixed" to get better performance.
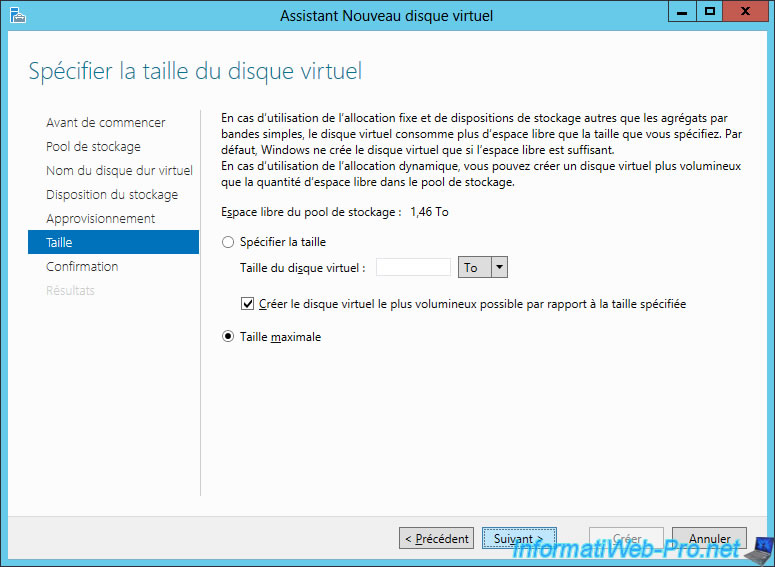
For this virtual disk, we will use all available space on our storage pool.
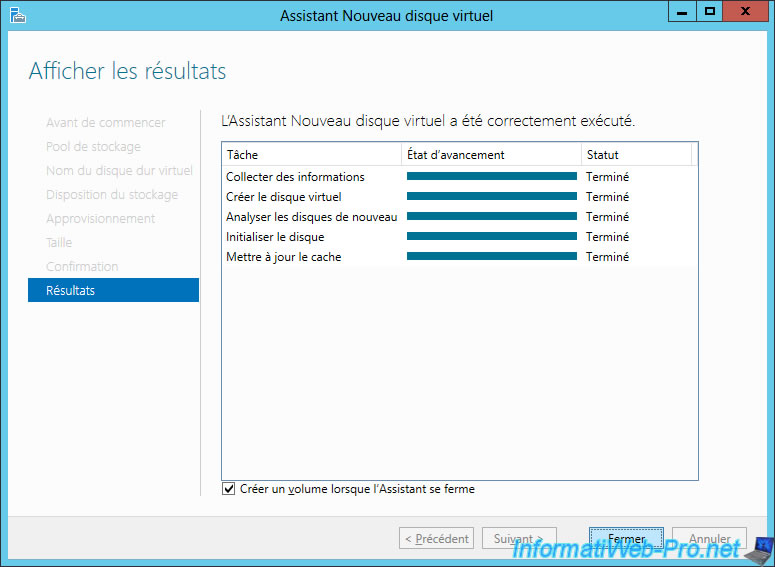
Click Create.
Check the "Create a volume ..." box and click Close.
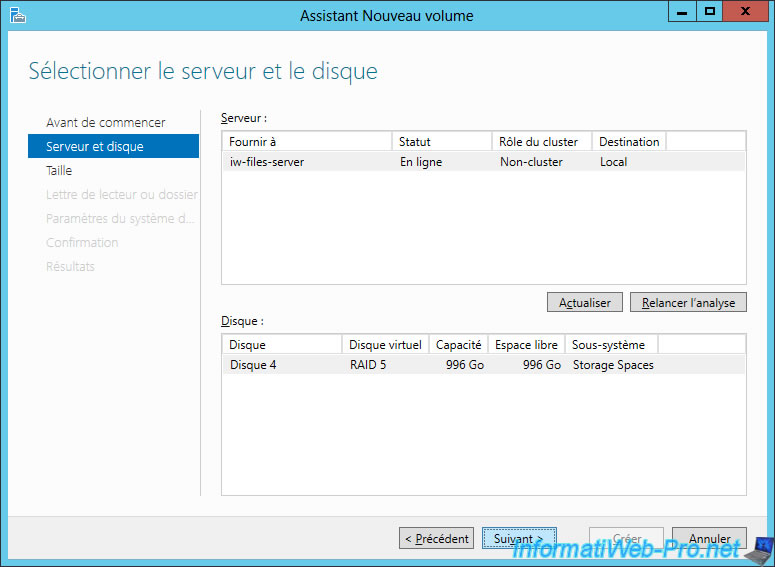
4.3. New volume
Select your virtual disk and click Next.
To use all available space on your virtual disk, leave the default value for the volume (partition) size.
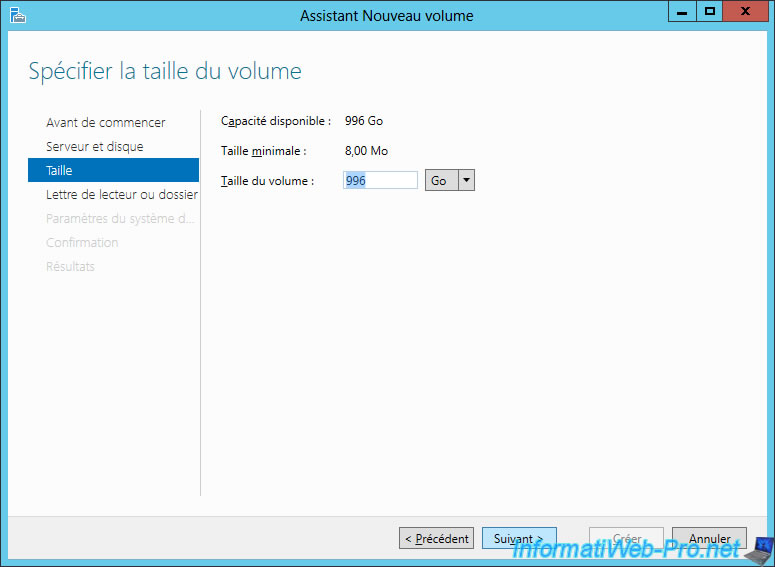
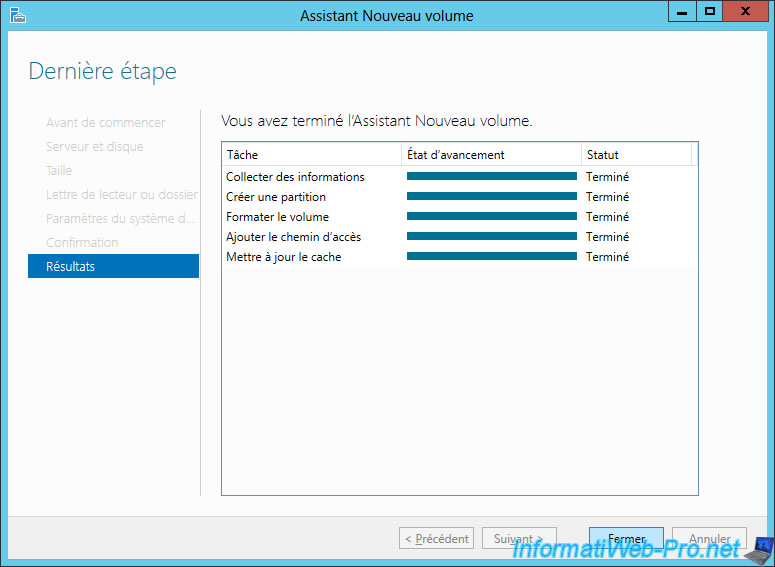
Click Create.
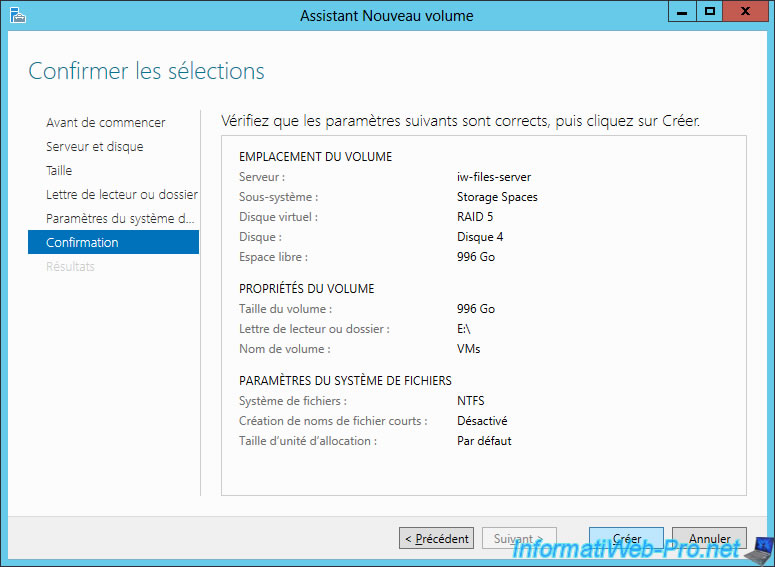
Once the volume (partition) has been created, click Close.
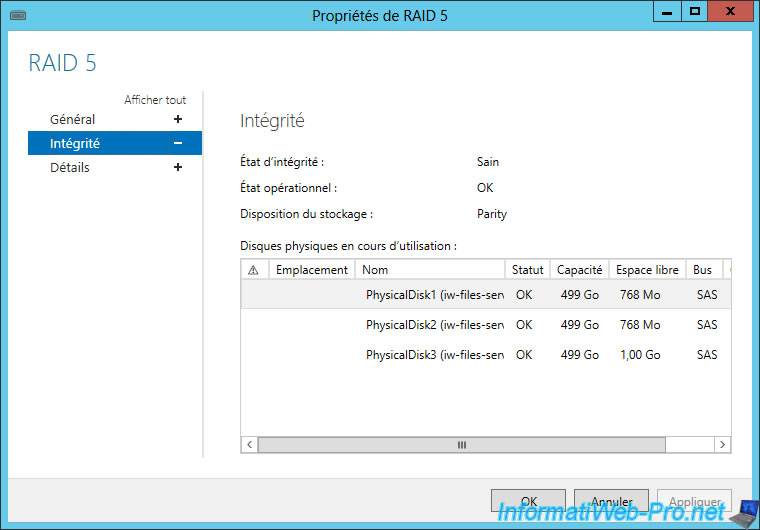
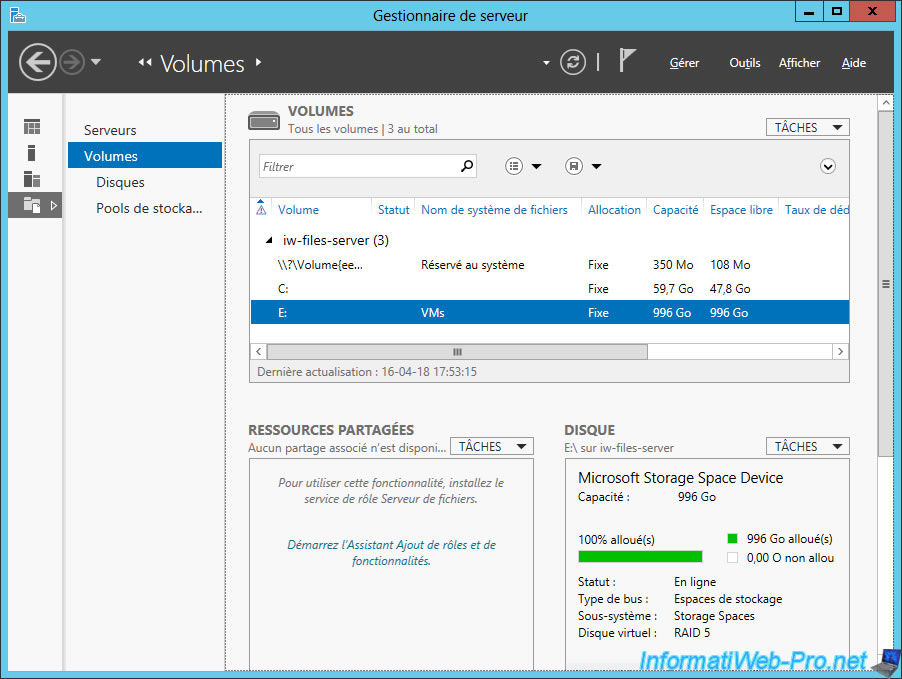
Here is our RAID 5 with 3 physical hard drives.
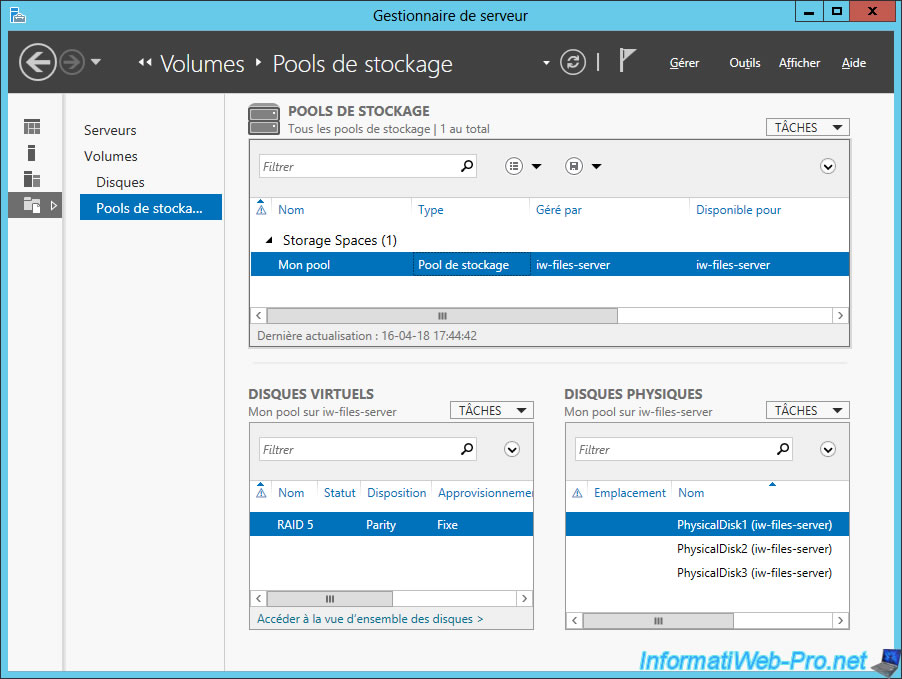
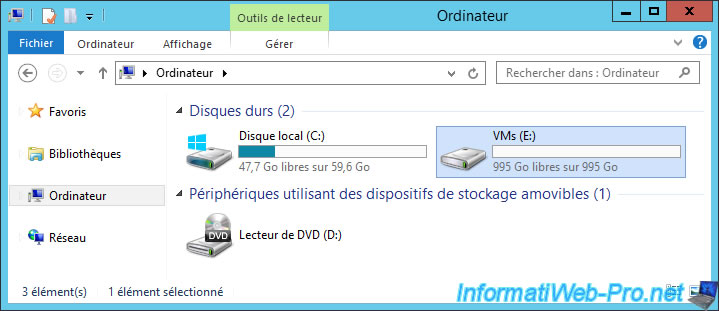
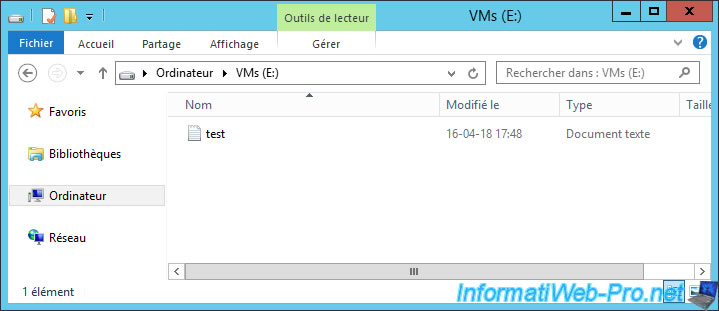
For the moment, we have access to our volume "VMs" and its data.
4.4. Failure test
If one of our 3 hard drives fails, our RAID 5 will only go into warning, because this type of RAID allows the loss of one hard drive (as explained above).
As expected, our data is therefore always accessible.

4.5. Repair a RAID 5
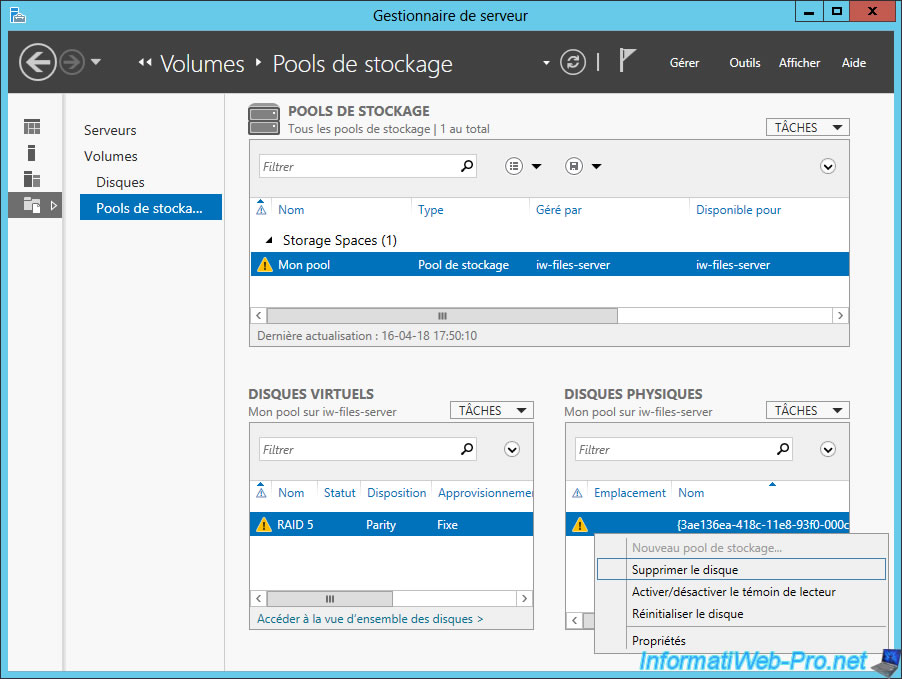
To repair a RAID 5, it's sufficient as usual to add a new blank hard drive and delete the defective hard drive.
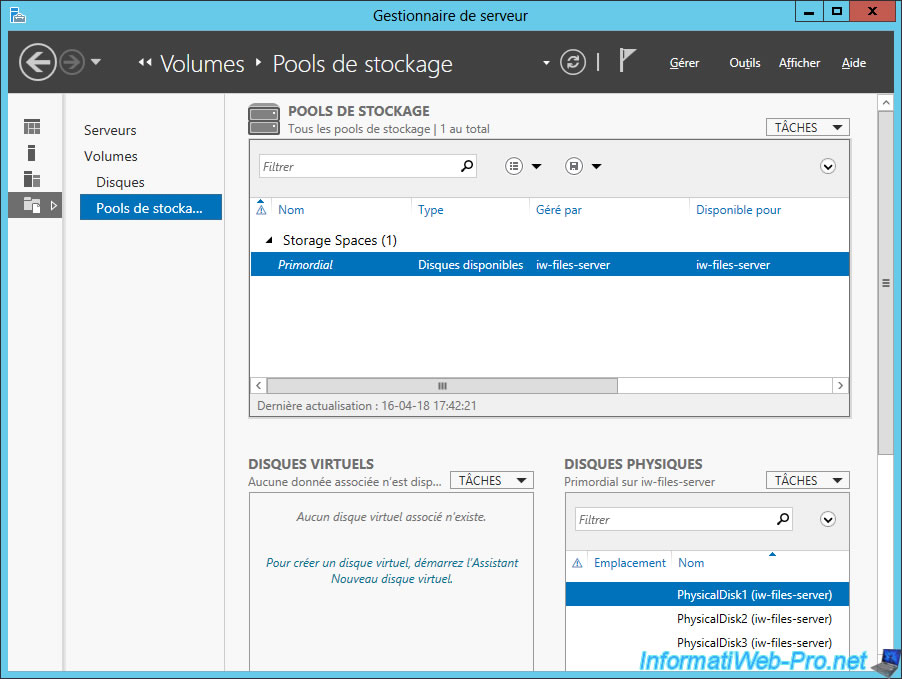
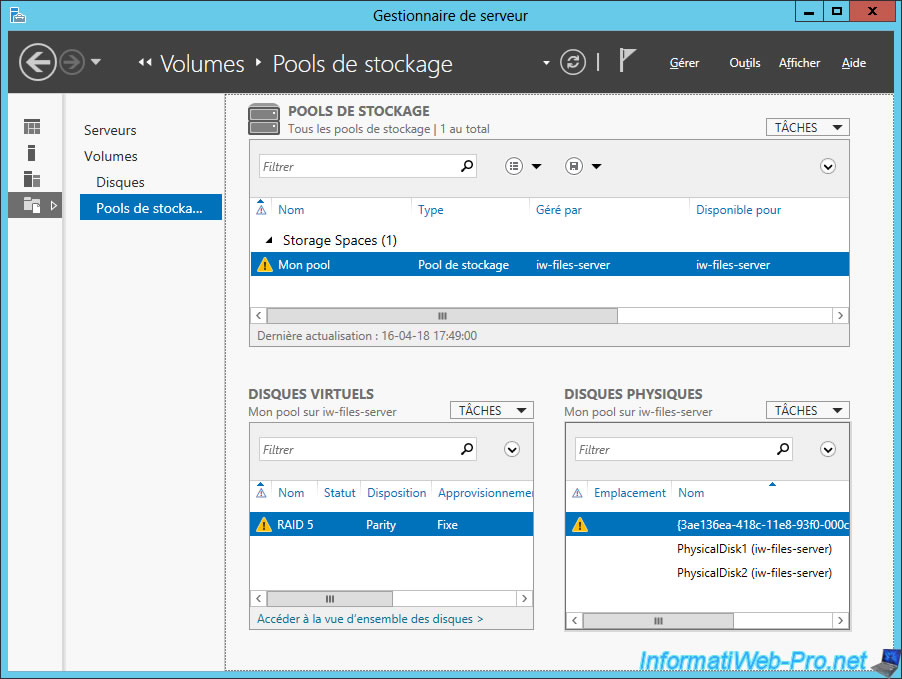
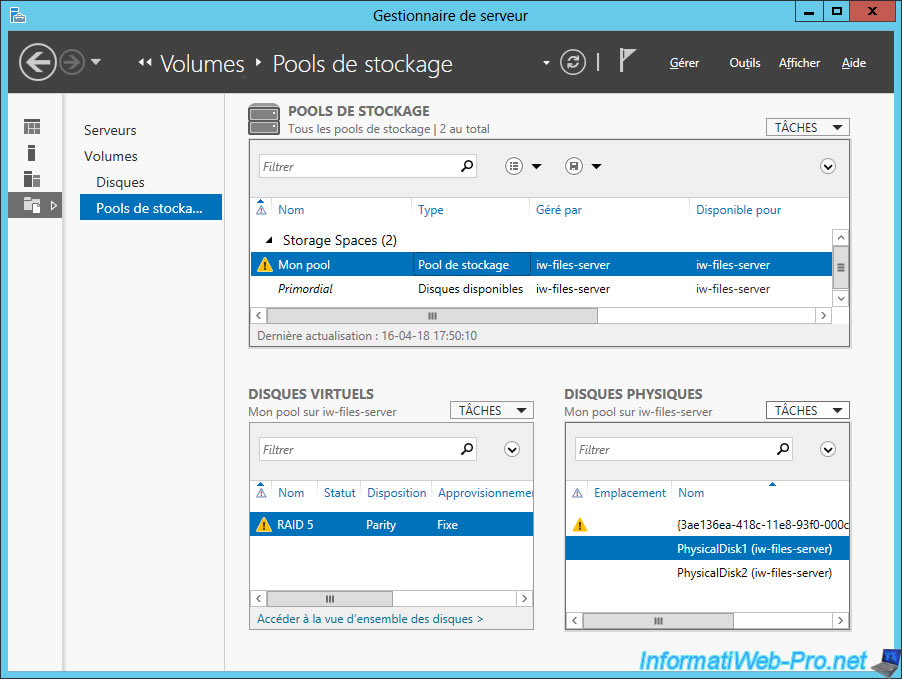
As you can see, thanks to the "Primordial" pool that appeared, we have added a new hard drive in our server.
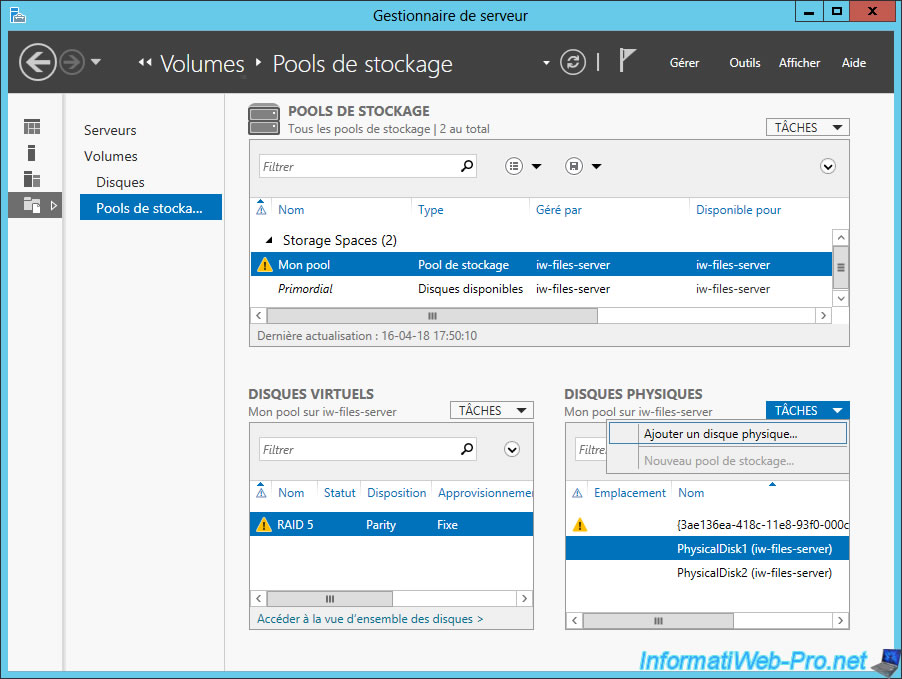
In the "Physical Disks" section, click : Tasks -> Add Physical Disk.
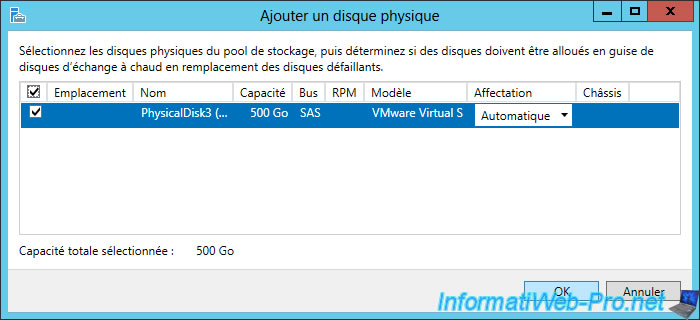
Check the box to select your new hard drive and click OK.
Then, delete the defective hard drive.
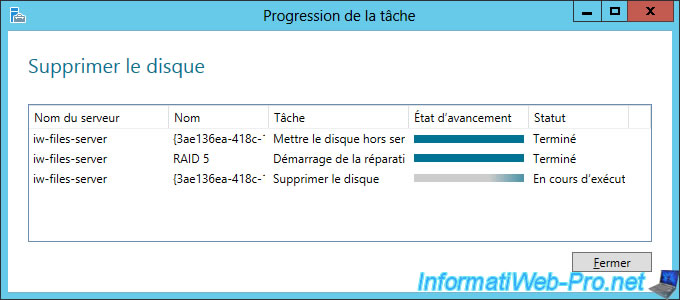
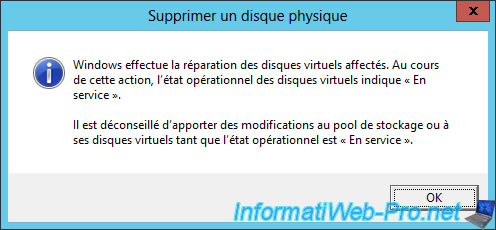
As noted in this warning, Windows will try to rebuild your virtual disk.

By the way, Windows is still showing it here : RAID 5 - Starting the repair.
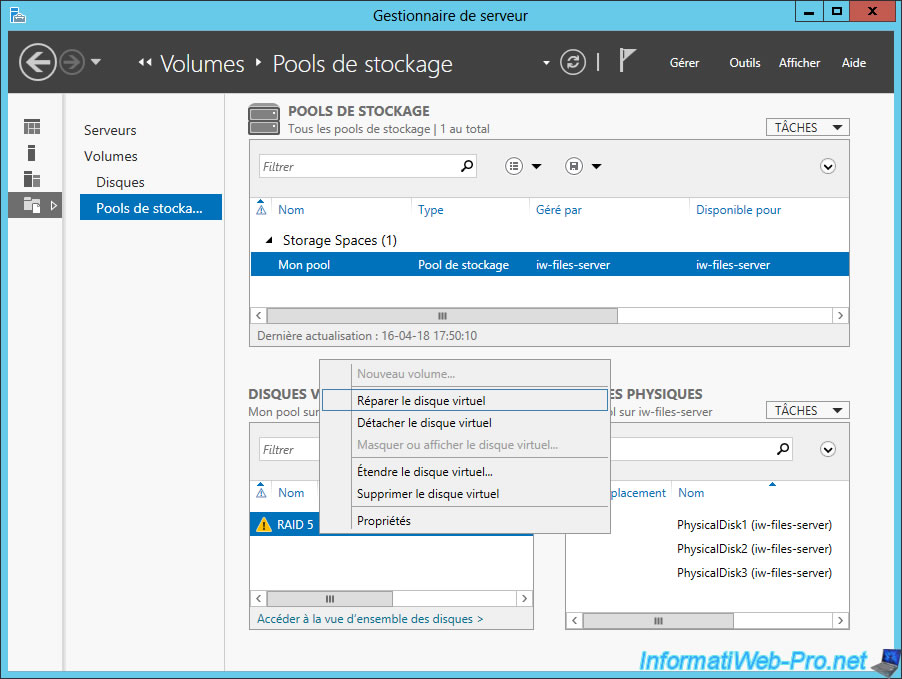
Note that it's also possible to manually repair a virtual disk by right-clicking "Repair Virtual Disk" on it.
Once the RAID 5 repaired, the "warning" icons will be gone.

And the concerned virtual disk will be : Healthy / OK.
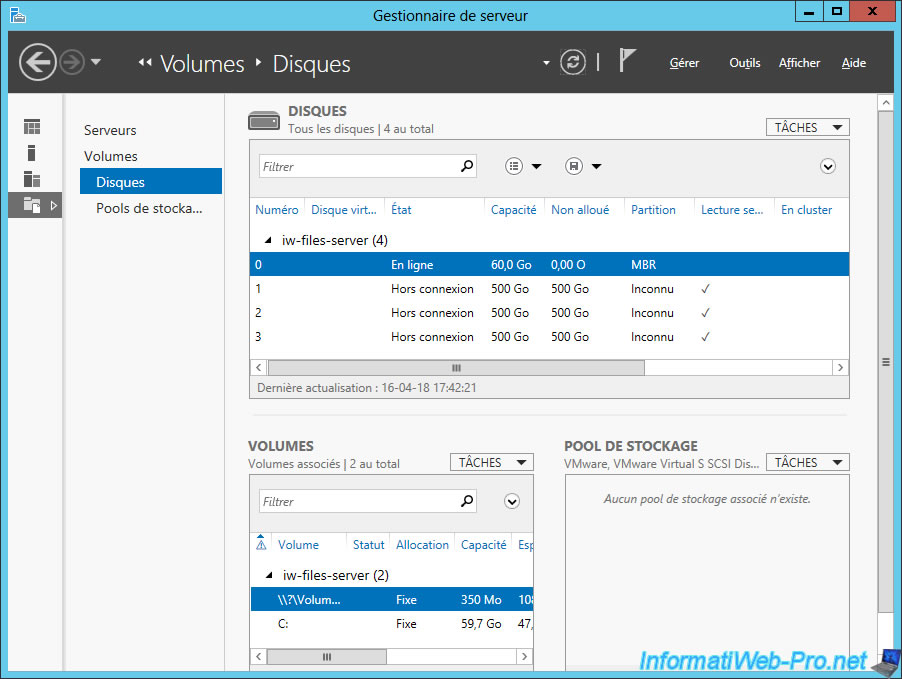
5. Detailed overview of your server's storage
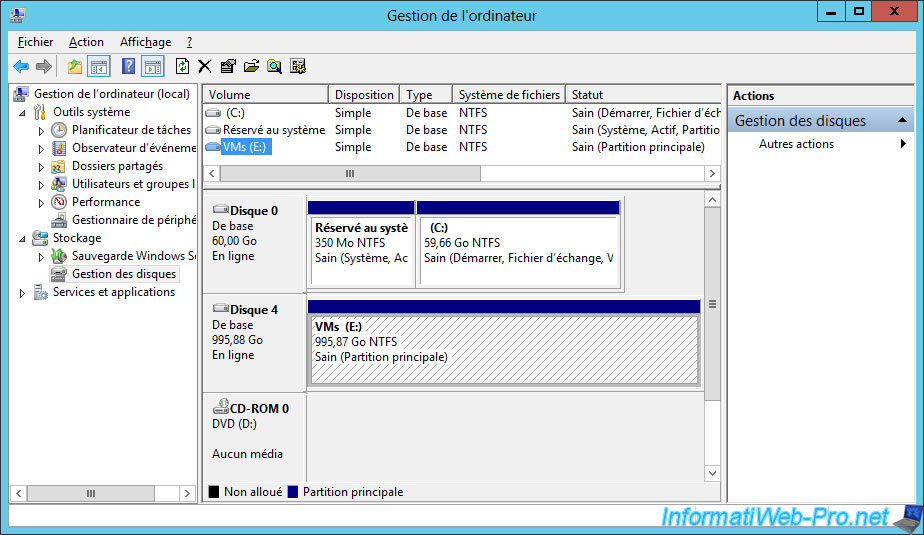
If you want to use this new system of pools, virtual disks, volumes, ... you will see that the server manager will be much more useful than the old "Disk Management" console.
Indeed, thanks to the server manager, we will quickly see that the volume C is on a physical hard disk of SCSI type.

The VMs volume is on a virtual disk named "RAID 5" that is itself part of a Microsoft Storage Space Device.
For the old "Disk Management" console, you will simply see 2 disks, as if they were physical.
Share this tutorial
To see also
-
Windows Server 4/15/2015
WS 2012 - DHCP
-
Windows Server 6/22/2019
WS 2012 / 2012 R2 / 2016 - RDS - Manage resources and printers redirection
-

Windows Server 4/12/2019
WS 2012 / 2012 R2 / 2016 - RDS - Put your session host server into maintenance
-

Windows Server 2/1/2019
WS 2012 / 2012 R2 / 2016 - RDS - Single sign-on (SSO) for access to RemoteApp
No comment