Create storage spaces to improve the performance and/or security of your file server on Windows Server 2012 / 2012 R2

3. Create a RAID 1
This time, we will create a RAID 1 that increases the security of your data by duplicating them on at least 1 other disk
When you store data on a RAID 1, the system will store each data on each disk used in your storage pool.
This level of RAID doesn't increase the performance of your file server, but only to ensure the security of your data.
If you lose a hard drive, you will not lose any data and you can repair your RAID by asking Windows Server to recreate the missing copy.
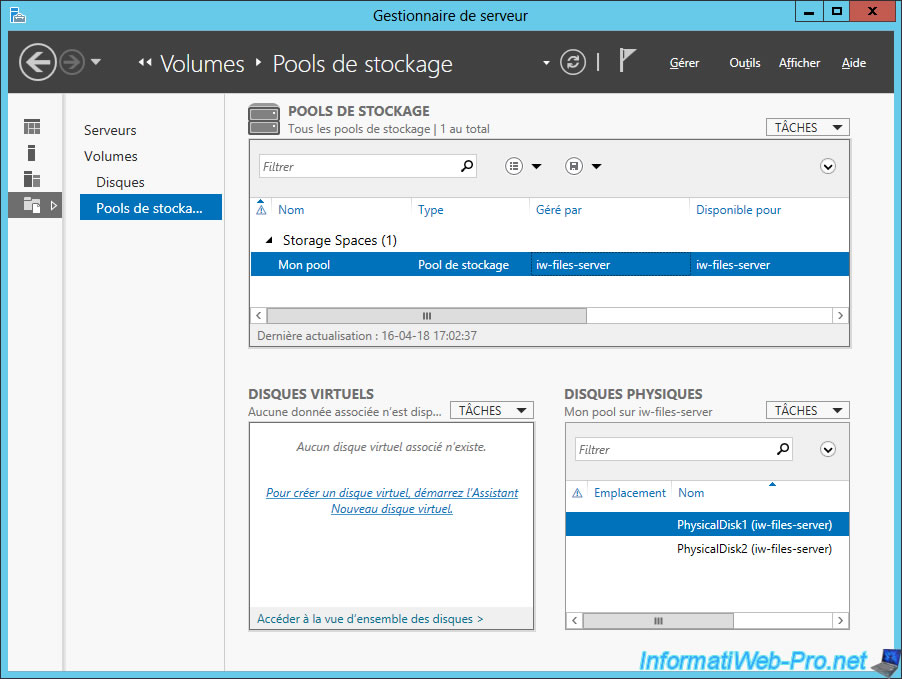
3.1. New storage pool
To create a storage pool to create a RAID 1, the procedure is the same as the one presented for RAID 0.
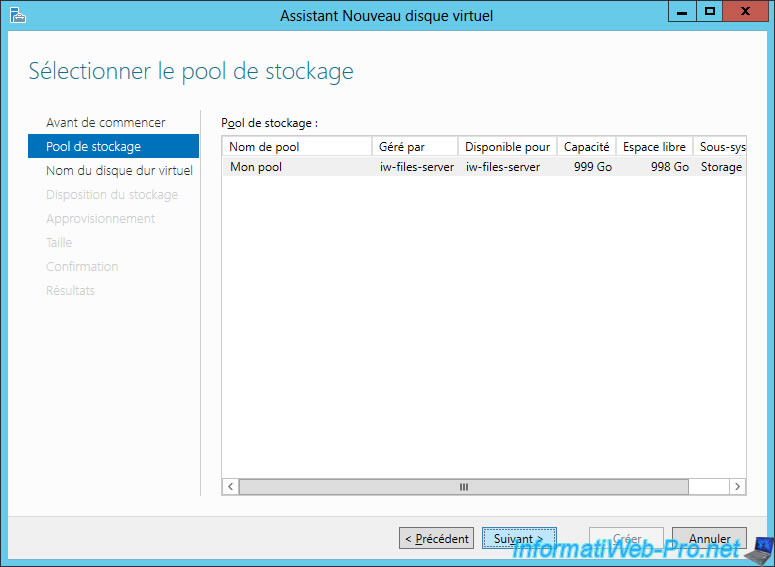
3.2. New virtual disk
After you create the storage pool, select it and click the "To create a virtual disk, start the New Virtual Disk Wizard" link.
Click Next.
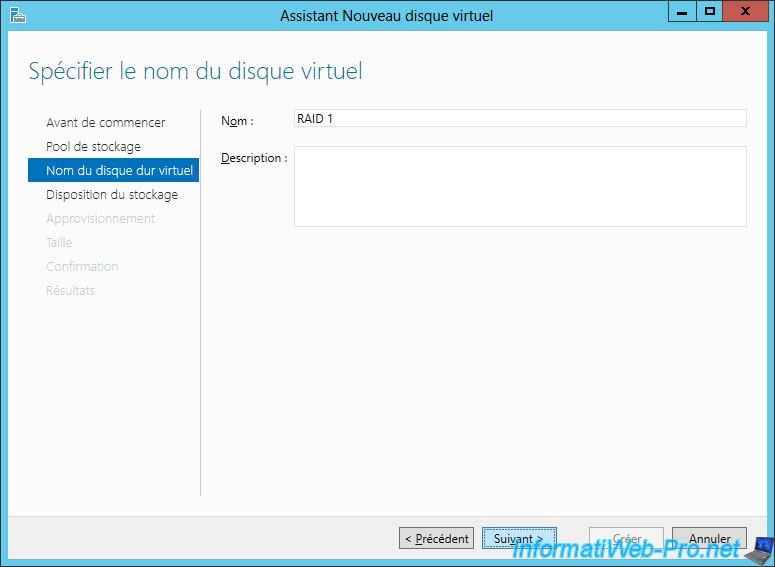
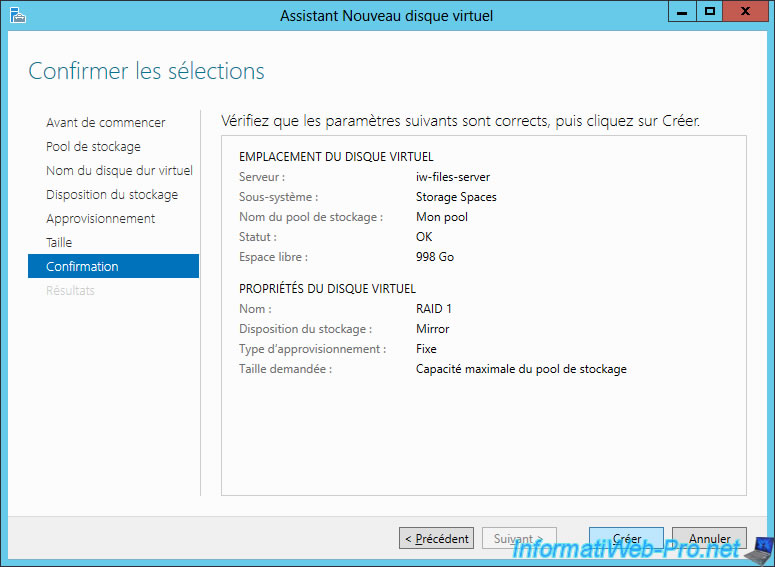
Provide a name for your virtual disk.
In our case : RAID 1.
To create a RAID 1 virtual disk, select the "Mirror" storage layout.
As its name and description indicate, this type of layout can duplicate data on 2 or 3 physical hard drives.
This improves the reliability of your file server, but it also reduces the final capacity of your drive.
Indeed, if you create a RAID 1 on a storage space (a storage pool) of 1 TB, the system will provide you with a real storage space of 500 GB.
Because the other part of 500 GB will contain the real-time copy of your data.

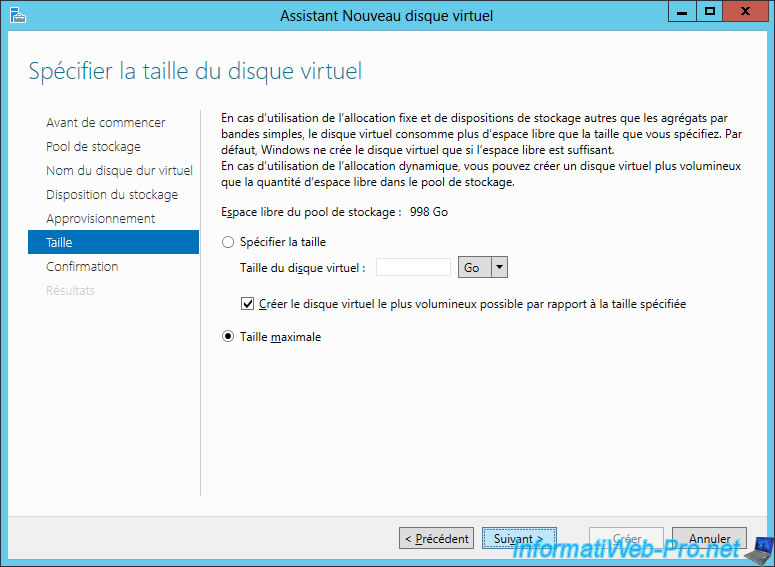
As for RAID 0, we will use all available space on our storage pool.
Click Create.
After the virtual disk is created, check the "Create a volume when the wizard closes" box and click Close.

3.3. New volume
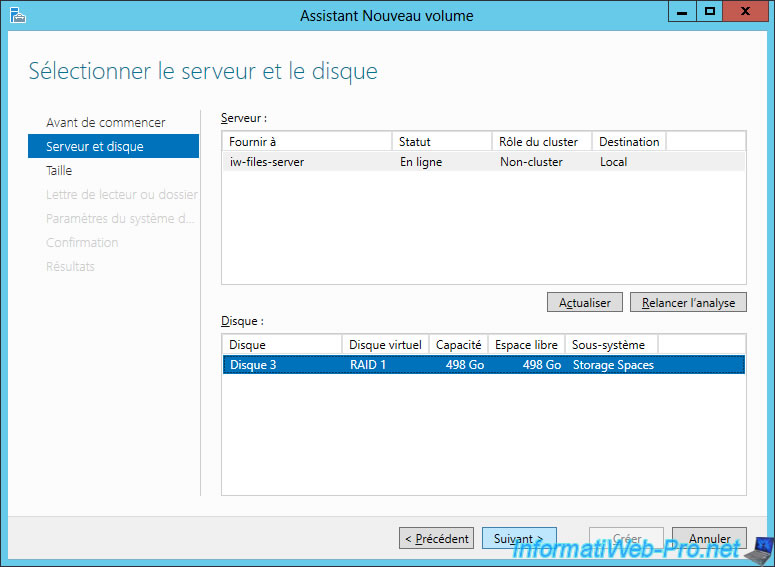
Select your virtual disk and click Next.
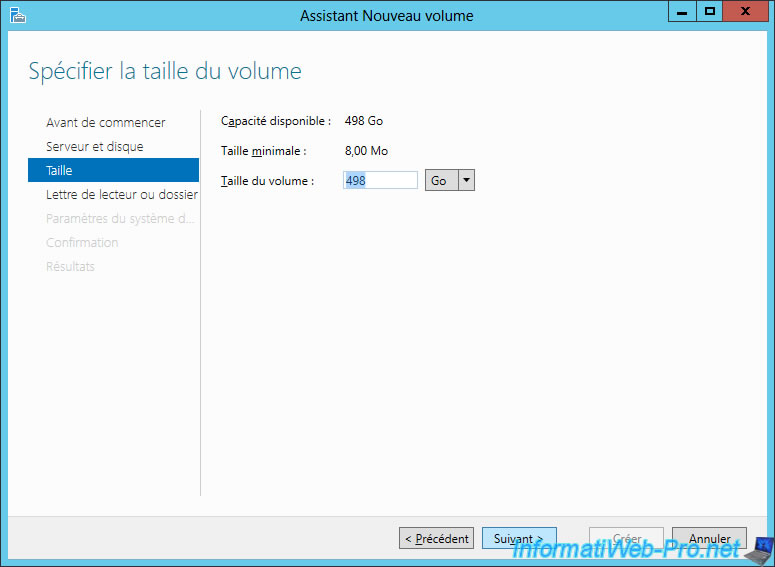
This time, we will create a single volume (partition) on our virtual disk.
So, we leave the size indicated by default, and we click Next.
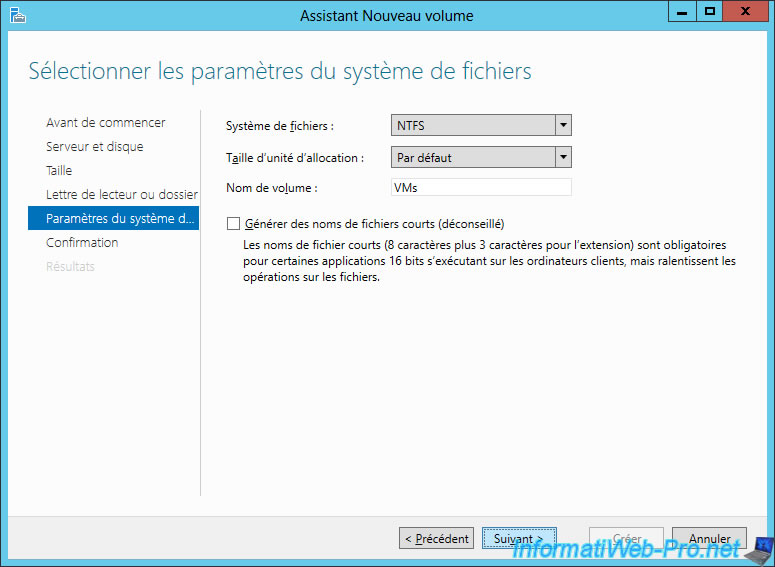
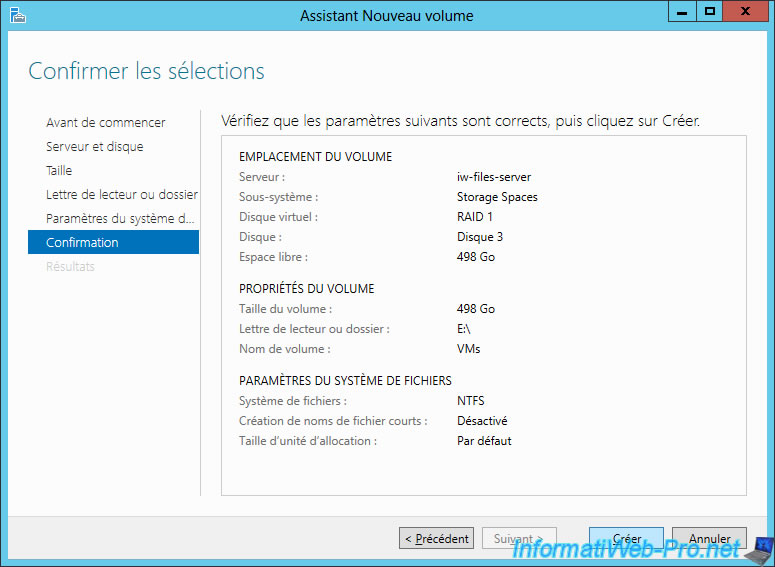
Choose the file system and the name you want for your new volume.
Click create.
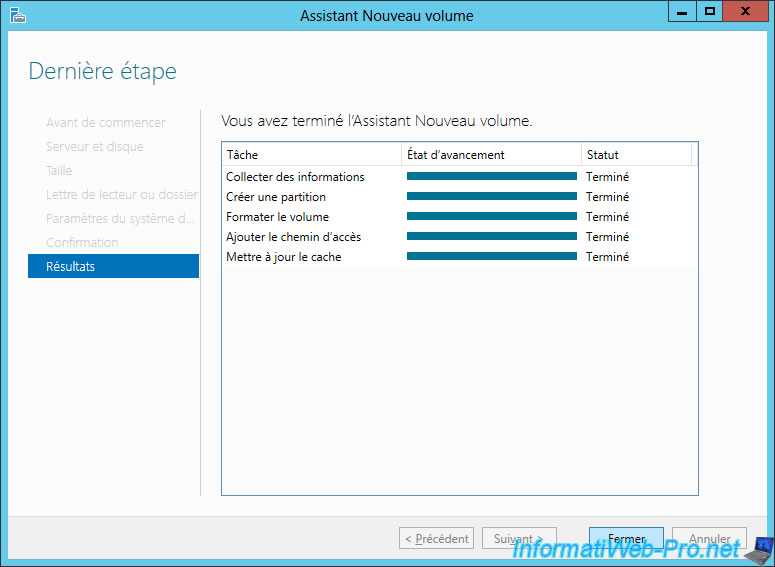
Once the volume created, click on Close.
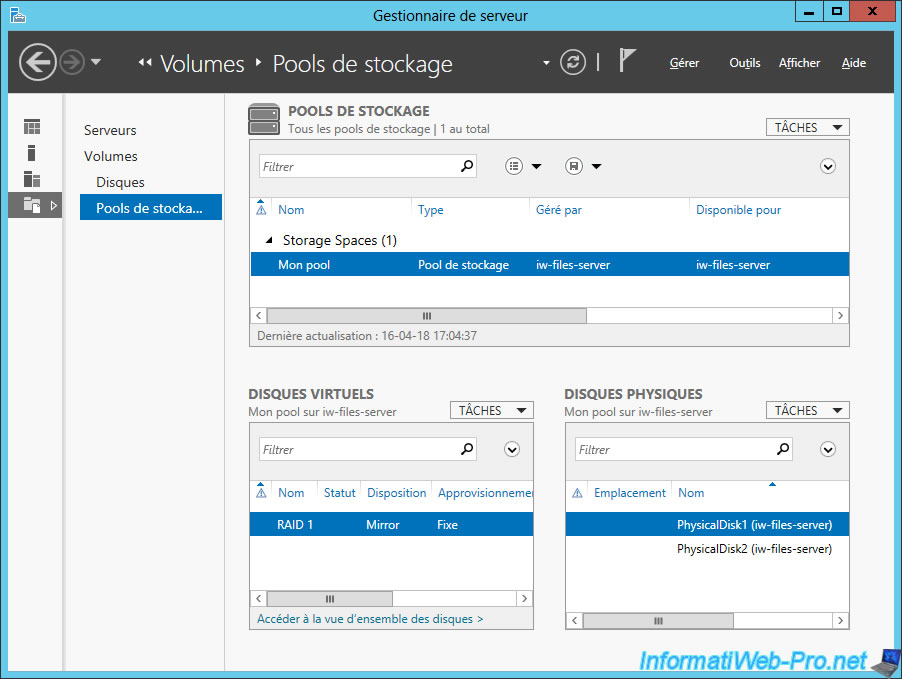
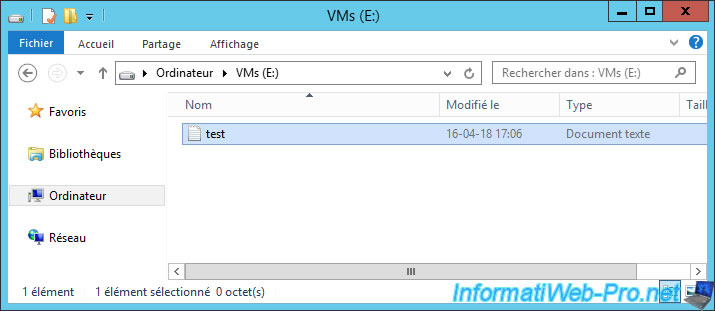
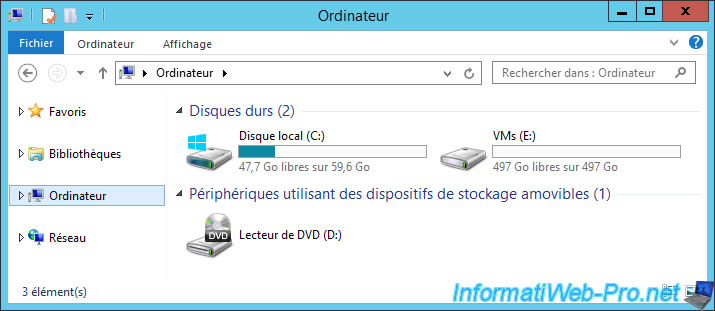
Now, you have a RAID 1 based on 2 physical disks.
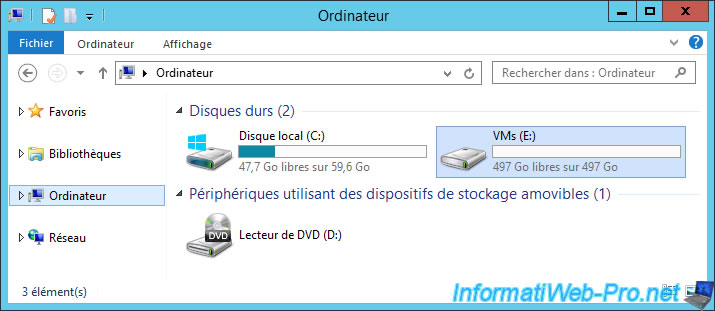
As you can see, we have access to our "VMs" volume.
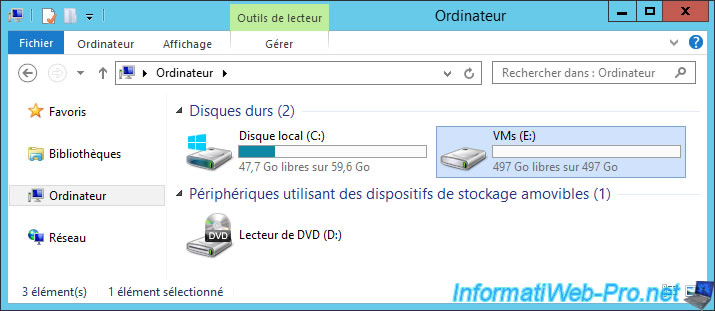
And our data.
3.4. Failure test
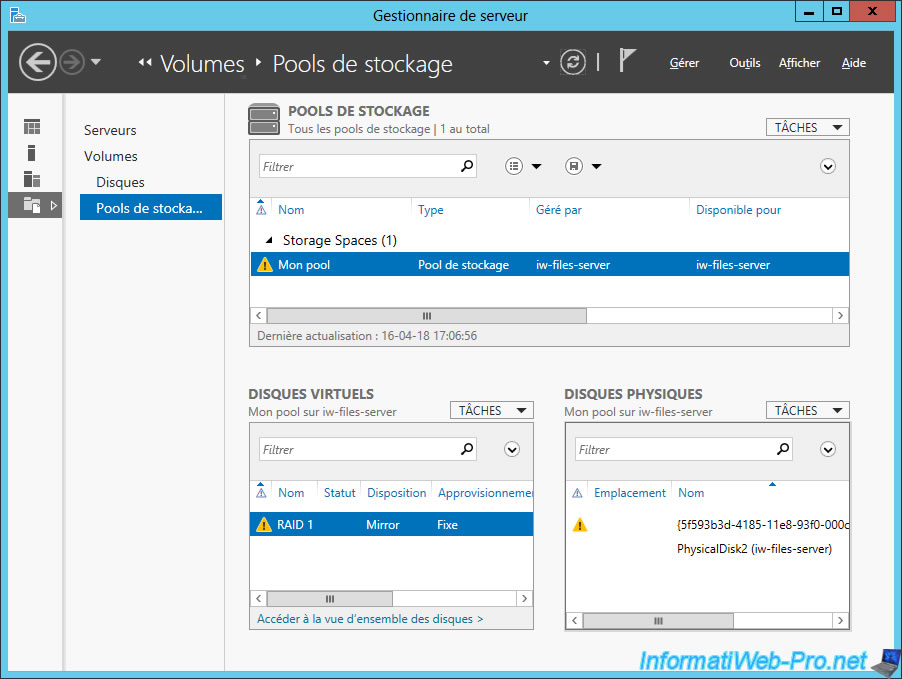
To test our RAID 1, we unplugged a hard drive to simulate a failed hard drive.
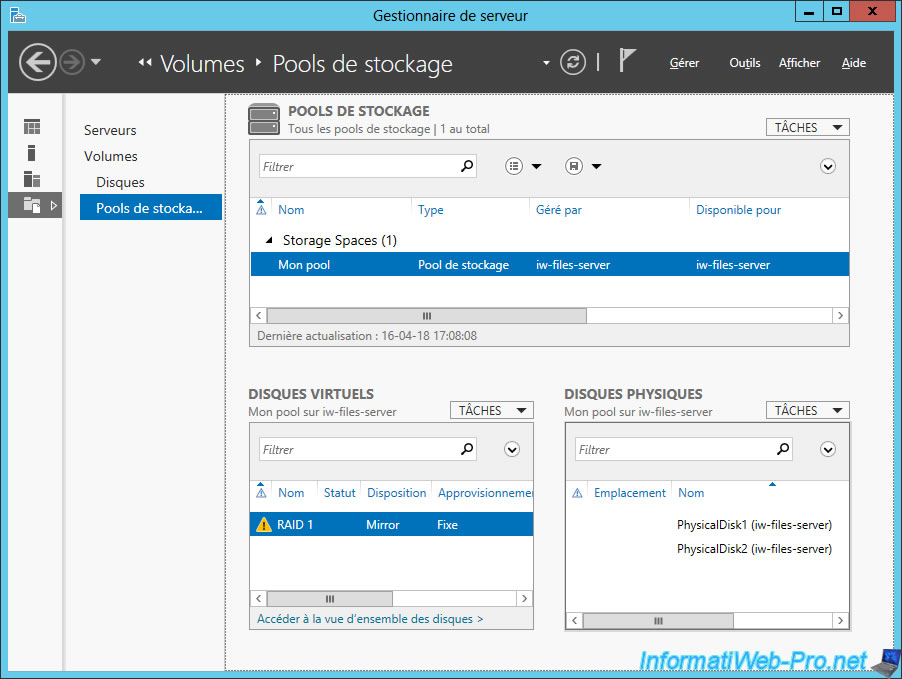
As you can see, a warning appears for our virtual disk "RAID 1" and for one of our physical disks.
If you view the properties of your virtual disk in RAID 1, you will see that the health state is only in "Warning".
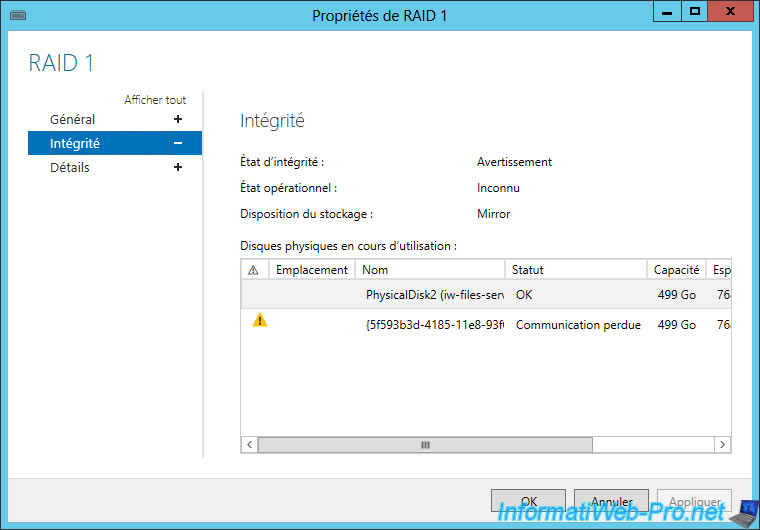
But, as the data was present on the 2 hard disks (thanks to the RAID 1 level), our data remains still accessible.

3.5. RAID 1 repair
Of course, if the other drive fails, you will lose your data.
For this reason, there is RAID 10, or other higher RAID levels that can tolerate different types of failures (for example : 2 hard drives that fail simultaneously).
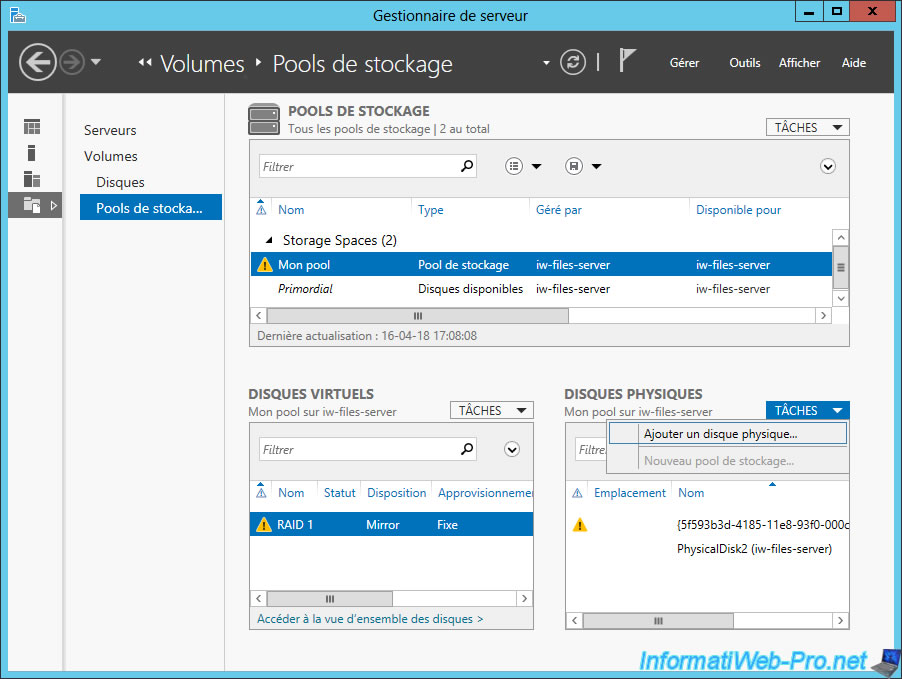
In short, to repair a RAID 1, just add a new physical disk in your server and add it to your pool via the "Tasks -> Add Physical Disk" option located at the bottom right.
Check the box to choose the new physical disk to add and click OK.
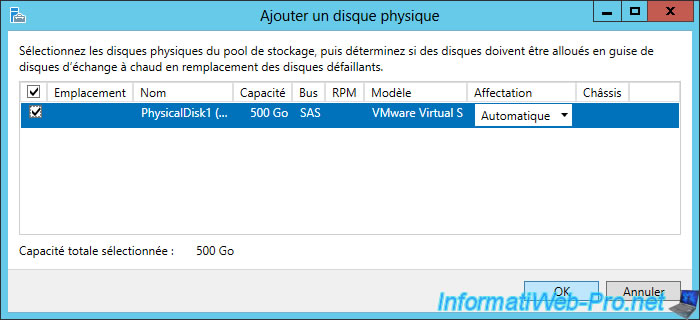
Now, we have 3 physical disks : the one that is "defective" and the 2 others that are good.

To begin, delete the failed disk.
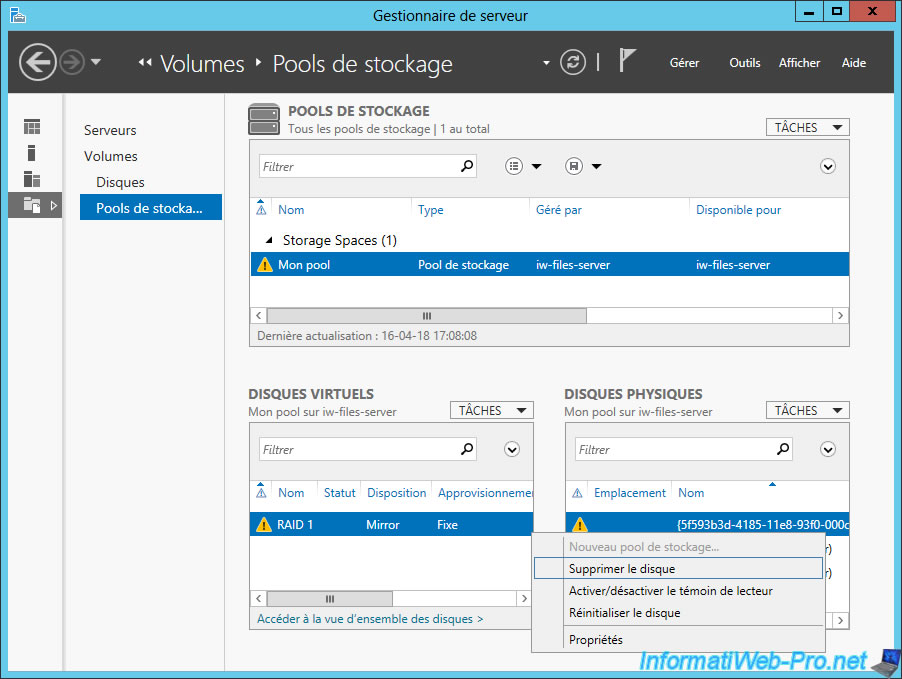
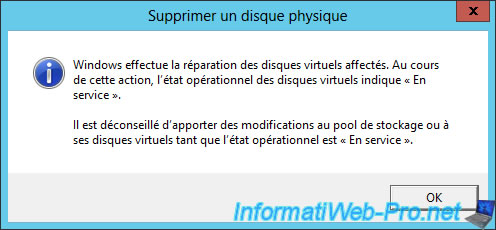
Removing the disk will automatically repair your affected virtual disk (in this case : RAID 1).
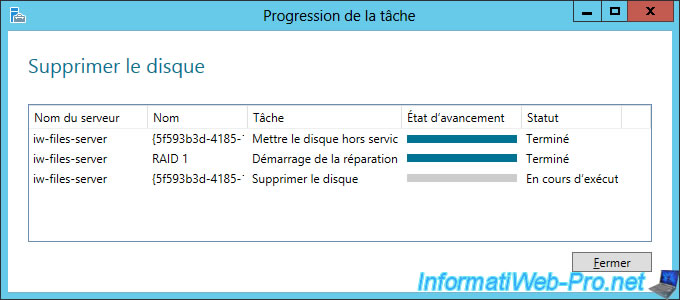
As noted in this message, as long as the state of the virtual disk is "In Service", the repair is not complete yet, so it's recommended that you do not modify your storage pool during this time.
For the moment, the warning remains visible only for our virtual disk, because it's being repaired by Windows Server.
As you can see in the properties of the virtual disk :
- the state of integrity is : warning
- the operational state is : in service
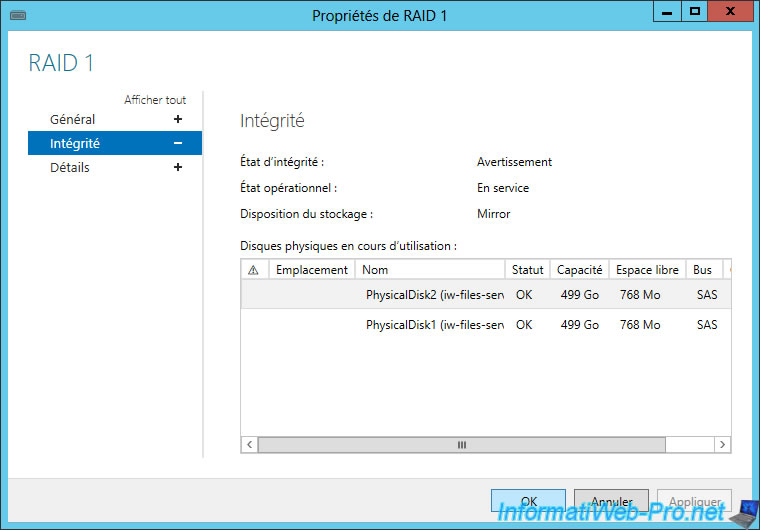
During RAID 1 repair, the data remains accessible.
Once your RAID 1 is repaired, the "warning" icon will disappear from your virtual disk.

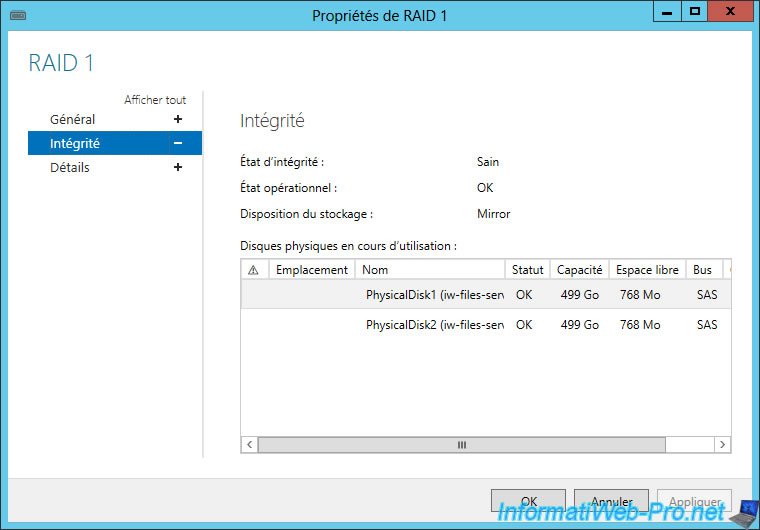
In addition, in the properties of your virtual disk, you will see that the states have changed :
- state of integrity : Healthy
- operational status : OK
Share this tutorial
To see also
-
Windows Server 4/15/2018
WS 2012 / 2012 R2 - Create a DNS server and delegate subdomains
-
Windows Server 8/4/2019
WS 2012 / 2012 R2 - How to update a failover cluster
-

Windows Server 3/15/2019
WS 2012 / 2012 R2 / 2016 - RDS - RemoteApp distribution methods
-
Windows Server 4/6/2019
WS 2012 / 2012 R2 / 2016 - RDS - Restrict unauthorized Remote Desktop access
No comment