How works, benefits, installation and configuration of Windows MultiPoint Server 2012
- Windows Server
- 17 January 2018 at 11:12 UTC
-

- 6/7

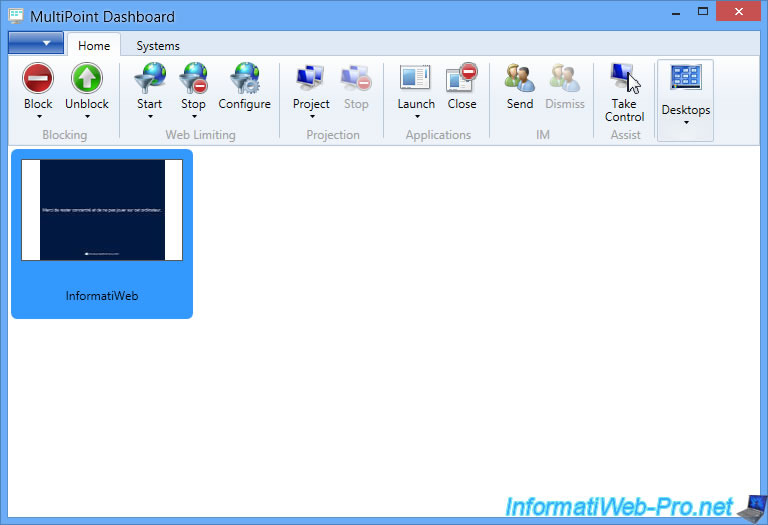
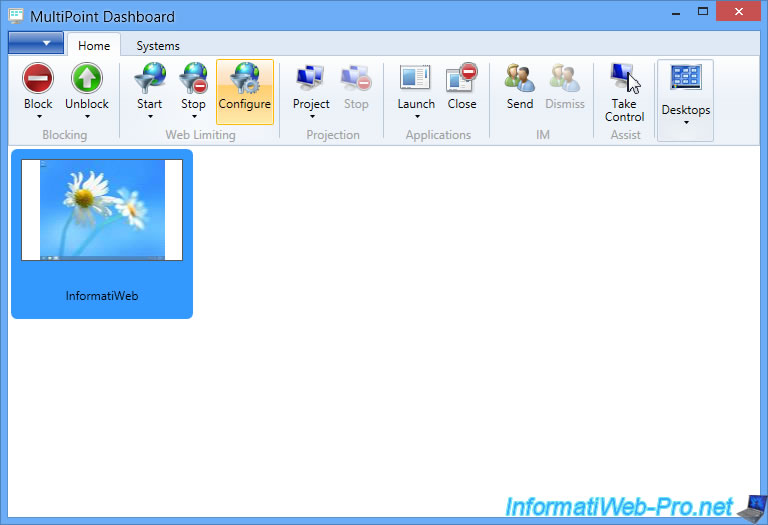
14. MultiPoint Dashboard presentation
The MultiPoint Dashboard is the program that the teacher will use every day to manage the stations of his students and monitor them (if he wishes).
When you install the UR1 Update for WMS 2012, the MultiPoint Dashboard shortcut may disappear from the Windows Welcome screen.
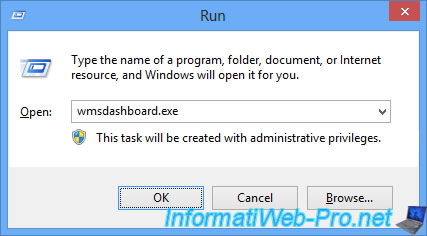
Nevertheless, the program still exists on the hard disk of the server and you can launch it by launching the "wmsdashboard.exe" file.
Note : to open the "Run" window, press these keys : Win + R.
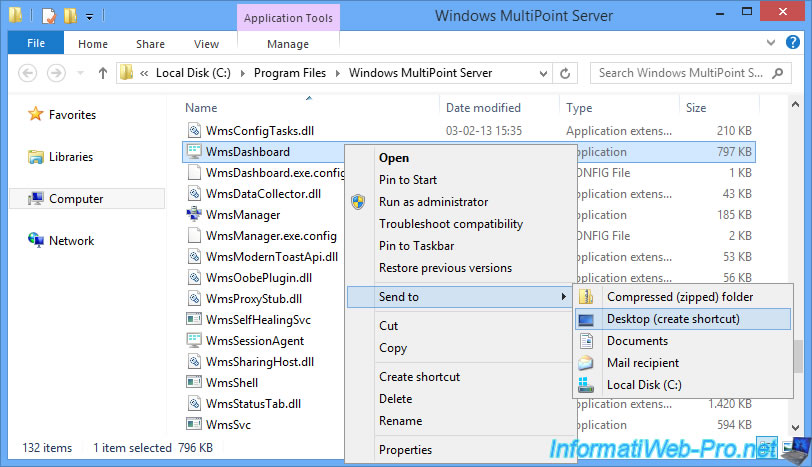
If you want to recreate the shortcut, go to : C:\Program Files\Windows MultiPoint Server
Then, right click on the "WmsDashboard.exe" file and click on "Send to -> Desktop (create shortcut)".
As you can see, the MultiPoint Dashboard allows you to do many things including monitoring easily the user stations of all your students.

14.1. Block a user station
If a student does not listen to your class and spend their time on Youtube (for example), you can simply block their user station.
To do this, first define a custom message by clicking on : Block -> Set Message.
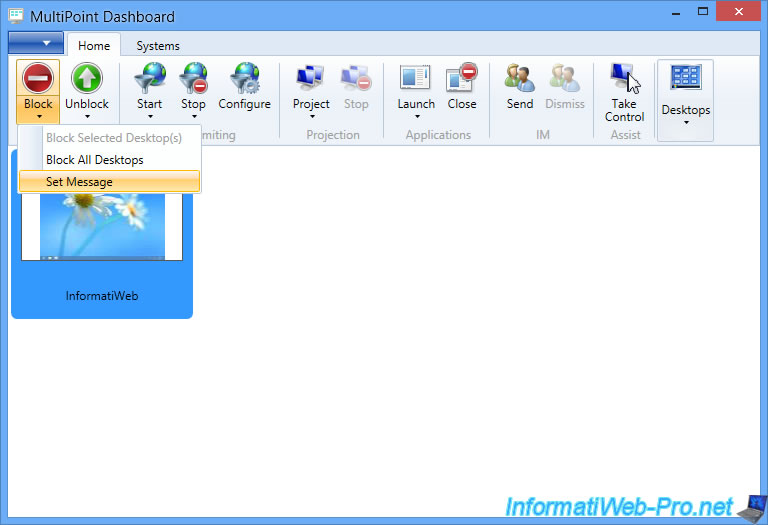
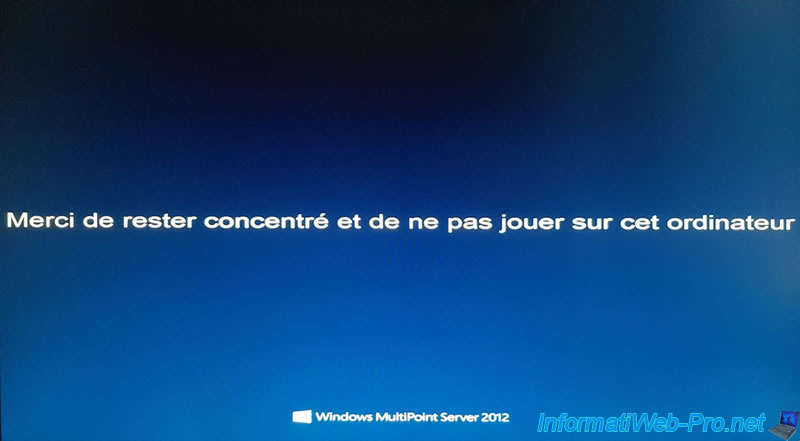
Enter the message you want to display on the stations you will block.

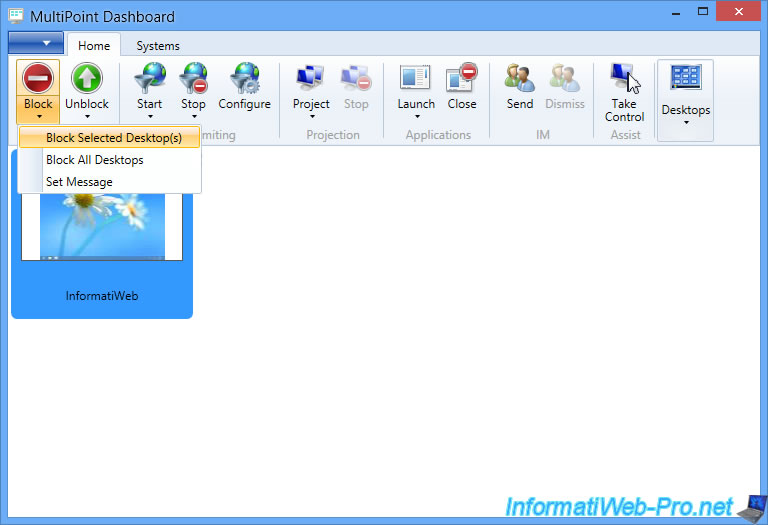
Now, if a user (a student) is not paying attention to your class, you will be able to block their station by clicking on : Block -> Block Selected Desktop(s).
As you can see, the user's screen has changed.
Indeed, now the user can not do anything on his station and he only sees your previously defined message.
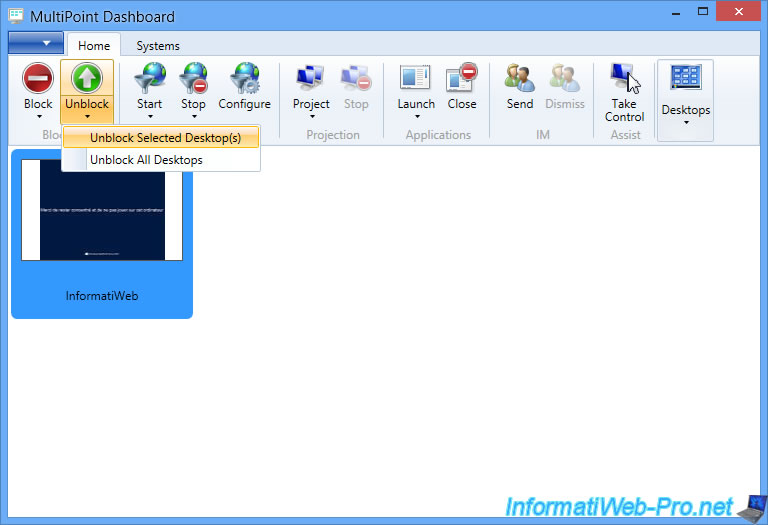
To unblock the station, select it and click on : Unblock -> Unblock Selected Desktop(s).
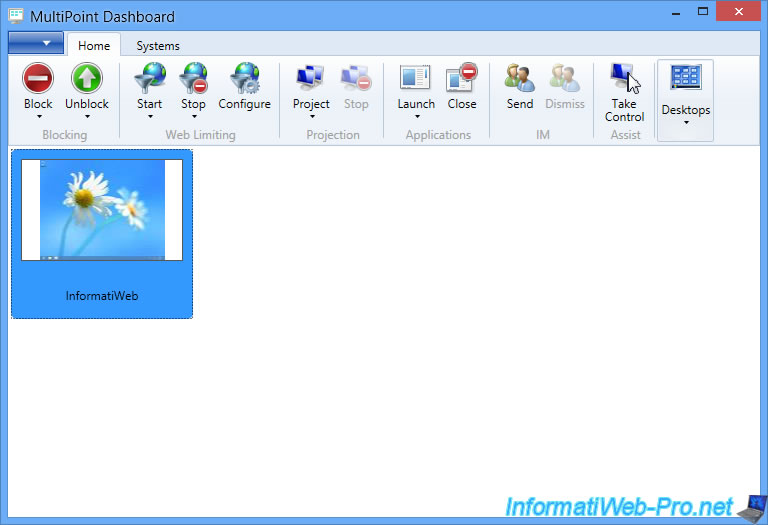
Now, the user has access to Windows again.
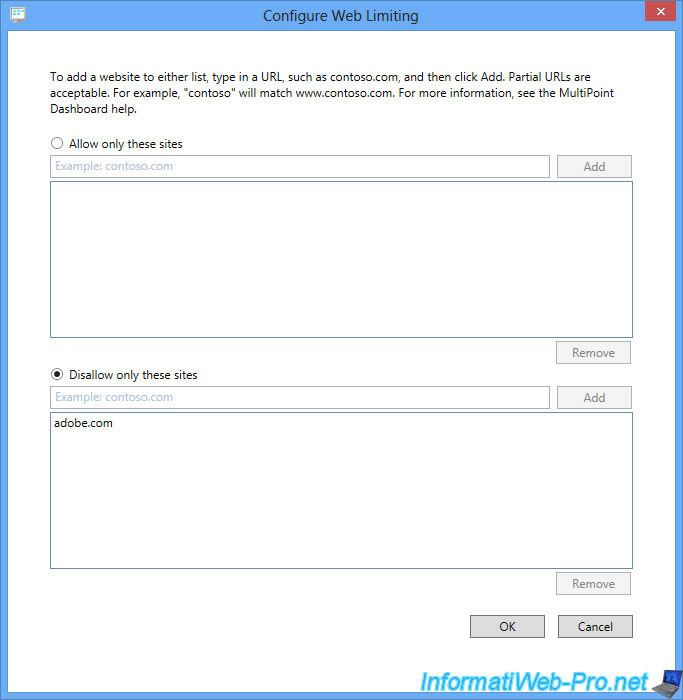
14.2. Web Limiting
Thanks to the "Web Limiting" feature of Windows MultiPoint Server, you can also easily filter the Internet access of your users.
To do this, click the Configure icon.
This feature allows you to create :
- a whitelist : allow only specific sites (Allow only these sites)
- a blacklist : block only specific sites (Disallow only these sites)
Note : the web filtering available in Windows MultiPoint Server 2012 works through a customized list of subdomains and / or domains (including subdomains).
In other words, if you block the "adobe.com" domain, users will also not be able to access a subdomain of "adobe.com".
Once you have configured your web filtering, don't forget to enable it for the desired stations.
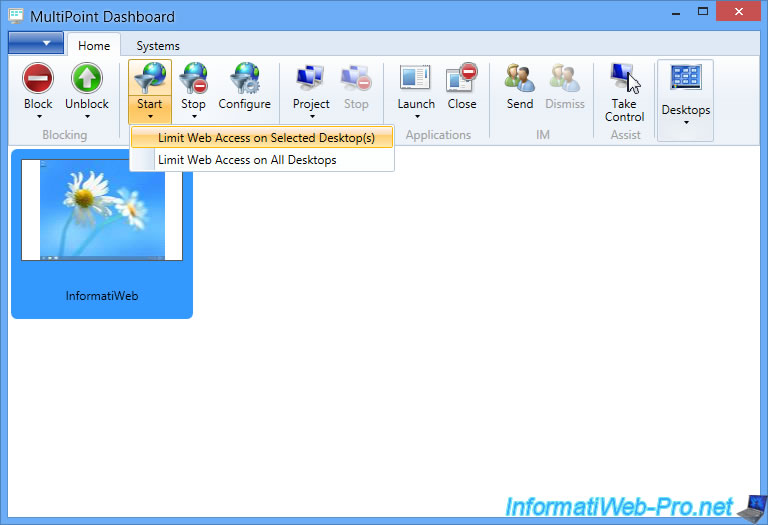
Note that a small icon will appear for stations where Internet access is currently filtered.

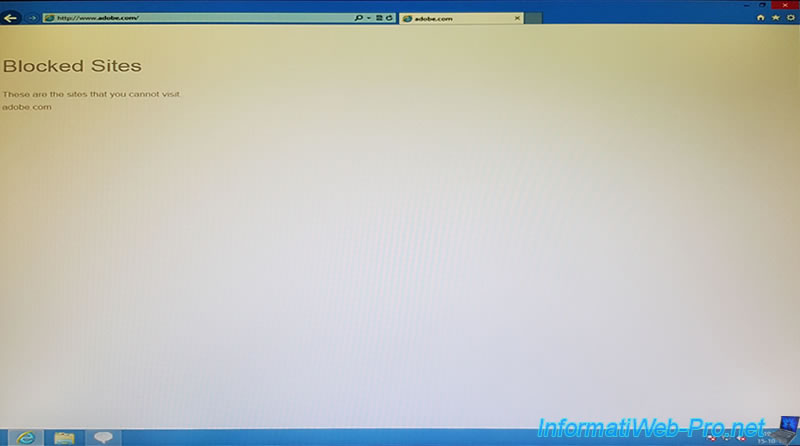
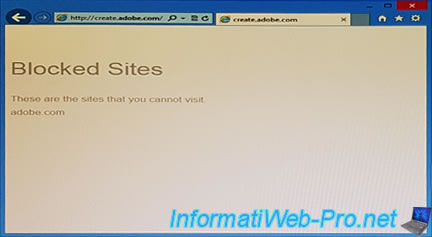
Since we have blocked the "adobe.com" domain, our users will not be able to access www.adobe.com or create.adobe.com.
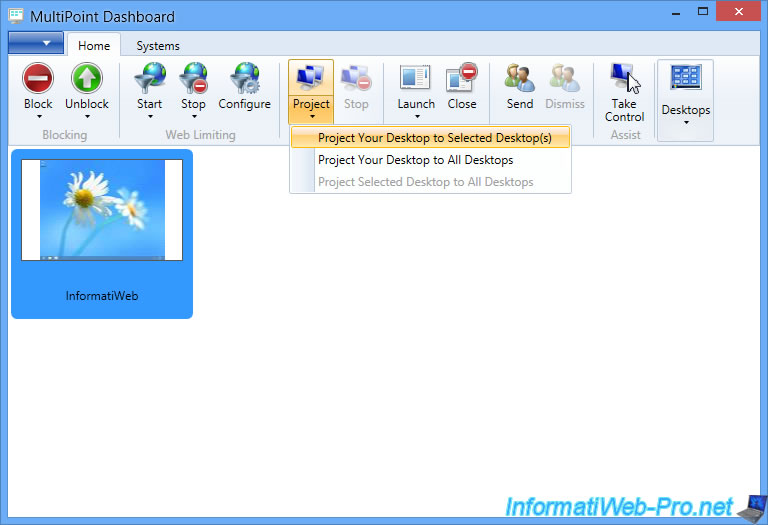
14.3. Project your screen on those of users
If you want to project your screen on the screens of all your users, simply select the desired stations and then click on Project -> Project Your Desktop to Selected Desktop(s).
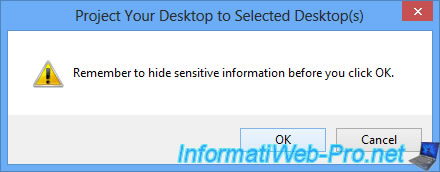
Make sure you have hidden the confidential information that you would have on the screen (eg your mailbox, ...), then click OK.
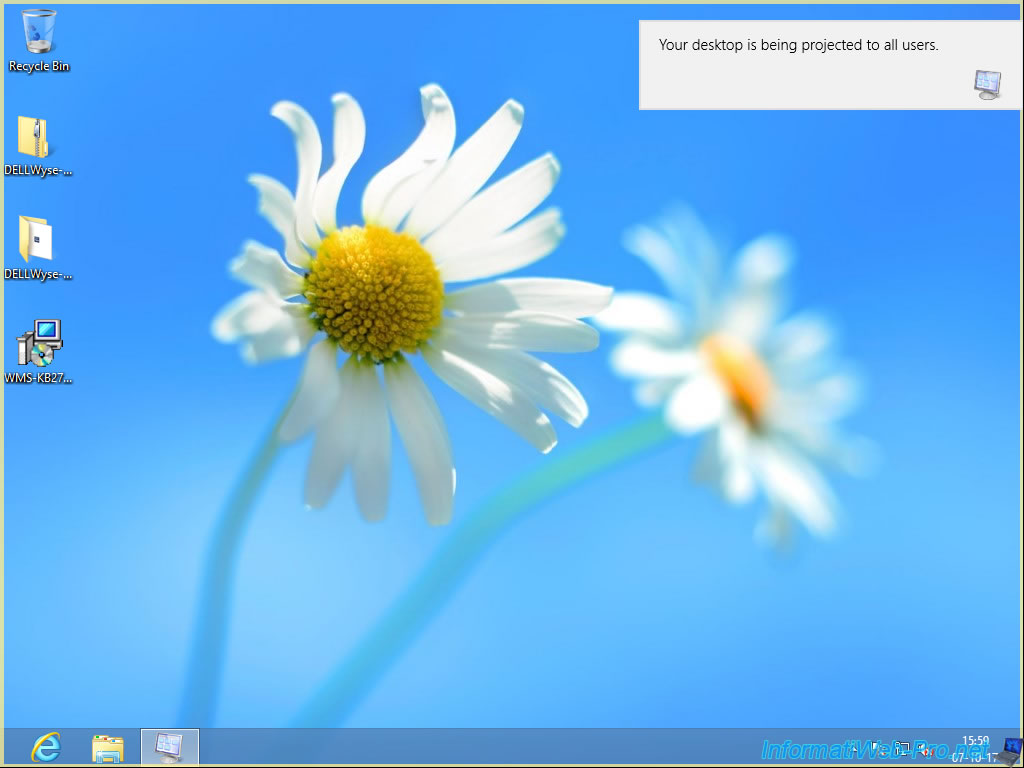
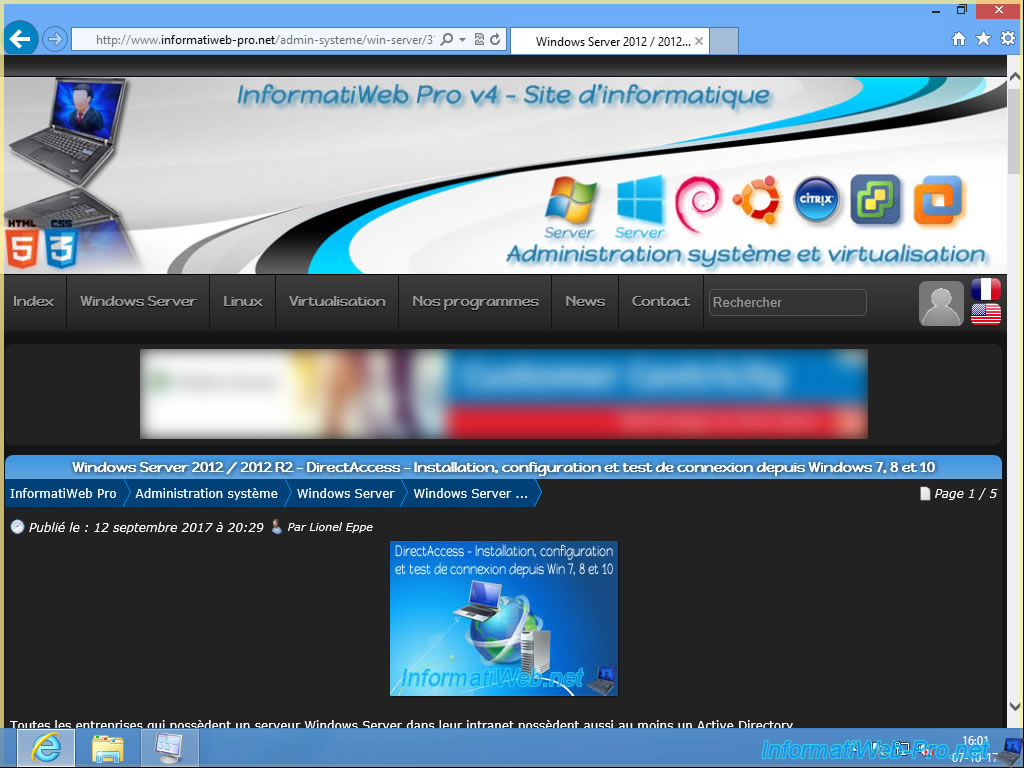
Now, your screen has a yellow frame and is projected on the screens of all your users.
Let's say we teach our users to install and configure a DirectAccess server.
We will project a tutorial on their screens so that it has a support allowing them to better understand your explanations.
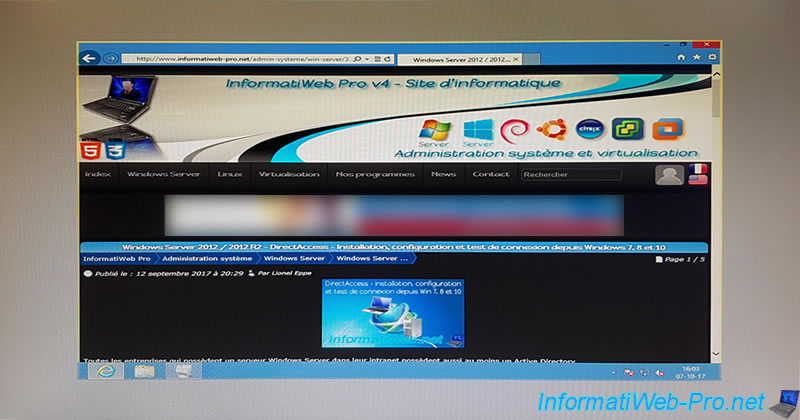
If your users screen has a different resolution, the rest of the screen will be filled with gray.
Thus, the projected image remains clear and is not distorted.
To stop this projection, simply click on "Stop" next to "Project".
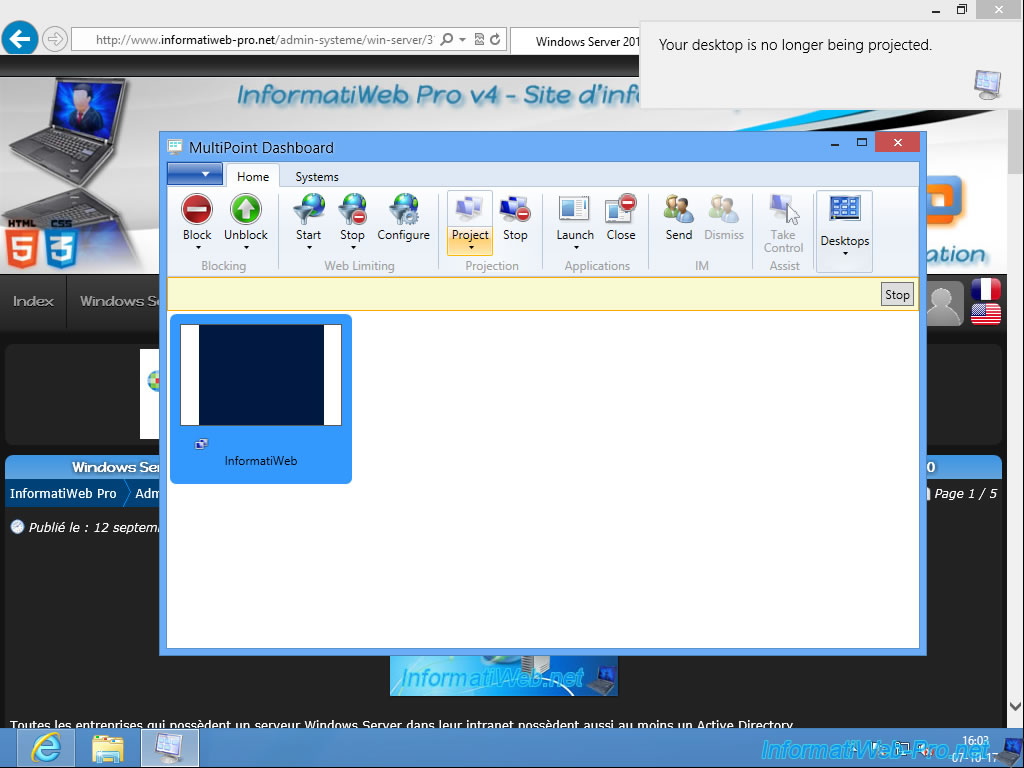
Now, your users have access to their Windows session again.

Share this tutorial
To see also
-
Windows Server 2/12/2018
WMS 2012 - Enable the Disk Protection
-
Windows Server 3/24/2018
WMS 2012 - Join virtual desktops to an AD
-
Windows Server 2/21/2018
WMS 2012 - Joining an AD and use roaming profiles
-
Windows Server 2/3/2018
WMS 2012 - Manage desktop computers with the MultiPoint Connector
No comment