- Windows Server
- PXE
- 12 August 2012 at 14:01 UTC
-

- 1/2
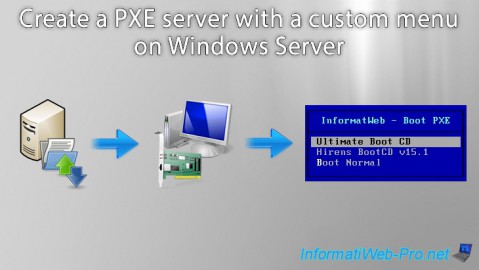
PXE (Pre-boot eXecution Environment) allows a computer or a server to boot over the network via a PXE compatible network adapter which will download a bootable file from a TFTP server.
To be able to boot over the network in PXE, you must first configure the BIOS of your computer.
For this, follow our "Enable and configure the network boot (PXE)" tutorial.
1. Configuring the PXE server
Firstly to create a custom PXE boot, we will use some files from syslinux. Syslinux is used by several program PXE boot and some Live CD like Ultimate Boot CD for example.
We will start by creating the tree of our PXE server. The tree is the following : C:\PXE\TFTPRoot\boot\pxelinux.cfg
Warning : pxelinux.cfg is a folder and not a file as you might think.

Then download the "4.05" version of syslinux on the website of the publisher.
Once downloaded syslinux, we will get the following files and place them in the folder "C:\PXE\TFTPRoot\boot" :
syslinux-4.05\core\pxelinux.0
syslinux-4.05\memdisk\memdisk
syslinux-4.05\com32\menu\menu.c32

2. Serveur TFTP
To install this server we will have to download on the internet because Microsoft does not provide a "role" to install only a TFTP server.
For this tutorial, we'll use "SolarWinds TFTP Server".
Avant d'installer ce serveur TFTP, il faut d'abord installer "Microsoft .NET Framework 3.5" car ce serveur en a besoin pour fonctionner. Vous pouvez soit télécharger la version Web Installer soit la version Standalone qui vous évitera de retélécharger tout le fichier d'installation à chaque fois que vous le réinstallerez.
Info : La version Standalone permet d'économiser 59 Mo de téléchargement
Before installing the TFTP server, you must first install "Microsoft. NET Framework 3.5" because this server needs to function. You can either download the Web Installer or install the Standalone version which saves you redownload the whole installation file every time you reinstall.
Info : The standalone version saves 59 MB of download.

Accept the license terms. Then click "Next" and the server is installed.
Info : No need to try to change the installation path of the server, it is installed in the default folder to which it was programmed.


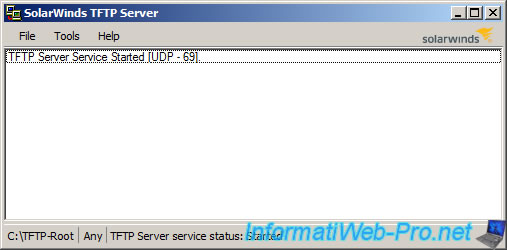
Once installed, go to the start menu -> SolarWinds TFTP Server and run "TFTP Server".

For communication between the TFTP server and future clients can be properly, you will have to open the port on which the TFTP server is listening. By default it's the UDP port 69.

To open port 69, you must configure the firewall in Windows Server 2008 (the one you have installed if it's the case). To do this, go to the Start menu and double click on "Control Panel".
In the Control Panel, double-click on "Windows Firewall".

Click "Allow a program through Windows Firewall".

Click "Add Port ...".

Specify a name and specify the port number to open. As the program tells us that communicates by UDP Protocol, select UDP.

Check the box next to "SolarWinds TFTP Server" is checked otherwise the firewall will block this port.

In the TFTP Server window, go to "File -> Configure".

In the "Storage", click "Browse" and select the "C:\PXE\TFTPRoot" folder.

Then go to the "Save" tab and select "Display Language : English" (if this isn't the case) and check the "Send error messages to customers in English language" box.

Type "Folder Options".

Go to the "View" tab and uncheck "Hide extensions for file types is known". This will later serve to create a file named "default" without extension. The Windows Notepad tends to add the "txt" extension when the extension is omitted, we will rename the file manually by Windows Explorer.

3. DHCP

Made a right on "Computer" and click on "Properties". You will need the name of the computer (marked in red on the image) to configure your DHCP server to work with PXE.


You must be logged in to post a comment