Routing and VPN server on Windows Server 2012

7. NPS (Network Policy Server)
NPS is a server that allows you to create network policies and IP filters.
To start NPS, go to the "Routing and Remote Access" console, right-click on "Remote Access Logging & Policies", then click "Launch NPS".
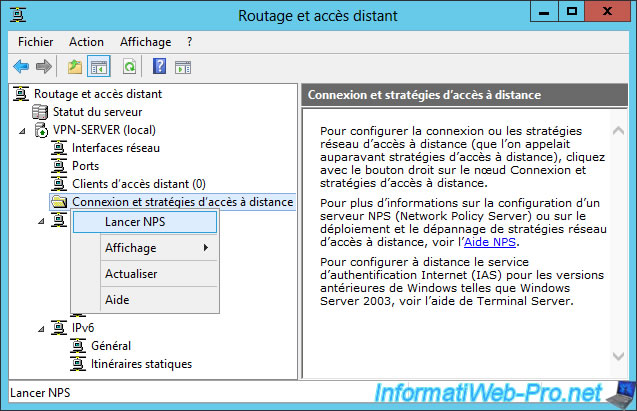
A simplified version of the NPS server will be displayed.
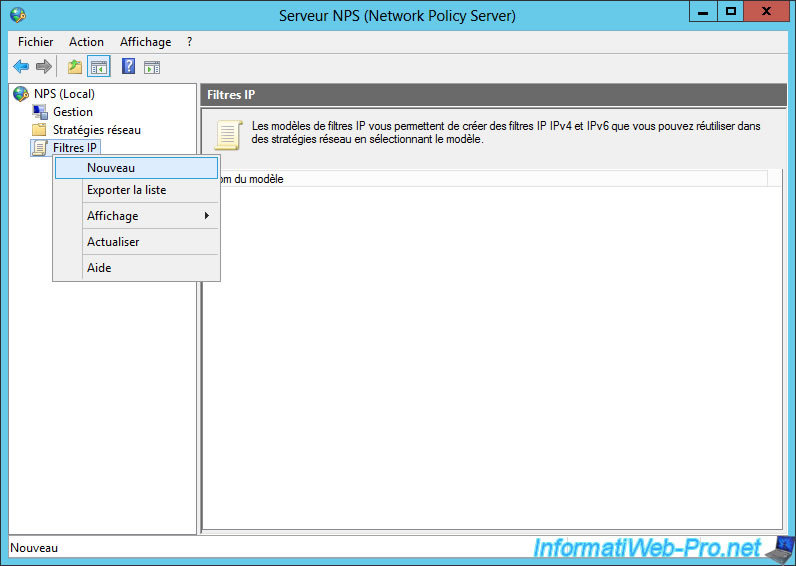
As you can see, NPS is composed of 3 parts :
- management (network management, NAP, ...) : we will not use it in this tutorial
- network policies : allows you to choose who can and who can't access the network, connect to the VPN server, ... according to many conditions.
- IP filters : allows you to allow and/or block specific protocols and/or ports.
7.1. IP filters
To begin, we will create a filter to block access to FTP servers.
To do this, right click on "IP Filters" and click on "New".
Note that these filter templates can then be linked to the network policies that you will create later. If these filters are not linked to a network policy, then they will be useless.
Note : this filter would probably not be useful in production, but the goal is simply to give you a sample filter so that you can create your own filters later.
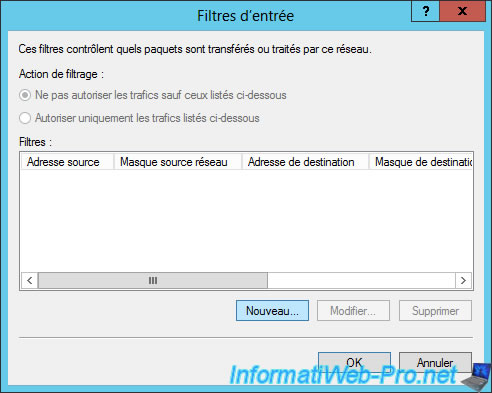
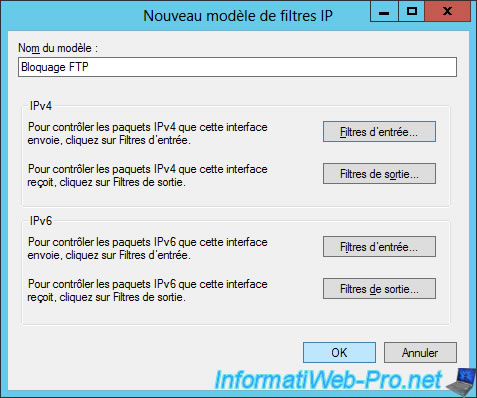
When you create a new IP filter template, you can create IPv4 and/or IPv6 input and output rules.
Since FTP servers listen on port 21, when a user attempts to access an FTP server through our VPN server, its request will pass through our server.
It's therefore an incoming traffic.
To block access to FTP servers, we will block port 21 for incoming traffic.
Thanks to this filter, the query will be blocked on our server and will not leave it.

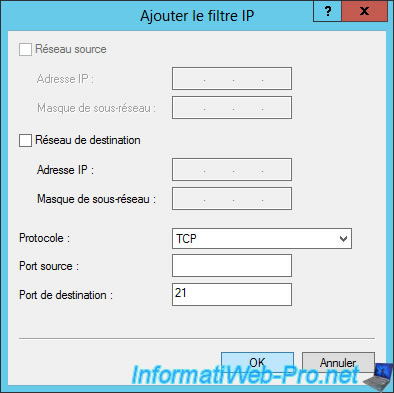
Click "New" to add a rule.
As you can see, NPS allows you to choose between different protocols.
And especially :
- TCP : connected mode (web servers, FTP servers, ...).
- UDP : disconnected mode (DNS servers, multi-player video games, ...).
- ICMP : for ping.
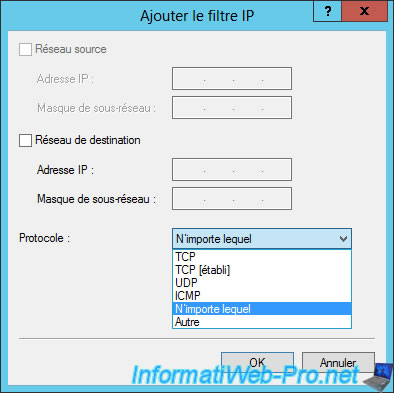
In our case, we will specifiy :
- Protocol : TCP
- Destination port : 21 (default port of the FTP protocol)
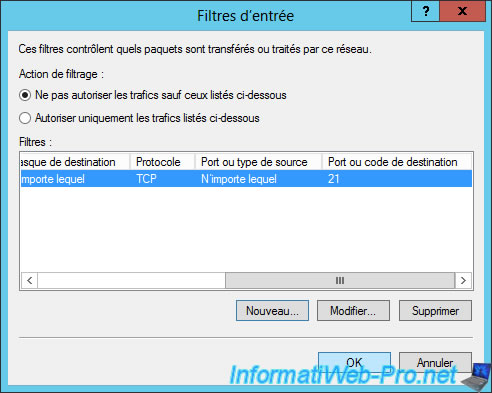
To block the traffic that corresponds to the filter we just added, we'll select "Do not permit packets listed below".
Warning : if you want to create a filter to allow only specific protocols, don't forget to allow system protocols (examples : UDP 53 for DNS, ...).
Do not forget to do the same for IPv6 traffic if you support IPv6 in your network.
Finally, click OK.
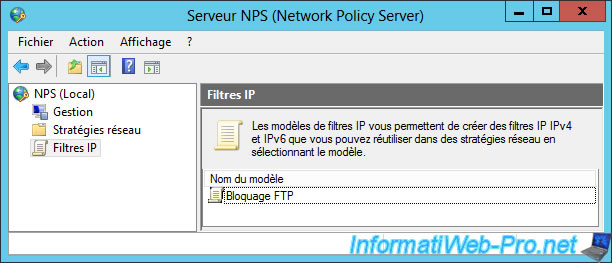
For now, we have our new model of IP filters.
However, it will not be used by NPS until we have linked it to at least one network policy.
7.2. Network policies
As you can see, by default, there are 2 security policies that deny access.
In other words, at the moment, none of your users can connect to your VPN server (unless you have manually granted access to your VPN server for a specific user).
To allow users of the Active Directory (or a specific group) to connect to our VPN server, we will create a new network policy.
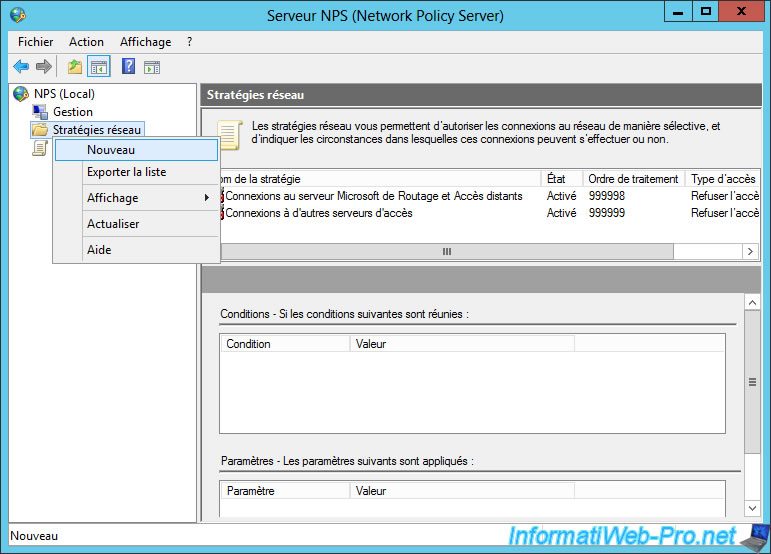
To do this, right-click on "Network Policies" and click "New".
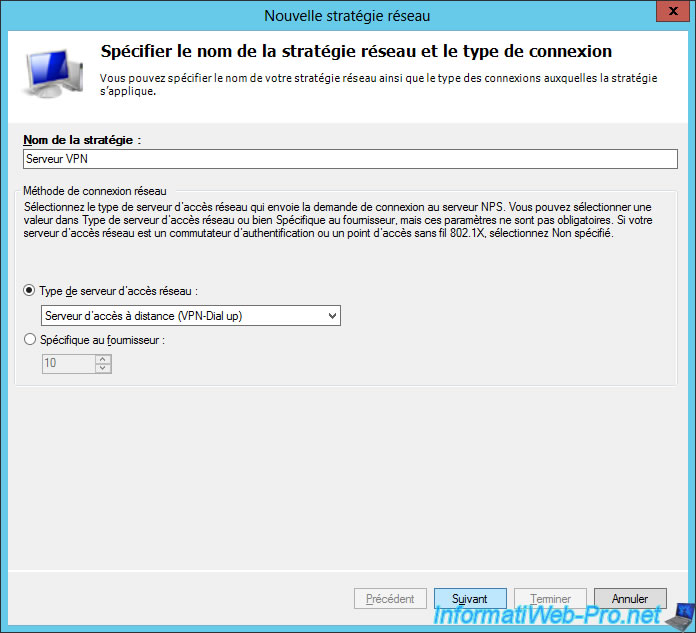
Specify a name for this new network policy and select "VPN-Dial-up" for the type of network access server.
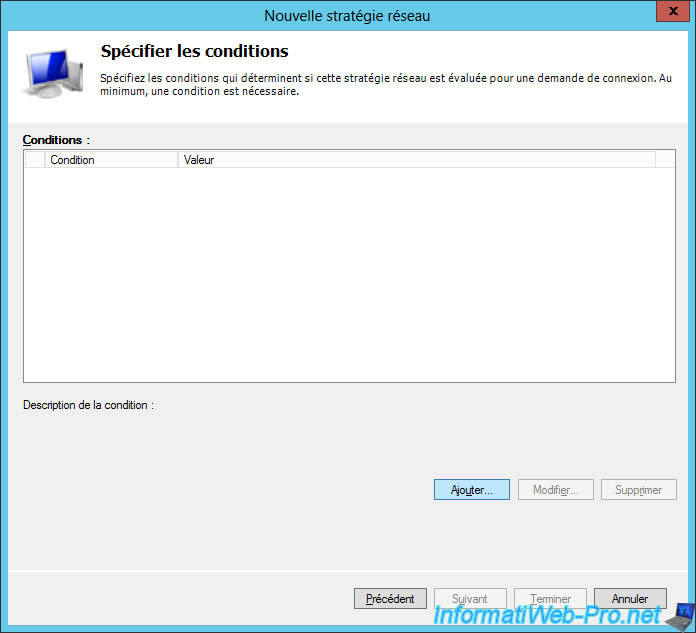
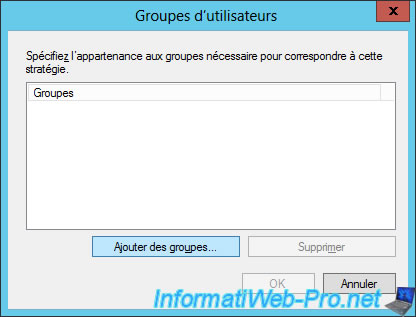
The network policy will be applied to computers and/or users that meet the conditions listed below.
For now, this list is empty.
Click "Add".
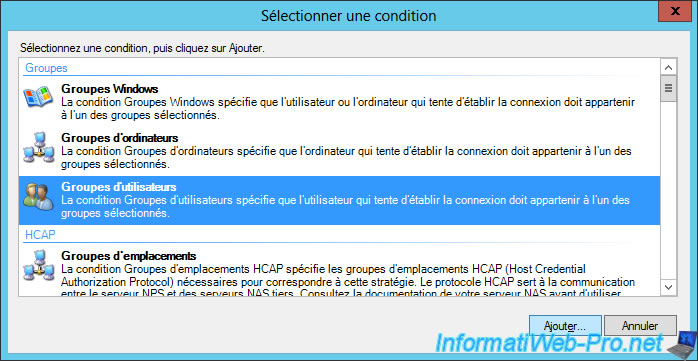
For this tutorial, we will simply allow users of the Active Directory to connect to our VPN server.
To do this, we select "User groups" and we click on "Add".
Among the available conditions, you will find :
- groups : Windows groups, computer groups, user groups.
- HCAP : HCAP locations and users groups.
- time restrictions : days and hours.
- network connection : client IP address (v4 and v6), type of authentication, authorized EAP protocols, tunnel type, ...
- RADIUS clients : ID of the calling station, name or IP of the client, client provider and MS-RAS provider.
- gateway : ID of the calling station, NAS ID, NAS IP, NAS port type.
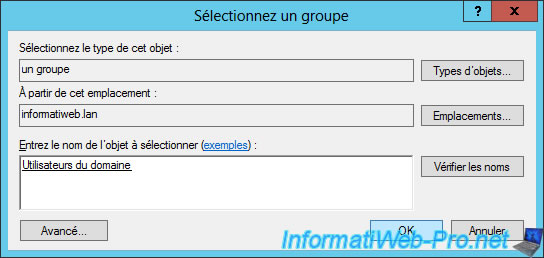
Click "Add Groups".
To allow users of our Active Directory, we will add the "Domain Users" group.
Note : to search a group, click "Advanced".
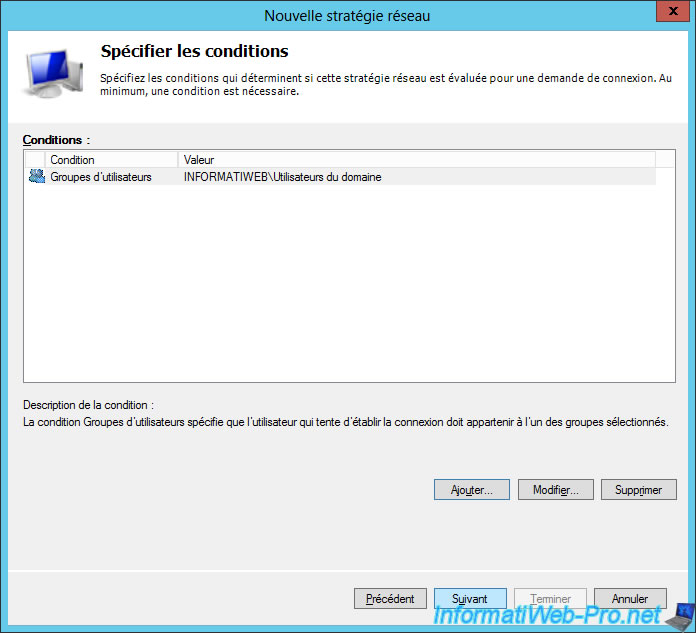
Now, this security policy will apply to domain users.
Click Next.
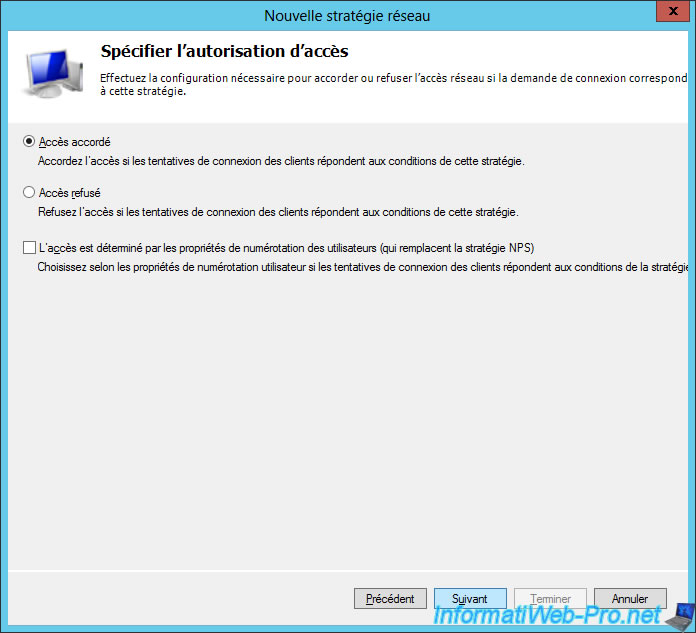
Select "Access granted" and click Next.
For EAP protocols, click Add.
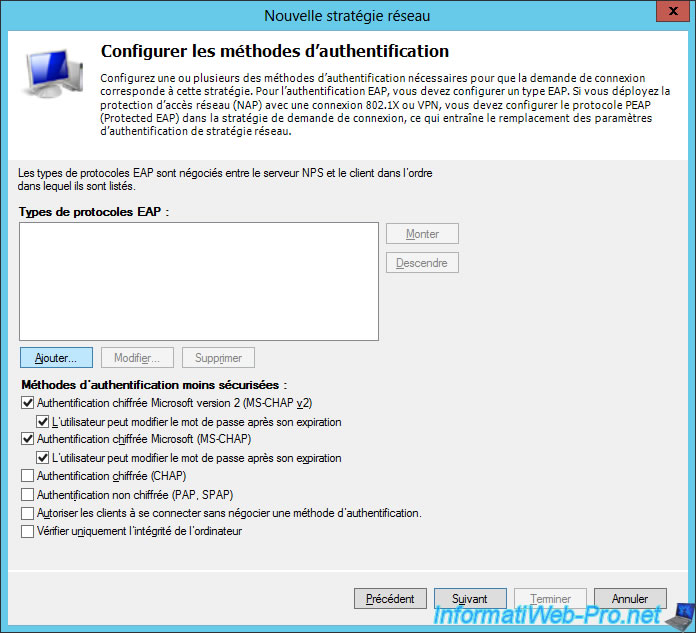
As stated on the Microsoft Technet :
- Windows uses EAP to authenticate PPP (Point-to-Point Protocol) connections for network access.
- For EAP-MSCHAP version 2, this is a PPP authentication protocol.
Add these protocols (PEAP and EAP-MSCHAP) one by one.
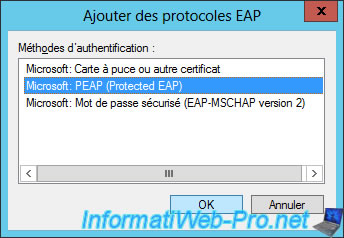
Then, click Next.

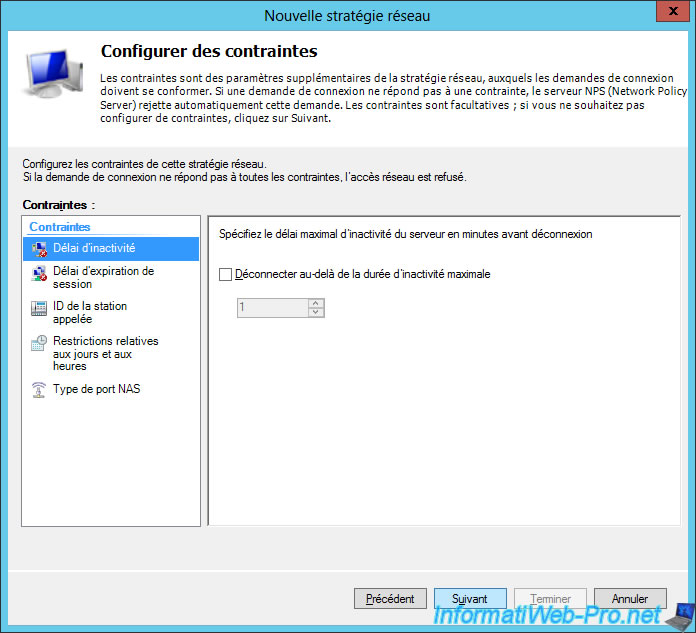
For the "constraints" part, you can define a time of inactivity after which the connection will be automatically closed.
You can also set date and time restrictions.
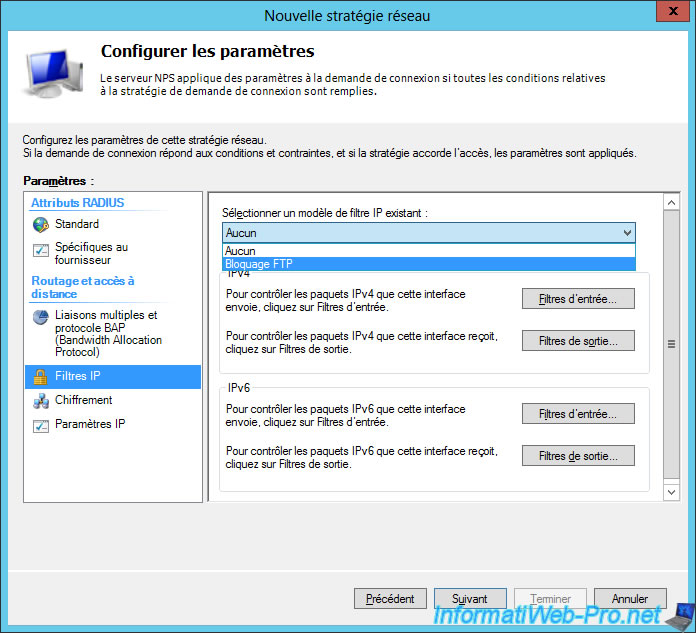
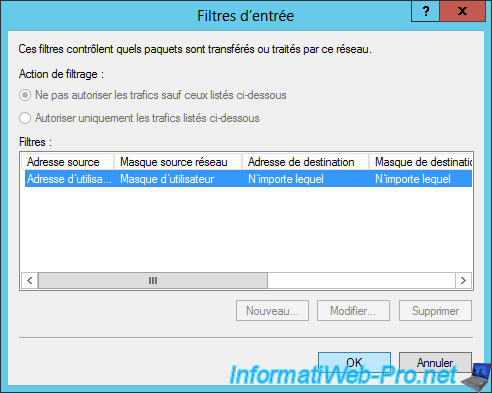
For the parameters, you will find in particular the "IP Filters" tab where you can use a filter created before.
In our case, we will use our "FTP blocking" filter. This will block access to FTP servers for users connecting to our VPN server.
Warning :
- When you select a filter, you can check its rules by clicking on the "Input filters" and "Output filters" buttons, but you will not be able to modify its rules. Neither add any.
- If you select a filter and then select "None", the wizard will keep a copy of the rules for the network policy being created or modified. Do not forget to remove them manually by clicking on the "Input Filters" and "Output Filters" buttons if you want to remove them completely.
- If you want to add or modify rules using an IP filter template, select the desired filter and then select "None". Then, you will be able to add, modify and delete rules using the buttons "Input filters" and "Output filters".
As you can see, by selecting an IP filter, you can check its rules, but not modify them.
The wizard displays a summary of your network policy.
Click Finish.
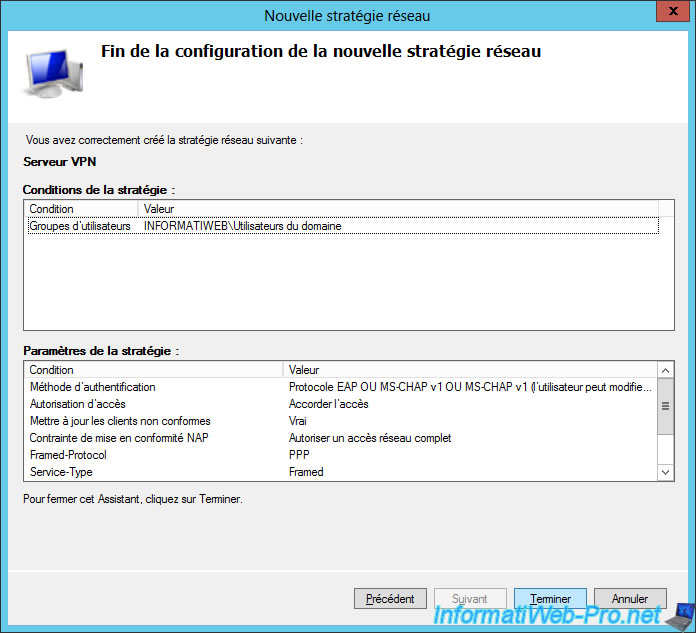
Our network policy is created.

8. VPN client
8.1. Configuration
Now that our server is fully configured, we will try to connect to our VPN server.
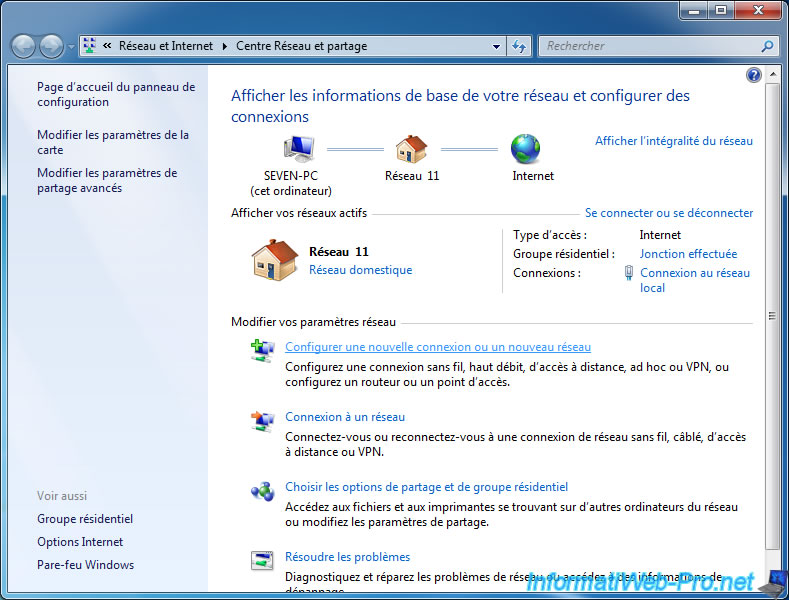
To do this, under Windows 7, right click on the network icon in the taskbar and click on "Open Network and Sharing Center".
Then, click on the "Set up a new connection or network" link.
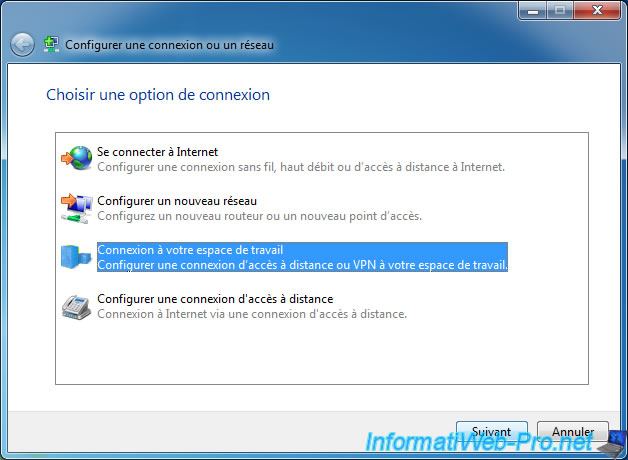
Select "Connect to a workspace" and click Next.
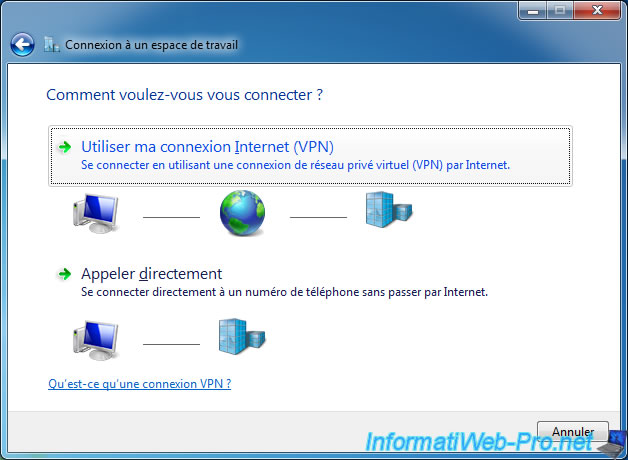
Click "Use my Internet connection (VPN)".
Note : the "Dial directly" option allows you to create a network connection by calling a phone number through a modem, but it's very expensive.
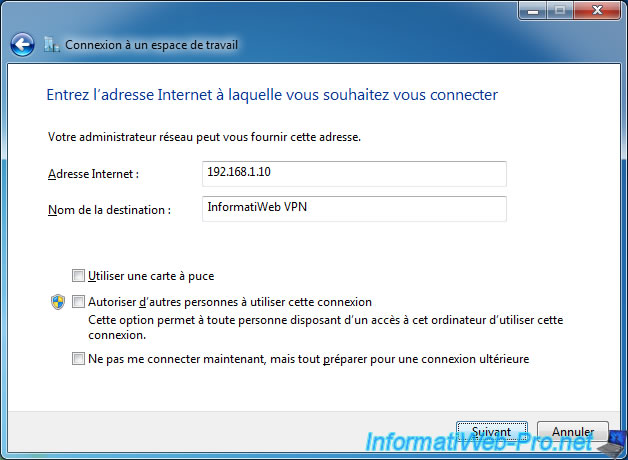
Specify the external IP address of your VPN server.
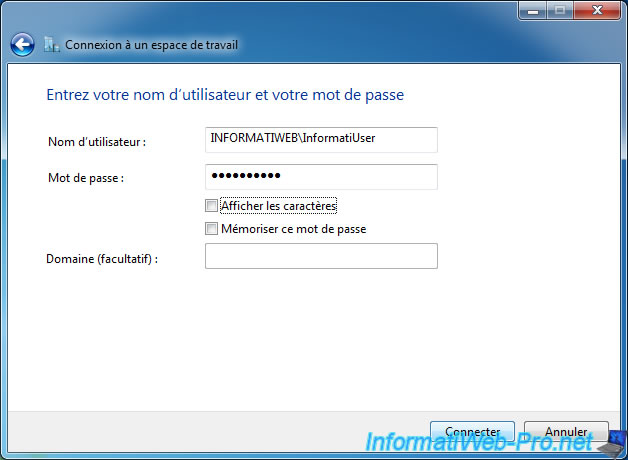
Use the credentials of a user authorized to connect to your VPN server.
In our case, a user of the Active Directory.
Note that we used the format : [Domain name]\[User name]
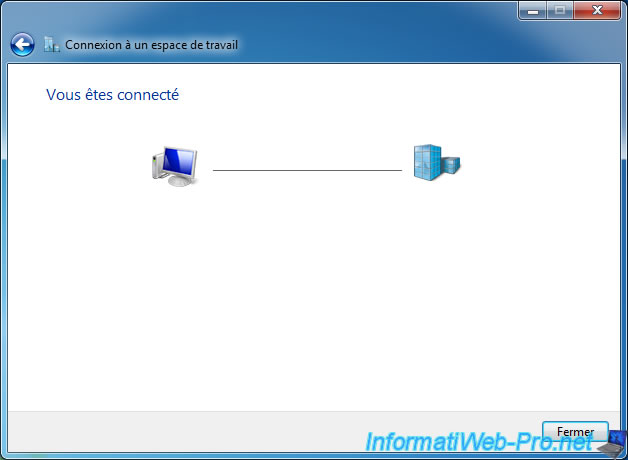
Then, Windows will attempt to connect by trying one by one the different VPN types : IKEv2, PPTP, L2TP and SSTP.

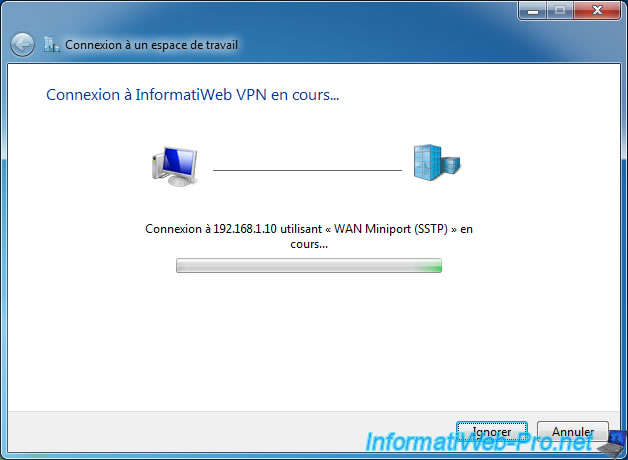
If your server is configured correctly, the connection will be established correctly.
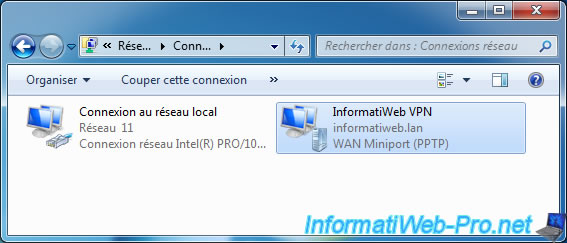
If you look in your network connections, you will see that a new network connection has appeared.
This is your VPN connection.
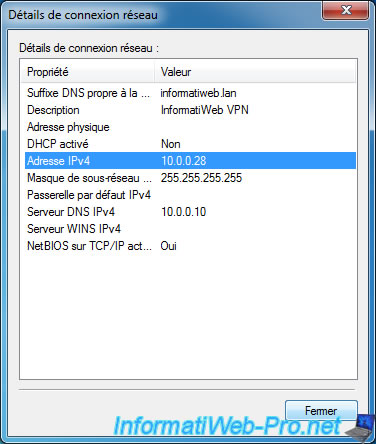
In the details of this network connection, you will see that we have received an IP address 10.0.0.x from our DHCP server.
And that this PC will use the 10.0.0.10 DNS server of the network of our company.
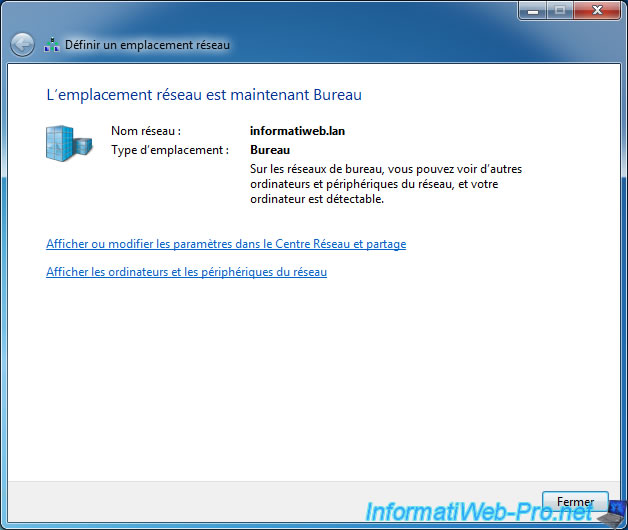
If Windows prompts you to choose a network location, select "Work network".
8.2. Properties
If you look in the properties of the network connection, you can change some interesting options.
In particular, the IP address of the VPN server in the General tab.
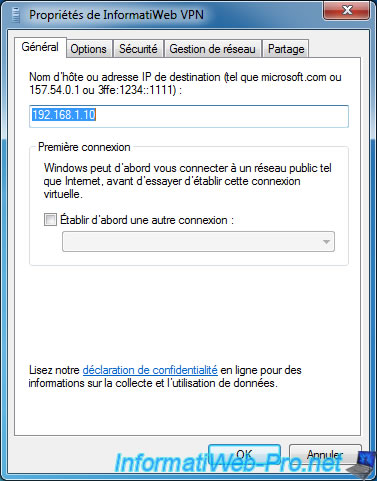
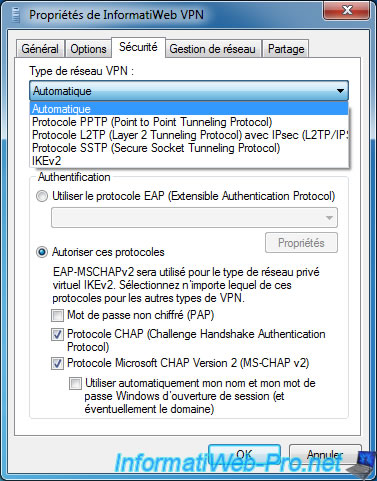
The type of VPN network to use (in the "Security" tab).
Note that the SSTP is used most often if you move, because this protocol doesn't require port opening in the firewall or port forwarding in the router.
Because the SSTP is a secure VPN over SSL, it uses port 443 (destination port). Port that is opened by default in all firewalls, otherwise you would not have access to HTTPS sites.
In the "Network Management" tab, you will find the TCP/IP configuration (IPv4 and IPv6).
Click "Properties".
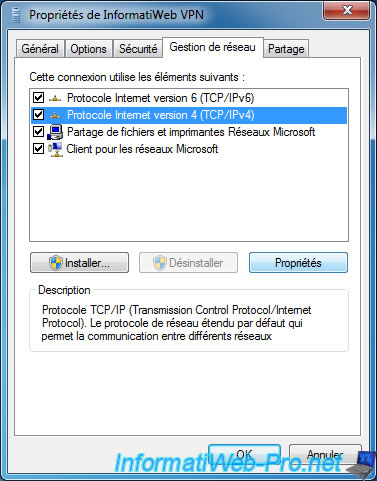
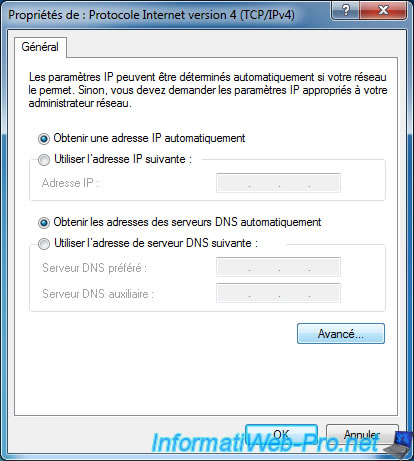
By default, you will automatically receive an IP address and DNS server addresses from your company's DHCP server.
Click Advanced.
Finally, in the "IP Settings" tab, you will see that Windows will use the default gateway for the remote network.
As indicated in the text of this window, this means that by checking this box you will have access to the Internet through your company's network gateway.
In other words, when you connect to your organization's network through your VPN connection, you'll also benefit of network policies, hardware firewalls, ... of your organization's network. As it is the case, when you are physically in your company.

8.3. Test
If your server is properly configured, you will have access to the Internet.
You will also have access to the intranet sites of your company.
Note : if you don't have access to your intranet, it's that your DHCP server is not configured to send the IP address of your DNS server (present on the same server as your Active Directory) to computers of your network (and thus also to clients of your VPN server).

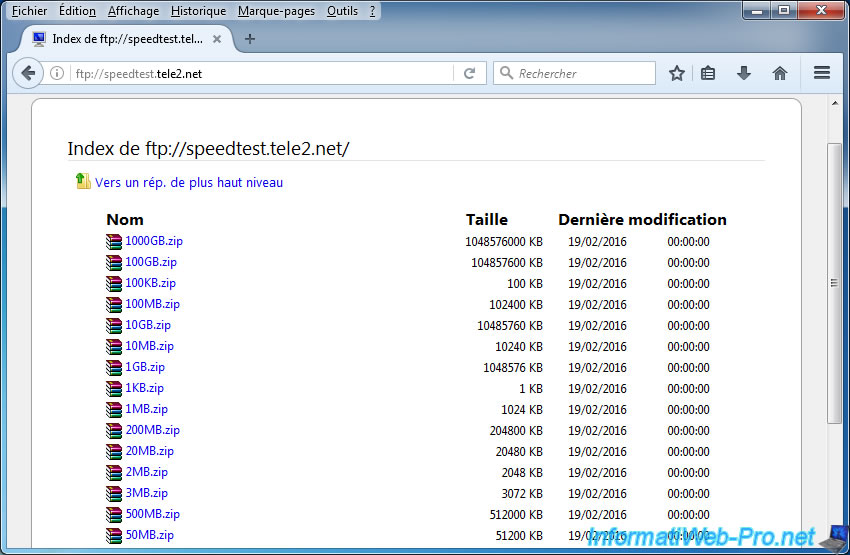
For FTP servers, you will not be able to access them if you have created the same filter as us.
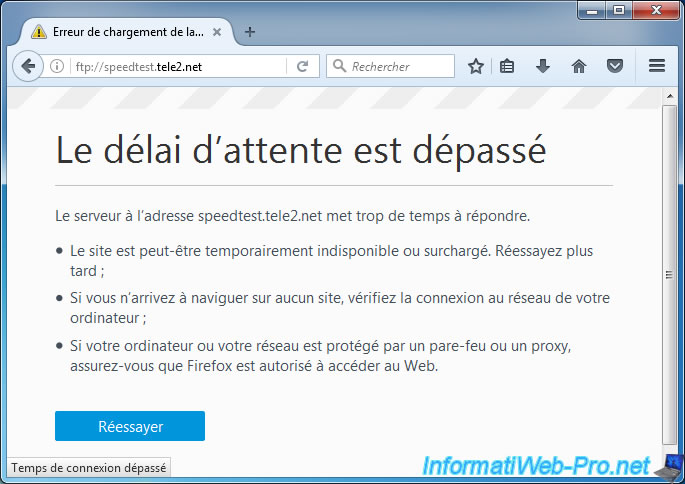
But from a normal computer, you will see that this FTP server exists.
Note : this is a public FTP server used by SpeedTest to test the throughput of your Internet connection.
Share this tutorial
To see also
-
Windows Server 4/28/2012
WS 2003 - NAT and network routing
-
Windows Server 4/22/2015
WS 2012 - NAT and network routing
-
Windows Server 11/23/2017
WS 2012 / 2012 R2 - Dynamic routing (RIPv2)
-
Windows Server 12/9/2016
WS 2022 / 2016 / 2012 - Create a site-to-site (S2S) VPN tunnel via PPTP/L2TP
No comment