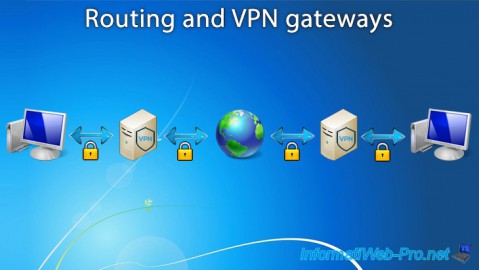
Routing and VPN server on Windows Server 2012

4. Configure the VPN server and the router
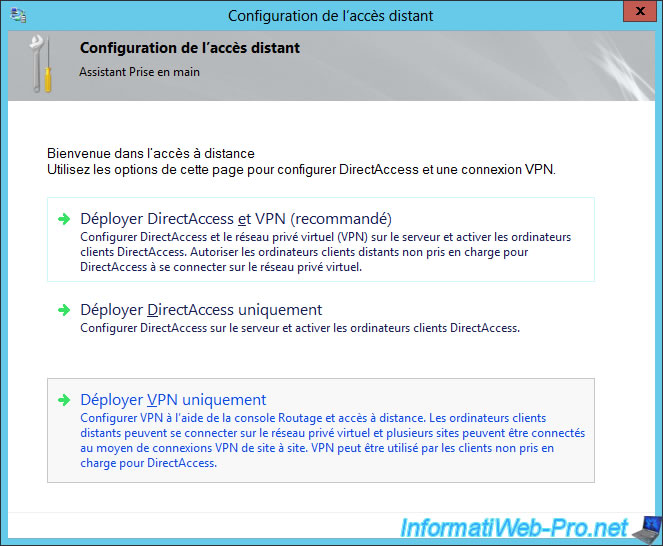
The "Configure Remote Access" program is displayed.
Click "Deploy VPN only".
Then, a "Routing and Remote Access" window will appear.
Right-click on the name of your server and click "Configure and Enable Routing and Remote Access".
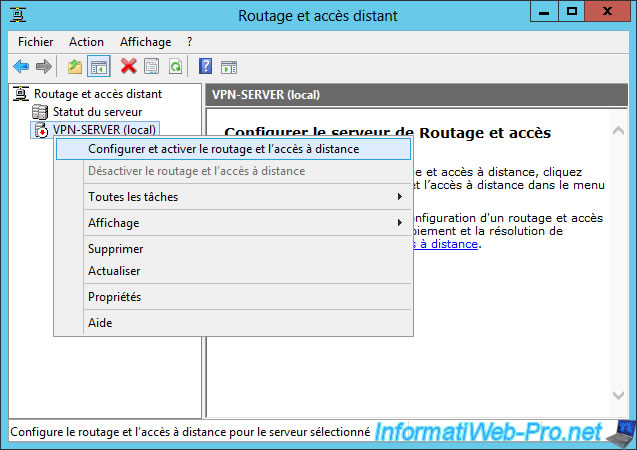
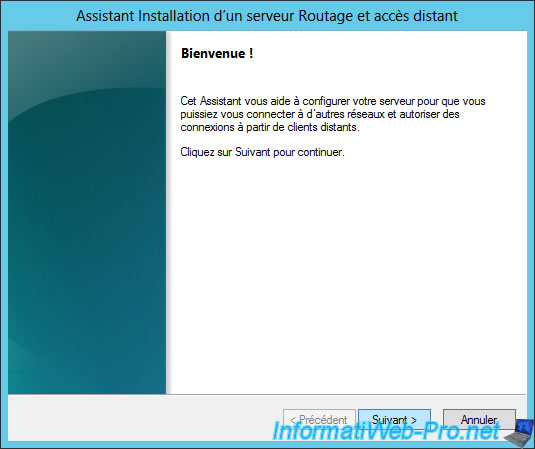
The Routing and Remote Access Server Setup wizard opens.
Click "Next".
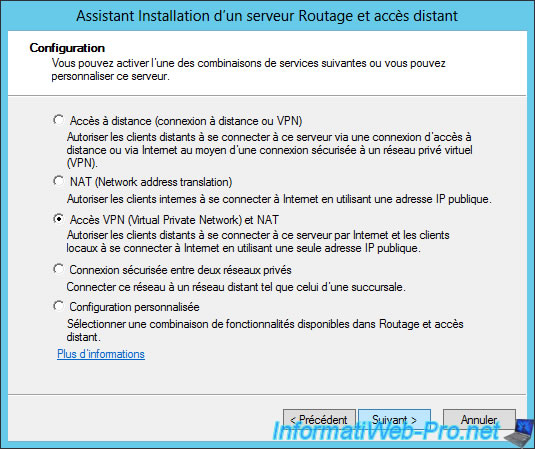
Choose "Virtual Private Network (VPN) access and NAT" and click "Next".
Note : options proposed always require 2 network cards. This is not the case for the "Custom configuration" option.
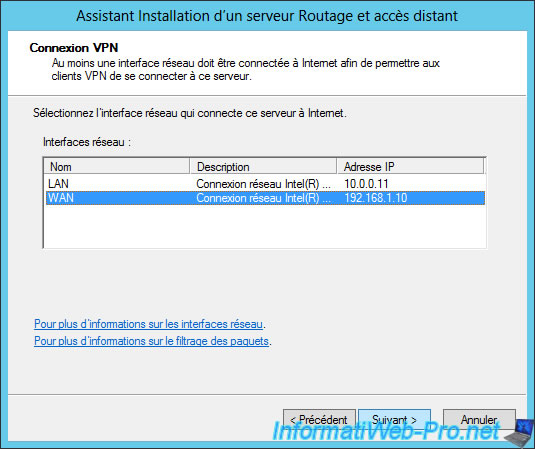
Select the network interface (network adapter) of your server that is connected to the Internet.
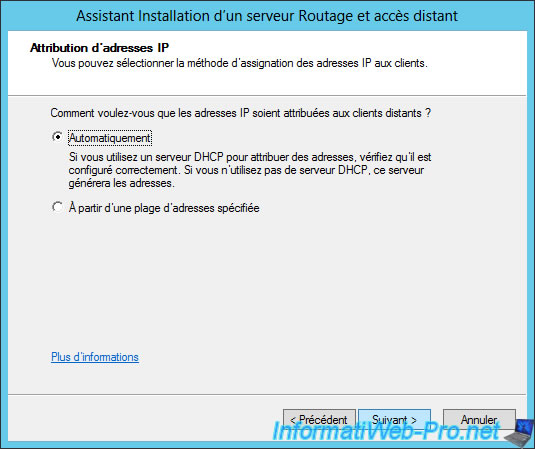
Select "Automatically" to allow your DHCP server to distribute IP addresses to machines of your local network and to clients of your VPN server.
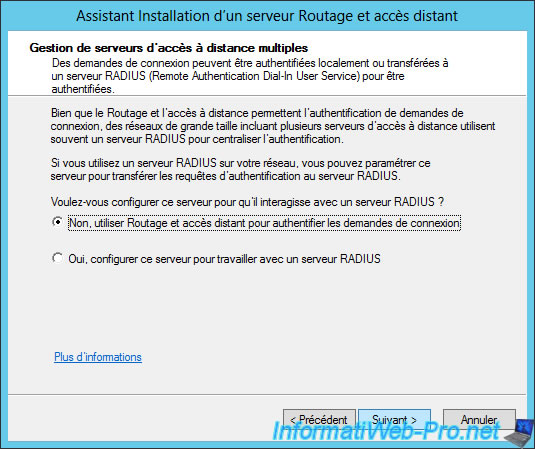
The wizard asks if you want to manage authentication of connection requests using a RADIUS server or not.
Select "No, use Routing and Remote Access to authenticate connection requests".
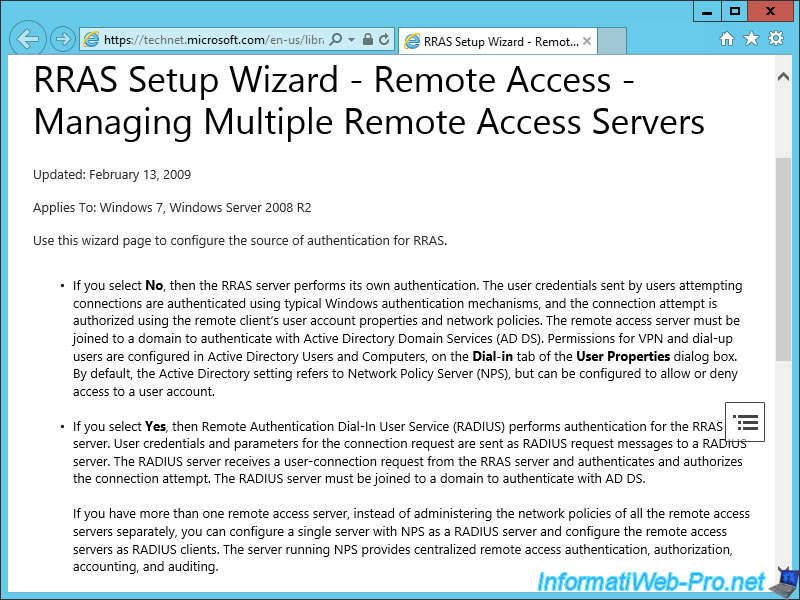
If you click the "More Information" link at the bottom of the window, Windows will display a help with a link that redirect you to the "RRAS Setup Wizard - Remote Access - Managing Multiple Remote Access Servers" page.
As shown on this page, if you select "No", RRAS will authenticate users through Windows authentication.
To be able to authenticate users with your Active Directory, simply link this server to your domain (which is already our case).
In other words, by selecting "No", your users will be able to connect to your VPN server using its user account present in the Active Directory. (If the account is allowed to connect to the VPN server)
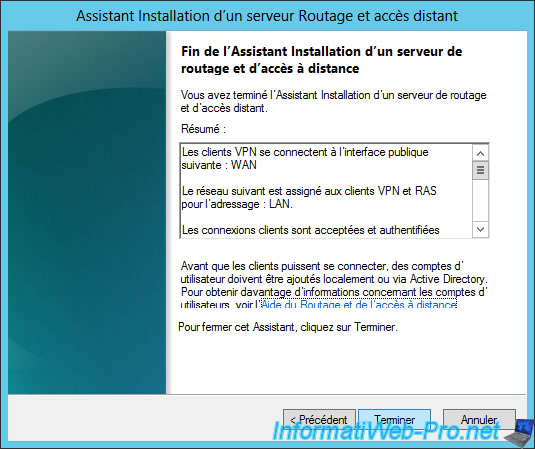
Finally, the wizard displays a summary of the configuration.
Click Finish.
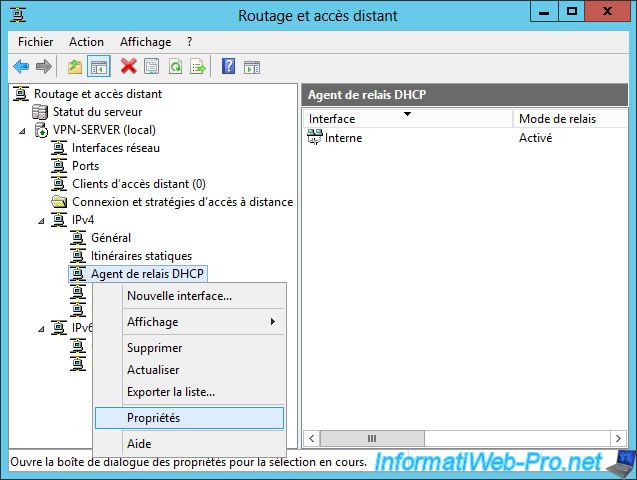
The "Routing and Remote Access" console will probably ask you to configure properties of the DHCP relay agent.
Click OK.

Then, the "Routing and Remote Access" service will start.

Go to IPv4, then right click "Properties" on "DHCP Relay Agent".
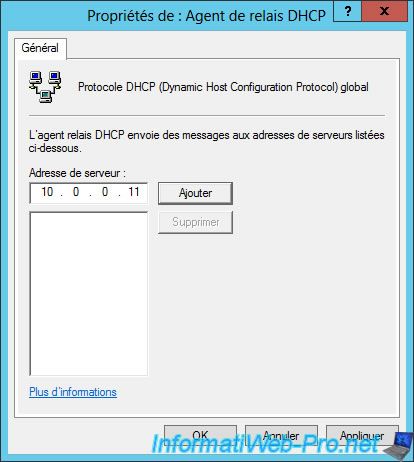
Specify the IP address of your DHCP server and click Add.
Then, click OK.
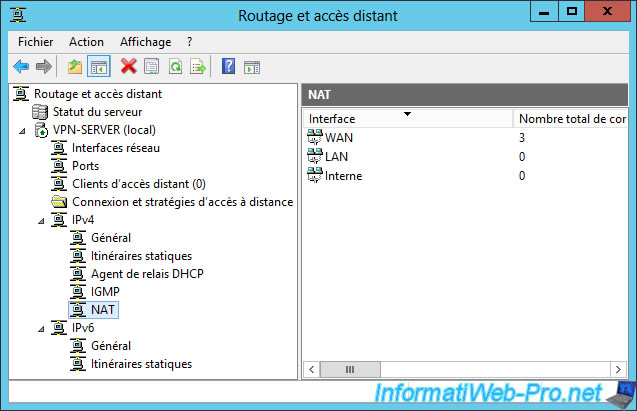
For the router, there is nothing to configure, because as you can see, interfaces are already configured correctly.
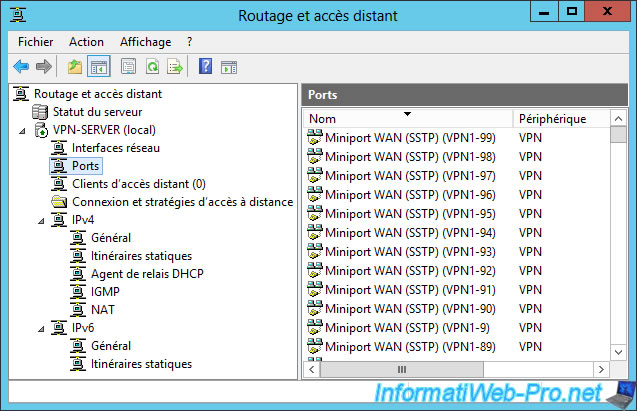
If you go in "Ports", you will see that there is a long list.
In this list, you will see that there are already all the ports for the different types of VPN : SSTP, PPTP, L2TP and IKEv2.
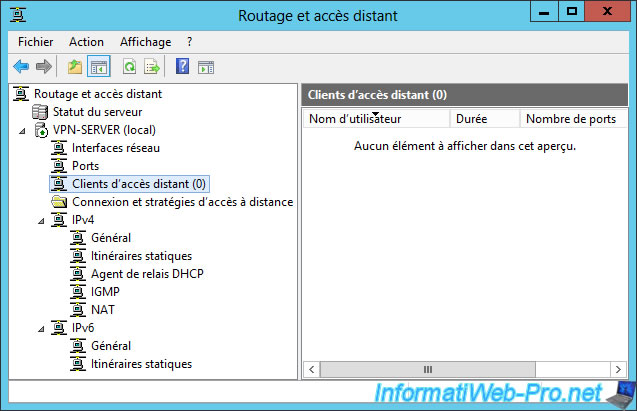
Finally, in "Remote Access Clients", you will see the list of people currently connected to your VPN server.
5. Routing and Remote Access console properties
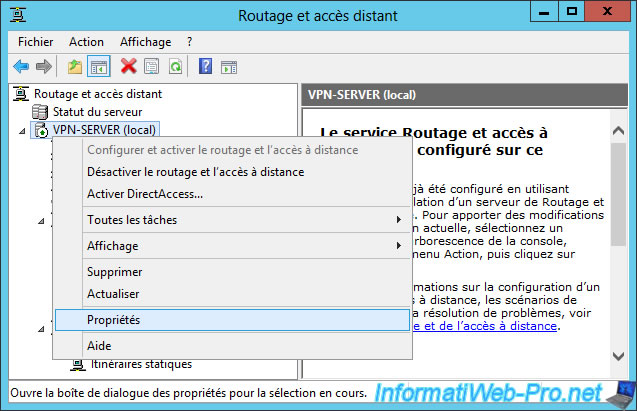
To change the properties of your router or VPN server, right click on the name of your server and click on "Properties".
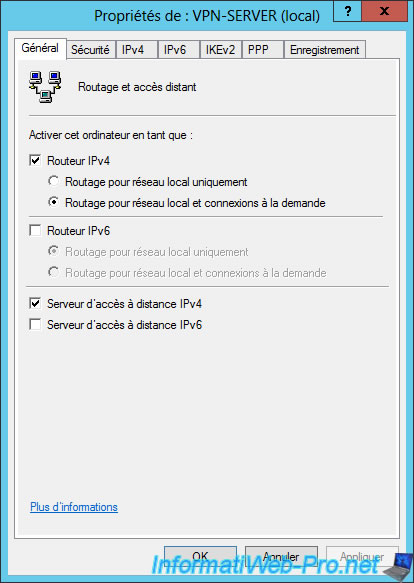
In the "General" tab, you can enable or disable the router and/or the remote access server.
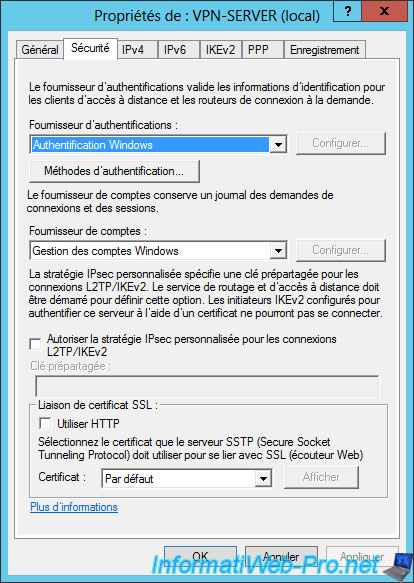
In the "Security" tab, you will find the necessary options for :
- the clients authentication
- set the pre-shared key to use for VPN connections using the IPsec policy over L2TP / IKEv2.
- the choice of the certificate to encrypt the VPN connection over SSTP (this is a secure VPN tunnel using SSL)
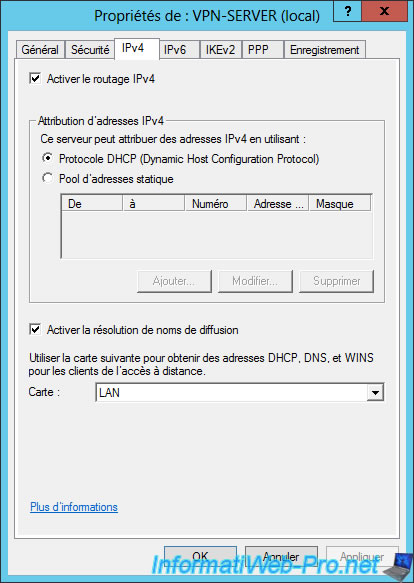
In the IPv4 tab, you can :
- Enable or disable the IPv4 router
- Choose to assign IP addresses automatically through your DHCP server or through a specific pool of IP addresses.
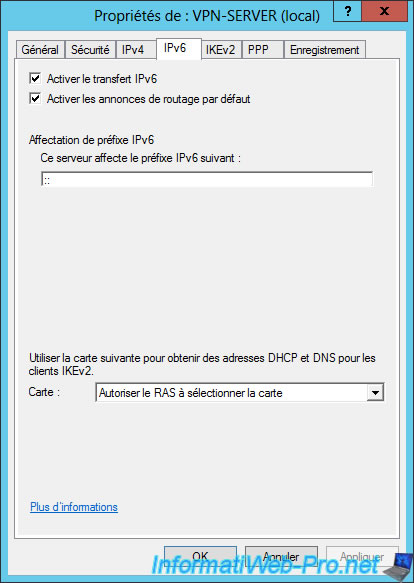
Same for the IPv6 router.
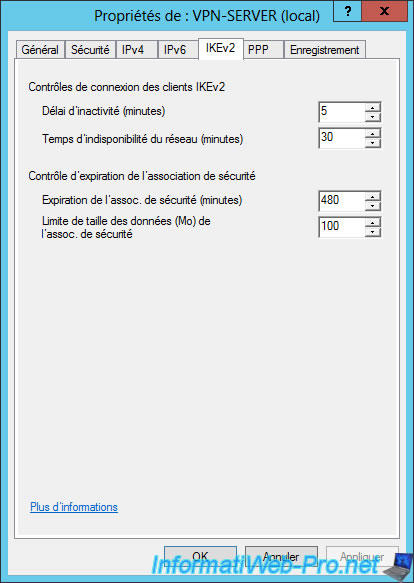
In the "IKEv2" tab, you can change the idle time after which a VPN connection in IKEv2 will be automatically terminated.
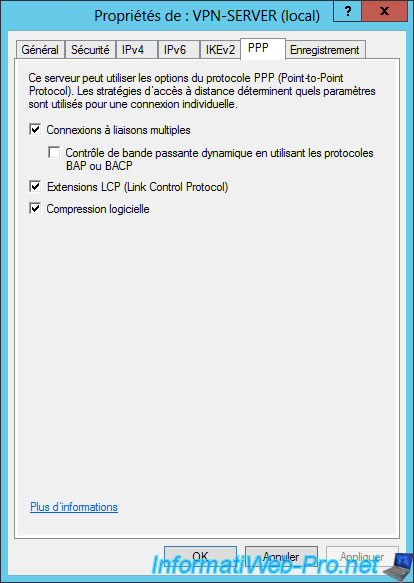
Options for Point-To-Point Protocol (PPP).
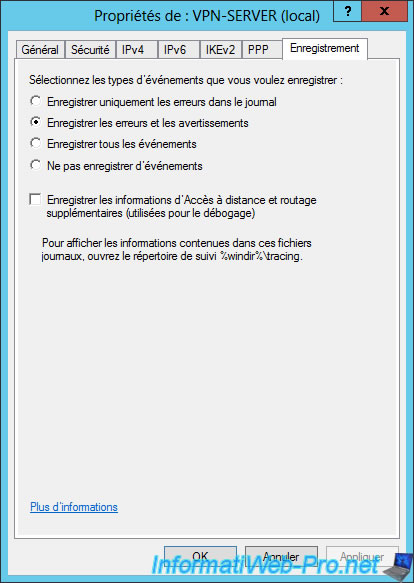
And finally, you can choose to save errors and/or events in logs.
Note that the additional information will be saved in the folder : %windir%\tracing
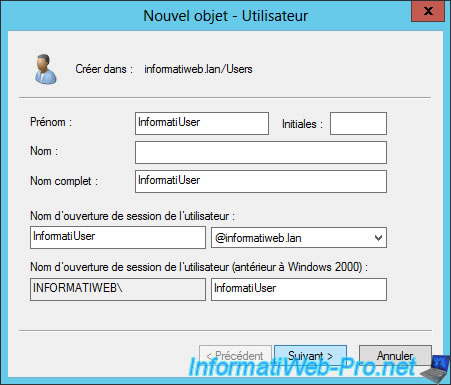
6. Allow VPN connection for a user
For this tutorial, we created a new user in our Active Directory.
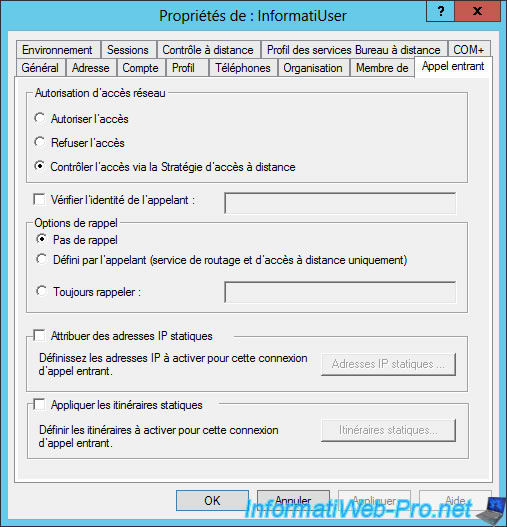
Then, to allow a user to connect to the VPN server, there are 2 possibilities :
- Go to the properties of the concerned user (on your Active Directory server) and choose "Allow access"
- Or choose "Control access through Remote Access Policy" to better manage the security of the VPN server by using NPS.
Note that the "Control access through Remote Access Policy" option is selected by default for all users.
Share this tutorial
To see also
-
Windows Server 4/28/2012
WS 2003 - NAT and network routing
-
Windows Server 8/8/2012
WS 2008 - NAT and network routing
-
Windows Server 4/22/2015
WS 2012 - NAT and network routing
-
Windows Server 12/9/2016
WS 2012 - Routing and VPN gateways
No comment