- VMware
- 20 November 2024 at 14:10 UTC
-


When you create a virtual machine from the VMware vSphere Client of VMware vCenter Server (VCSA) or from the web interface of your VMware ESXi host, the wizard always defaults to static provisioning for the virtual hard disks in the virtual machine.
As a result, in a test environment, you risk quickly running out of space in your datastore.
To resolve the problem, simply change the provisioning type of the virtual hard disks of your virtual machines to "thin provision".
Warning : you should not use this in business. Indeed, using thin provision with high capacity virtual hard disks could suddenly bring down your VMware virtual infrastructure due to overprovisioning.
- Change the provisioning type of a virtual machine's virtual hard disks
- Restore the virtual machine to its original location
1. Change the provisioning type of a virtual machine's virtual hard disks
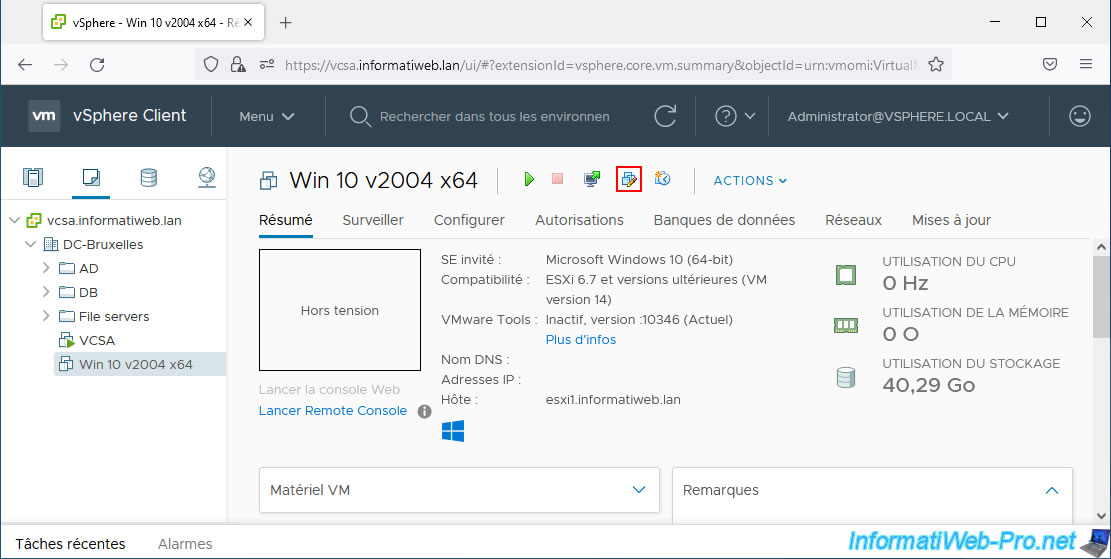
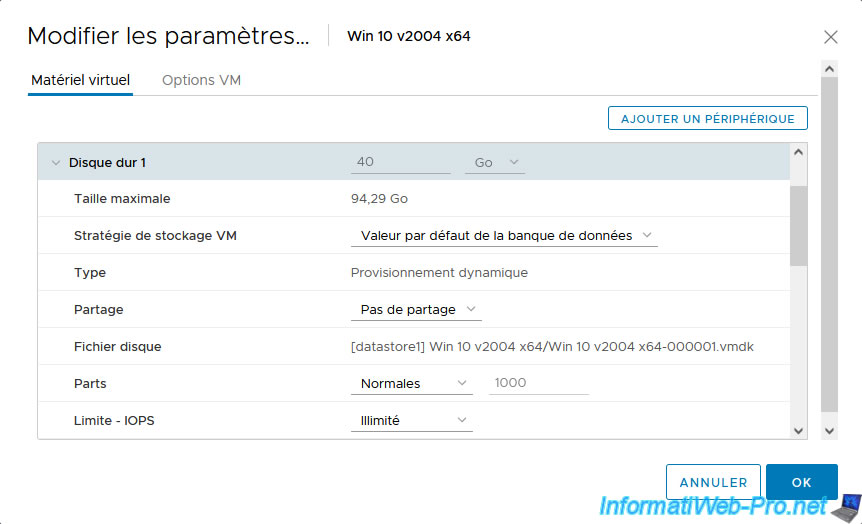
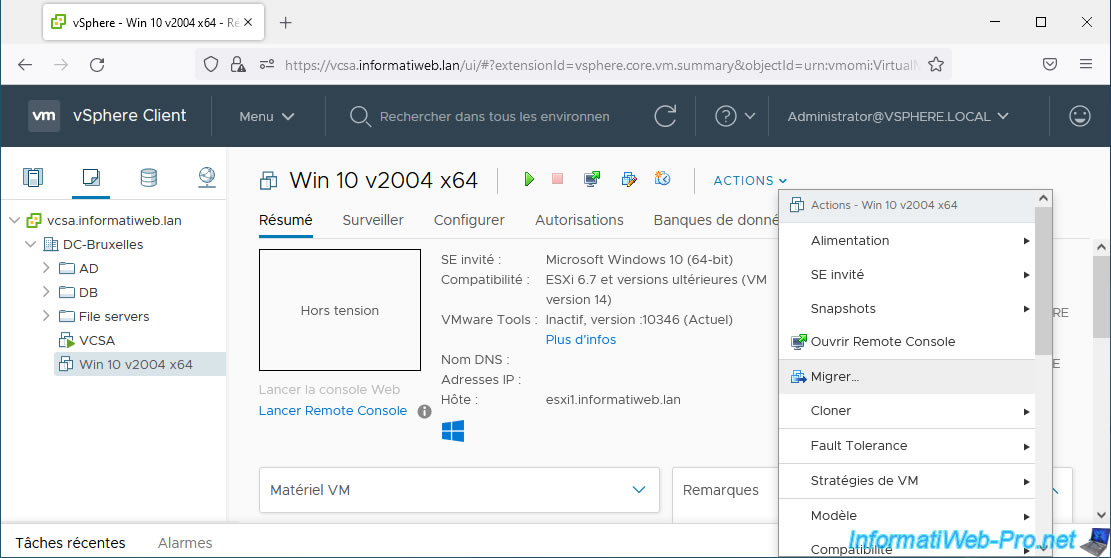
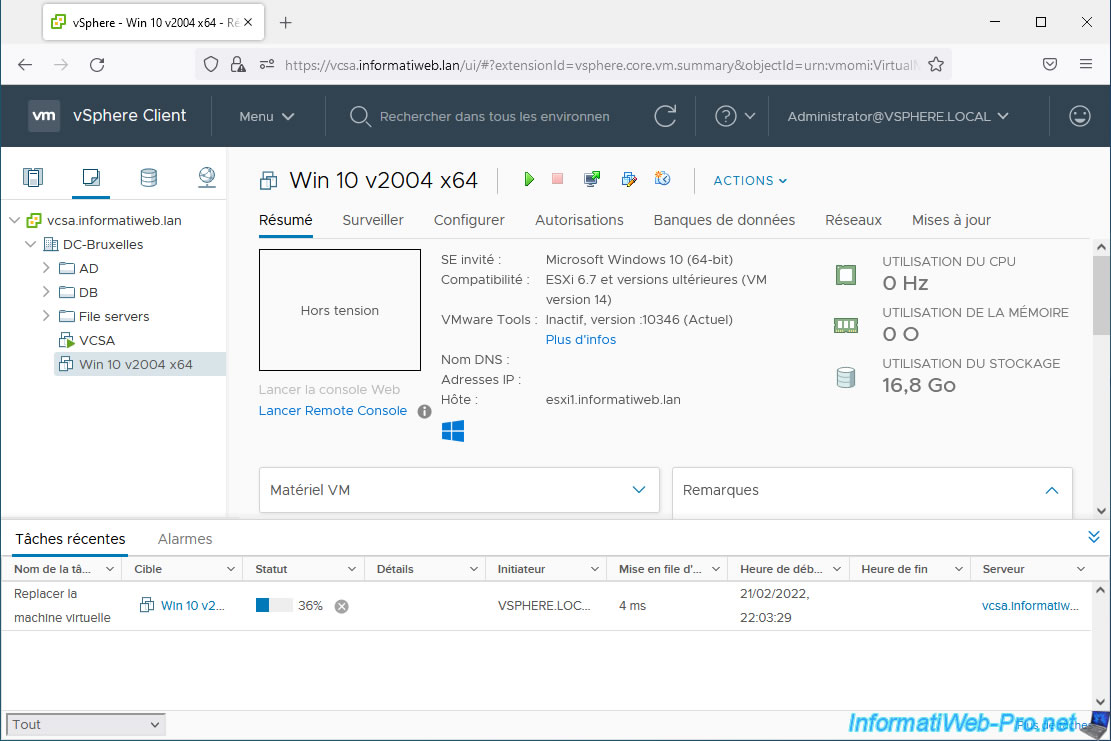
To get started, select the desired virtual machine, then click the icon: Edit Settings.
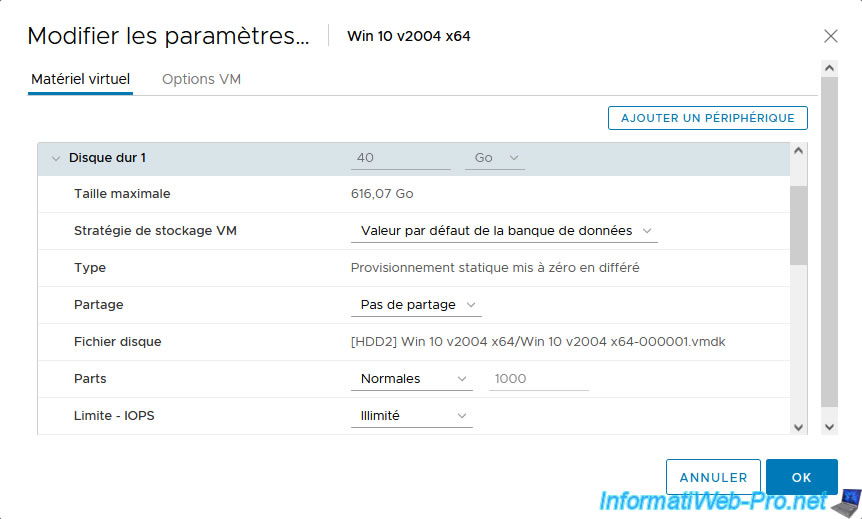
As you can see, in our case, the virtual hard disk used by our "Win 10 v2004 x64" virtual machine is of type: Thick Provision Lazy Zeroed.
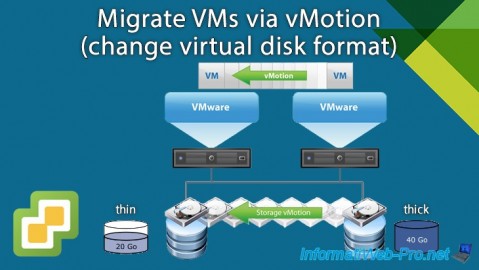
To change the virtual hard disk provisioning type of a virtual machine, you will need to move the virtual machine's storage (files) using the migration wizard (vSphere vMotion).
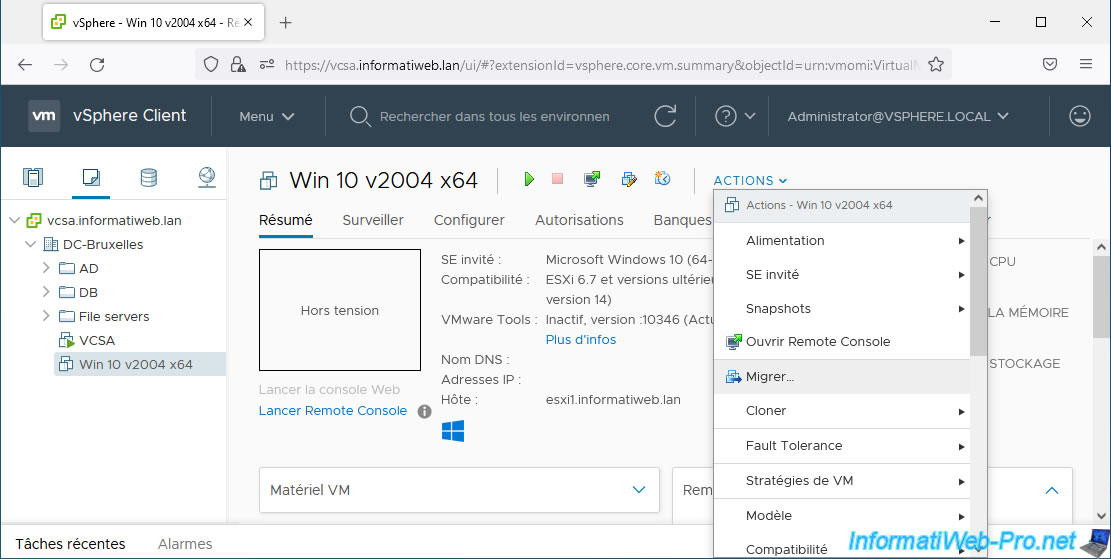
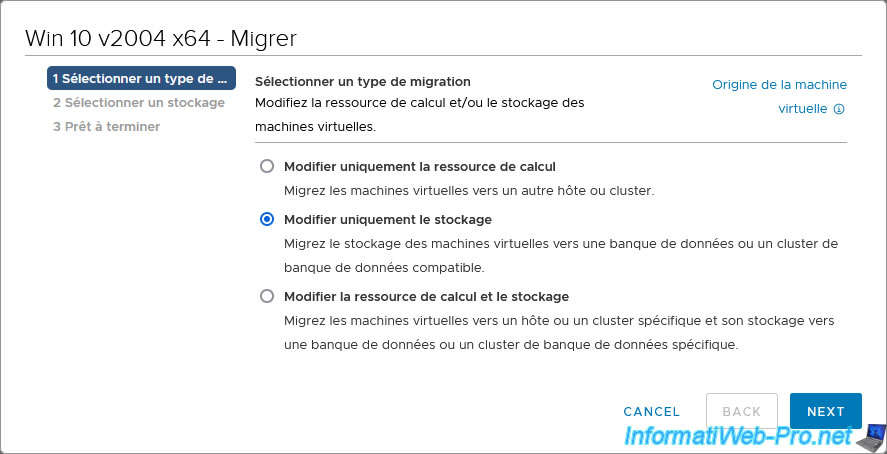
To do this, click: Actions -> Migrate.
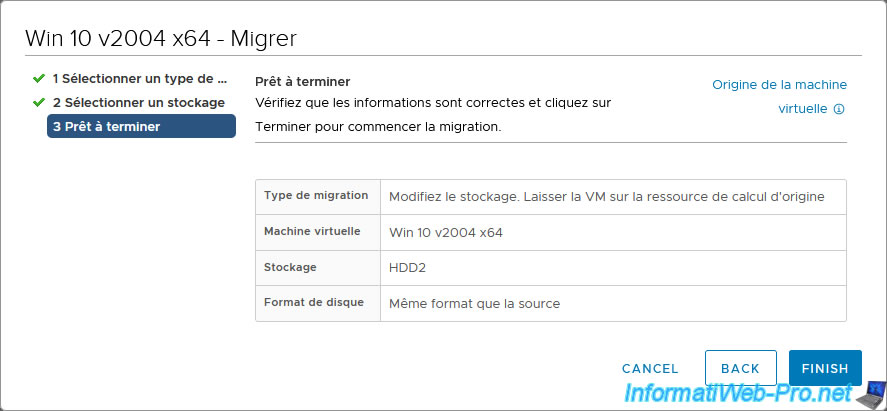
Select: Change storage only.
In fact, we only want to move the files of the virtual machine and not the VMware ESXi host on which it is running.
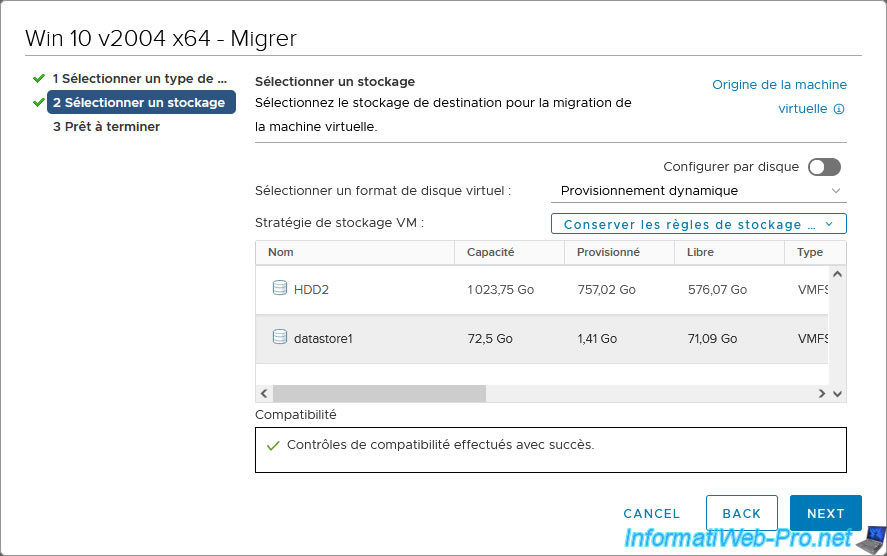
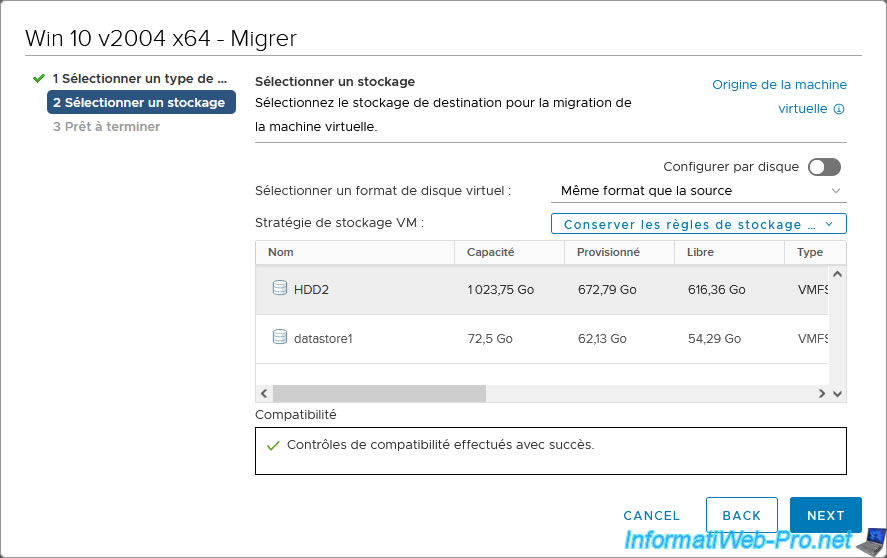
So that the virtual disk format (provisioning type) can be changed, you must migrate your virtual machine storage to a different datastore than the original one.
Then, once the migration is complete, you can migrate it again in the other direction (if you want) to put it back where it originally was.
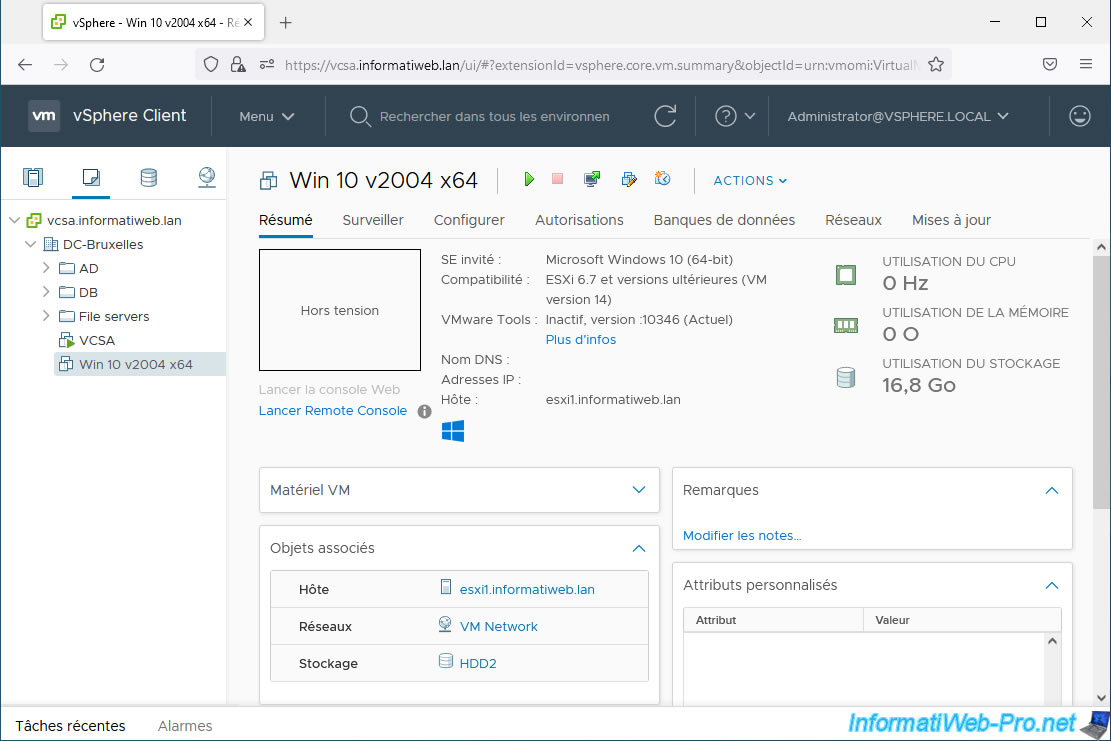
In short, in our case, this virtual machine is currently in our "HDD2" datastore. So, we select "datastore1" from the list that appears so that it changes place and the change in virtual disk format (provisioning type) is taken into account.
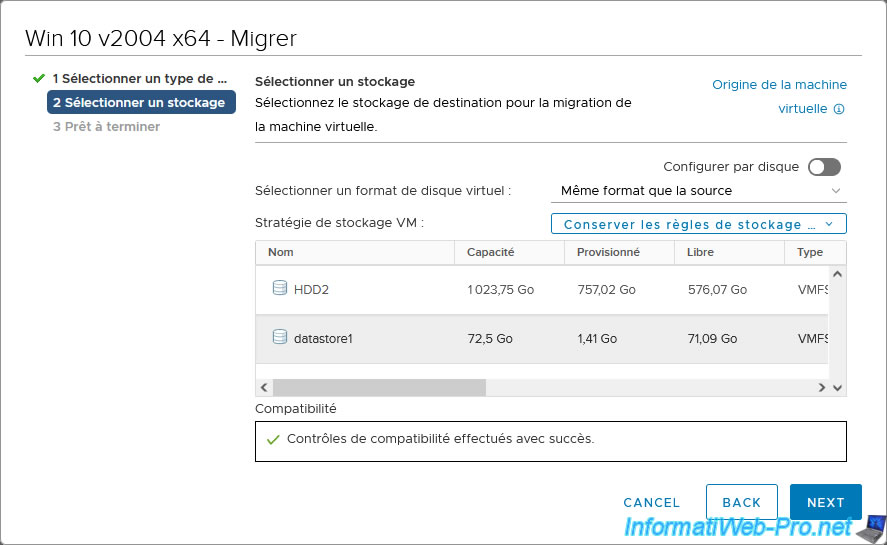
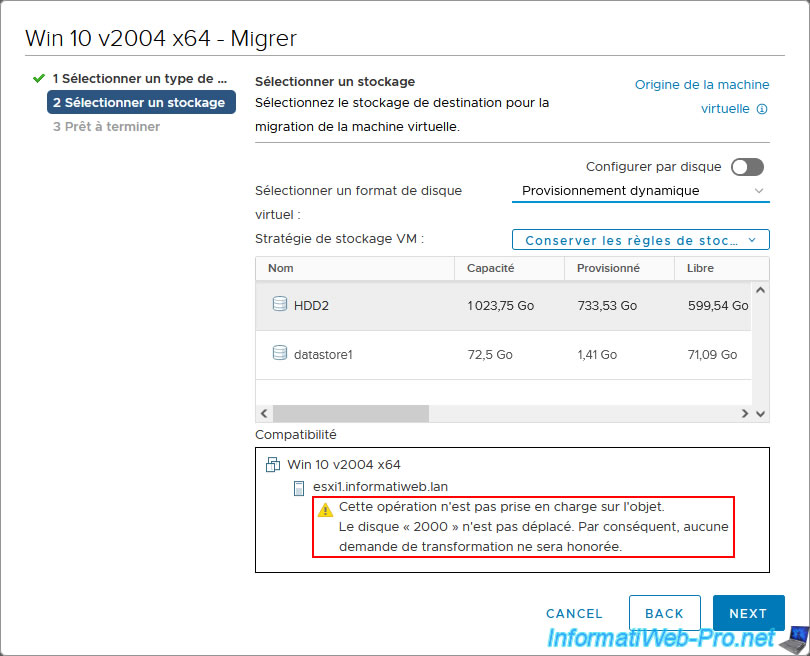
If you select the same datastore where this virtual machine is currently located, it will not work.
Indeed, this warning will be displayed:
Plain Text
This operation is not supported on the object.
Disk '2000' is not moving, so any transform request will not be honored.
Which means that in this case, the disk format (provisioning type) will not be changed.
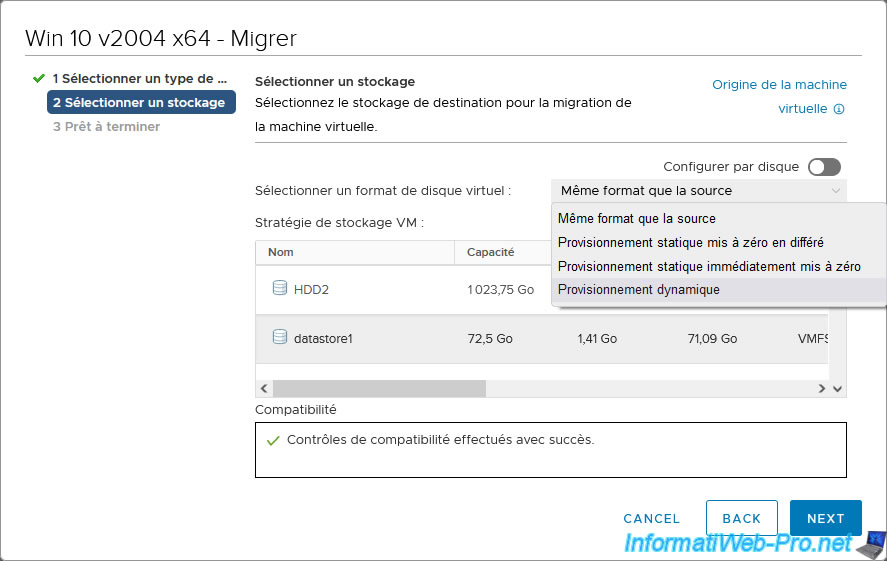
Next, select the desired provisioning type from the "Select virtual disk format" list.
In our case, we will use "Thin Provision" to save disk space on our datastore.
Note that you can change the provisioning type for all virtual hard disks or separately by clicking: Configure per disk.
Now click Next.
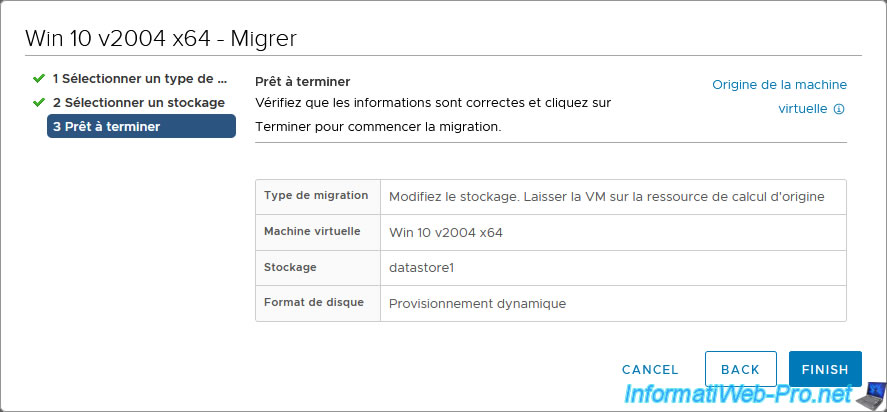
A summary of the migration configuration for this virtual machine appears.
Click Finish.
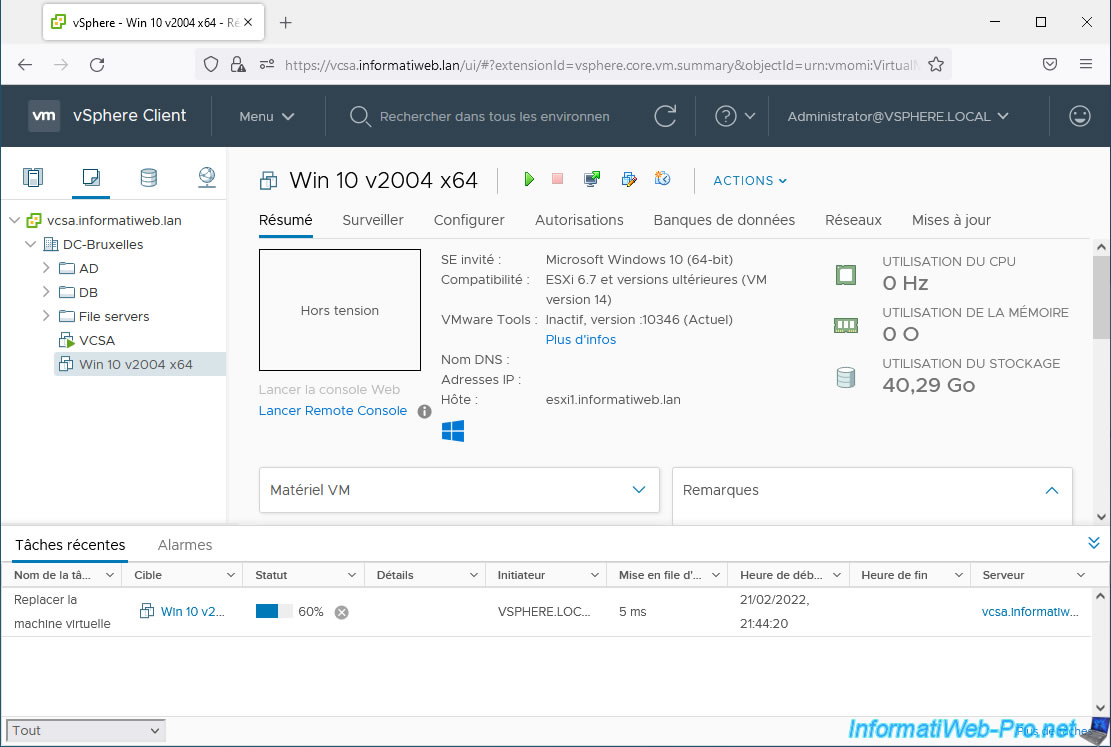
A "Replace virtual machine" task appears during the migration of this virtual machine.
Once the migration of this virtual machine is complete, the status of this "Replace Virtual Machine" task will be "Completed".
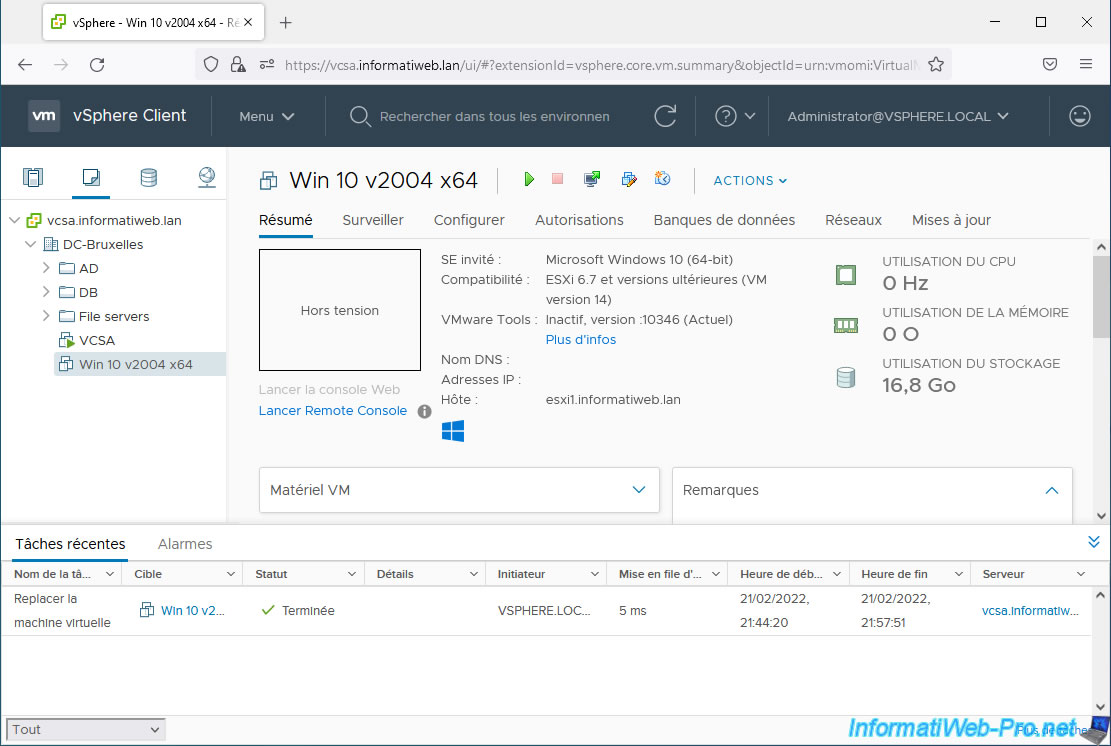
If you click on the icon to change your virtual machine settings, you will see that the virtual hard disk type has changed.
In our case, the virtual hard disk type is now: Thin Provision.
2. Restore the virtual machine to its original location
Now that your virtual machine's virtual hard disk provisioning type has been changed, you can return your virtual machine to the original datastore if you wish.
To do this, click again on: Actions -> Migrate.
Again, select: Change storage only.

Select your original datastore and click Next.
Note: for the virtual disk format, leave the "Same format as source" option selected by default since the provisioning type has already been changed previously.
A summary of the configuration of this migration appears.
Click Finish.
Wait while your virtual machine storage is migrated.
Its storage has been migrated.

Now your virtual machine is back in the original datastore.
For the provision type, this is always the same.
In our case: Thin provision.

Share this tutorial
To see also
-
VMware 3/5/2025
VMware vSphere 6.7 - Cluster admission control
-
VMware 2/14/2025
VMware vSphere 6.7 - Create a cluster
-
VMware 2/19/2025
VMware vSphere 6.7 - Create a cluster and enable EVC mode
-
VMware 2/12/2025
VMware vSphere 6.7 - Create a datastores cluster and enable SDRS
You must be logged in to post a comment