- VMware
- 02 October 2024 at 08:16 UTC
-


To increase the performance of a virtual machine, you can connect a physical hard disk or an iSCSI LUN from your storage array to it.
1. Connect a physical disk to a virtual machine
For this tutorial, we installed an iSCSI server on Windows Server on which we created 2 iSCSI disks.

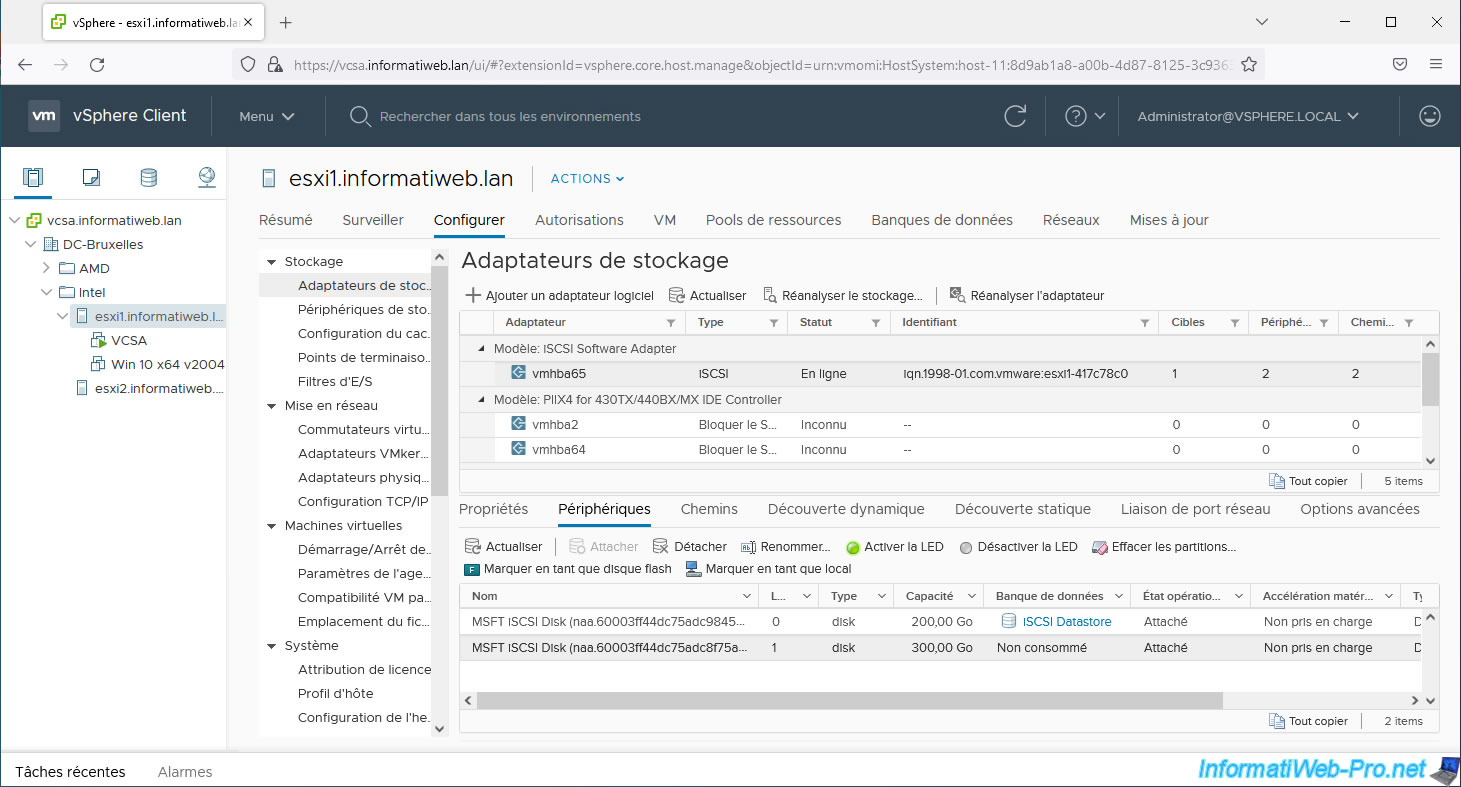
Our VMware ESXi hypervisor is already configured to access this iSCSI server via its "iSCSI Software Adapter" controller.
If necessary, refer to our tutorial: VMware vSphere 6.7 - Create an iSCSI datastore.
As you can see, in our case:
- the 200 GB iSCSI disk is used by our VMware ESXi hypervisor for our "iSCSI Datastore" datastore.
- the 300 GB iSCSI disk is available, because there is no datastore on it.
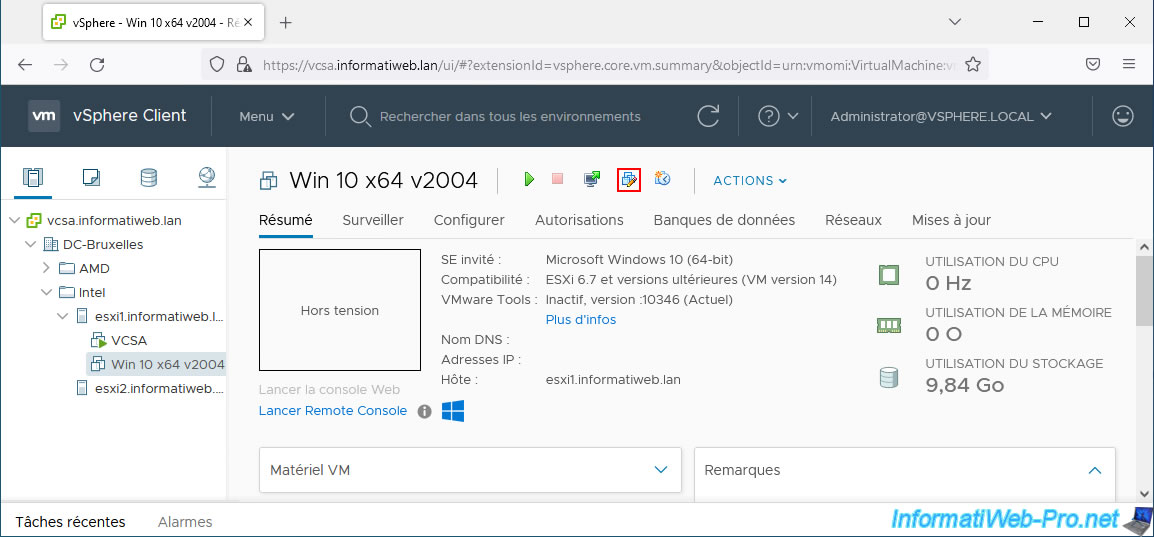
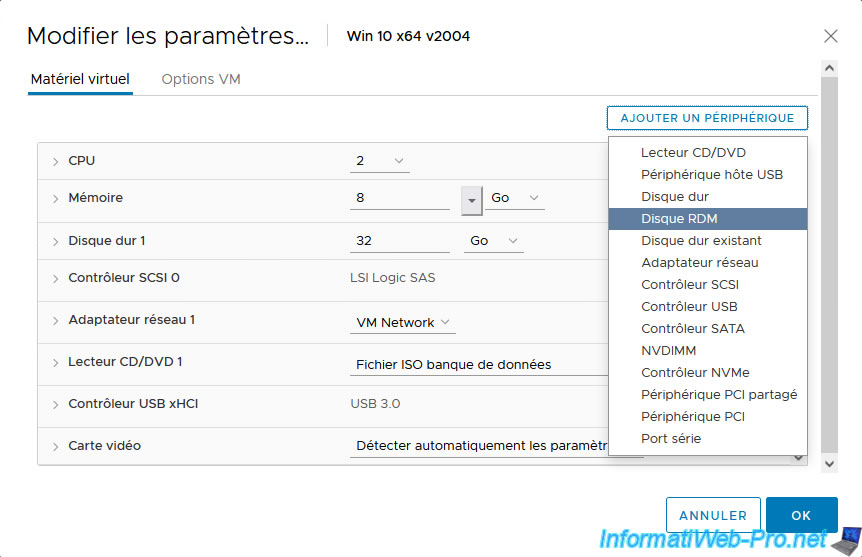
Change the settings of the virtual machine to which you want to connect this iSCSI disk.
Click: Add New Device -> RDM Disk.
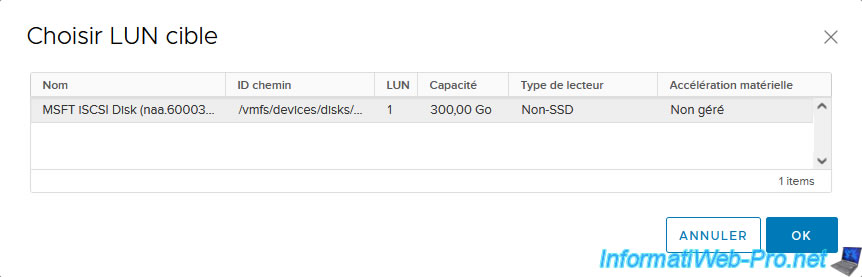
In the "Select Target LUN" window that appears, select the iSCSI disk identified previously.
Note: you could also connect a physical hard drive from your VMware ESXi host IF the storage controller it is connected to is supported for RDM.
Otherwise, the desired physical hard drive will not appear here. However, it is possible to manually create a pointer via a .vmdk file on the command line.
Source : Configuring Raw Device Mapping (RDM) for local storage.
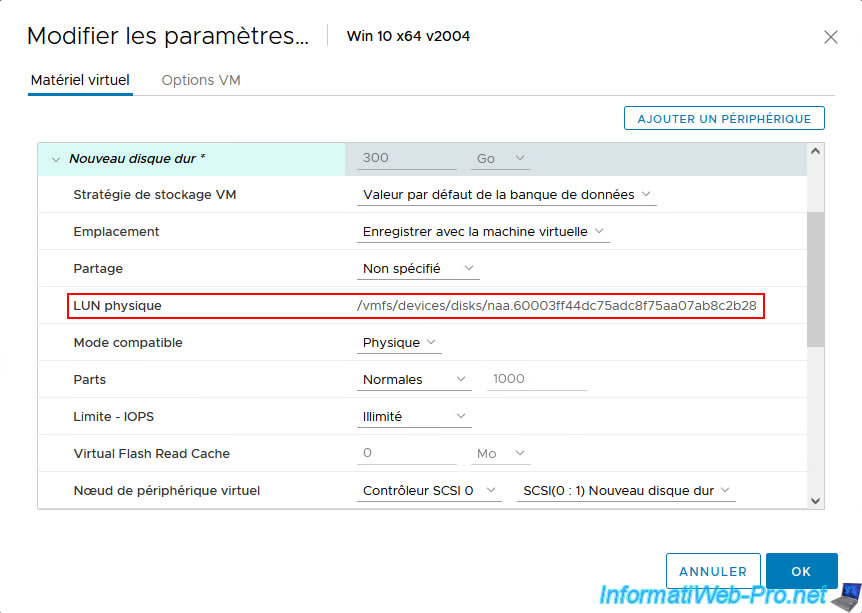
The new hard drive appears and the "Physical LUN" line tells you which physical drive on the host it corresponds to.
Note that the compatibility mode will obviously be "Physical" and that the size will not be modifiable given that the ".vmdk" file which will be created only makes the connection between the physical disk of the host and the hard disk which will be virtually seen by the guest operating system.
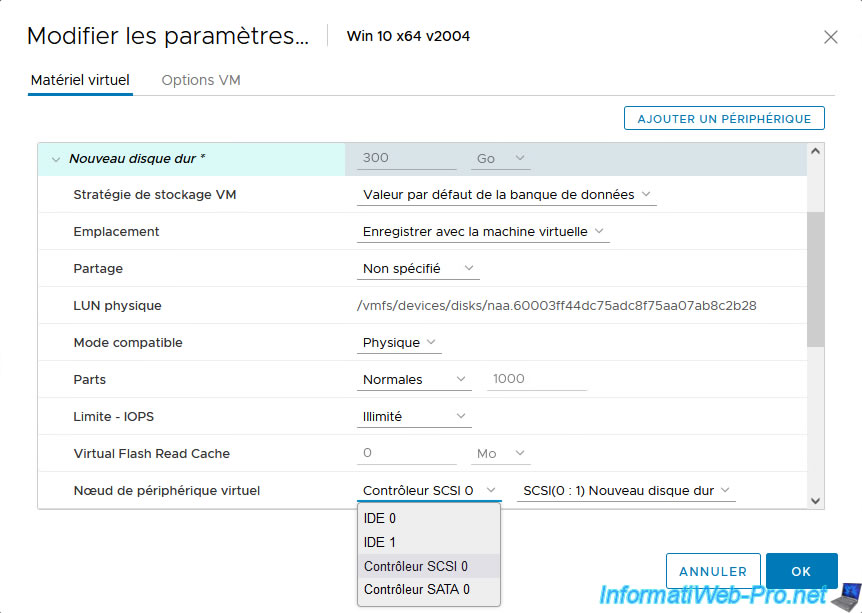
Note that you can choose the type of storage controller you want to connect it to.
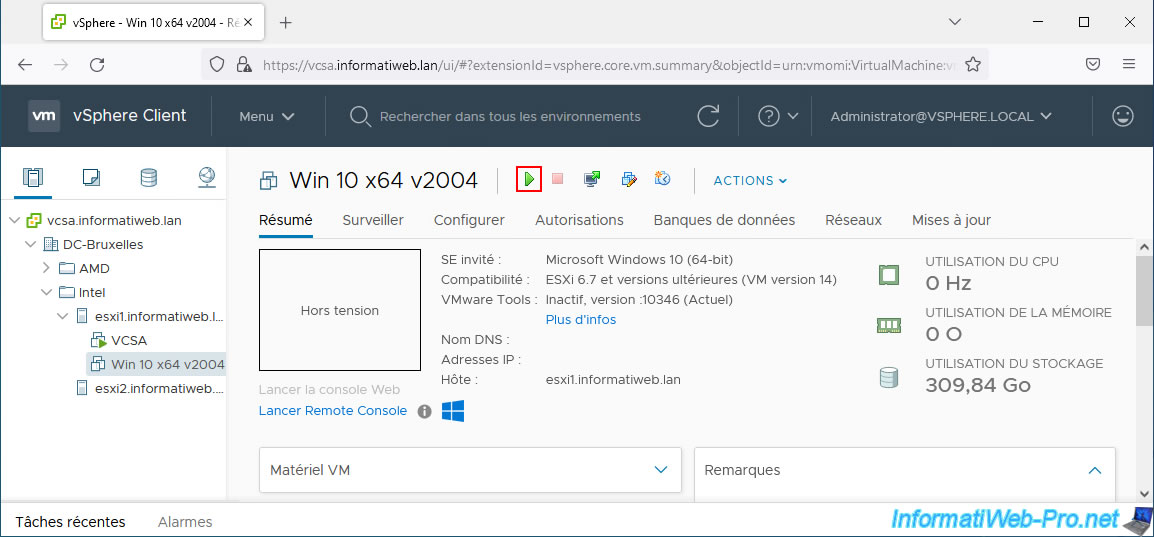
Once the virtual machine is modified, start your virtual machine.
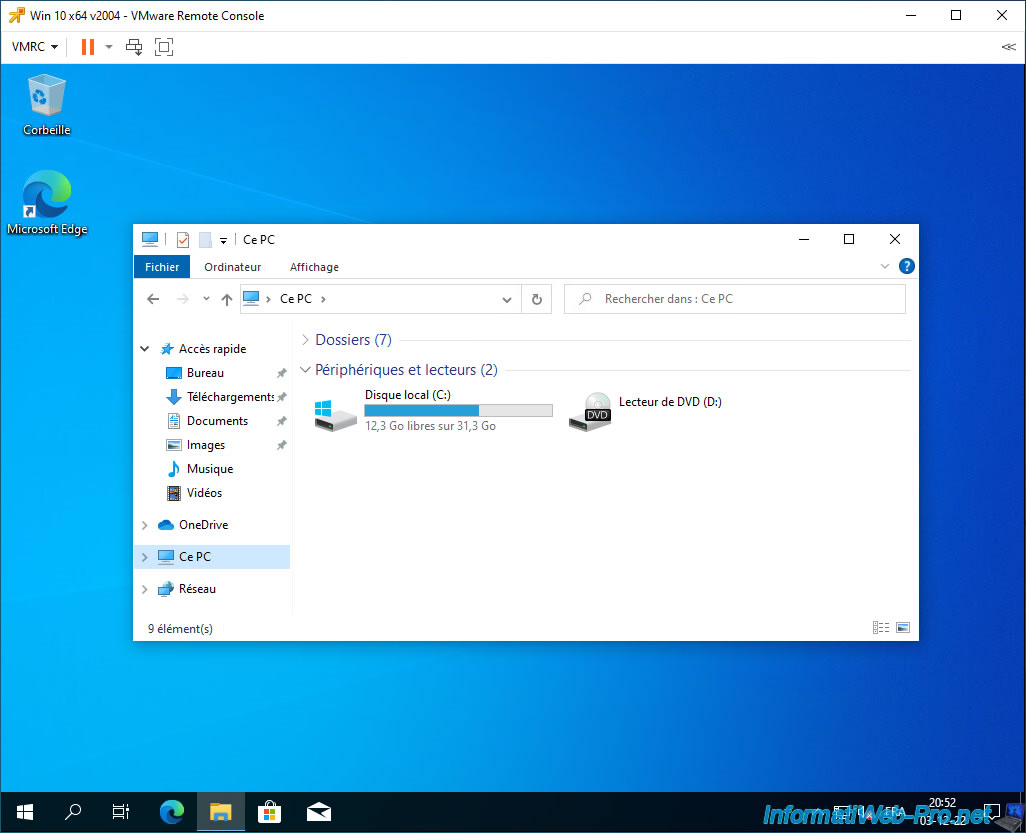
If you open file explorer, the partition may or may not appear, depending on the partitioning of the connected physical disk.
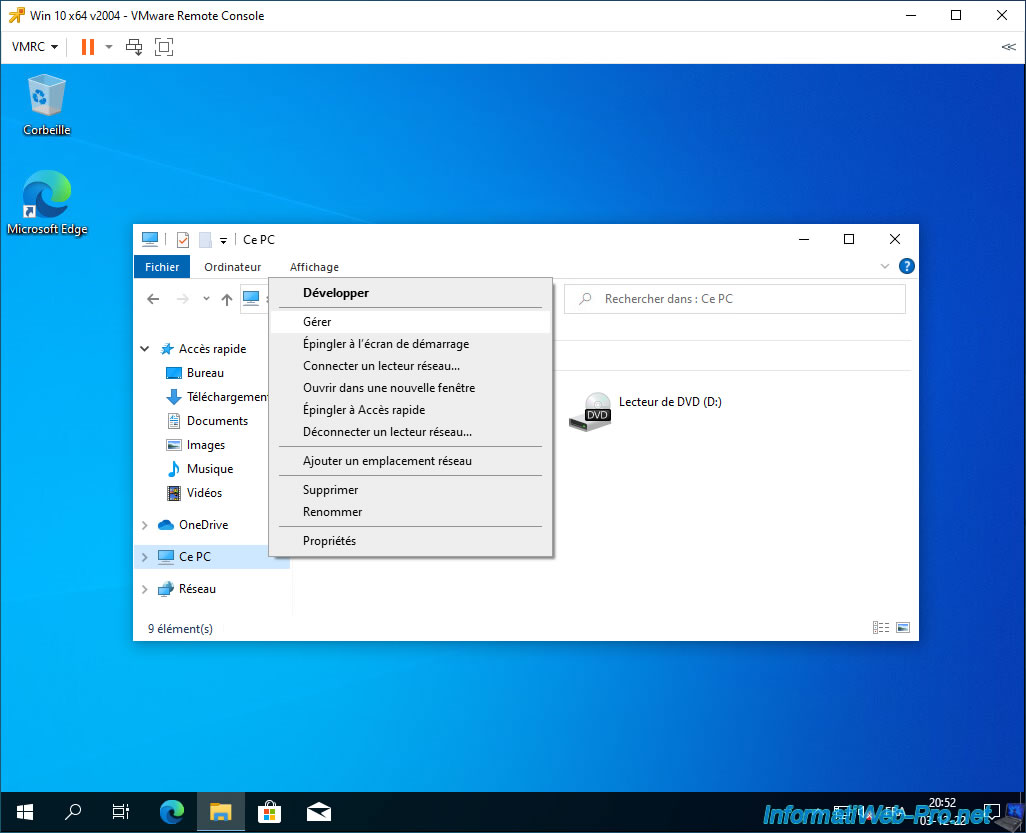
If not, right-click "Manage" on "This PC".
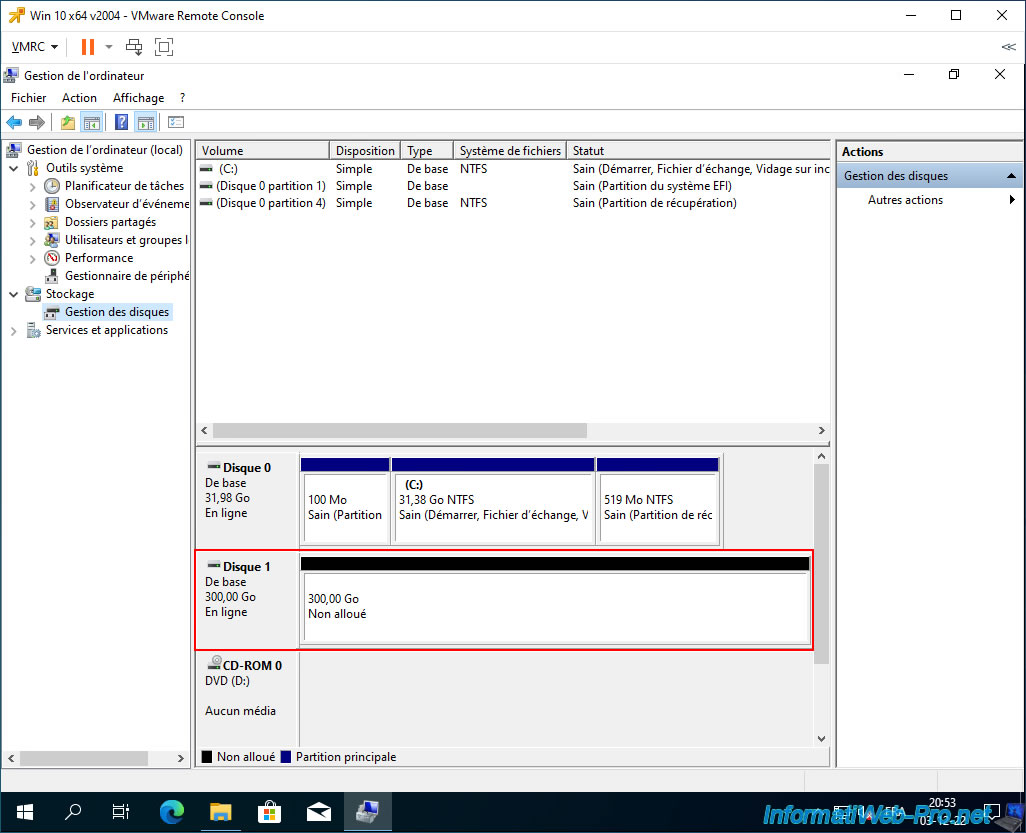
In "Disk Management", you will see how your physical disk is partitioned.
In our case, it is a new 300 GB iSCSI disk which has therefore never been partitioned.
Hence the 300 GB unallocated space that appears.
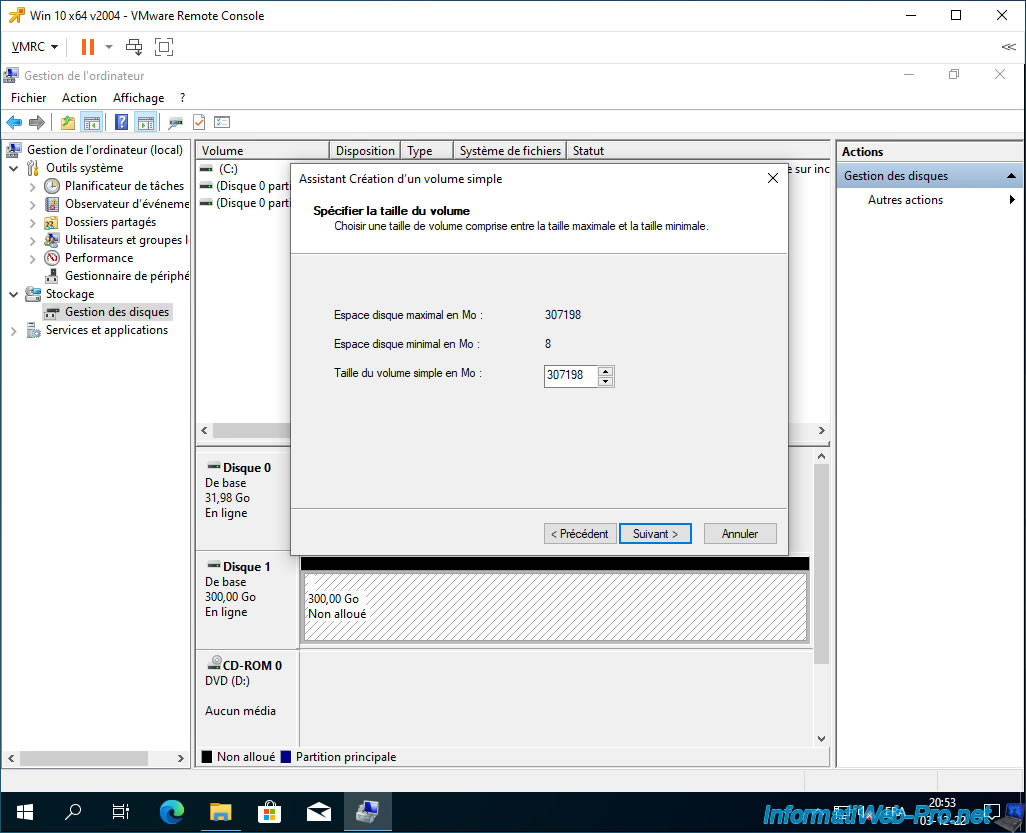
Right-click "New Simple Volume" on this unallocated space.
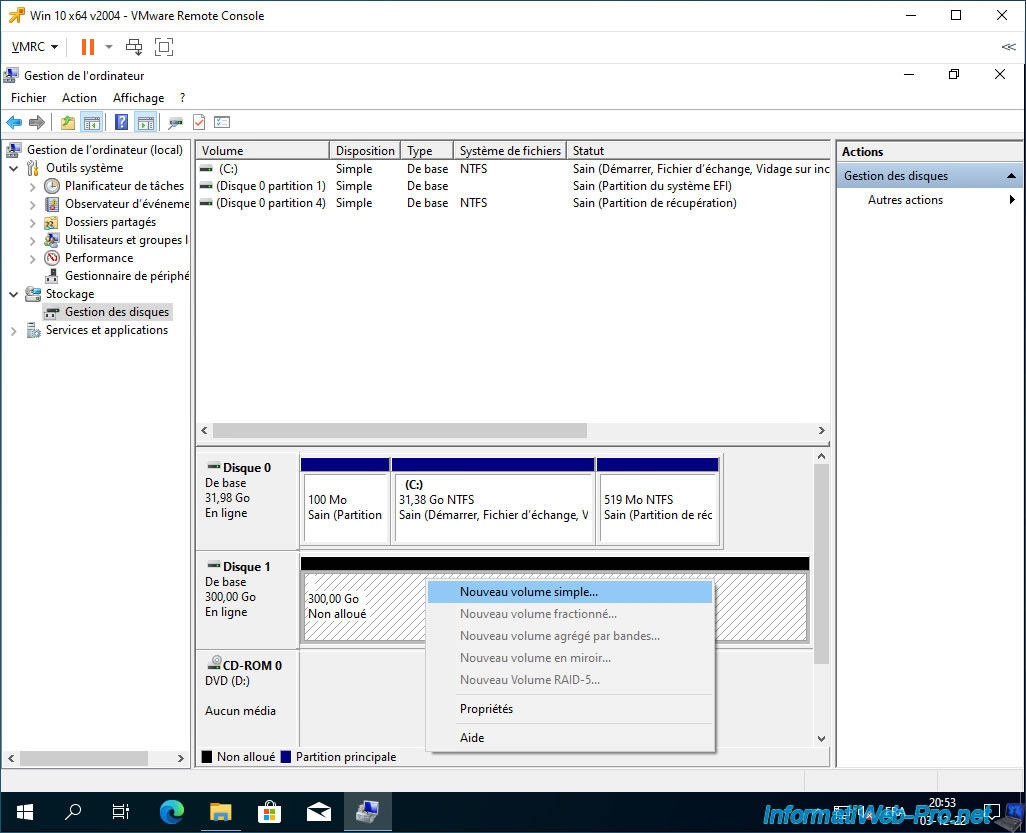
Leave the default size so that the partition takes up all the unallocated space on the disk.
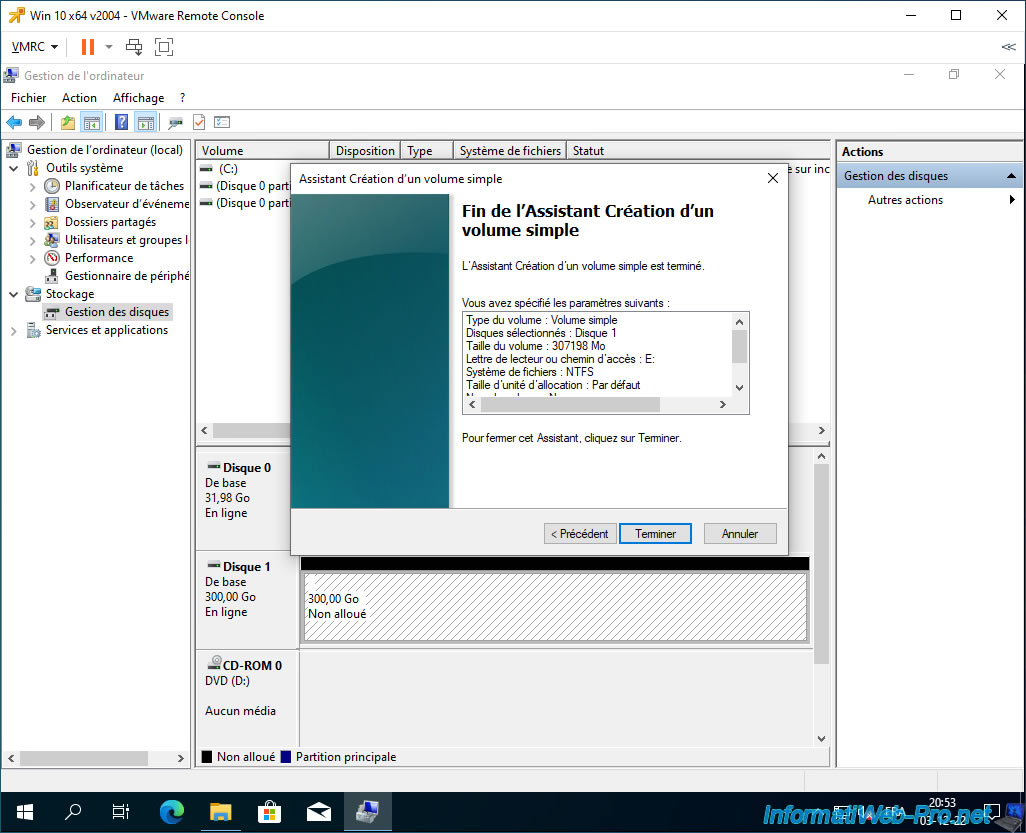
Then, you can choose the file system to create on this partition (simple volume), the letter to assign to it, as well as a name.
Once the "New Simple Volume" wizard is completed, click: Finish.
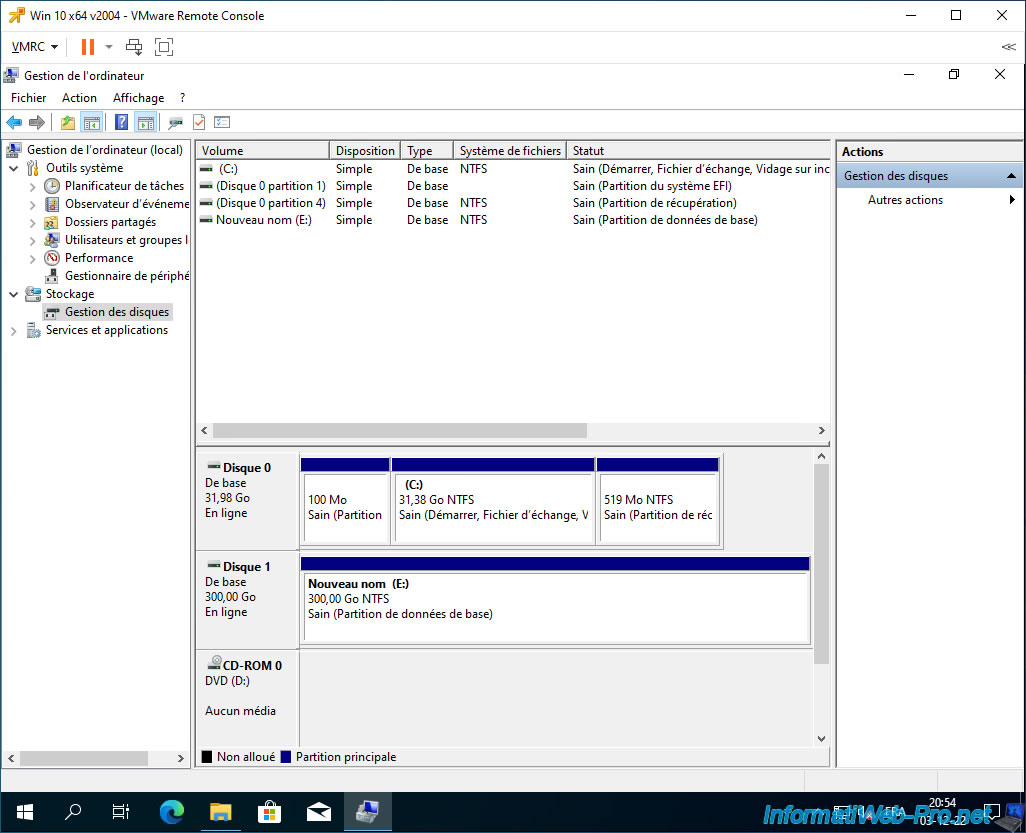
The partition was created and formatted by default as NTFS (in the case of Windows).
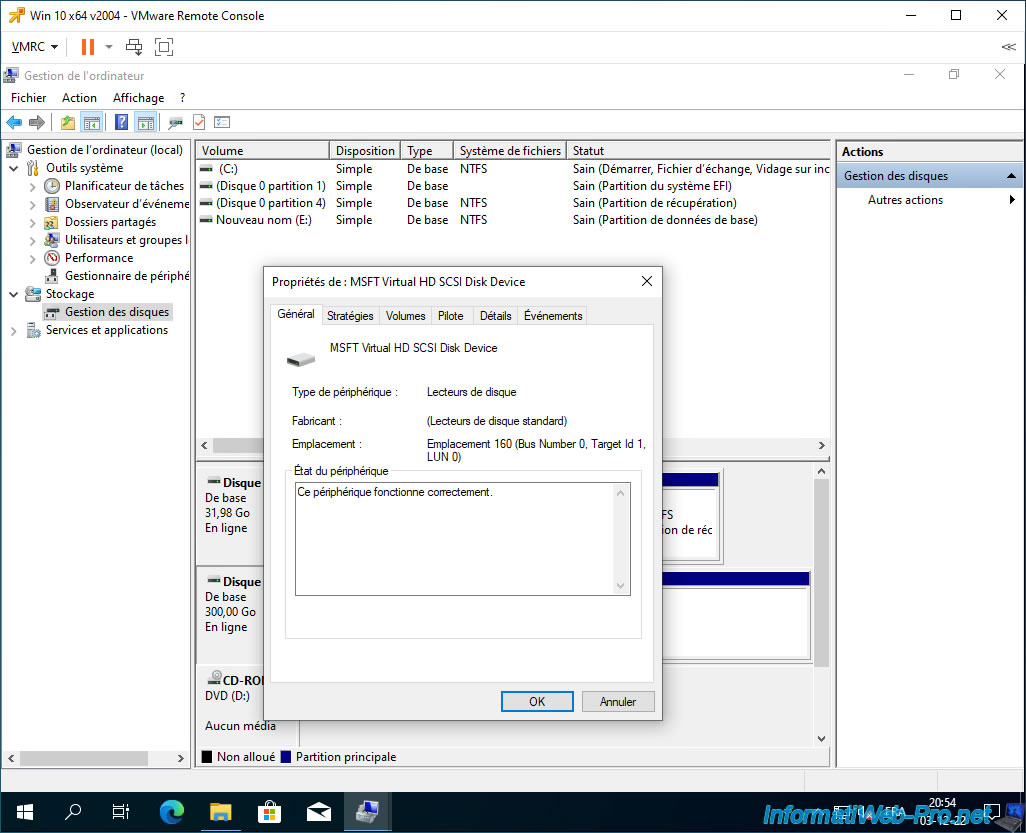
If desired, view the disk properties.
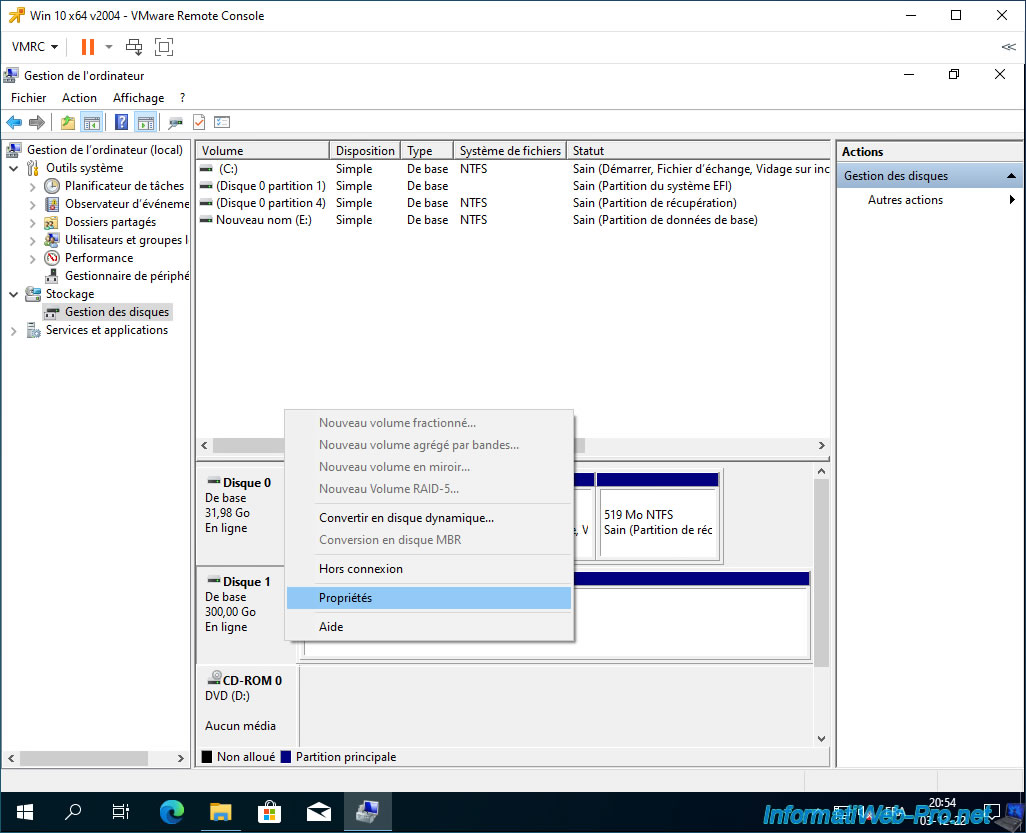
As you can see, the guest OS sees the name of the real disk.
In our case, a disk: MSFT Virtual HD SCSI Disk Device.
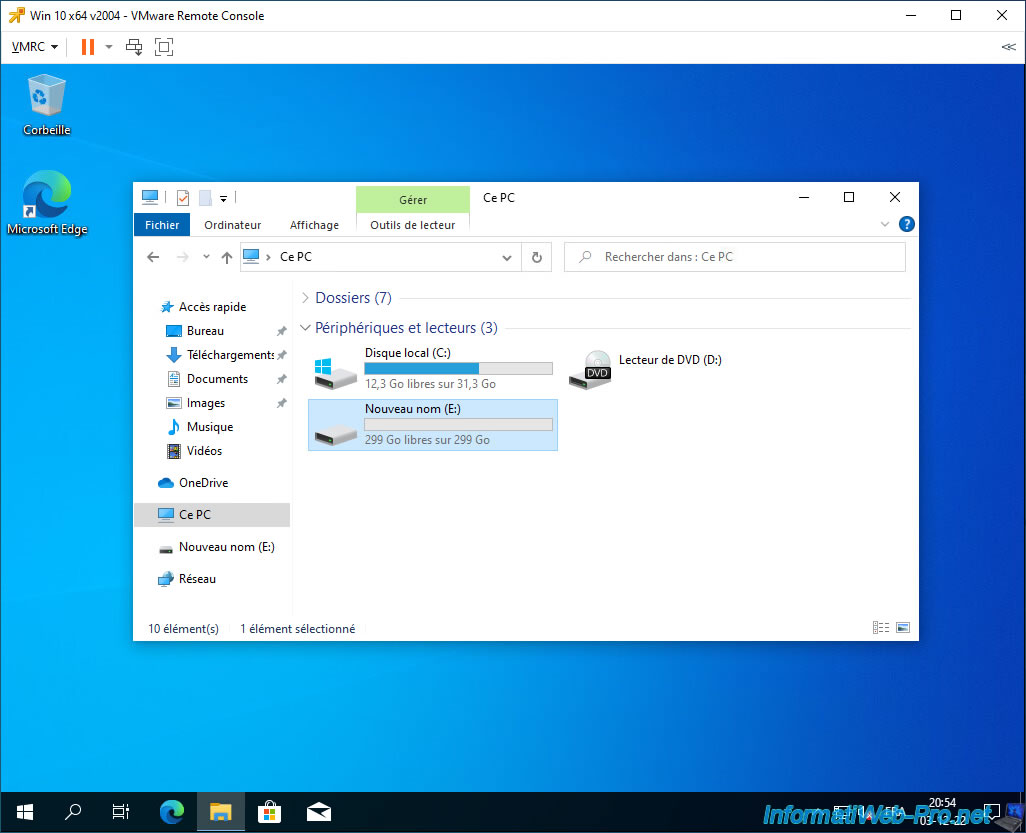
In file explorer, you will see the partition of your physical disk connected to the virtual machine.
2. Remove a physical disk from a virtual machine
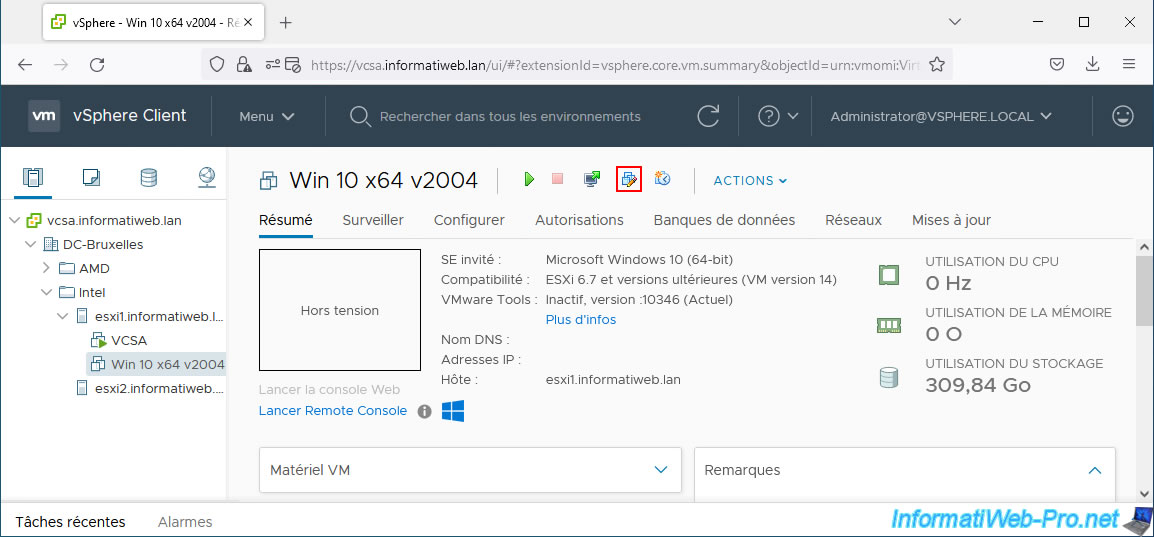
To remove a physical disk previously connected to a virtual machine, shut down the virtual machine, then click the "Change" icon.
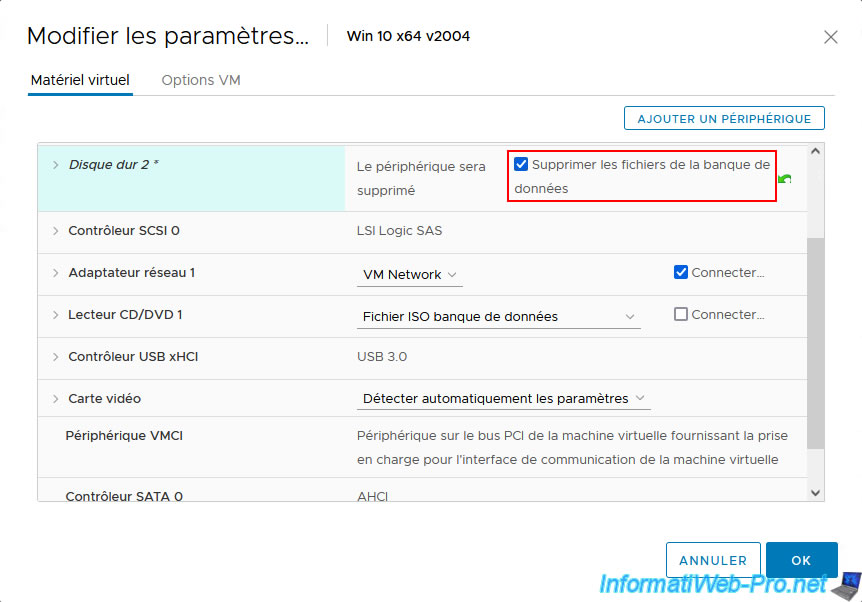
Click on the cross that will appear to the right of the desired physical disk.

The message "Device will be removed" will appear.
Also check the box "Delete files from datastore" and click OK.
Note: checking this box will only delete the ".vmdk" file which makes the connection between the virtual machine and the physical disk concerned.
The data on the targeted physical disk will therefore not be erased.
The physical disk disappears from the virtual hardware of your virtual machine.
Share this tutorial
To see also
-

VMware 5/15/2024
VMware vSphere 6.7 - Add a physical disk to host
-

VMware 9/27/2024
VMware vSphere 6.7 - Array integration APIs (VAAI)
-

VMware 9/6/2024
VMware vSphere 6.7 - Configure port binding (iSCSI traffic)
-

VMware 6/13/2024
VMware vSphere 6.7 - Configure Virtual Flash (SSD cache)
You must be logged in to post a comment