Import virtual appliances (VMs) from OVF / OVA format on VMware vSphere 6.7
- VMware
- 05 June 2024 at 13:52 UTC
-

- 2/2

2.3. Deploy the virtual machine from OVF format
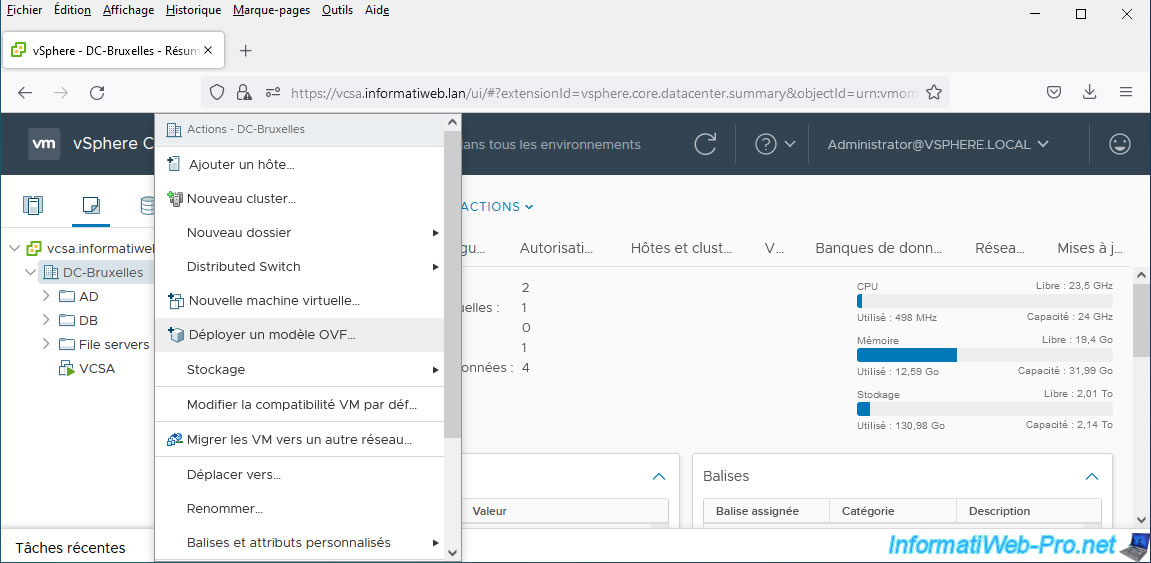
To deploy this virtual in OVF format to your VMware vCenter Server, right-click the data center or folder where you want to deploy it, and then click: Deploy OVF Template.
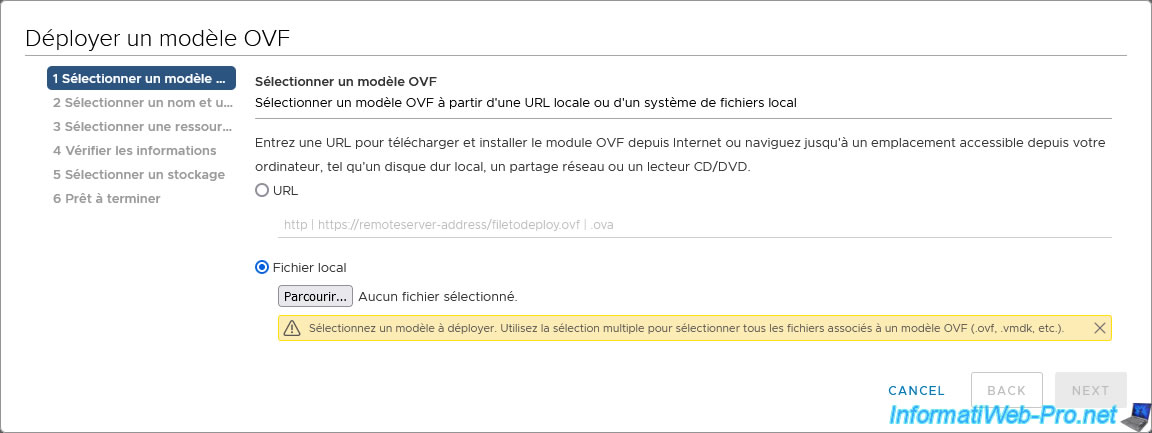
Select "Local file", then click: Browse.
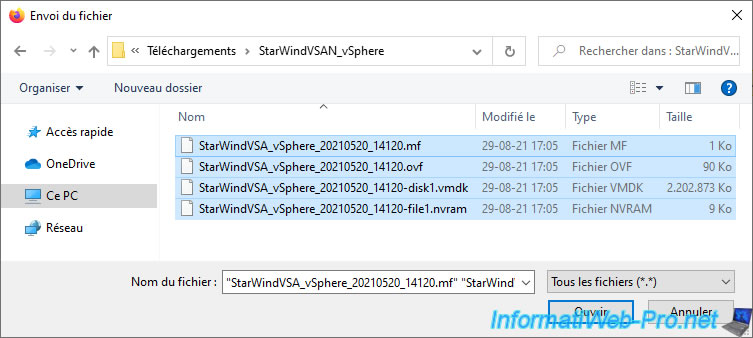
Select the files provided by StarWind (in this case) and click Open.
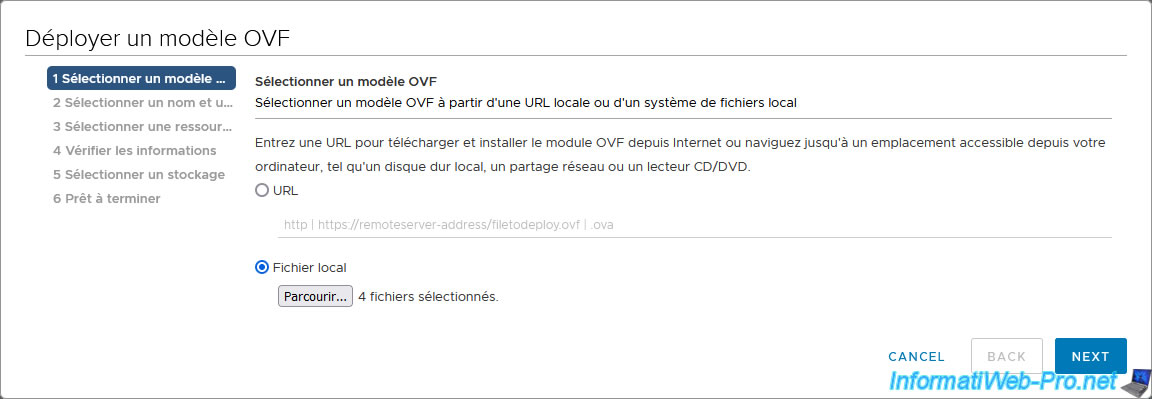
Then click Next.
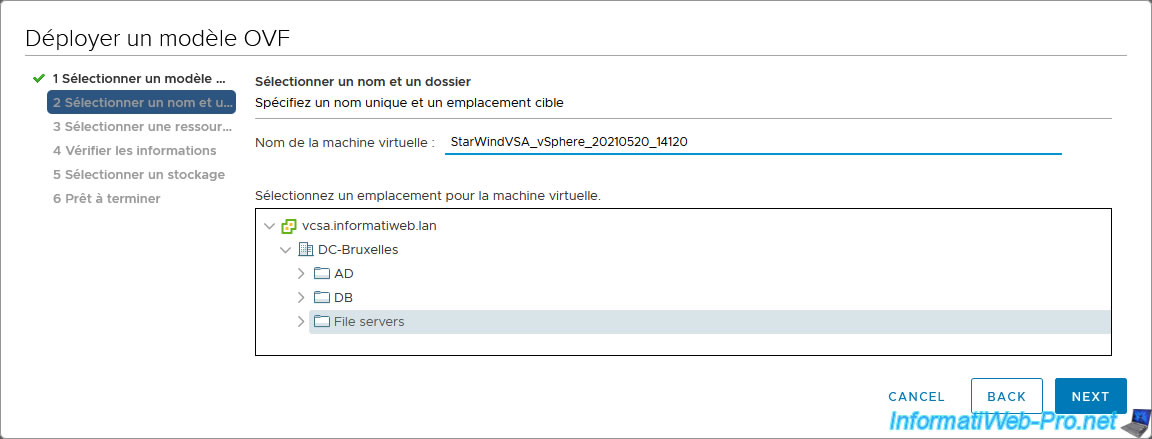
Change the name under which the virtual machine will be deployed if desired, then select where you want to deploy it.
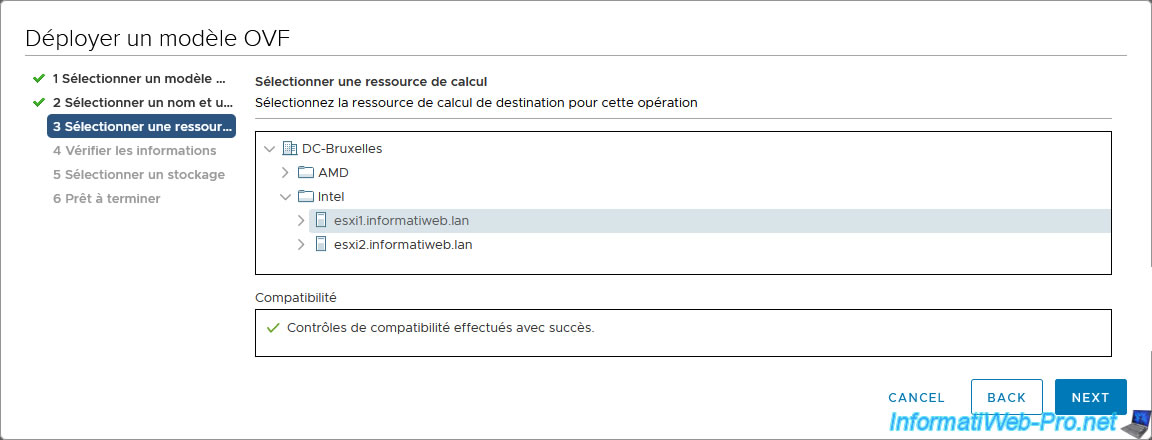
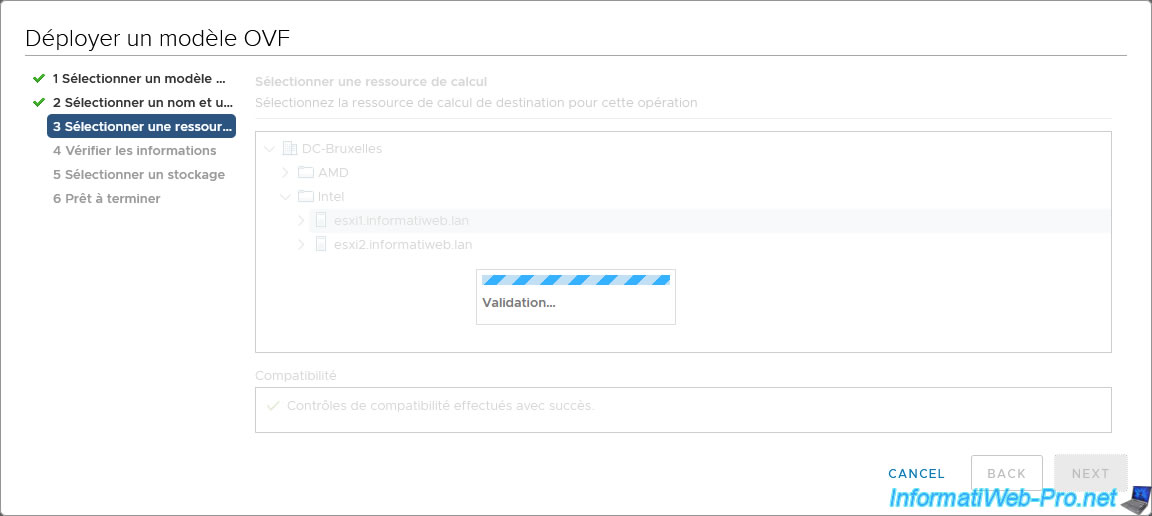
Select the computing resource (VMware ESXi host) that will be used to run this virtual machine.
Wait a few seconds while the selected compute resource is validated.
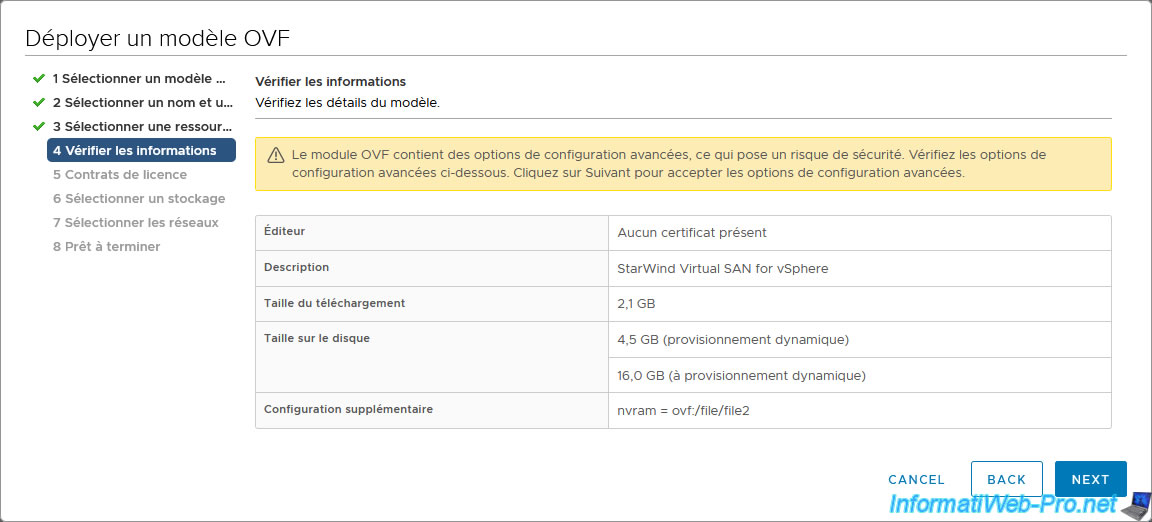
This information appears:
- Publisher: no certificate present.
- Description: a description provided by the author of this virtual machine.
In this case: StarWind Virtual SAN for vSphere. - Download size: size of files that will be imported
- Size on disk: storage space that will be used on your host's datastore for the different virtual hard disks, once deployment is complete.
- Extra configuration: additional data.
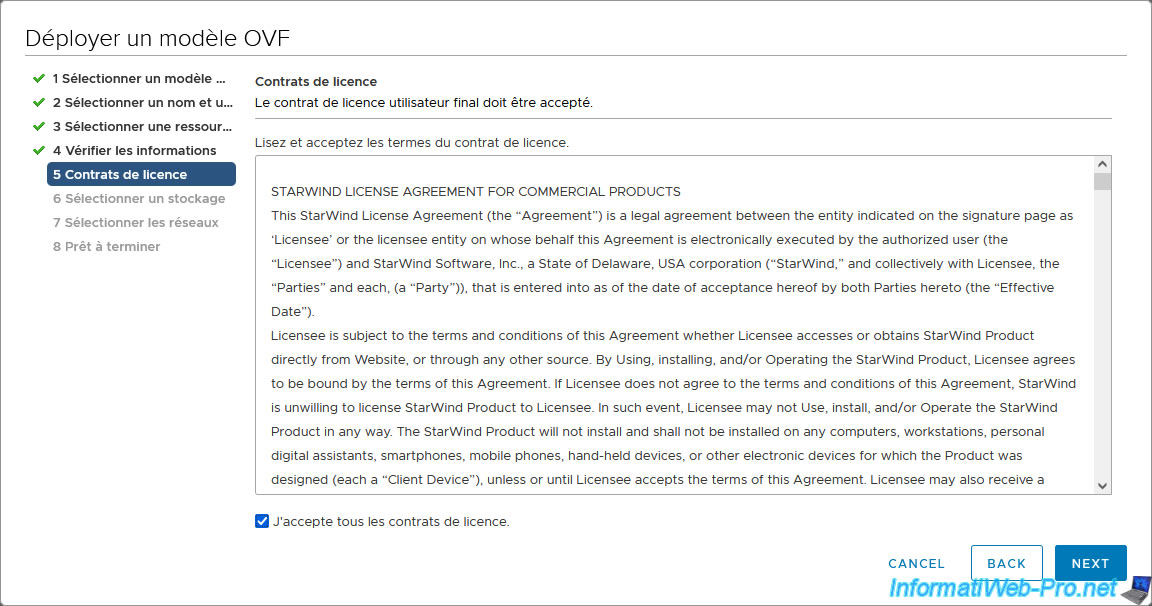
Accept the license agreement added by the virtual machine author (if applicable), then click Next.
Select the destination host datastore where you want to store this virtual machine.
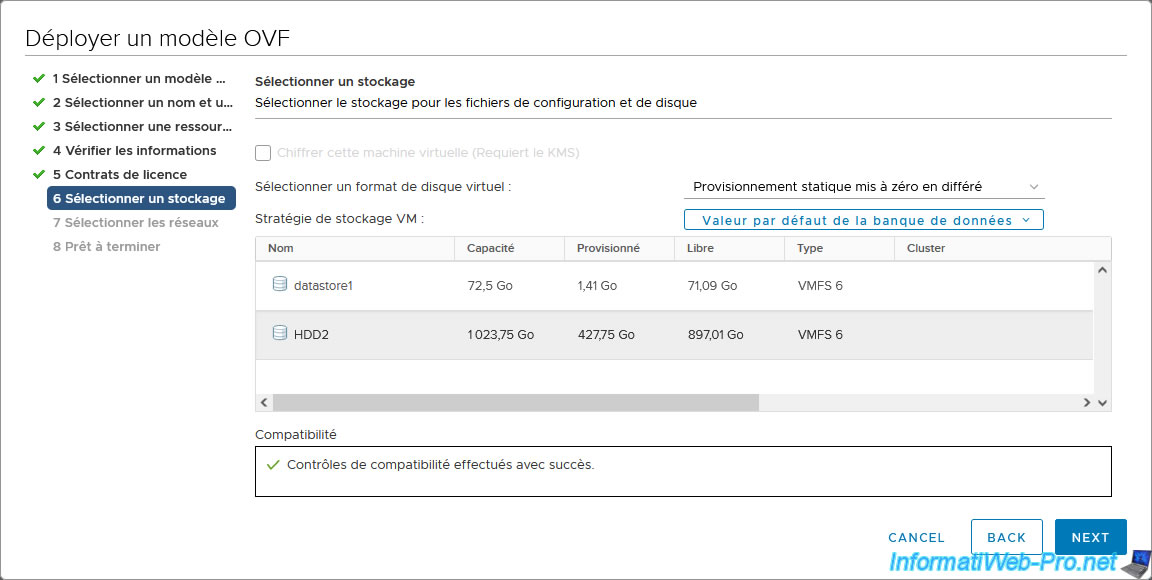
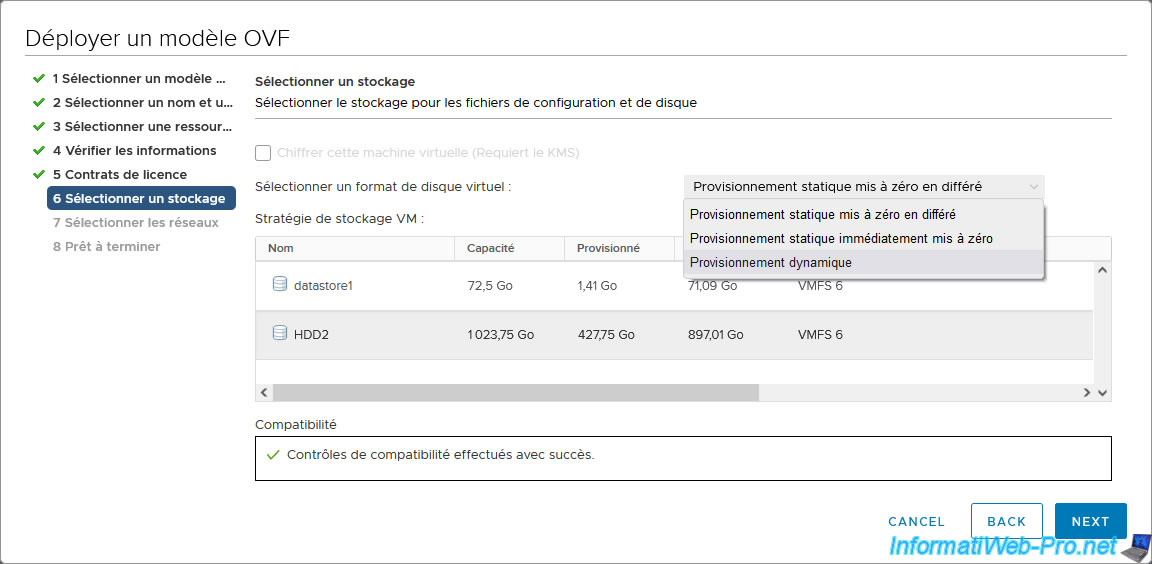
Select the type of provisioning to use.
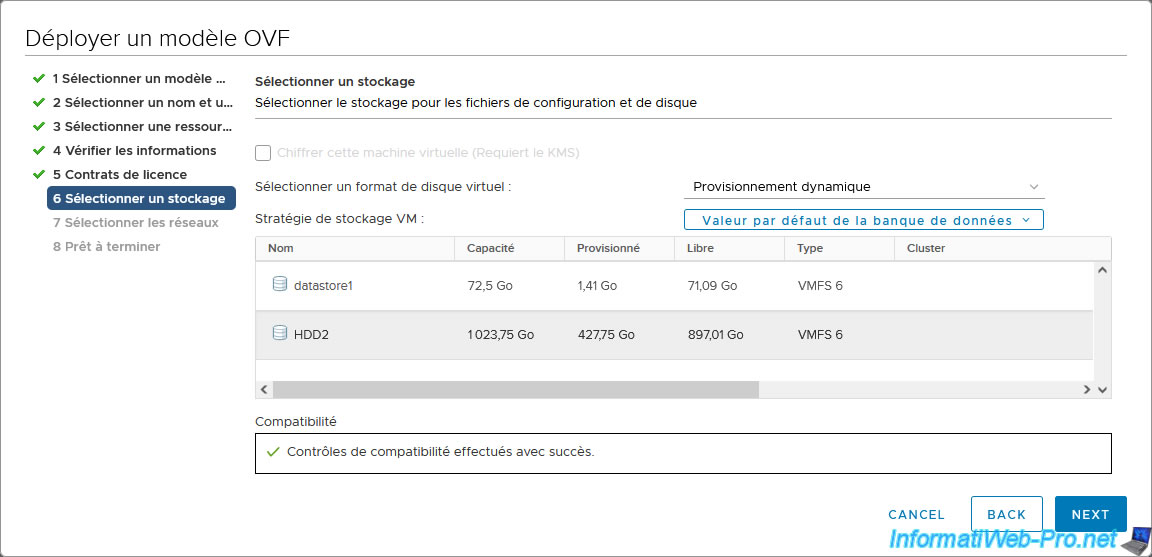
To save disk space, use thin provisioning. This way, the virtual hard disk file will only take up the space needed for the data on it.
Then click Next.
As you can see, this virtual machine must be connected to 3 virtual networks using 3 virtual network cards.
Since the goal is not to configure this StarWind solution correctly, but only to show you how to import a virtual machine in OVF format to your VMware vCenter Server, we have selected our default virtual network for everyone.

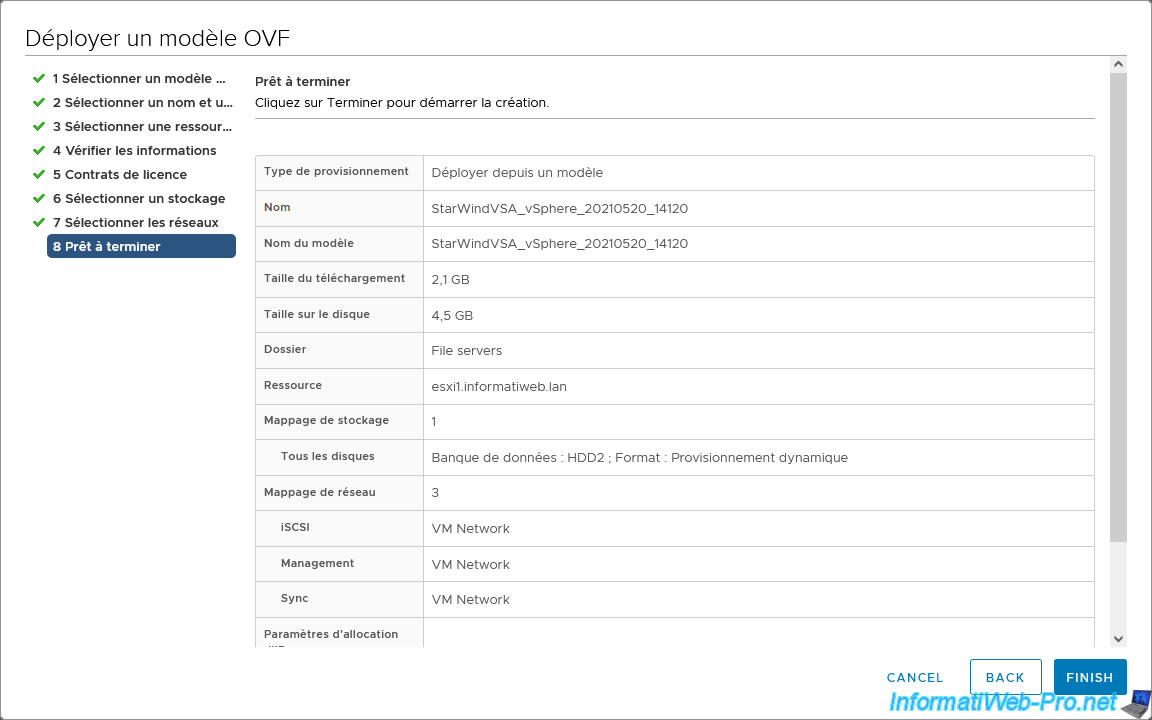
A summary of the OVF deployment options is displayed.
Click Finish.
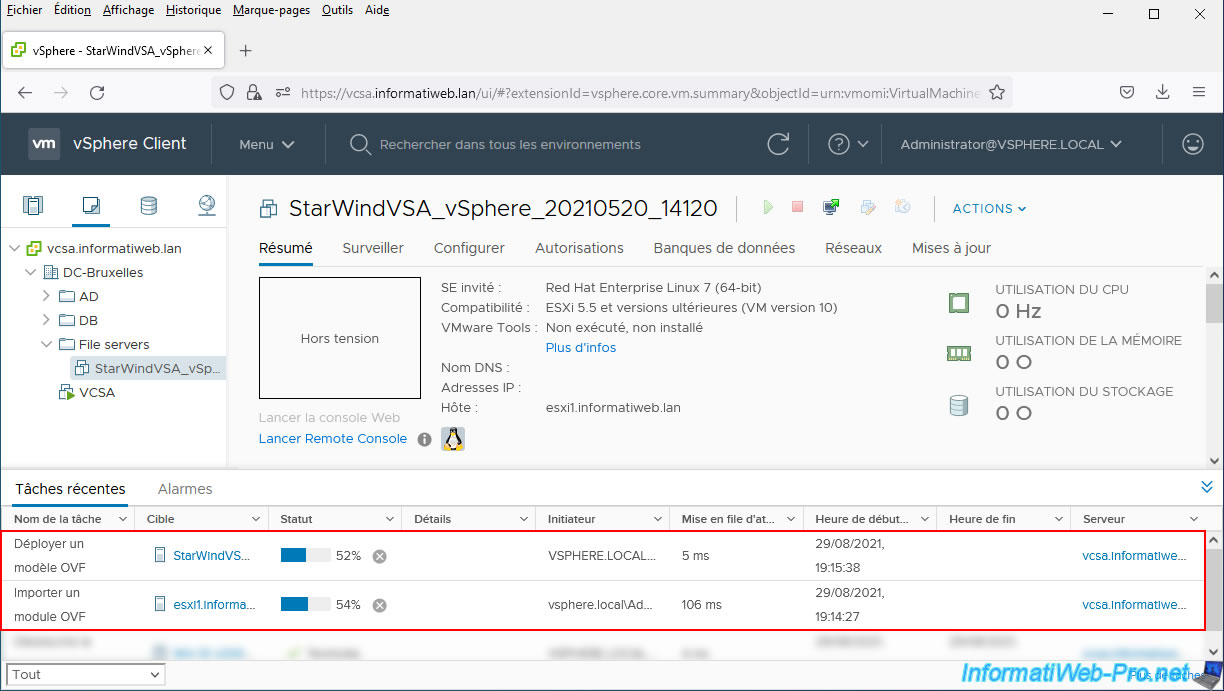
If you open the "Recent Tasks" panel at the bottom of the page, you will see that the "Deploy OVF Template" and "Import OVF Module" tasks are running.
Once the virtual machine deployment/import is complete, the status of these tasks will be: Completed.
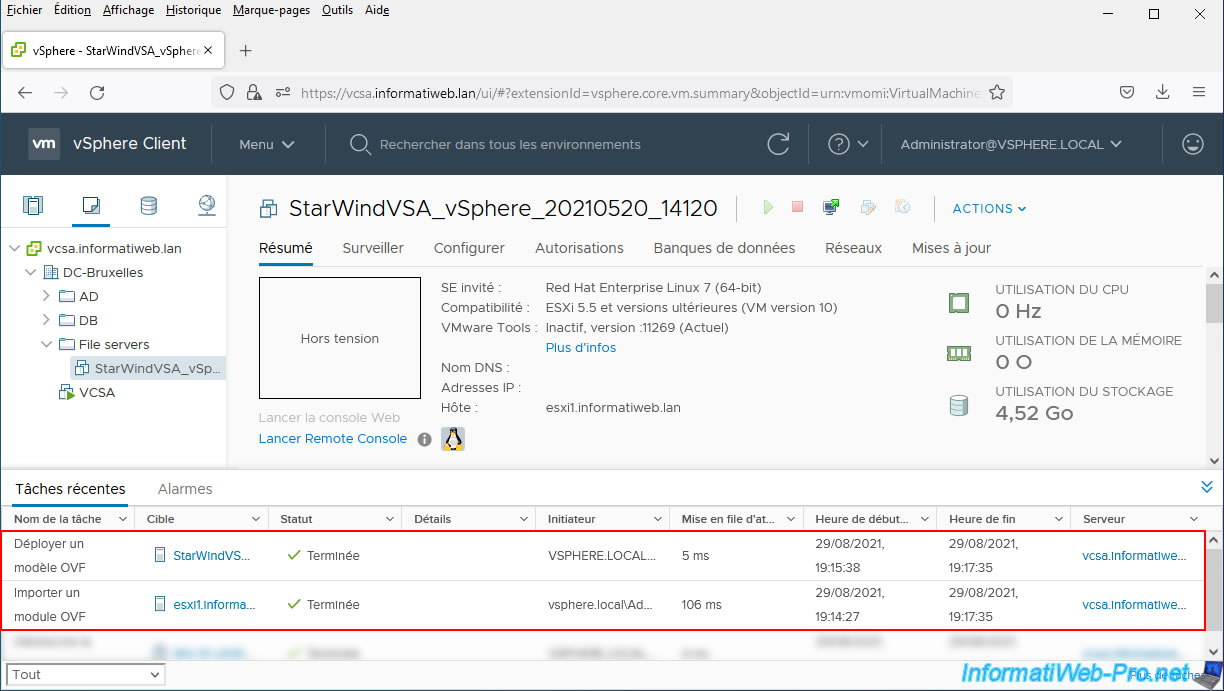
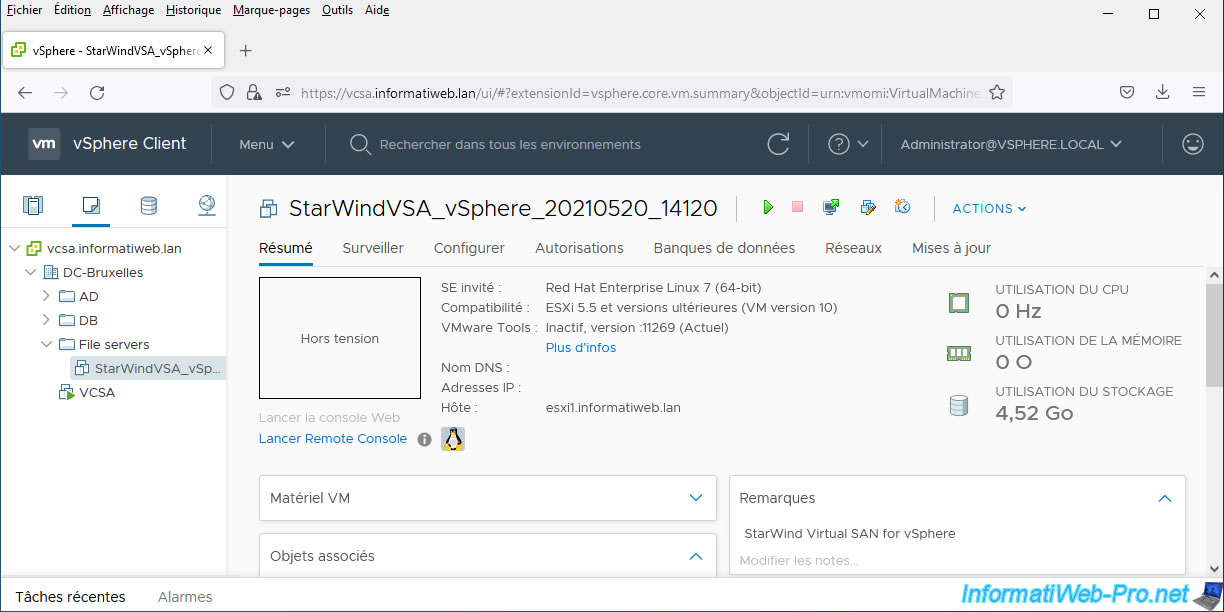
The StarWindVSA_vSphere_20210520_14120 virtual machine has been imported.
2.4. Using the virtual appliance
Start the virtual machine.

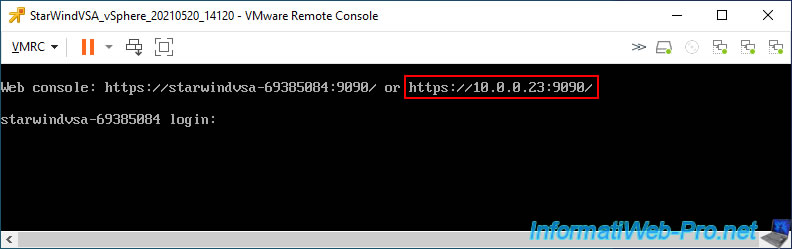
Once this virtual machine has finished starting, you will see that its console displays 2 addresses starting with "https://".
For simplicity, use the address containing the IP address assigned to this virtual machine.
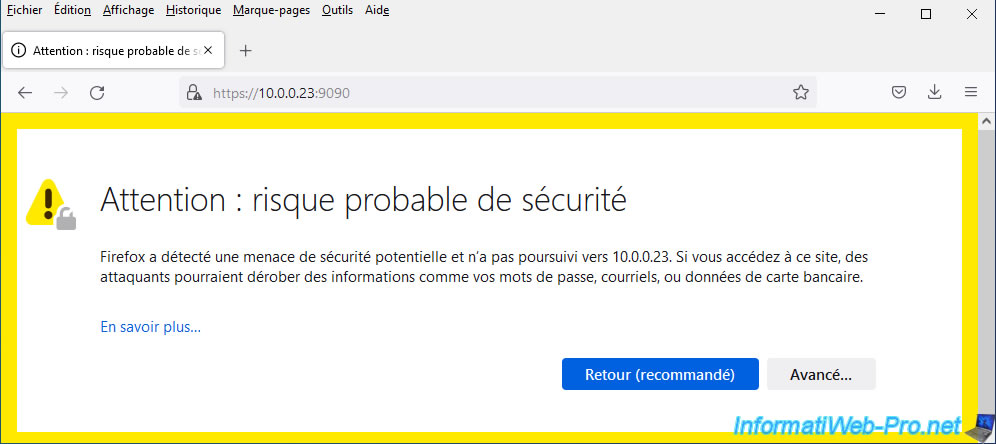
Ignore the security warning displayed by your web browser due to the use of a self-signed certificate.
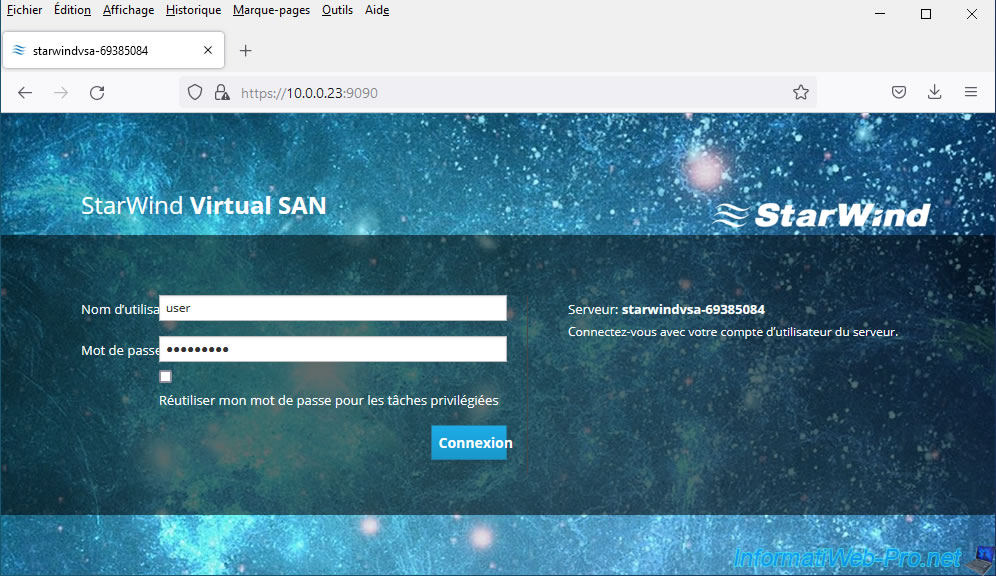
The StarWind Virtual SAN login page appears.
Log in with the credentials "user / rds123RDS" indicated on the StarWind website : Configuring StarWind Virtual SAN VM settings.
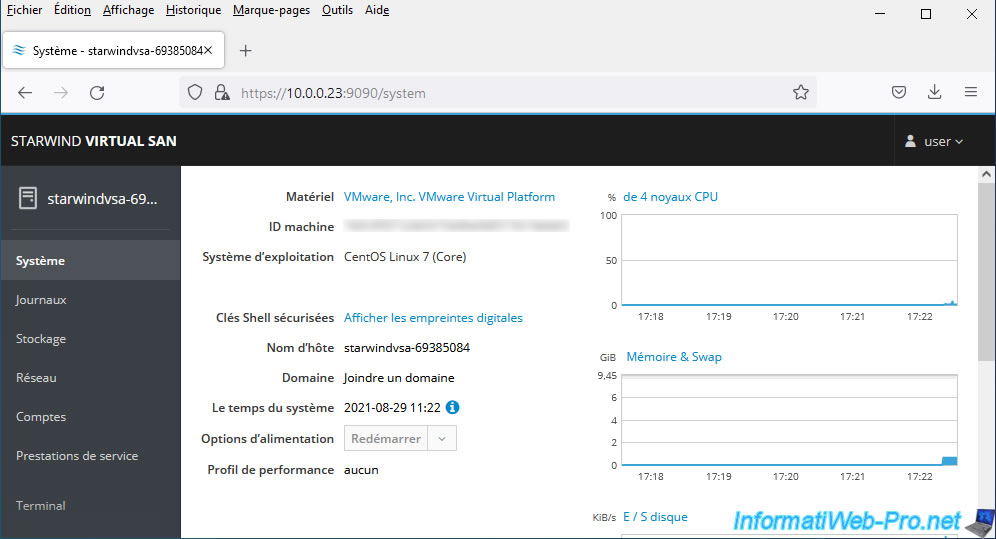
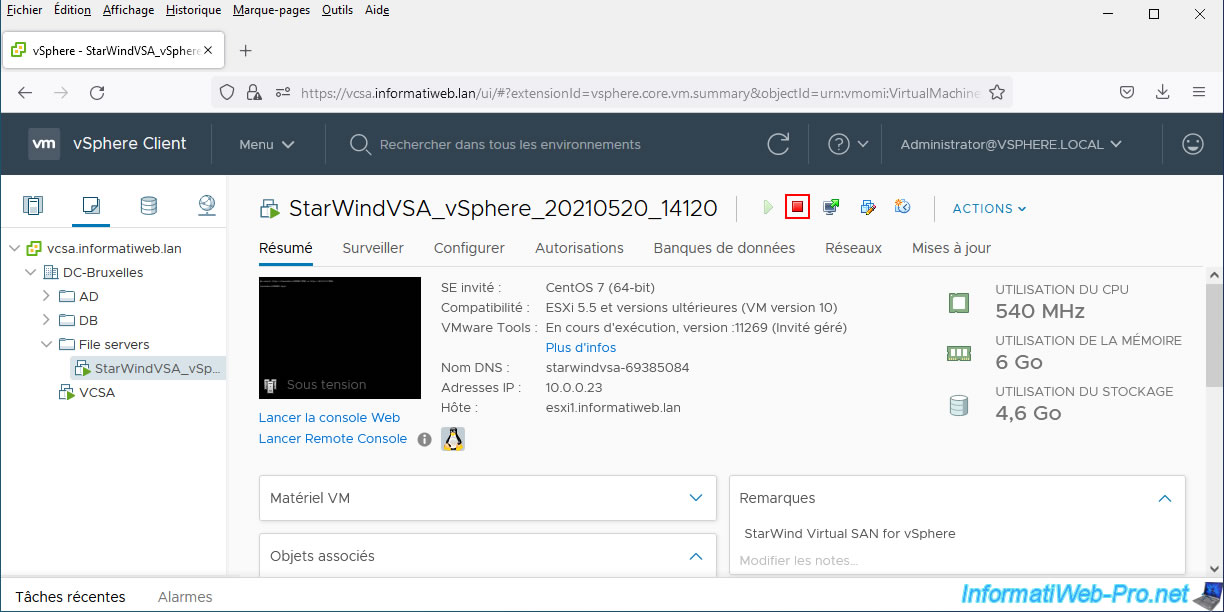
As you can see, you were able to deploy this virtual storage solution by simply importing a pre-installed and pre-configured virtual machine that was in OVF format.
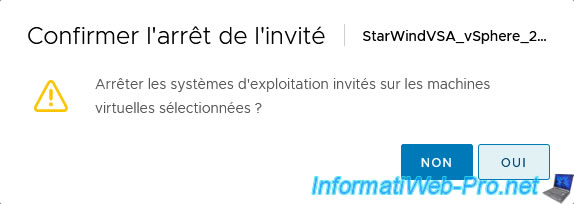
Now that you know how it works, you can shut down the virtual machine as you would any other virtual machine.
Confirm guest shutdown by clicking Yes.
The virtual machine is stopped.

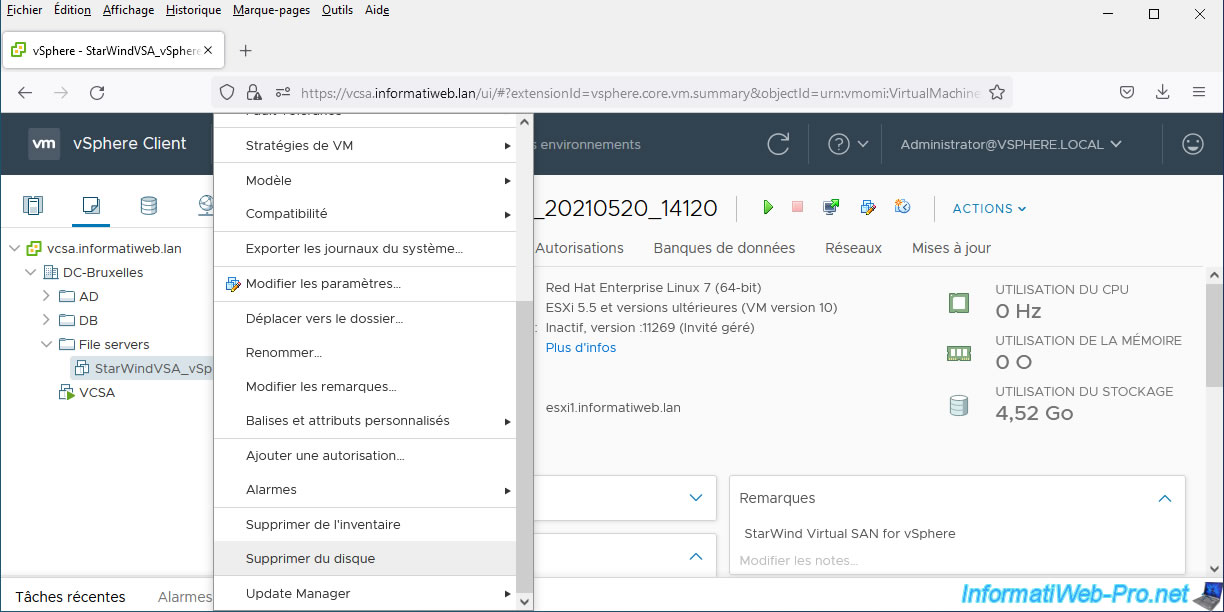
2.5. Delete virtual appliance
To delete the virtual machine, simply right-click "Delete from Disk" on it.
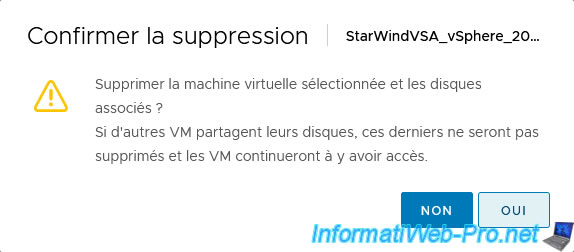
Then, confirm the deletion of this virtual machine by clicking Yes.
Share this tutorial
To see also
-

VMware 12/20/2024
VMware vSphere 6.7 - Clone vApps
-
VMware 10/4/2024
VMware vSphere 6.7 - Clone virtual machines
-
VMware 10/9/2024
VMware vSphere 6.7 - Clone virtual machines to a content library
-
VMware 10/11/2024
VMware vSphere 6.7 - Convert a Hyper-V virtual machine to a VMware VM
No comment