Create a cluster and enable EVC mode to use hosts with different CPUs on VMware vSphere 6.7
- VMware
- 19 February 2025 at 09:34 UTC
-

- 2/3

10. Move the VCSA virtual machine
To resolve this issue, either shut down your VMs to move the desired host to your cluster, or use the little trick below if you need to move the host where the VCSA VM is located.
Indeed, you need this VM to be able to add the host to the cluster via the VMware vSphere Client.
10.1. VCSA VM on shared storage
Before using the tip that we are going to present to you for migrating the VCSA virtual machine, you must ensure that it is on shared storage (eg: iSCSI) visible to at least one host in the cluster.
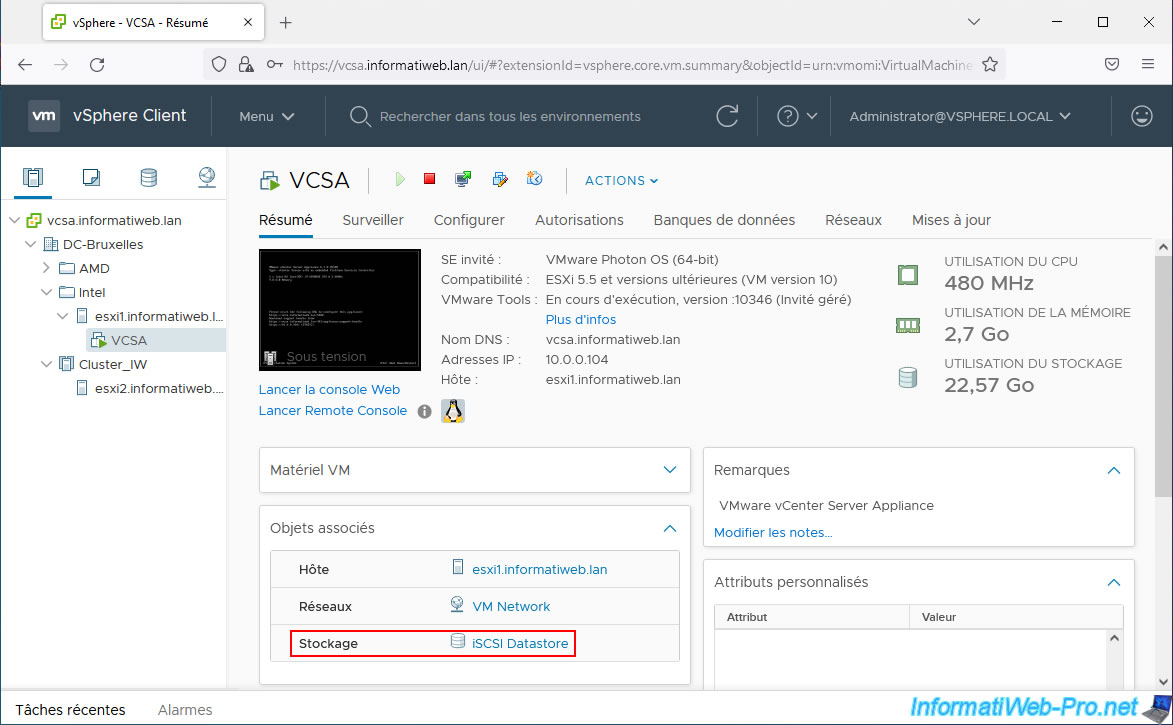
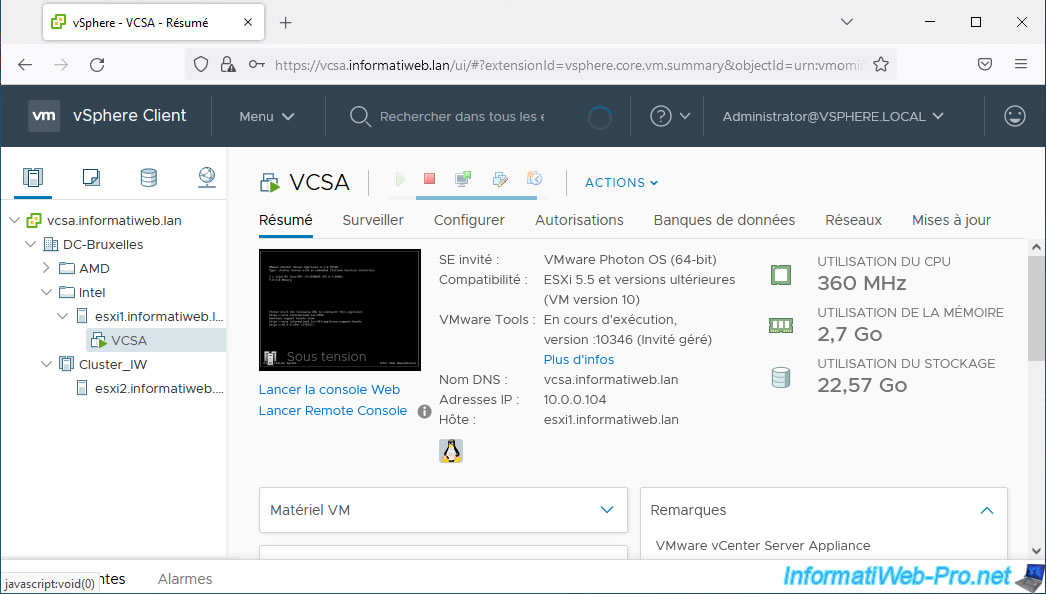
In our case, our VCSA VM is located on our "iSCSI Datastore" database.
Note: if this is not the case, only migrate the storage of this virtual machine to an iSCSI datastore or any other shared storage visible to the current host and the cluster member host.
The storage migration will not cause any compatibility issues since the previous error was due to the processor being different (this only concerns the execution of the VM and not its files).
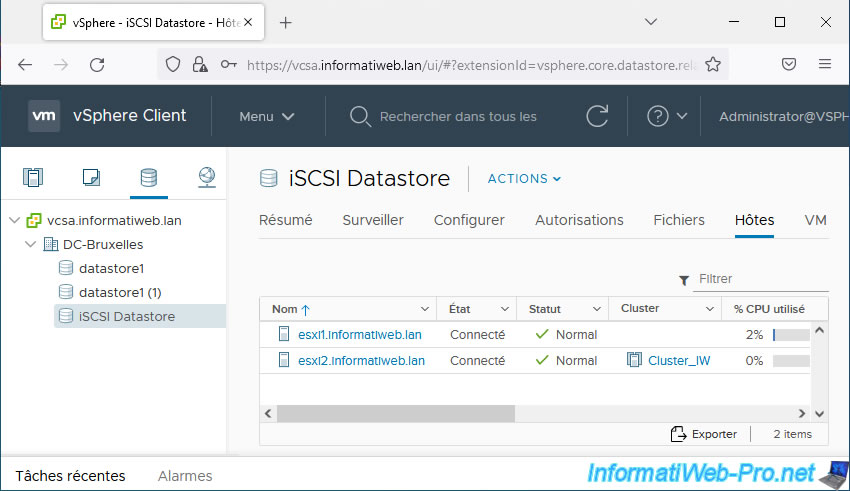
As you can see (by clicking on the name of your datastore), in our case, our datastore is visible to our 2 hosts.
The current host (esxi1) where our VCSA VM is located and the destination one (esxi2) which is a member of the cluster.
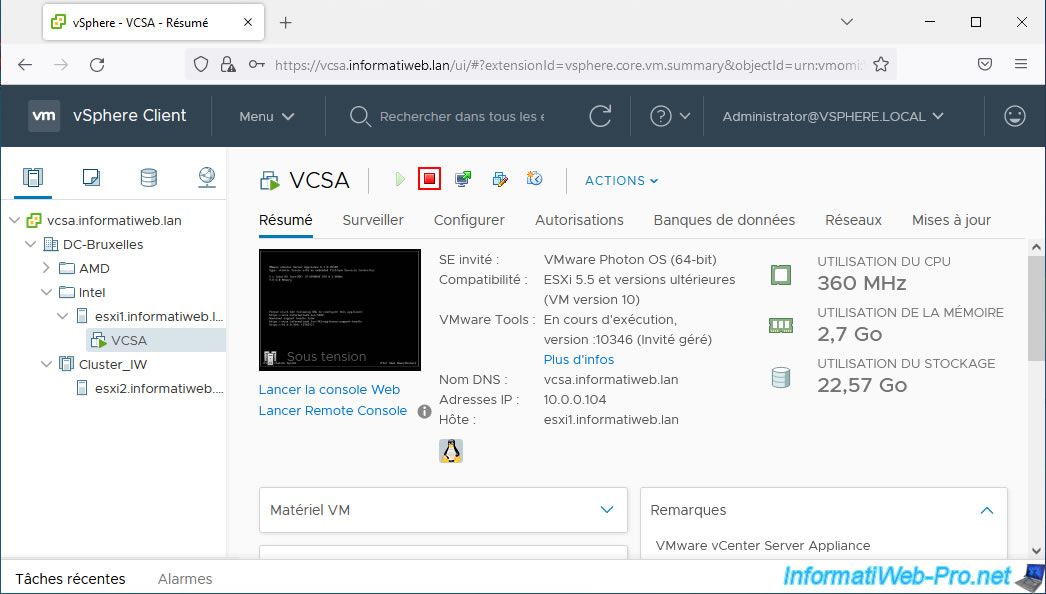
10.2. Shut down the VCSA virtual machine
Since live migration to the cluster is not possible since the CPU is considered different, start by powering down this VCSA VM.
Warning : this will make the VMware vSphere Client inaccessible temporarily.
Confirm guest shutdown by clicking Yes.
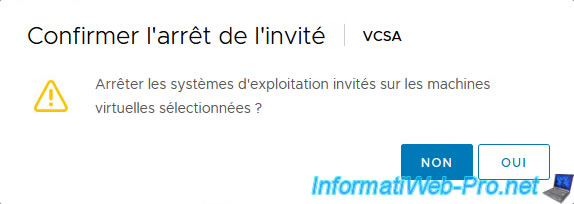
The VM stops.
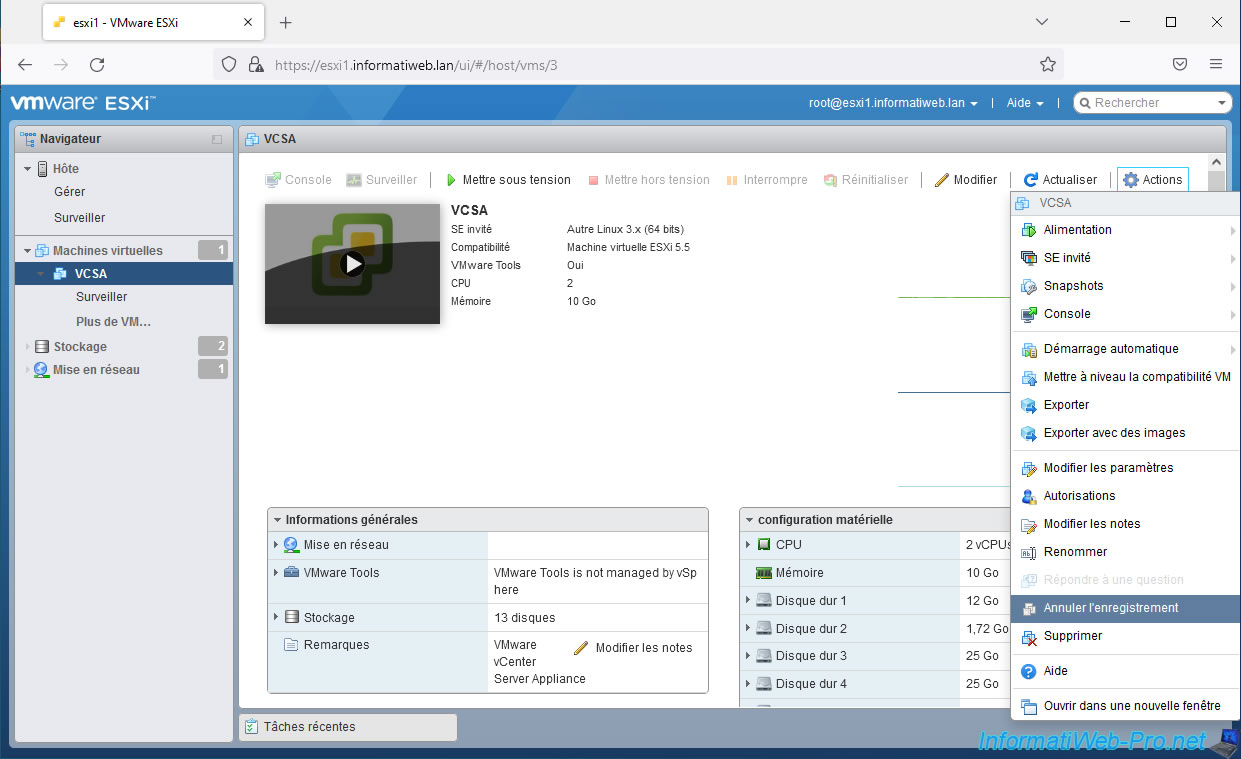
10.3. Remove VCSA VM from current host
Connect directly to the VMware ESXi host where your VCSA virtual machine is located and click: Actions -> Unregister.
Indeed, it is not possible to move a virtual machine from one host to another by connecting directly to a VMware ESXi host.
Additionally, you also cannot import a virtual machine directly to a host that is managed by a VMware vCenter Server (VCSA).
The only functional solution therefore consists of removing it from the inventory of the current host and then adding it to the destination host (which is a member of the cluster).
Hence the use of shared storage.
Confirm the unregistration of the VCSA virtual machine by clicking Yes.
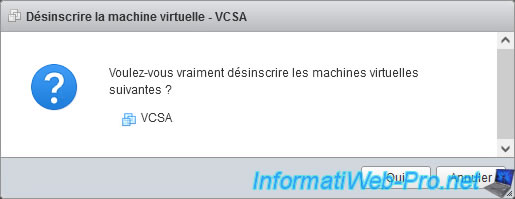
The VCSA virtual machine disappears from the source host.
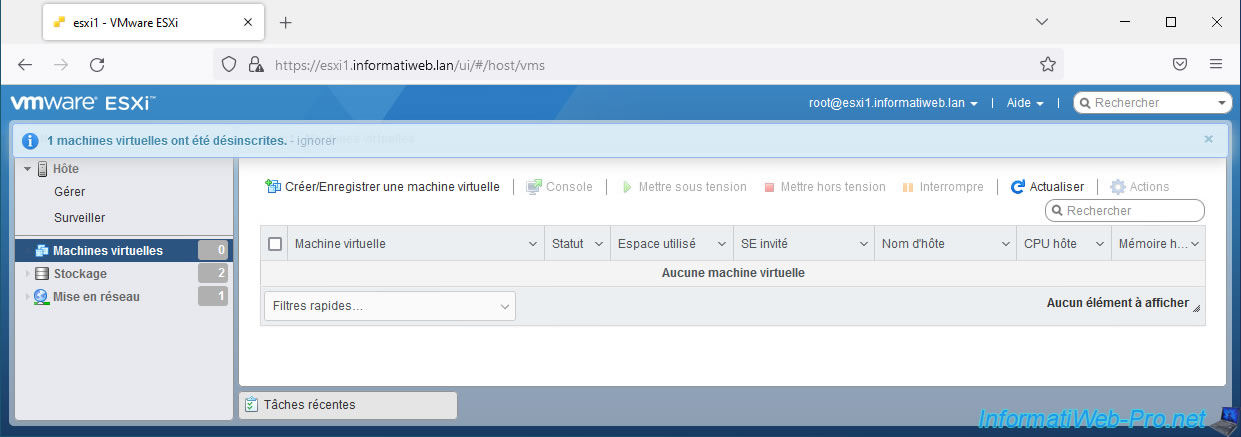
10.4. Remove the VCSA virtual machine on the destination host (cluster member)
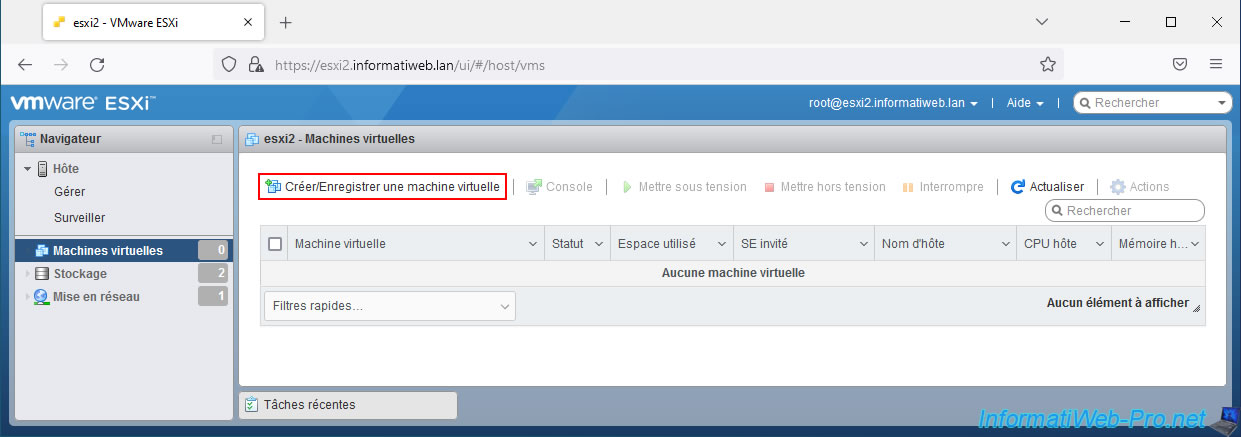
Now, connect to a host that is already a member of your cluster and click: Create / Register VM.
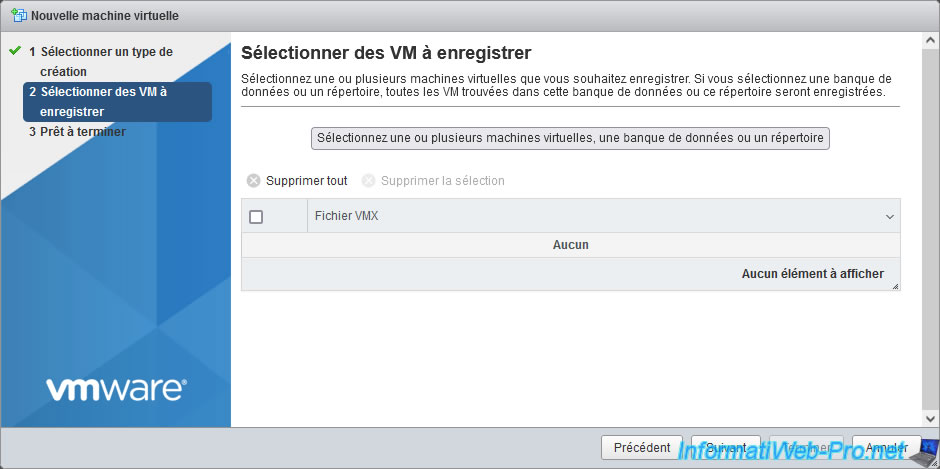
Select "Register an existing virtual machine" and click Next.

Click "Select one or more virtual machines, a datastore or a directory".
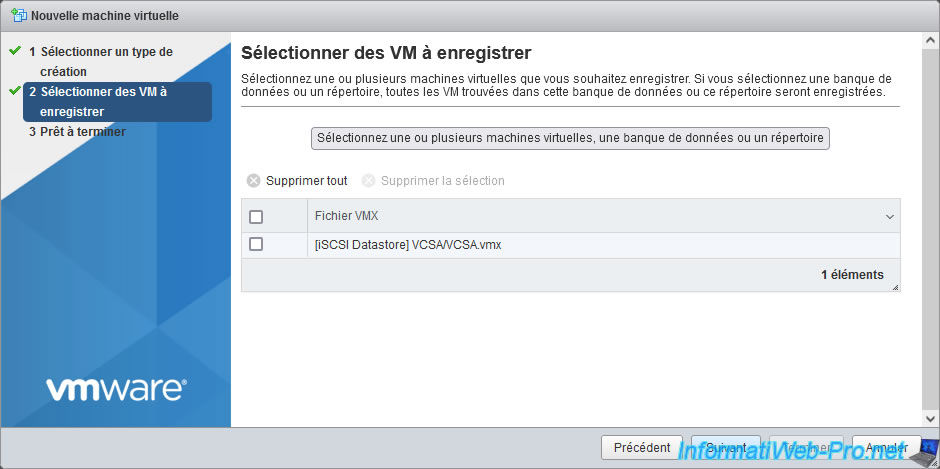
Given that your virtual machine is on shared storage (visible to your 2 hosts), you can find its folder and select its "VCSA.vmx" file.

Click Next.
Click Finish.
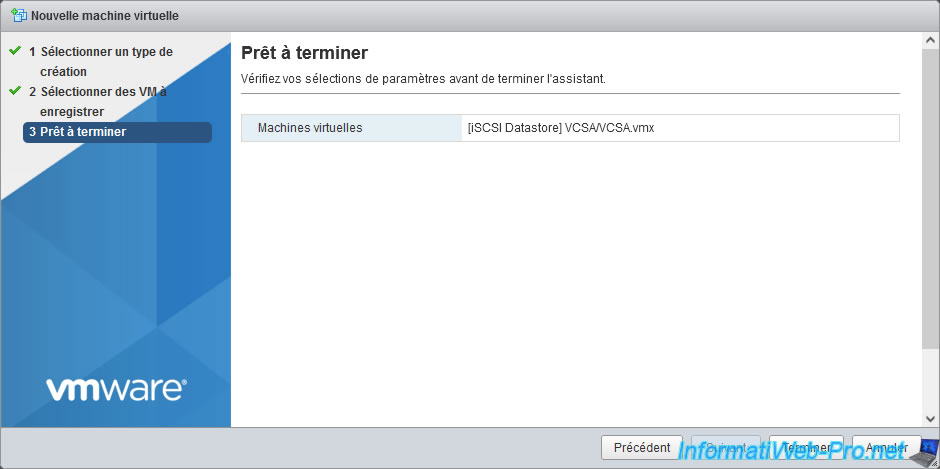
The VCSA VM was added on your cluster member host without any issues.
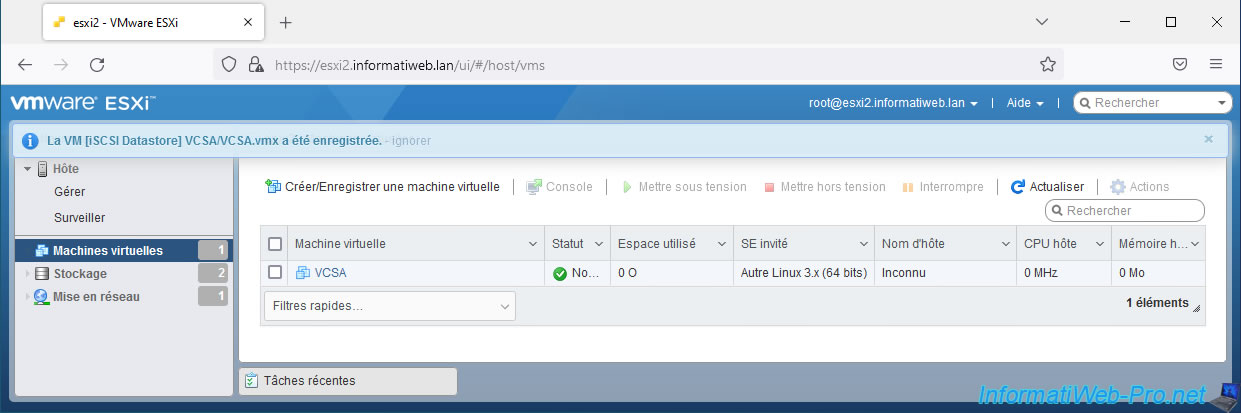
10.5. Start your VCSA virtual machine
Select your VCSA virtual machine and click: Power on.

Wait while it starts.
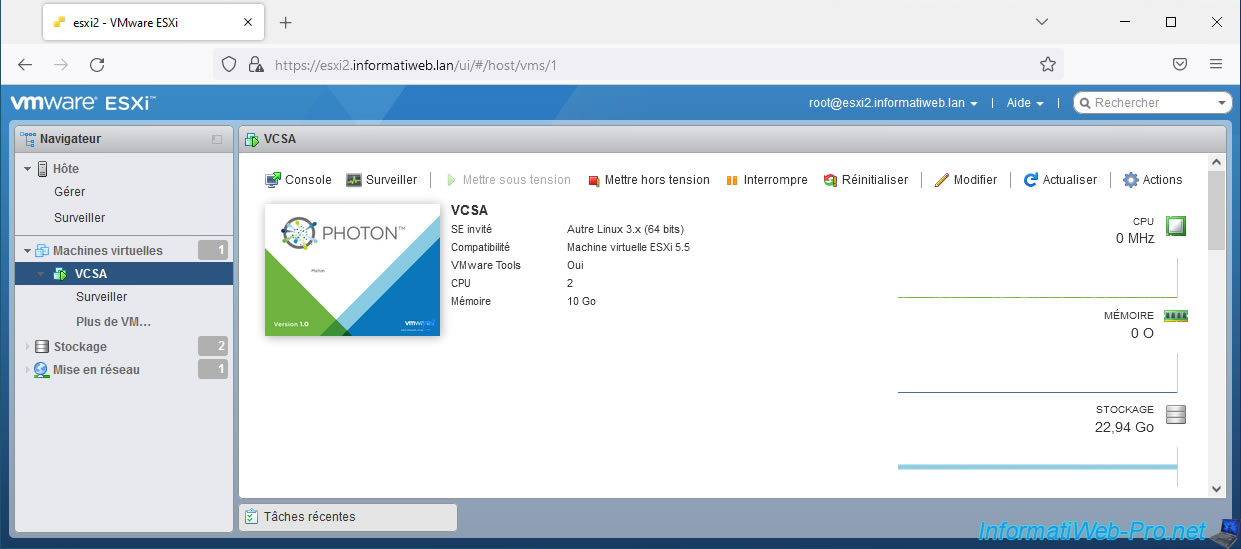
The VCSA virtual machine is functional.
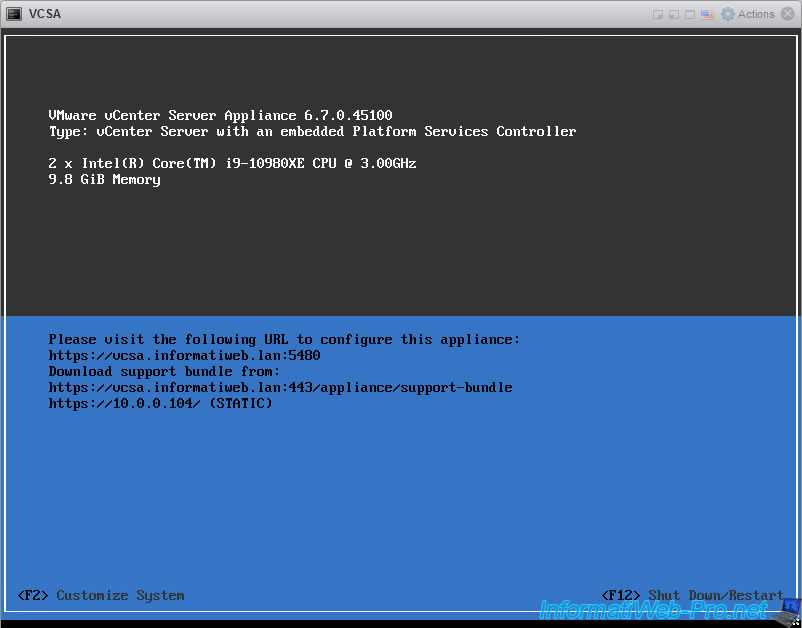
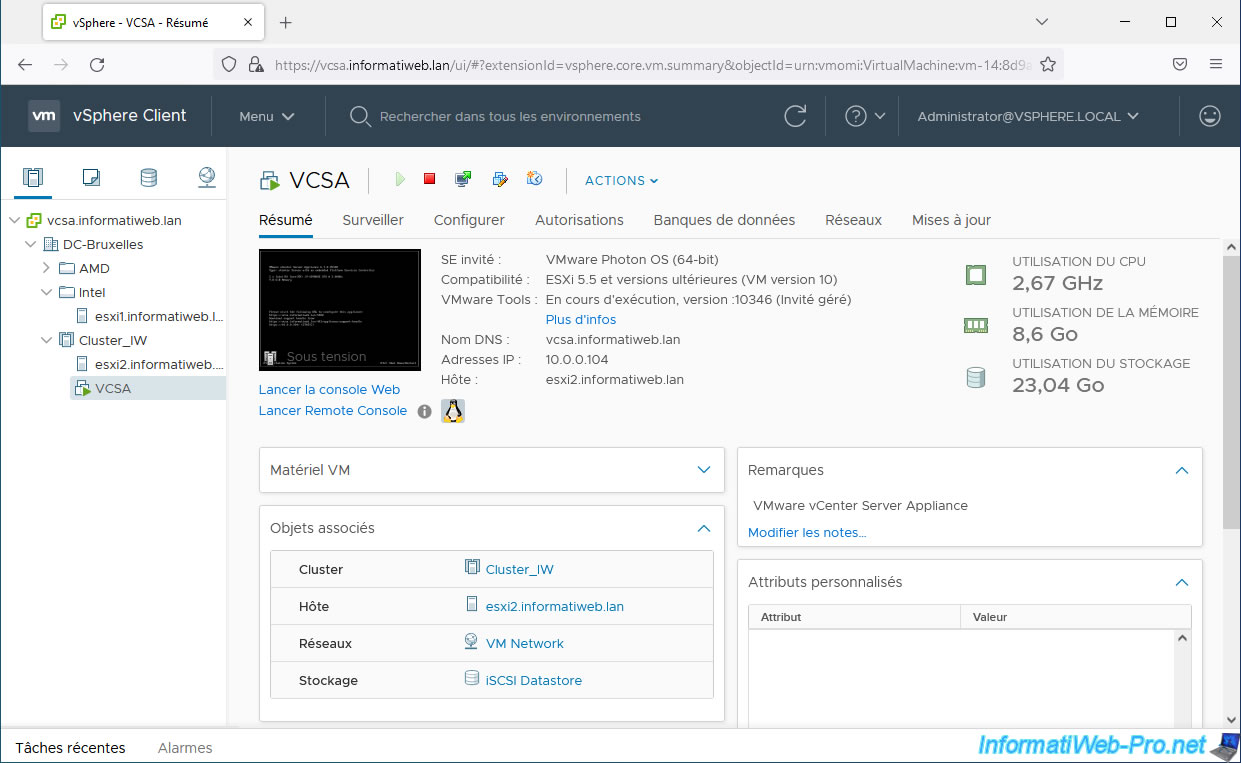
Once all VCSA services have started, you will have access to the VMware vSphere Client again.
As you can see, this VM is now in your cluster.
Which frees the other host.
Share this tutorial
To see also
-
VMware 3/5/2025
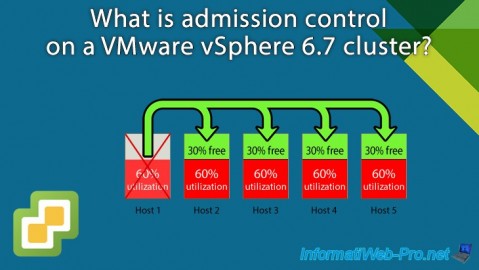
VMware vSphere 6.7 - Cluster admission control
-
VMware 2/14/2025
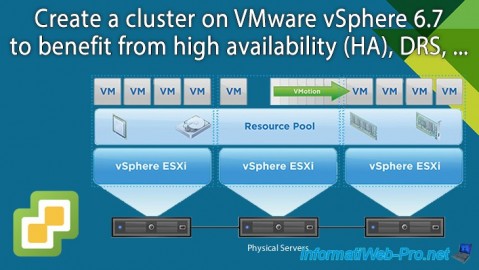
VMware vSphere 6.7 - Create a cluster
-
VMware 2/12/2025
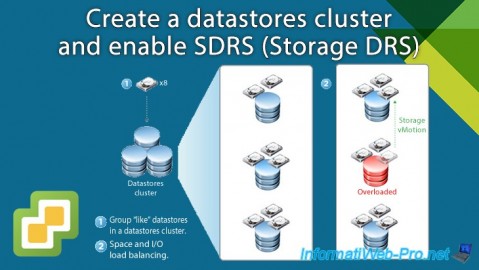
VMware vSphere 6.7 - Create a datastores cluster and enable SDRS
-
VMware 3/12/2025
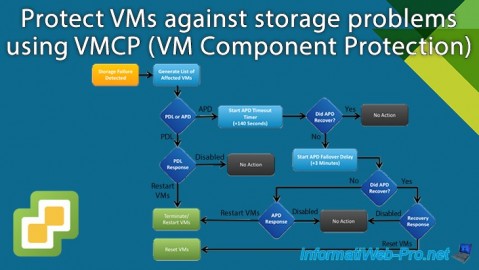
VMware vSphere 6.7 - Enable VMCP on a VM in a cluster
No comment