Use real (PMem) or simulated (vPMem) persistent memory on VMware ESXi 6.7 via NVDIMMs modules
- VMware
- 06 January 2023 at 13:23 UTC
-

- 3/3

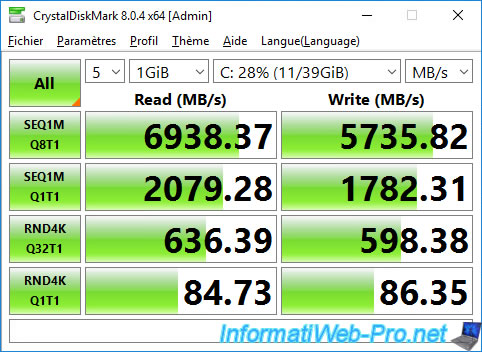
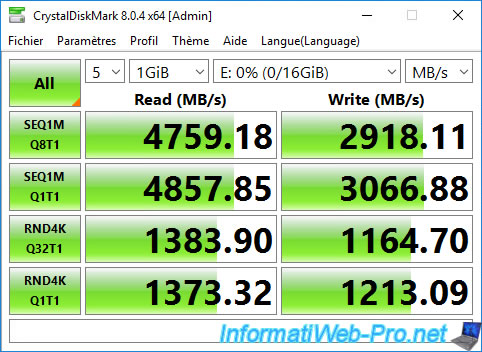
11. Performance comparison
To compare the performance of this NVDIMM module, we ran a benchmark with CrystalDiskMark on :
- the "C" partition which corresponds to the VMDK file stored on a RAID volume (configured on a physical RAID controller)
- the "E" partition which corresponds to the virtual NVDIMM module (whose data is therefore contained, in our case, physically in the RAM modules of our server)
As you can see, read / write performance is significantly higher with NVDIMM for random read / write (which makes sense given that RAM is random access memory).
On the other hand, for the sequential writing (SEQ) of data blocks whose size is 1MB (1M), the read / write performance is only superior when there are 8 tasks in sequence (Q8) on the thread 1 (T1).
12. Persistent memory retained when restarting a VM
Since persistent memory is on the VMware ESXi host, whatever you store there from a virtual machine will be preserved until the host is shut down or restarted (unless using real persistent memory (PMem)).
You can therefore restart your virtual machine without any risk if you wish.
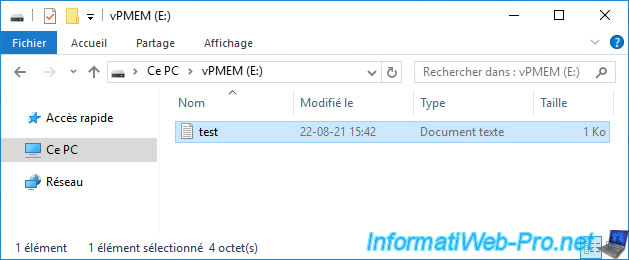
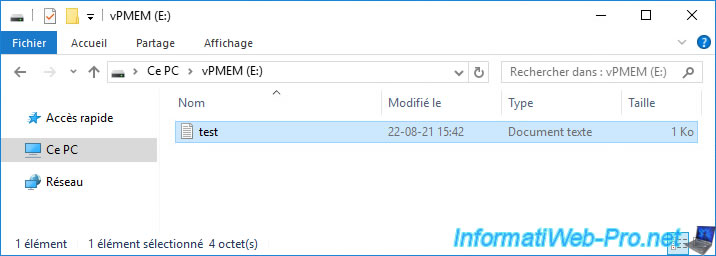
For the example, we have created a "test.txt" file in our "vPMEM" partition which is on our virtual NVDIMM module.
We restart our virtual machine.
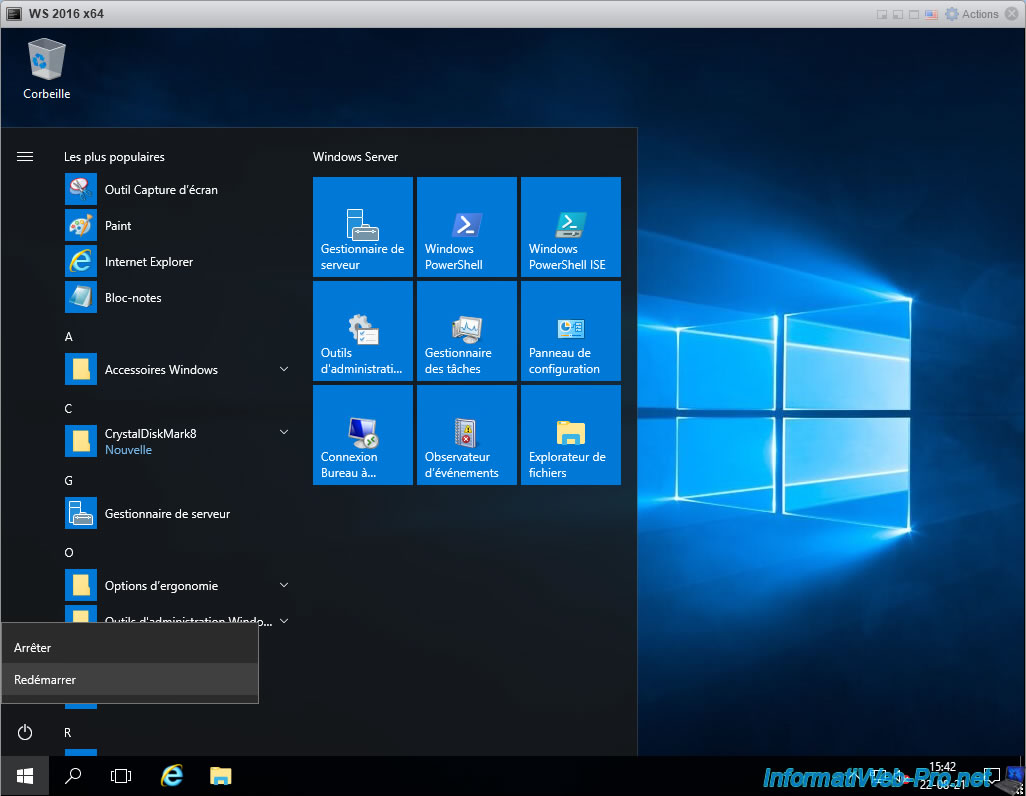
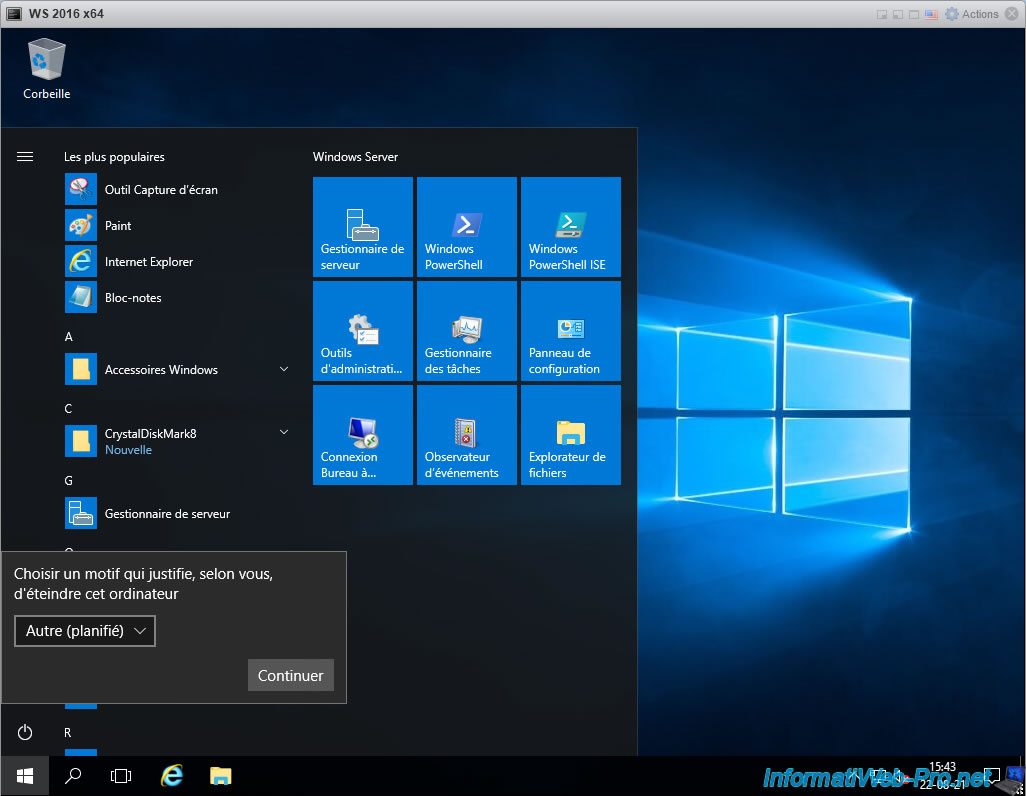
In the case of Windows Server, you will need to specify a reason for restarting it.
Select for example : Other (Planned).
Wait for the virtual machine to restart.

After restarting it, you will see that the "vPMEM" partition is still present in the file explorer.

As expected, the data that was there still exists.
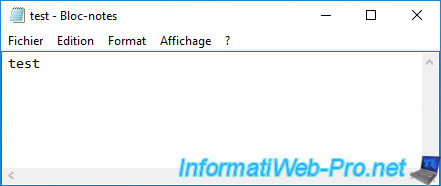
And the contents of our test file have been preserved.
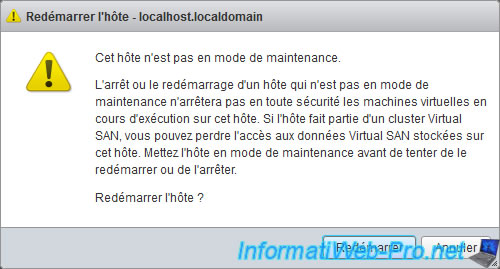
13. Restart the VMware ESXi host
If you have used the technique described above to simulate "persistent" memory using part of your server's random access memory (RAM), the data in this "persistent" memory will be permanently lost.
Additionally, this will cause an issue with virtual machines that you had assigned persistent memory to. This is what you will see in the rest of this tutorial.
If you have physical persistent memory modules (PMem) (eg Intel Optane) then restarting your VMware ESXi host will not be a problem.
Since these physical persistent memory modules (PMem) are designed to save the data in flash memory chips and then restore the data to the RAM chips of those same modules when you shut down and start your server.

Confirm restarting your VMware ESXi host.
14. Virtual persistent memory (PMem) erased
If you have simulated virtual "persistent" memory (PMem) using part of your server's random access memory (RAM), it will have been erased when you restart your VMware ESXi server.
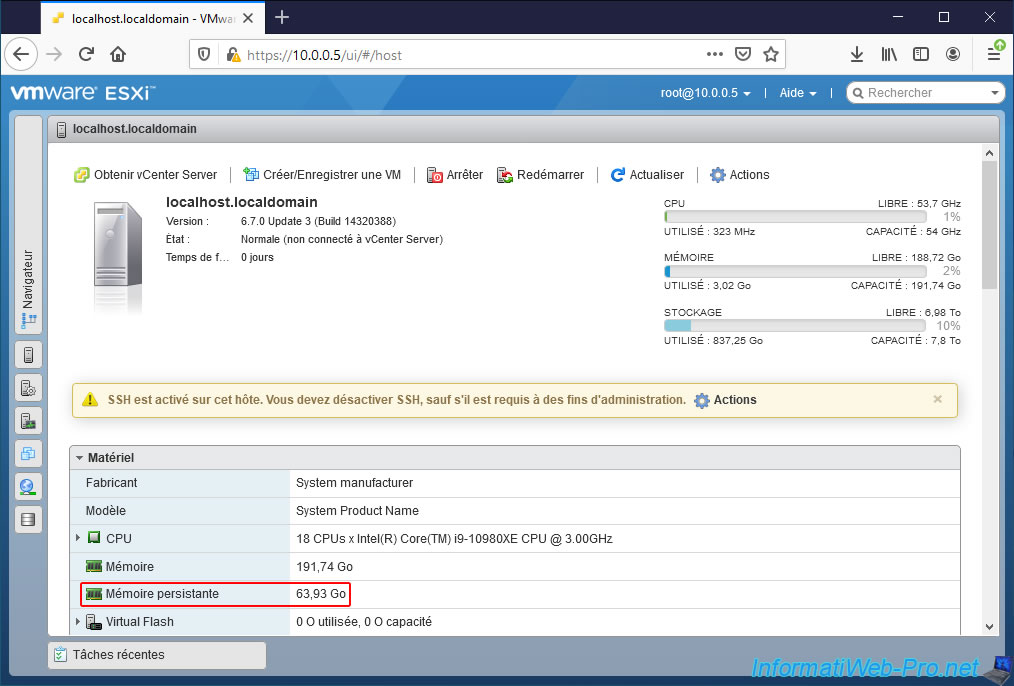
As you can see, the amount of "persistent" memory configured previously is still present, but its contents have been erased.
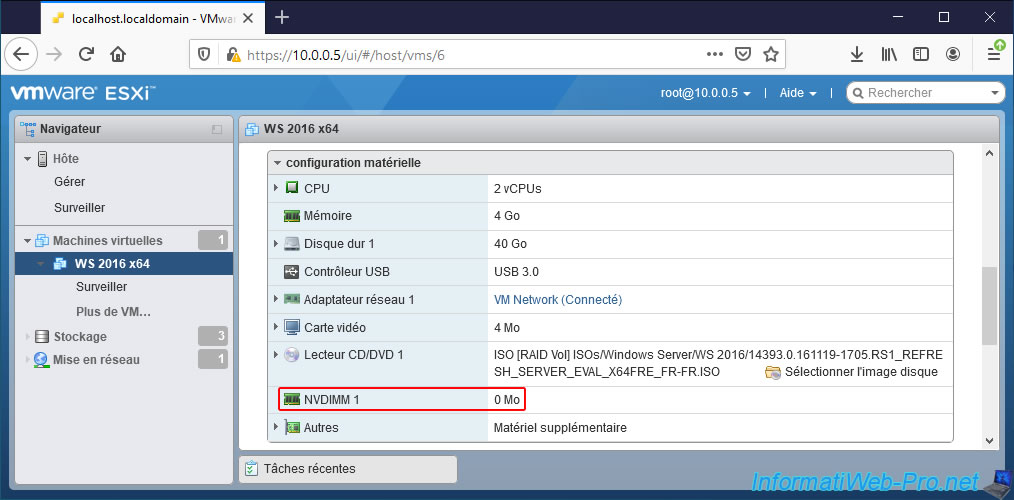
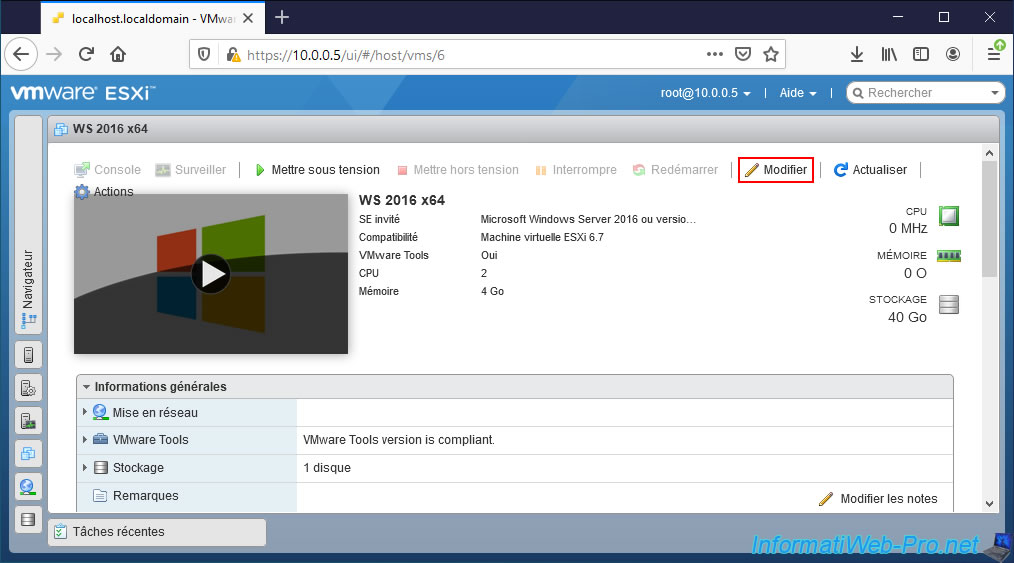
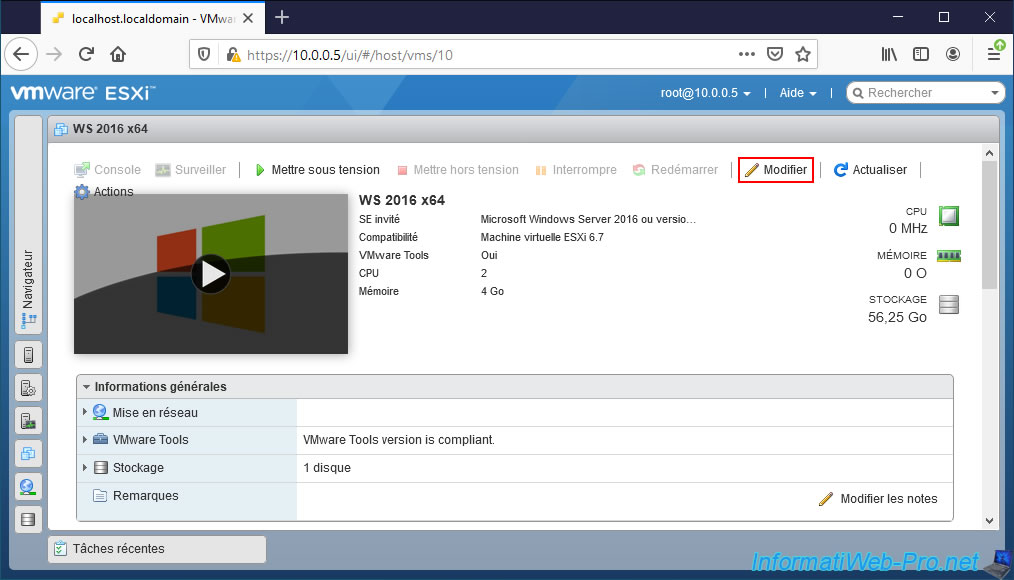
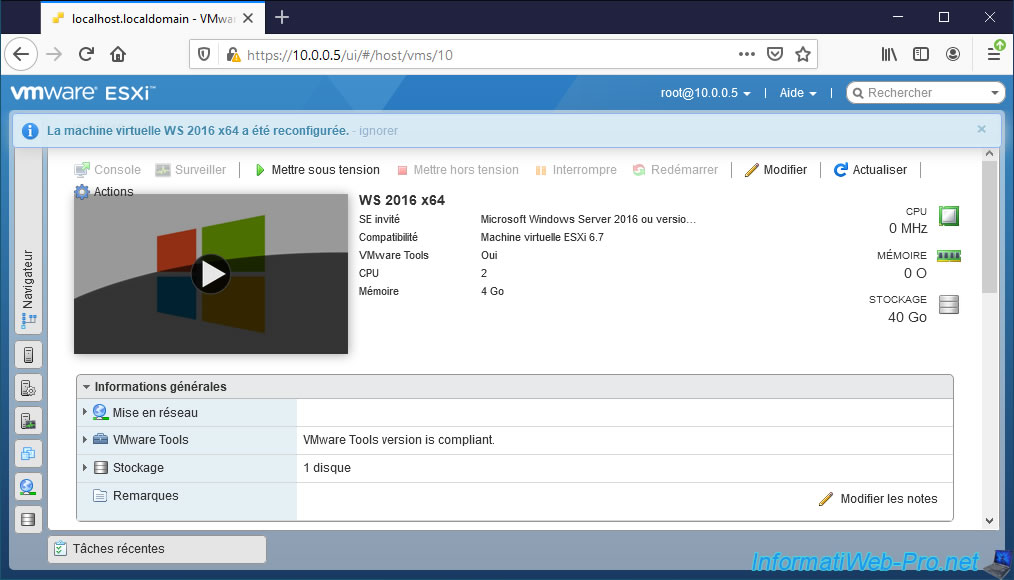
To see this, go to the information of the virtual machine to which you have associated an NVDIMM and you will see that it has a size of 0 MB.
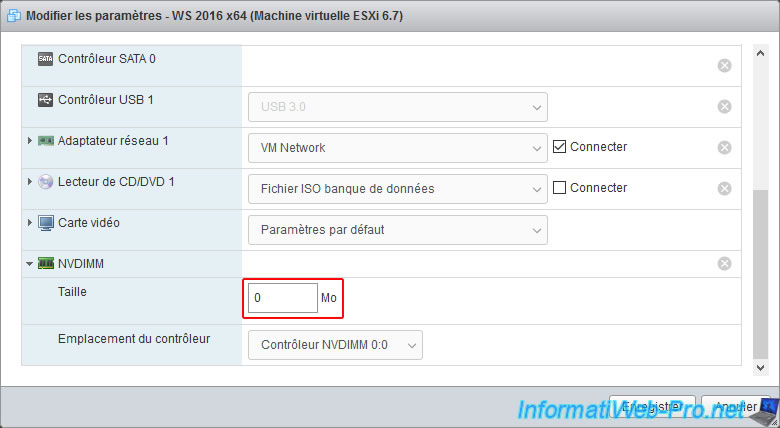
If you attempt to change the settings for this virtual machine, you will again see that the size of this NVDIMM is 0 MB.
15. Replace erased NVDIMM
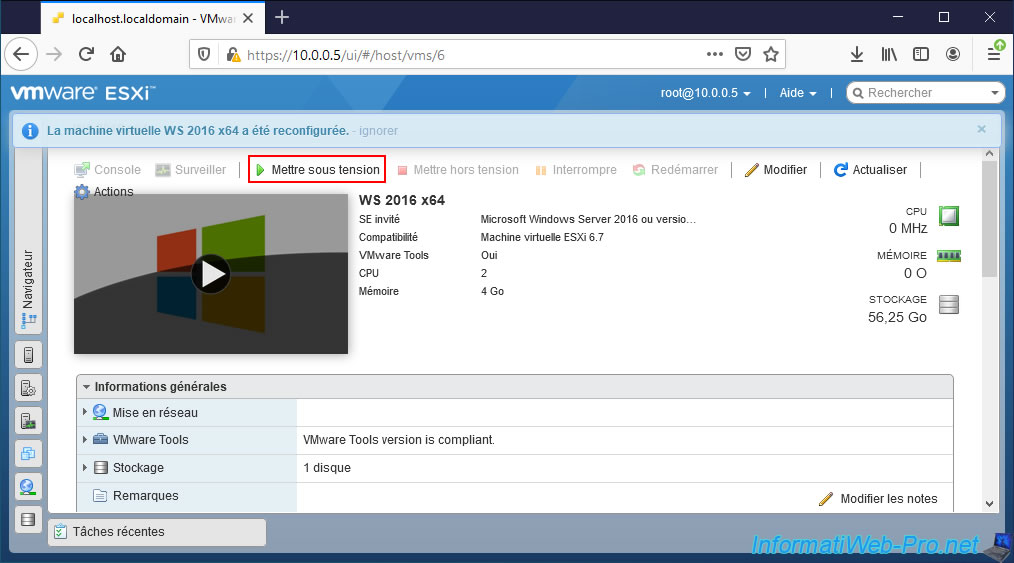
Because the "persistent" memory (simulated) was erased and recreated when your VMware ESXi host was started, the virtual machine whose NVDIMM was erased will not start until you reconfigure it.
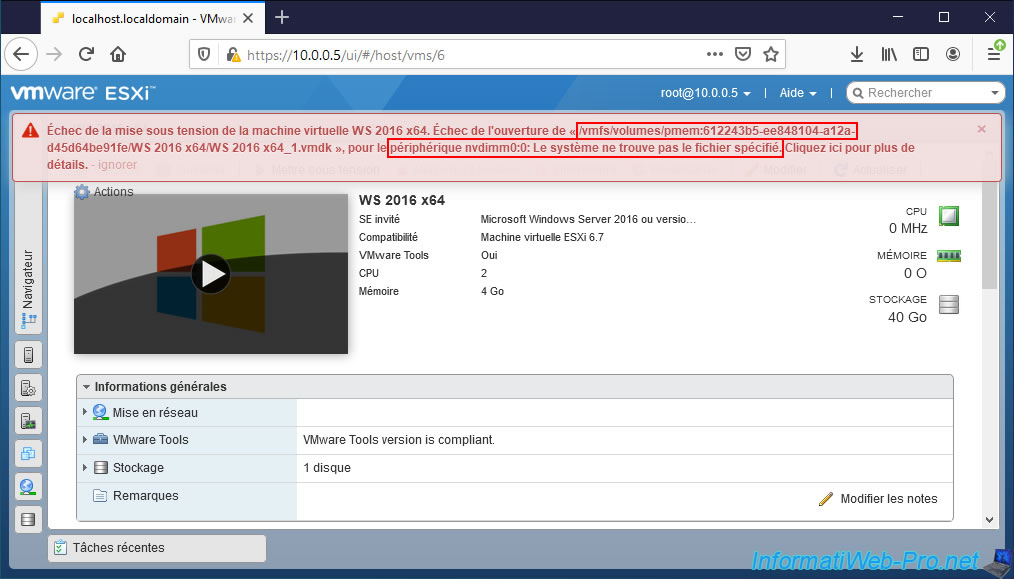
If you attempt to start this virtual machine, a "Failed to power on virtual machine [VM name]" error will appear in red.
As indicated in this error, VMware ESXi could not open the ".vmdk" file that was in persistent memory (/vmfs/volumes/pmem:...) for the NVDIMM module (device nvdimm0:0) which is associated with it because the specified file didn't exist.
This is normal given that the simulated "persistent" memory was erased during the VMware ESXi host shutdown, then recreated with different identifiers.
The location "/vmfs/volumes/pmem:..." displayed here therefore no longer exists.
To fix the problem, click the "Edit" button to change the settings of this virtual machine.
In its settings, remove the "NVDIMM" module that you associated with it.
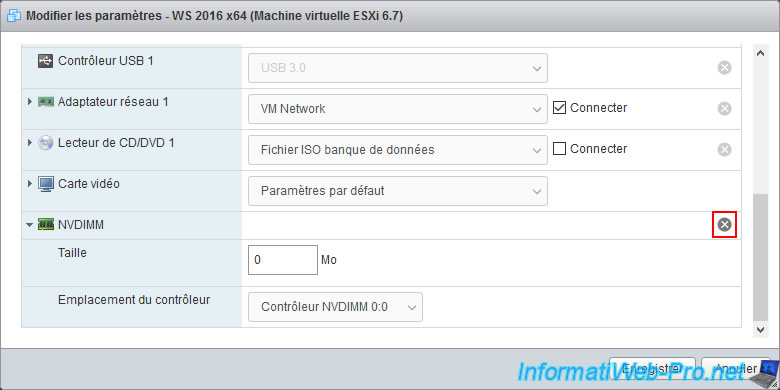
Click on "Save" to validate the deletion of this NVDIMM and the associated NVDIMM controller.
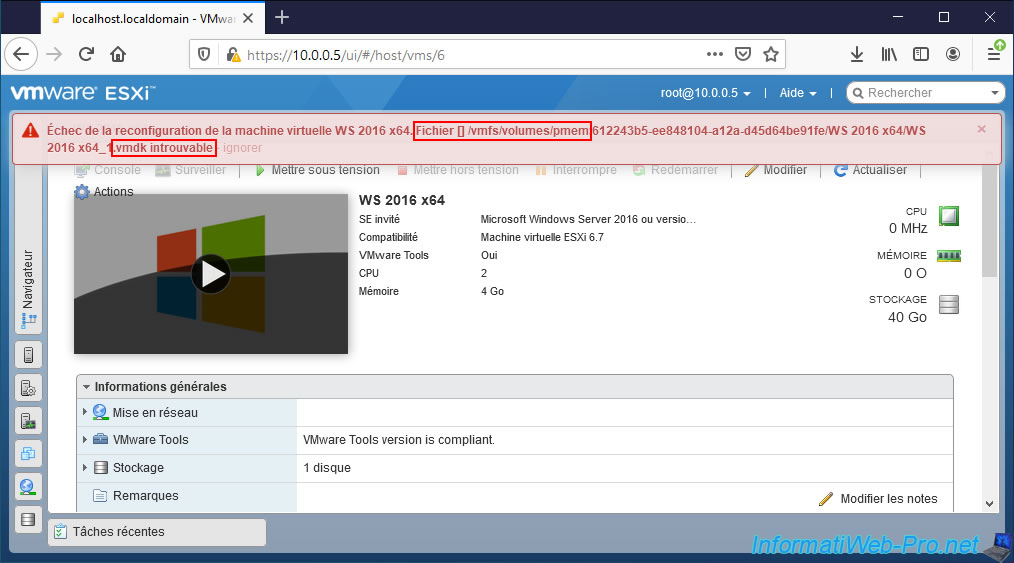
The deletion of this NVDIMM module (whose ".vmdk" file concerned no longer exists following the deletion of the persistent memory) will generate the display of an error, but it will have been deleted from the configuration of the virtual machine.
This error is simply displayed to alert you that VMware ESXi could not delete the associated ".vmdk" file since it no longer exists.
Click on "Edit" again.
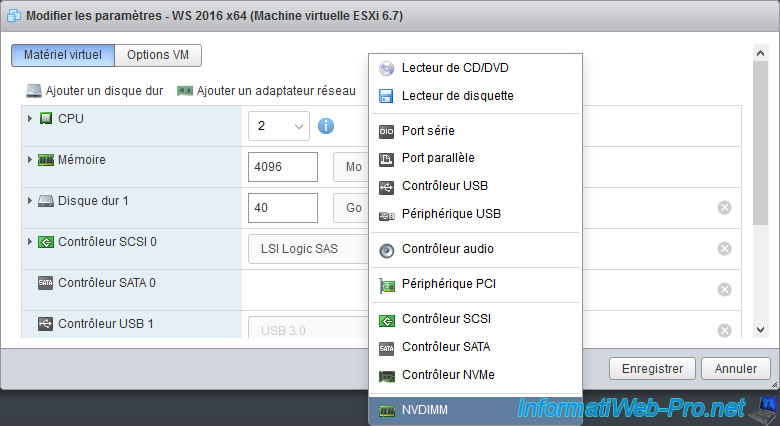
Click "Add other device" and click "NVDIMM" to add a new NVDIMM module.
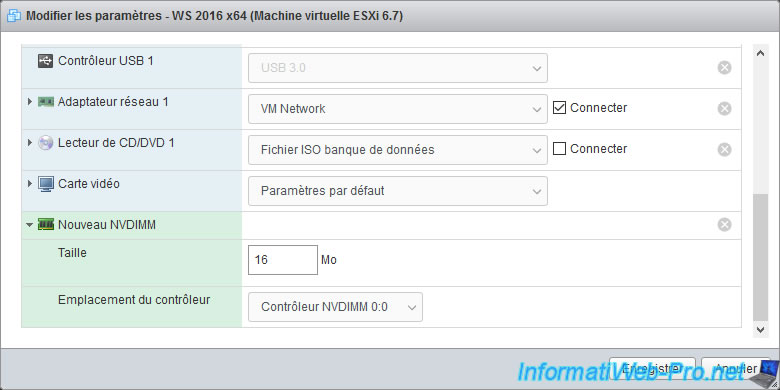
A new NVDIMM appears in the virtual hardware of this virtual machine, of which a ".vmdk" file will be stored in the new "PMemDS-..." datastore.
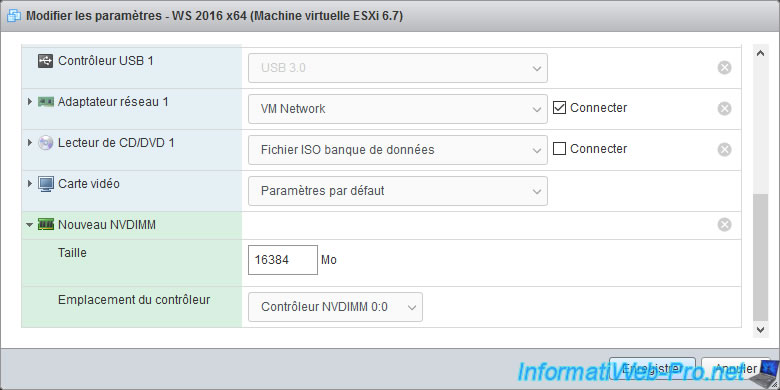
We specify "16384" to create a 16 GB NVDIMM.
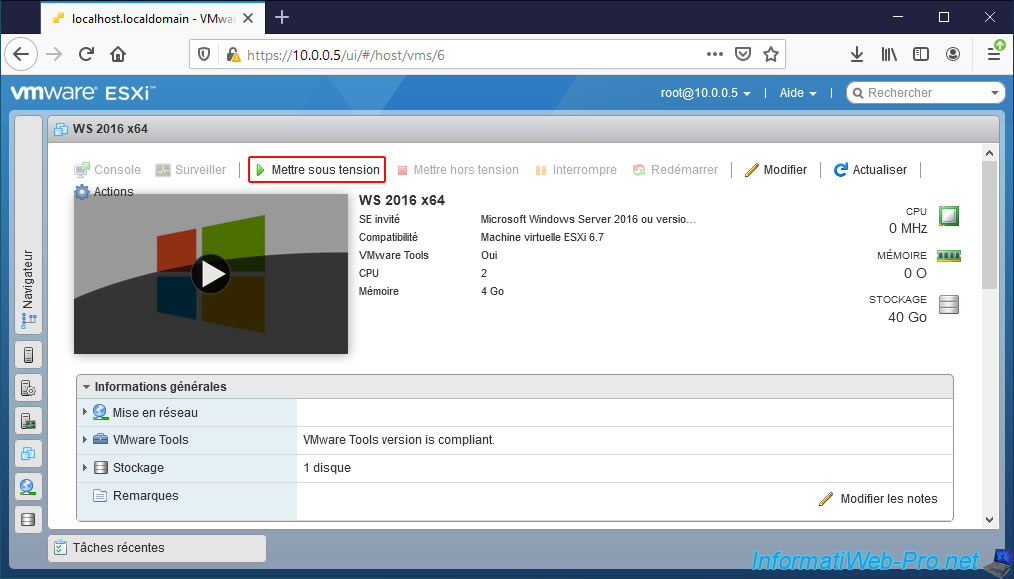
Now, you will be able to start this virtual machine again by clicking on : Power on.
16. Lost data
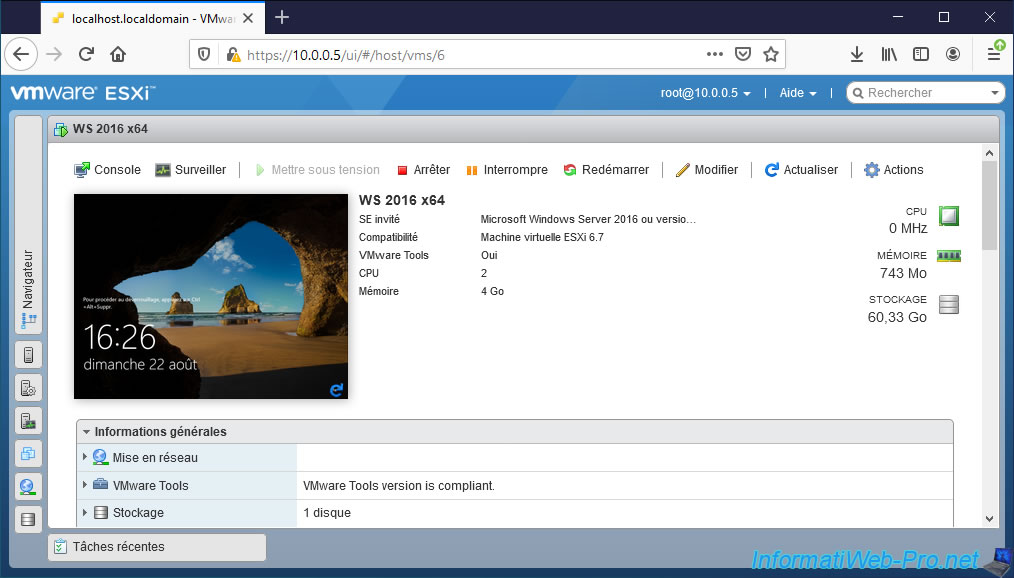
The virtual machine starts up.
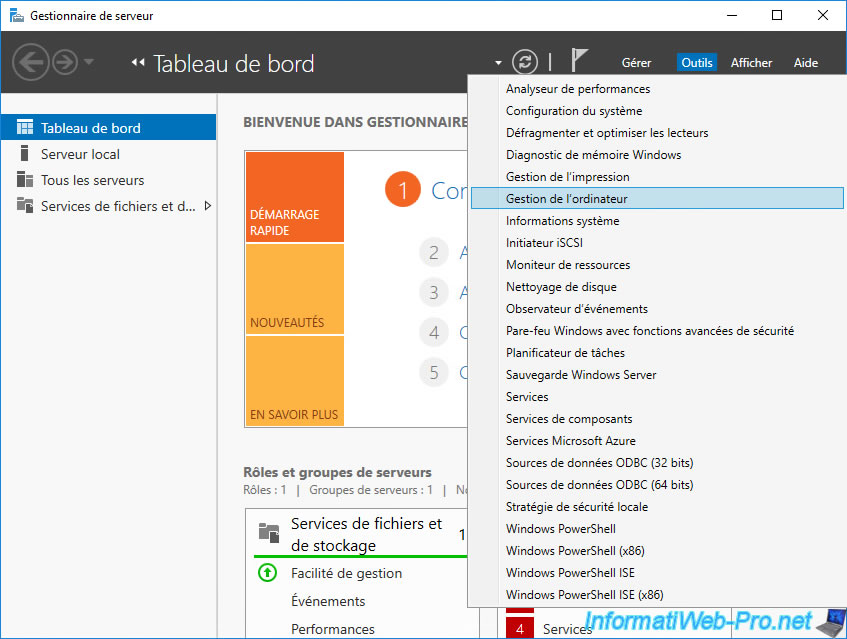
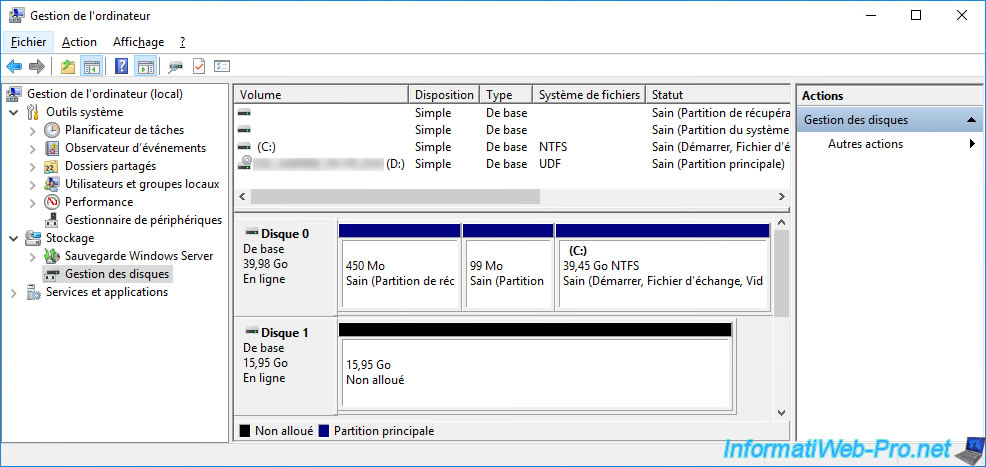
Open the "Computer Management" console again.
Go to Windows Disk Management and you will see that the disk corresponding to the new module is obviously NVDIMM.
Indeed, since we created a new NVDIMM module, the data which was present before was obviously lost.
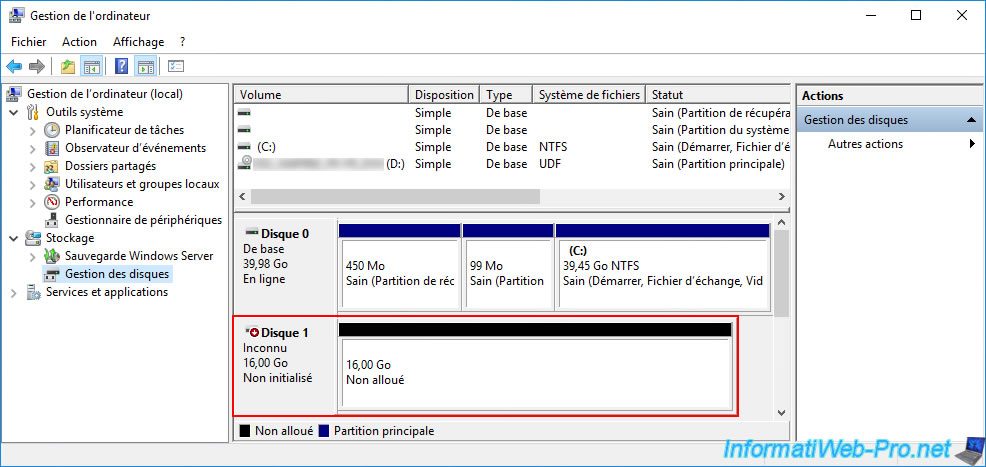
Of course, the initialization of this disk will not change anything.
17. Disable simulated persistent memory
Once you've completed your tests with simulated persistent memory, here's how to turn it off and recover all of your random access memory (RAM).
To begin, remove NVDIMMs from the virtual machines to which you have associated them.
To do this, click on the "Edit" button of the virtual machines concerned.
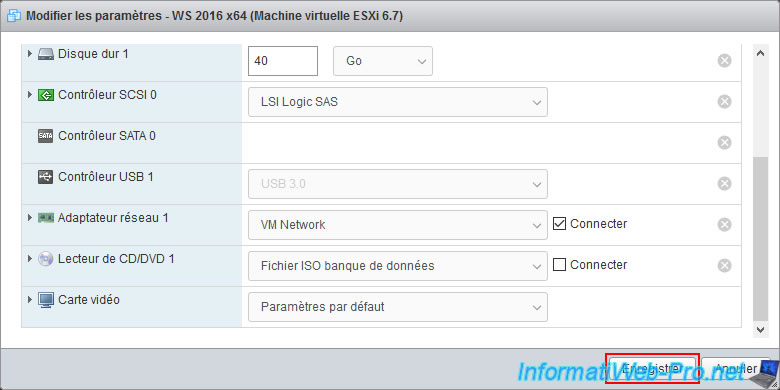
Remove the NVDIMM you associated with it.
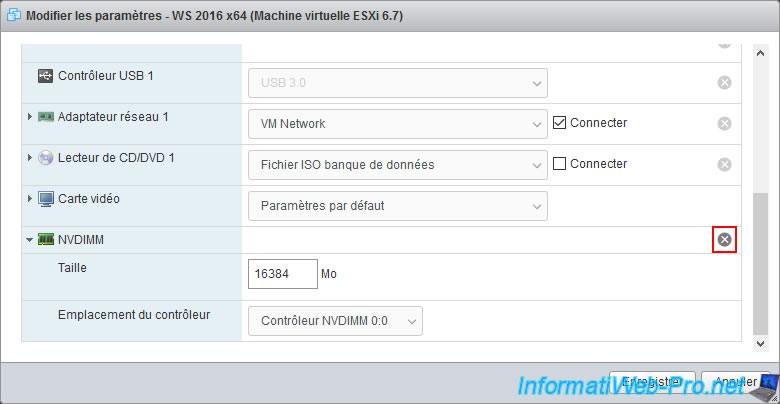
Then, click on : Save.
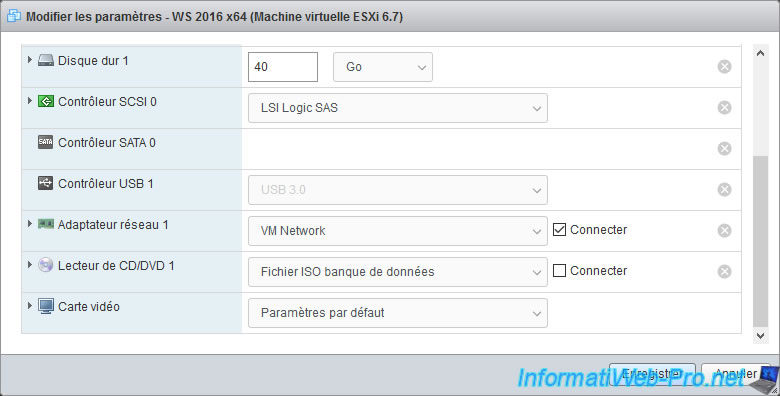
The NVDIMM module and the associated NVDIMM controller have been removed.
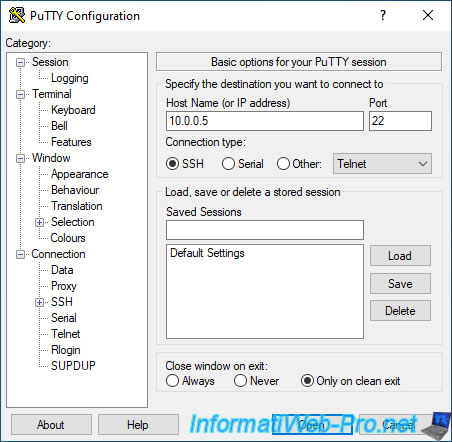
Now that your virtual machines are no longer using persistent memory (PMem), you can disable the use of this simulated "persistent" memory by logging in via SSH to your VMware ESXi host.
Note : make sure that the "TSM-SSH" service is started on your VMware ESXi host to be able to connect to it in SSH.
To disable "persistent" memory simulation on your VMware ESXi host, simply type this command :
Bash
esxcli system settings kernel set -s fakePmemPct -v 0
Then, restart your VMware ESXi host :
Bash
reboot
After restarting, you can verify that the simulated "persistent" memory has been disabled with the command :
Bash
esxcli system settings kernel list -o fakePmemPct
As you can see, the configured value and the one currently in use (Runtime) are equal to 0.
Plain Text
Name         Type   Configured  Runtime  Default  Description
-----------  -----  ----------  -------  -------  ------------------------------
fakePmemPct  uint8  0           0        0        Amount of fake persistent
                                                  memory (in pct of all volatile
                                                  memory)
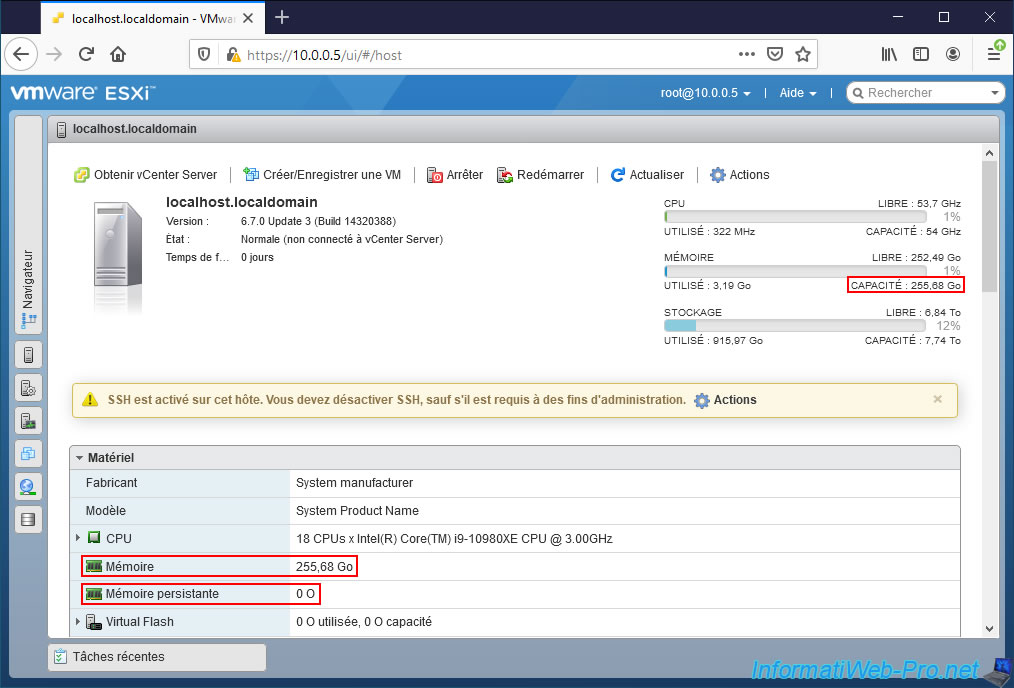
If you return to the web interface (VMware Host Client) of your VMware ESXi host, you will see that the persistent memory is no longer available (0 O) and that you have recovered all of your random access memory (RAM).
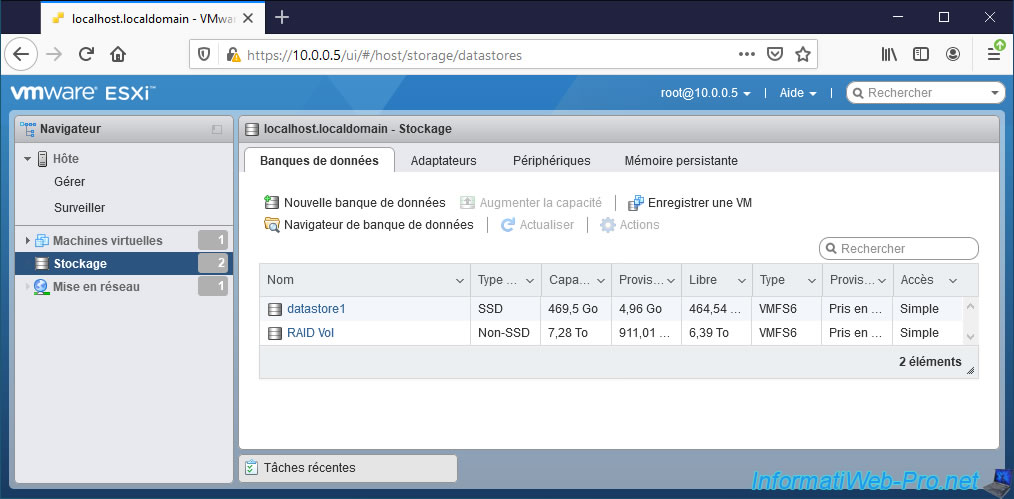
If you look in the "Storage" section of your VMware ESXi host, you will see that the "PMemDS-..." datastore used for data storage on your persistent memory is gone.
Share this tutorial
To see also
-
VMware 4/14/2023
VMware ESXi 6.7 - Best practices for creating a VM
-
VMware 2/17/2023
VMware ESXi 6.7 - Configure your virtual machines settings
-
VMware 6/2/2023
VMware ESXi 6.7 - Connect a smart card reader to a VM
-
VMware 10/19/2022
VMware ESXi 6.7 - DirectPath I/O (PCI passthrough)
No comment