Use real (PMem) or simulated (vPMem) persistent memory on VMware ESXi 6.7 via NVDIMMs modules
- VMware
- 06 January 2023 at 13:23 UTC
-

- 2/3

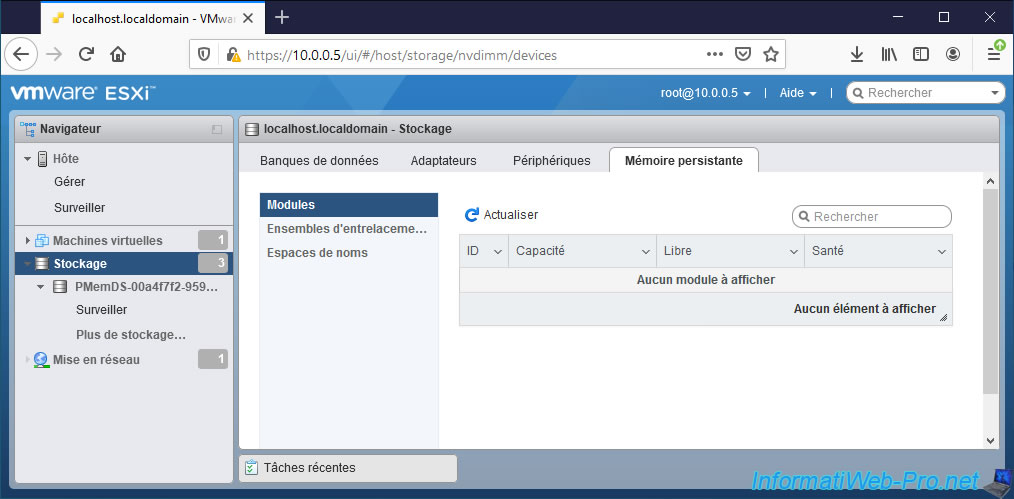
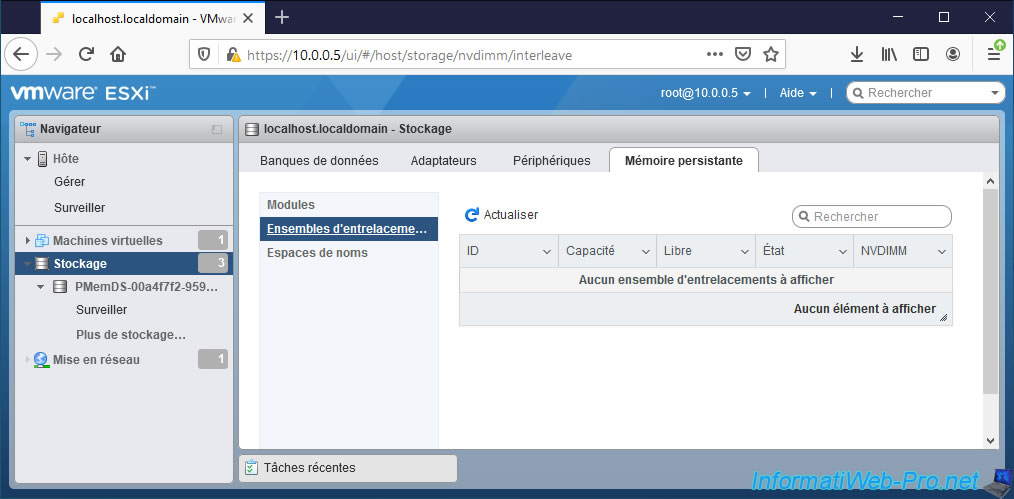
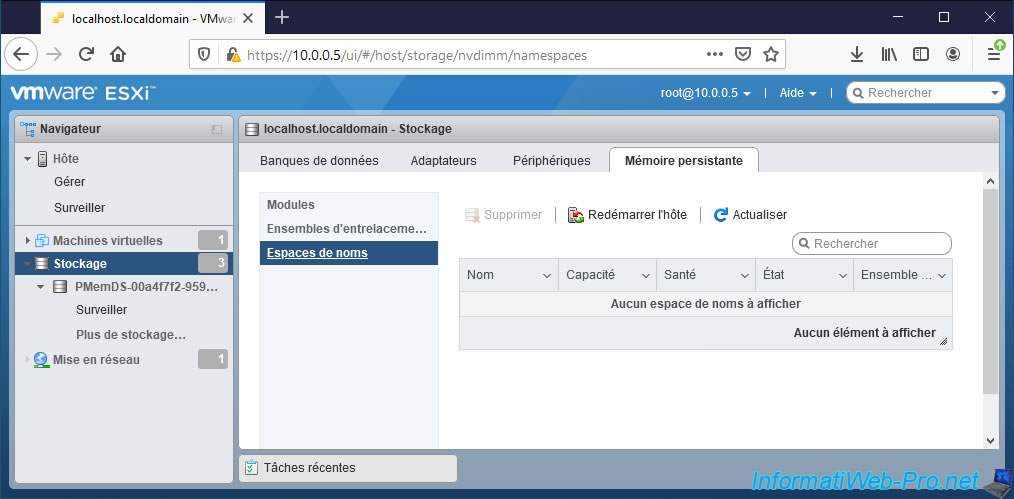
6. Information about actual persistent memory modules
Since we have simulated the use of persistent memory instead of using real persistent memory modules, nothing will show in the "Storage -> Persistent Memory" section.
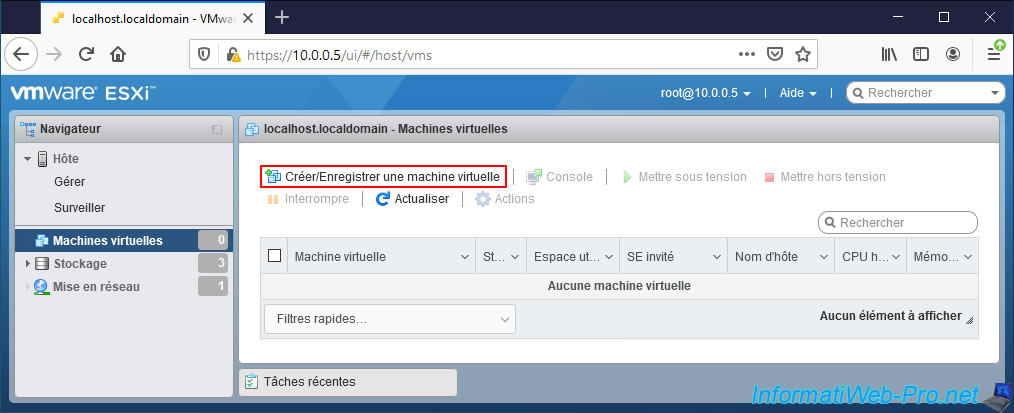
7. Create a new virtual machine with an NVDIMM (persistent memory)
For the example, we will create a new virtual machine to which we will assign a virtual NVDIMM (which corresponds to a part of the persistent memory).
As noted at the start of this tutorial, the guest operating systems that support persistent memory in NVDIMM format are : Windows Server 2016 and later, Windows 10 (version 1607) and later, and CentOS 7.4.
In our case, we will be using Windows Server 2016 as the guest operating system.
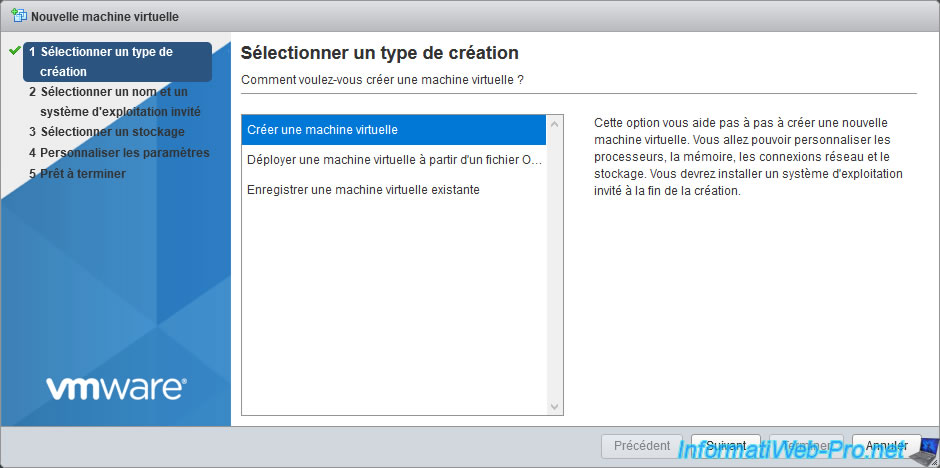
To begin, go to "Virtual Machines" and click on : Create / Register VM.
Then, select "Create a new virtual machine" and click Next.
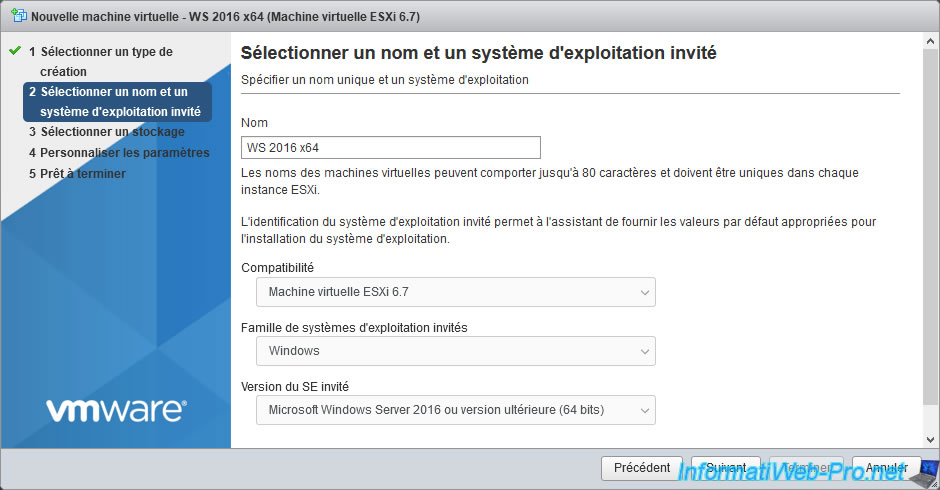
Select the compatible guest operating system you want to install.
In our case : Windows Server 2016.
Important : as explained previously, the use of NVDIMMs requires a minimum compatibility level of "ESXi 6.7" (which corresponds to version 14 of virtual hardware).
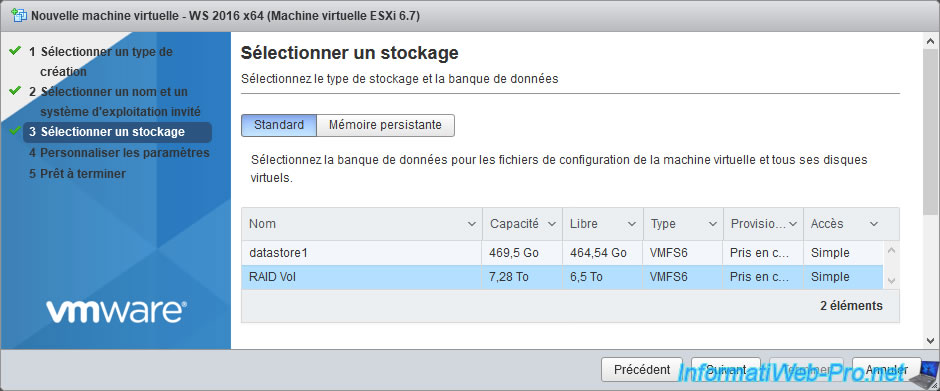
Select the datastore where you want to create this virtual machine.
Warning : as you can see, you can create a virtual machine in persistent memory if you want.
However, since in our case this "persistent" memory is physically located in the random access memory (RAM) of our server, we will not do it.
Indeed, in this case, the virtual machine would disappear instantly in the event of a power failure, shutdown or restart of the VMware ESXi host.
Configure the virtual hardware as desired.
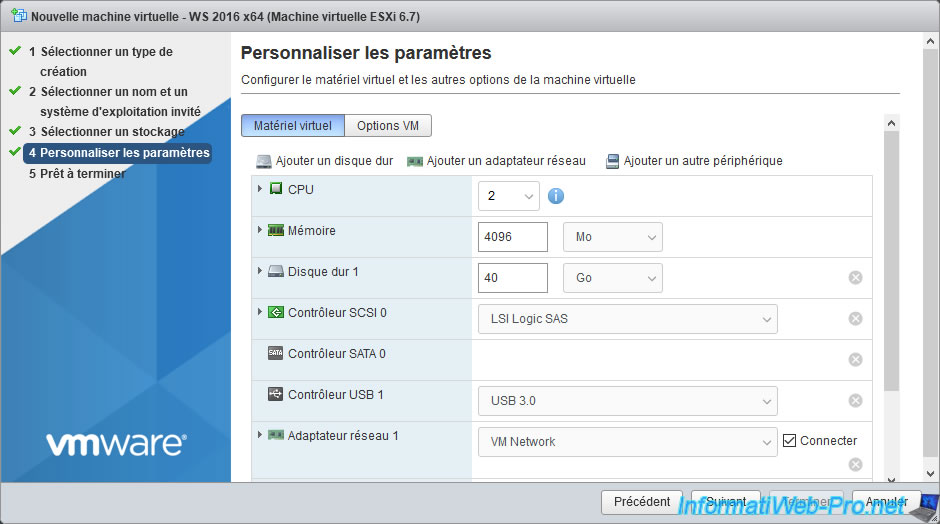
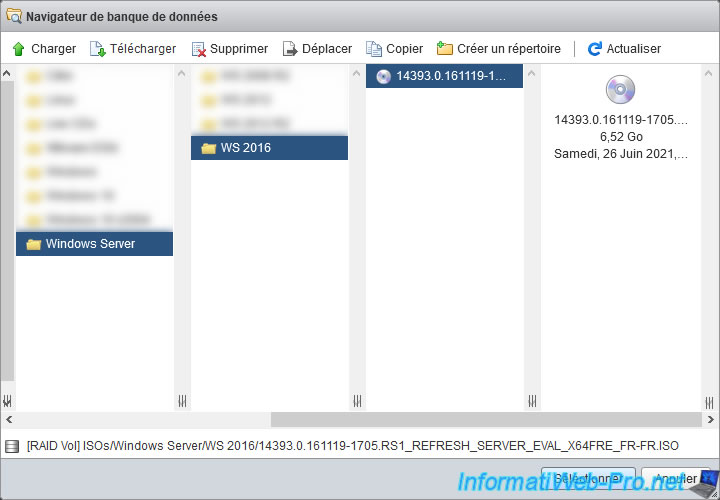
Configure the CD/DVD drive to use the operating system ISO file that you want to install in this virtual machine.
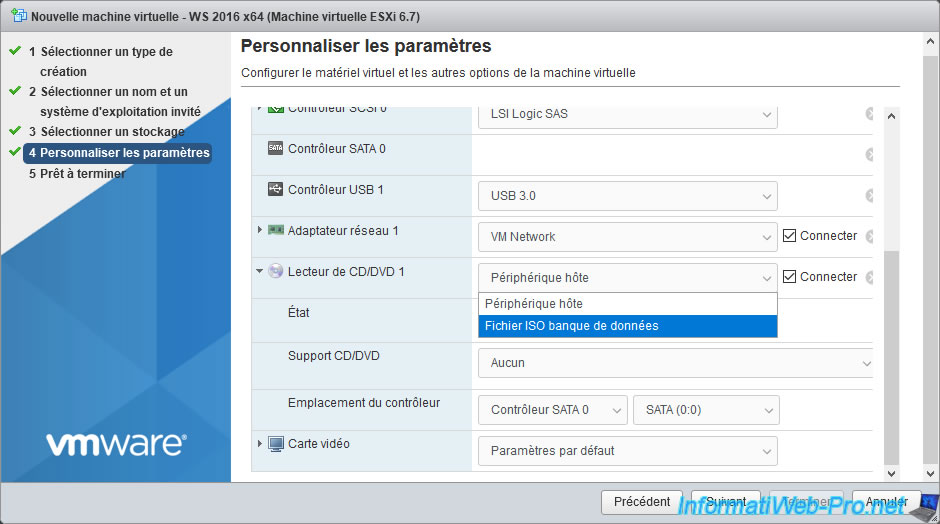
In our case, the Windows Server 2016 (x64) ISO file.
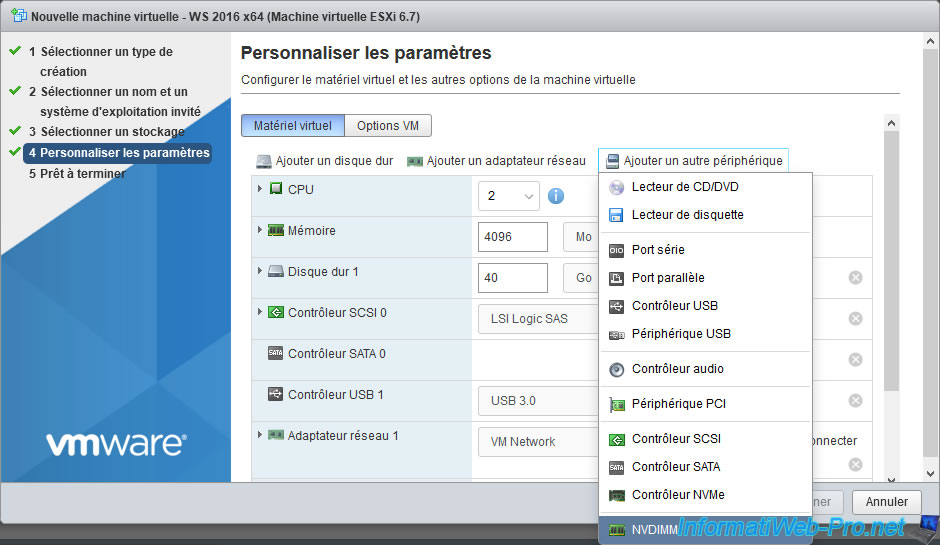
Then, click on "Add other device" and click on "NVDIMM".
Note that this option only appears when the desired guest operating system is compatible with this technique.
Otherwise, you will have to click on "Add hard disk -> New persistent memory disk".
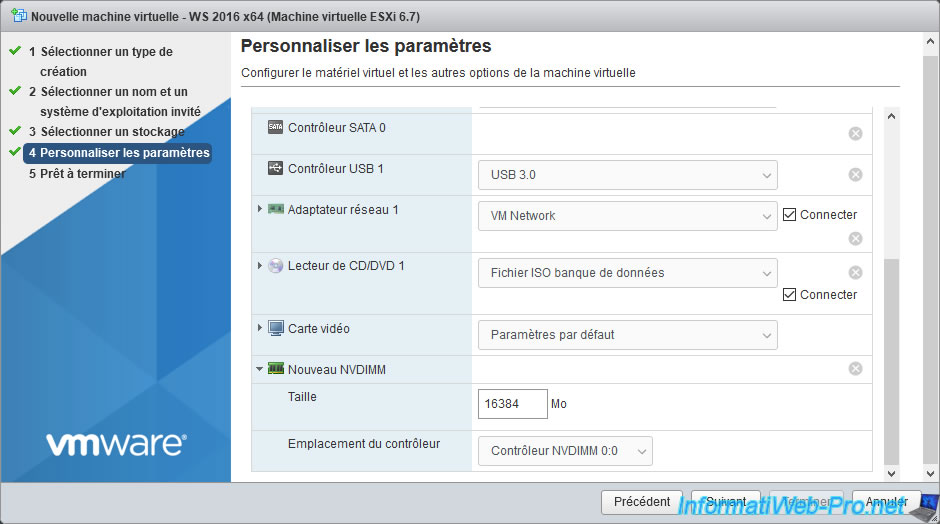
The new NVDIMM module appears with a size of 16 MB by default.

If you deploy this "New NVDIMM" item, you will be able to configure :
- the size of this NVDIMM. In our case, we specified "16384MB" to get a 16 GB virtual NVDIMM (16 * 1024 = 16384) in the operating system.
- the location of the NVDIMM controller. Useful in case you add multiple virtual NVDIMMs to this virtual machine.
Once this NVDIMM is configured, click Next.
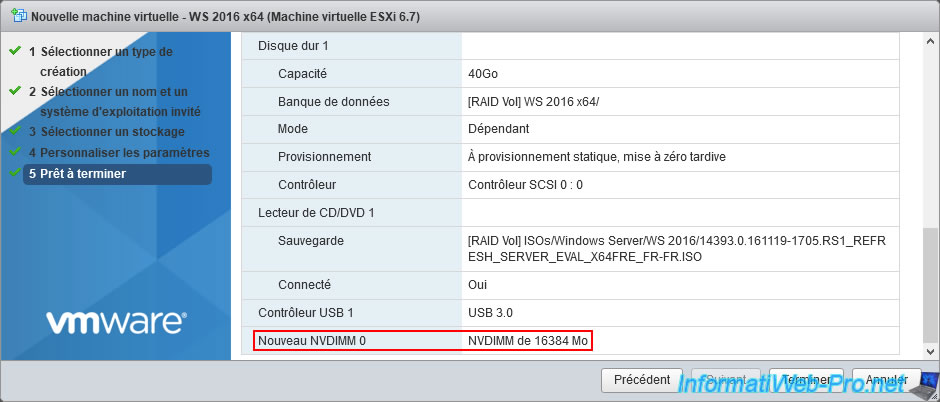
At the bottom of the summary, you will see that "New NVDIMM 0" will be assigned to your virtual machine.
Click on Finish.
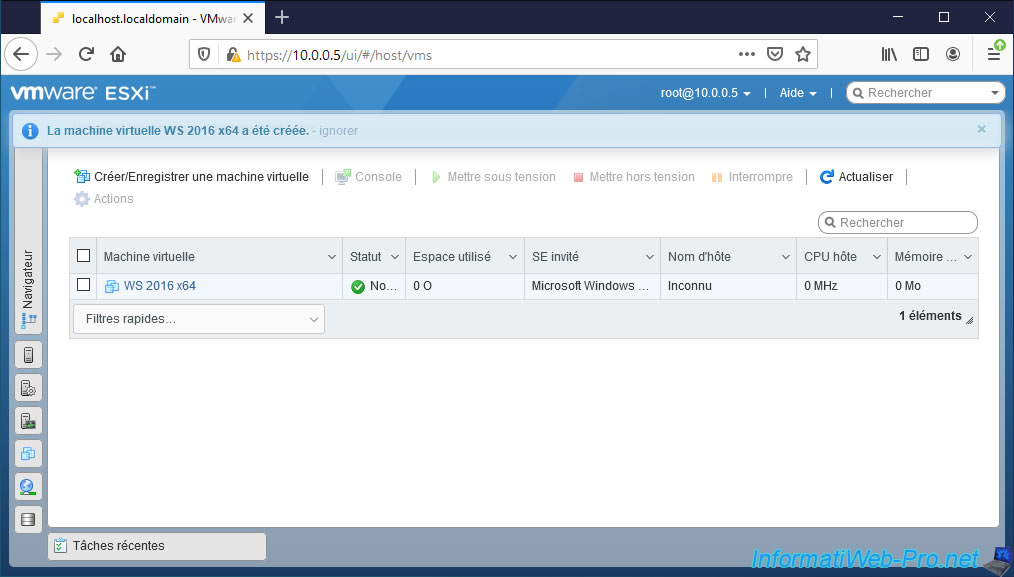
The virtual machine has been created.
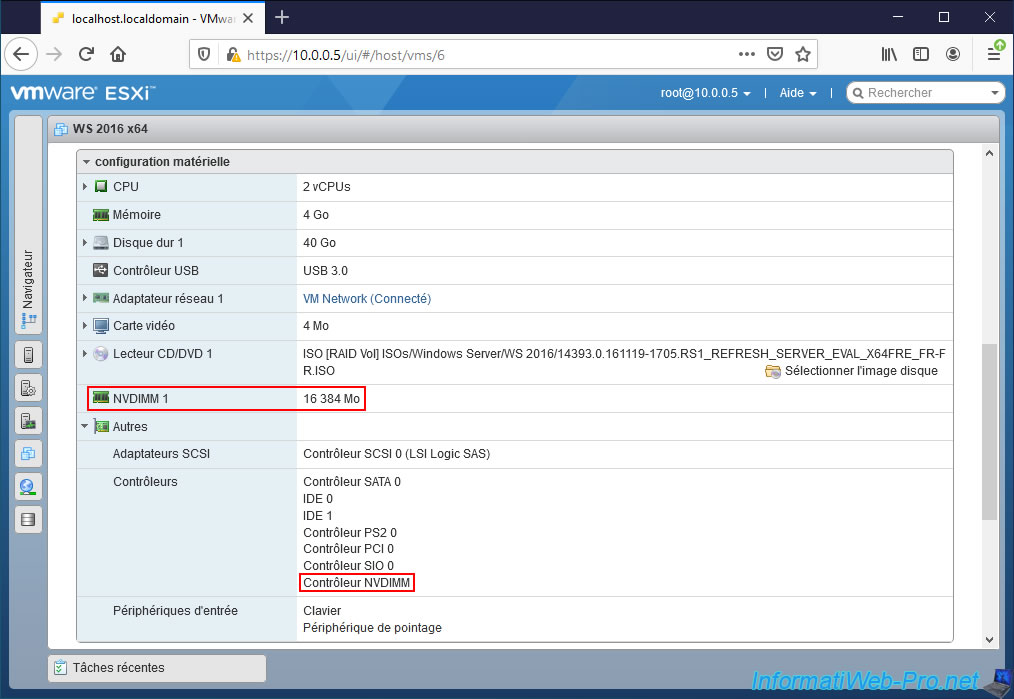
8. Information about the created virtual machine
Click the name of the virtual machine to view information about it.

If you look in its hardware configuration, you will see that it has an "NVDIMM 1" device and an NVDIMM controller is also present in the "Others" section of this hardware configuration.
9. Installing Windows Server 2016
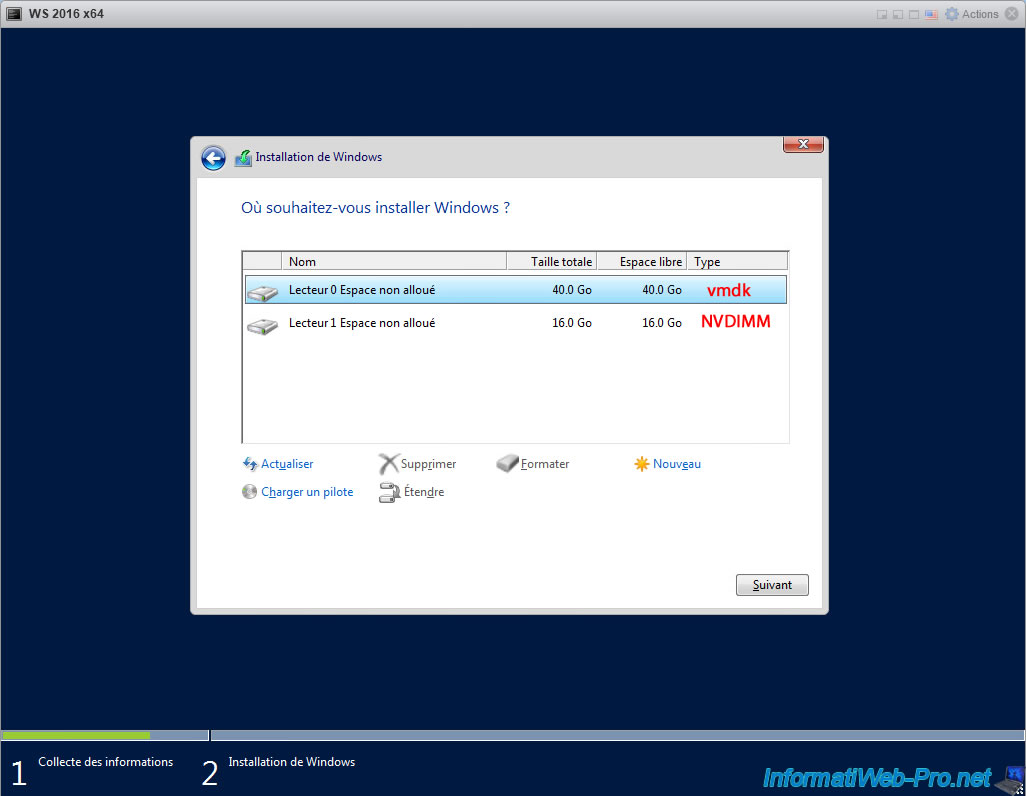
Since Windows Server 2016 supports the use of NVDIMMs, its installer will show you 2 drives :
- the 1st corresponds to the virtual hard disk (.vmdk) created in the normal datastore (whose file system is VMFS)
- the 2nd corresponds to the virtual NVDIMM whose data will be physically stored in the persistent memory of the VMware ESXi host.
Again, if you have simulated "persistent" memory by reserving some of your random access memory (RAM) for this purpose, the data stored on that drive will be lost when the host is shut down or restarted or if a power failure occurs.
Select the disk corresponding to the file (.vmdk) and click Next.
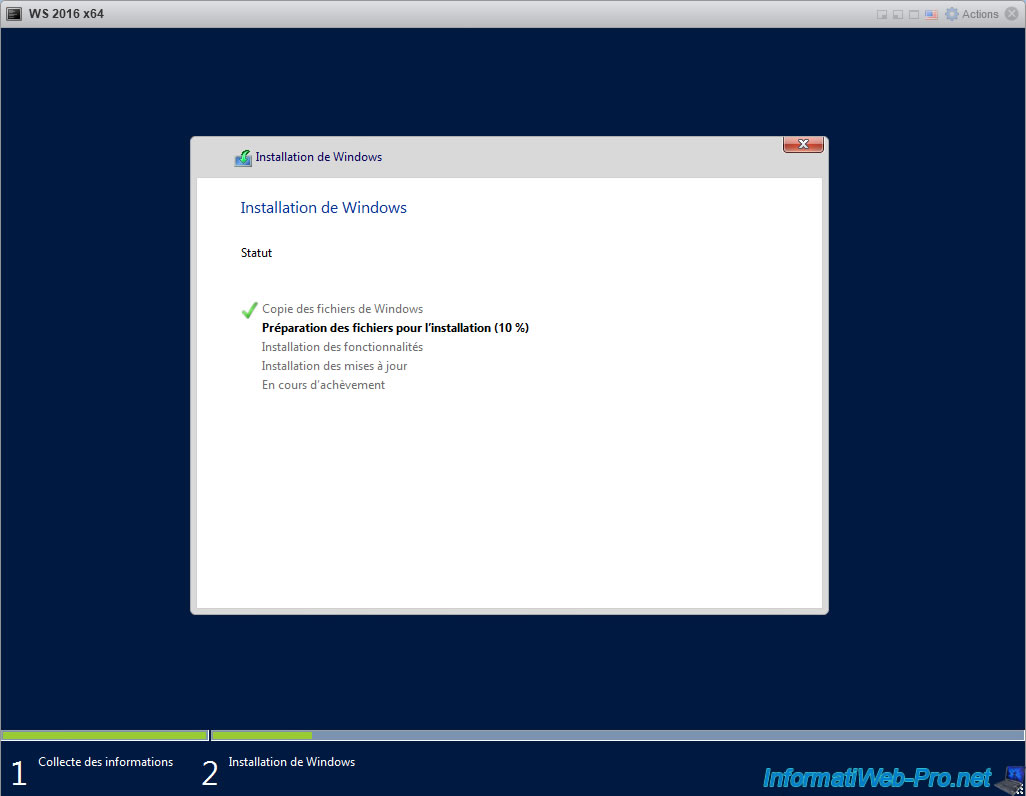
Wait while Windows Server 2016 (or desired compatible guest operating system) is installed.
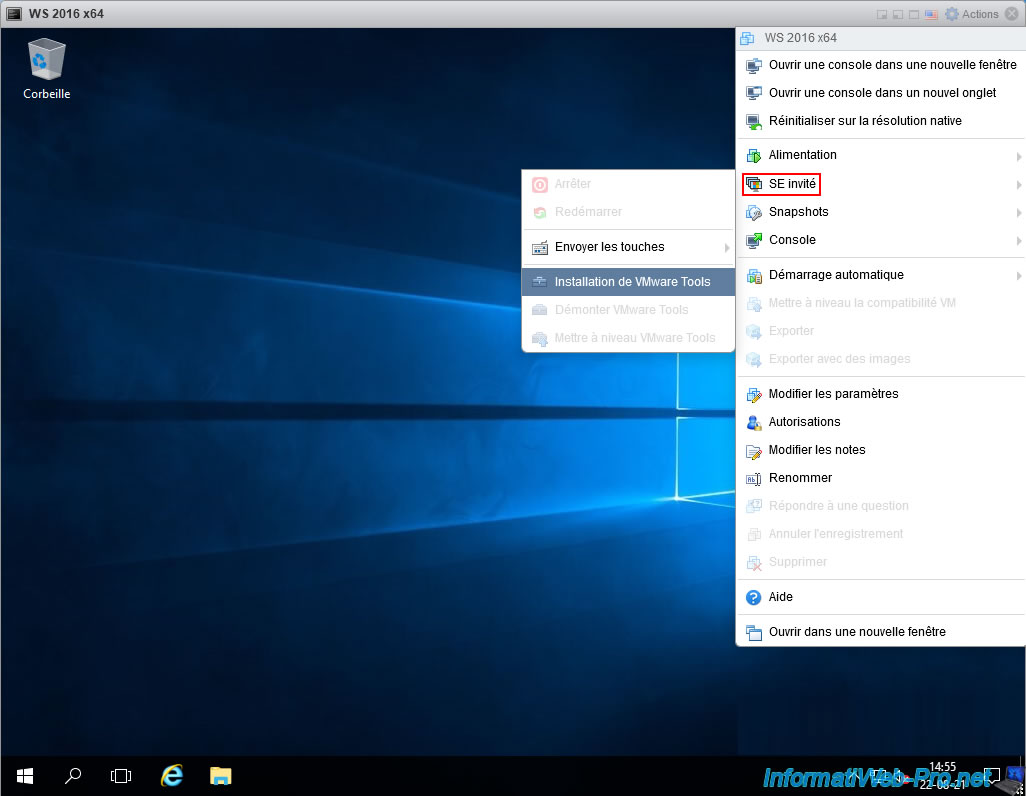
Once the guest operating system is installed, don't forget to install VMware Tools by clicking on : Actions -> Guest OS -> Install VMware Tools.
10. Partition the persistent memory disk (PMem)
To get started, open the "Computer Management" console.
In the case of Windows 10, right click "Manage" on "This PC".
In the case of Windows Server, go to the "Tools" menu of the server manager, click on : Computer Management.
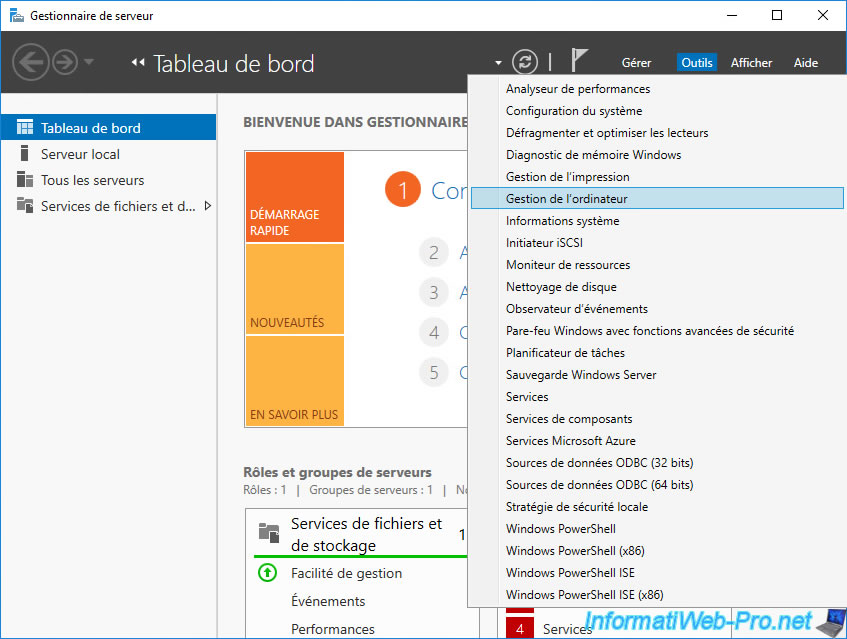
In the "Computer Management" console that appears, click "Disk Management".
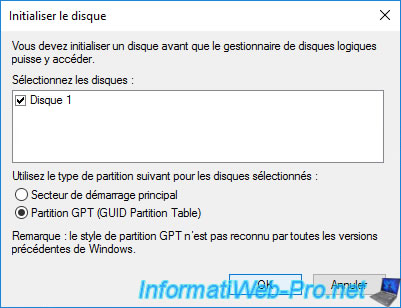
As you can see, the NVDIMM appears as a local disk.

To be able to use it, you will need to initialize it.
Now, this disk is online.

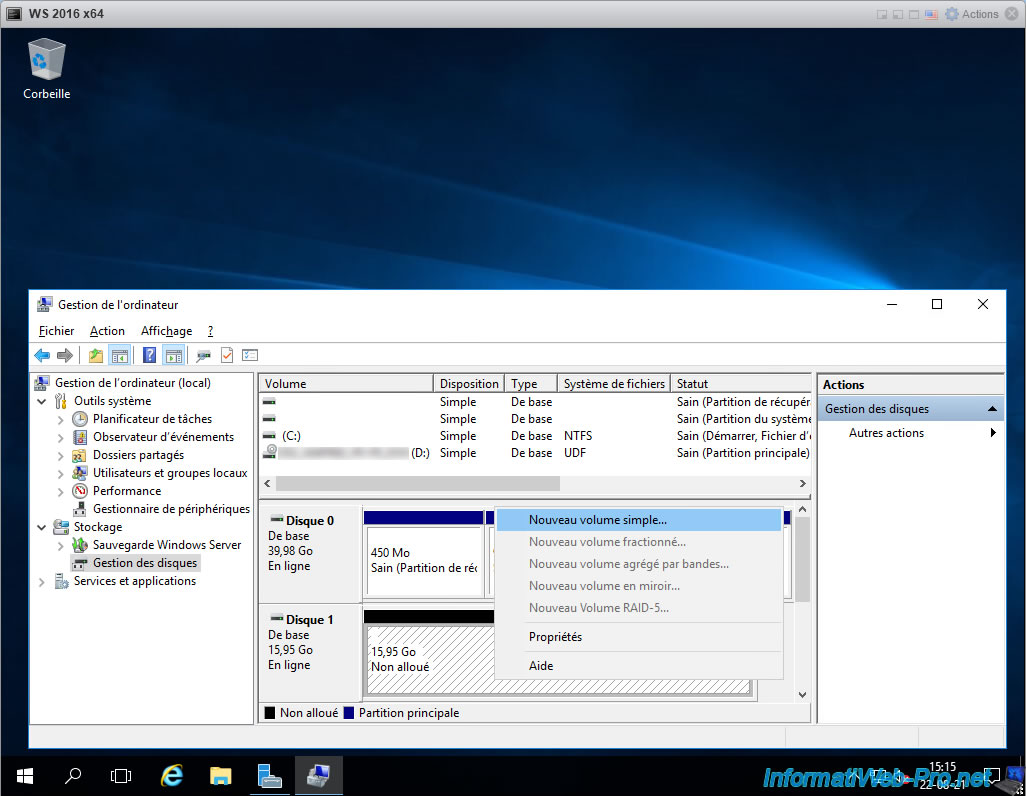
To store data on it, partition it like any other local disk.
To do this, right-click "New Simple Volume" on the unallocated space of it.
The "New Simple Volume Wizard" appears.
Click on : Next.
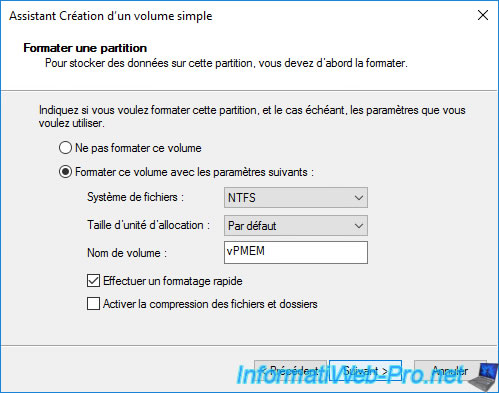
For the example, we have specified "vPMEM" as the volume name.
But it doesn't matter.
Your disk (corresponding to this VM's virtual NVDIMM) has been partitioned.

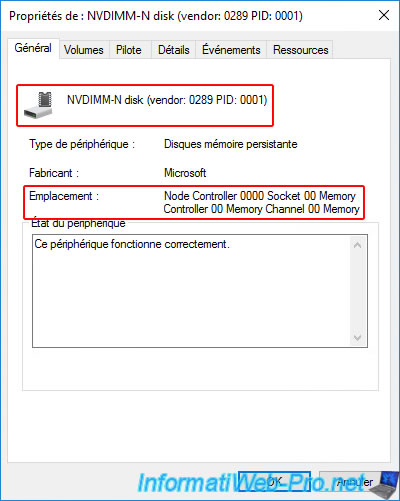
If you right click "Properties" on this disk, you will see that it's an "NVDIMM-N disk" whose location points to Memory.
If you go to the "Volumes" tab of this properties window, you will see that this is indeed the device on which we have just created our "vPMEM" partition.

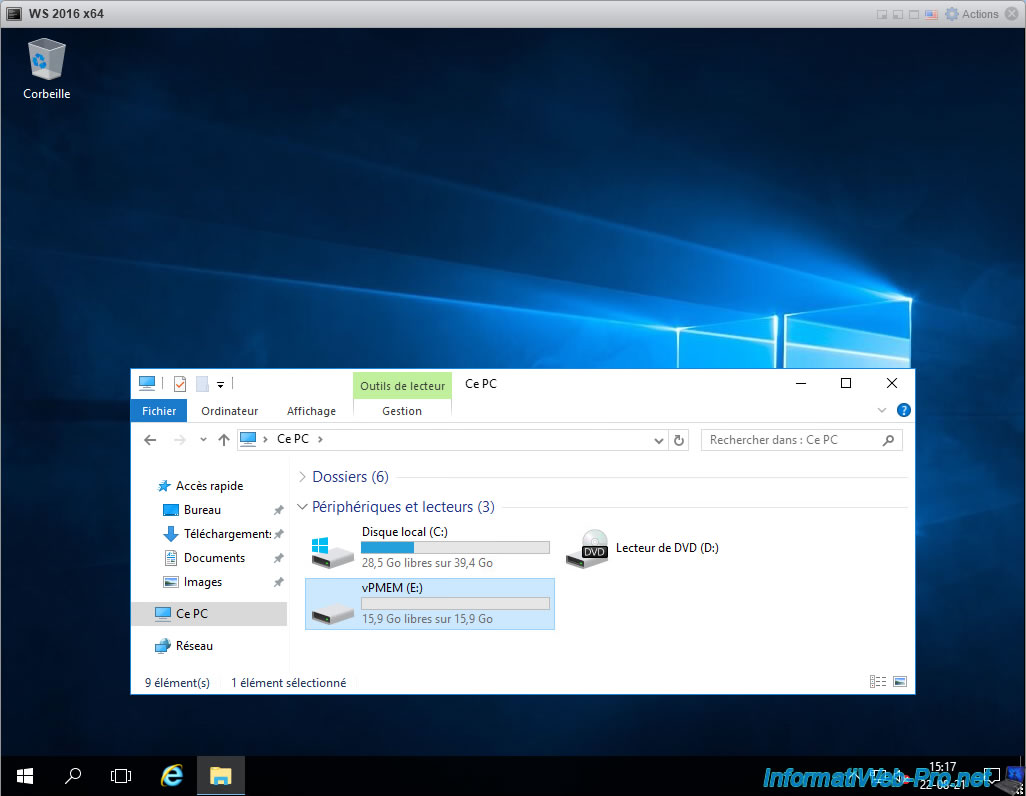
The created "vPMEM" partition will appear in the file explorer like any other classic partition.
Share this tutorial
To see also
-
VMware 4/14/2023
VMware ESXi 6.7 - Best practices for creating a VM
-
VMware 2/17/2023
VMware ESXi 6.7 - Configure your virtual machines settings
-
VMware 6/2/2023
VMware ESXi 6.7 - Connect a smart card reader to a VM
-
VMware 10/19/2022
VMware ESXi 6.7 - DirectPath I/O (PCI passthrough)
No comment