Install, configure and deliver desktops by using MCS with Citrix XenDesktop 7.6
- Citrix
- Citrix XenApp / XenDesktop
- 13 May 2015 at 12:13 UTC
-

- 2/4

4. Configure the Citrix website (Citrix Receiver in web version)
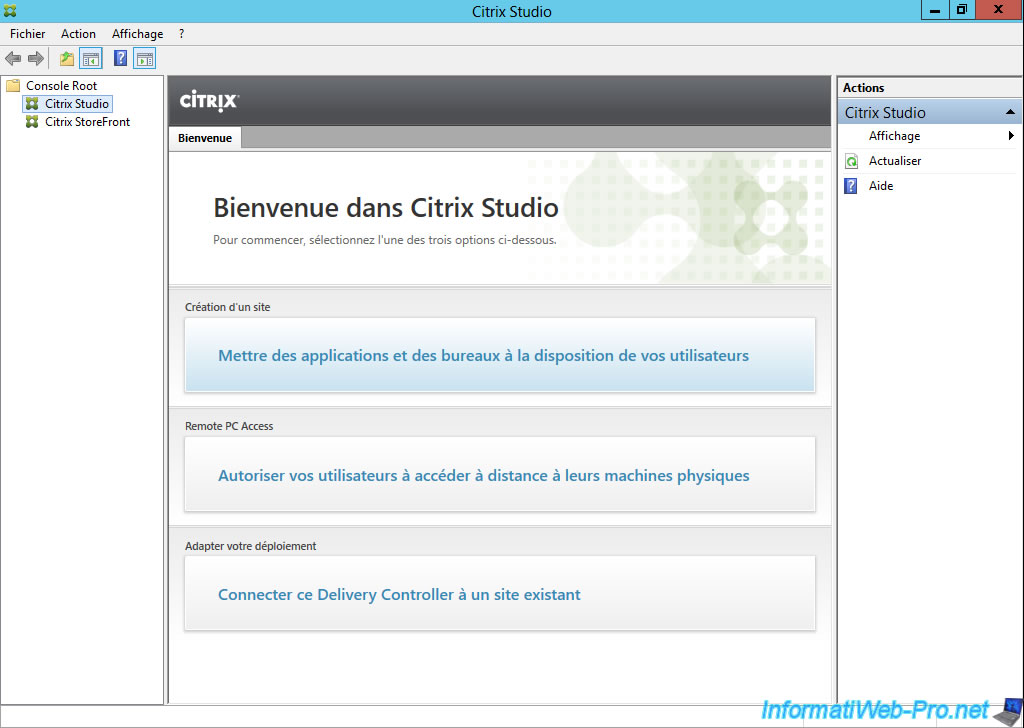
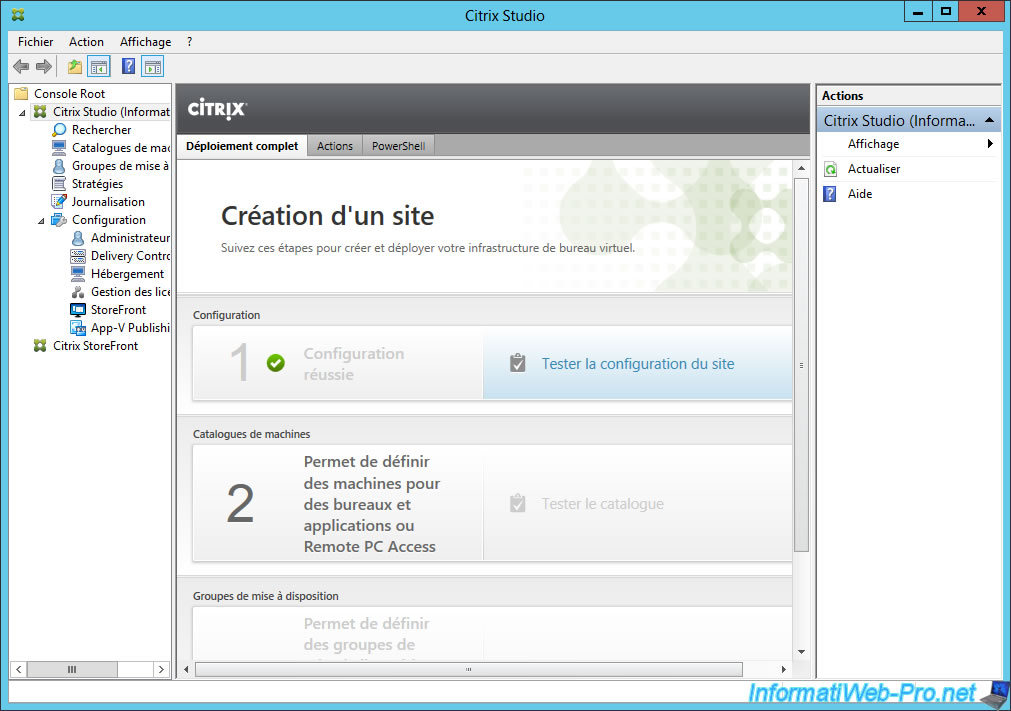
When Citrix Studio opens, it displays 3 steps :
- Set desktops to deliver to your users
- Allow your users to remotely access to their virtual or physical machines
- Connect the "Delivery Controller" to an existing site
Start by creating a website by clicking on "Set applications and desktops to deliver to your users".
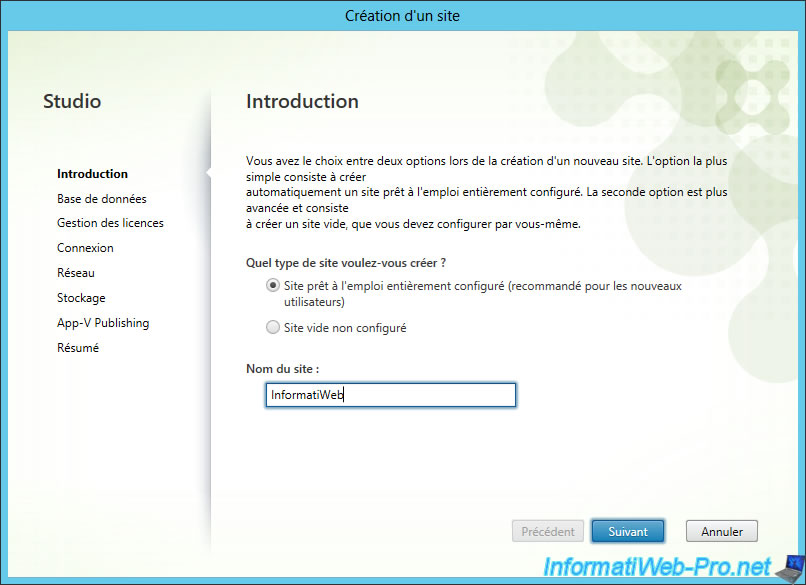
Select "Ready for use site" and specify a site name.
Note : The site name can be different from the domain name. Theses informations aren't related.
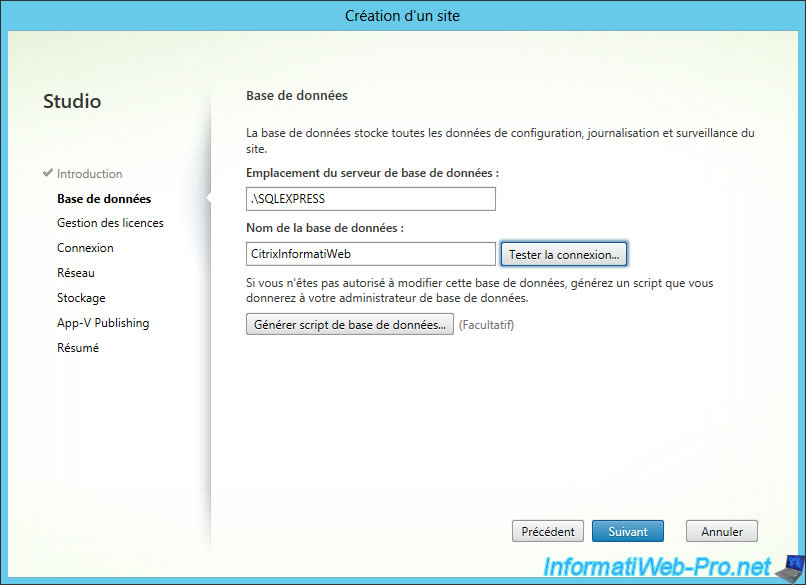
Test the connection to the SQL Express Server (installed at the same time as the Delivery Controller).
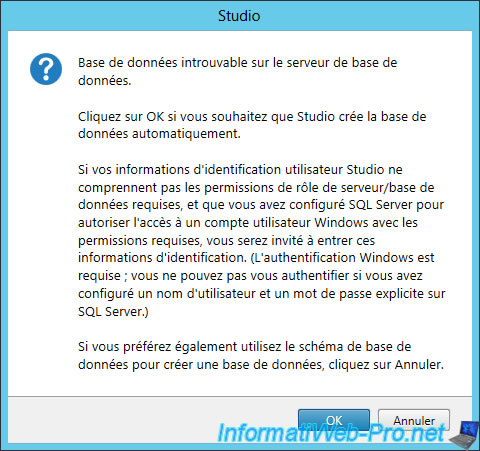
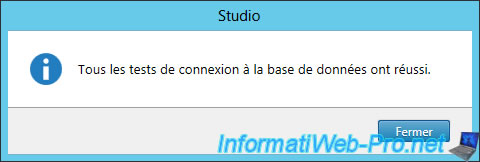
Citrix Studio will ask you if he should create the database automatically. Click "OK".
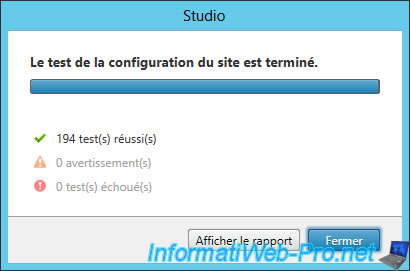
If all goes well, this message will appear.
Select "Use the free 30-day evaluation" or "Use an existing license" if you bought "XenDesktop".

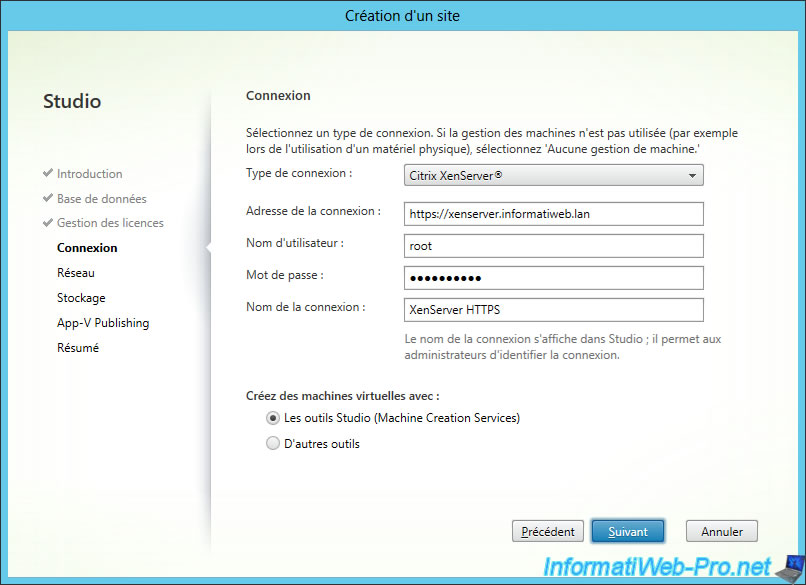
In this tutorial, we will use virtual machines running on a XenServer server.
Select "Connection Type : Citrix XenServer" and specify the following :
- Connection address : https://xenserver.informatiweb.lan (you can use the http or https protocol but https is secure while the http isn't secure)
- Username : root
- Password : password of the account used
- Connection name : What you want. This name will be displayed in Citrix Studio.
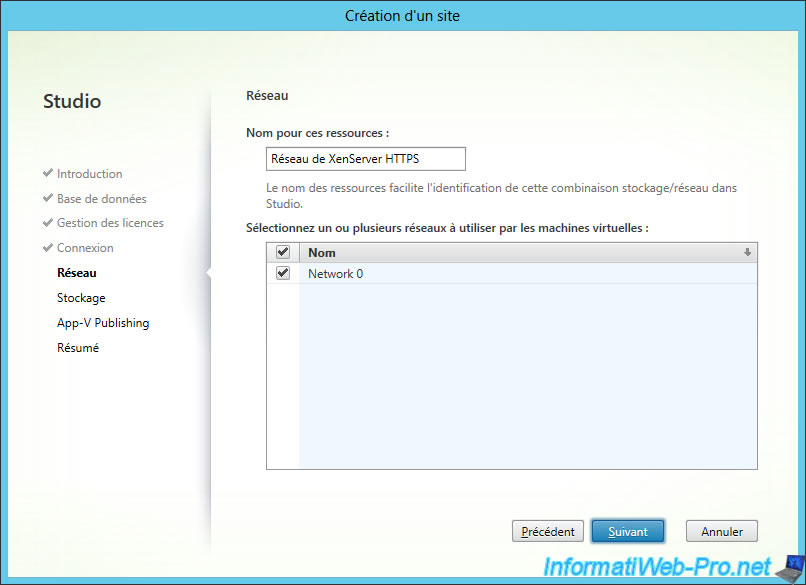
Select the network to use on the "Citrix XenServer" server.
Note : The name will be displayed in Citrix Studio.
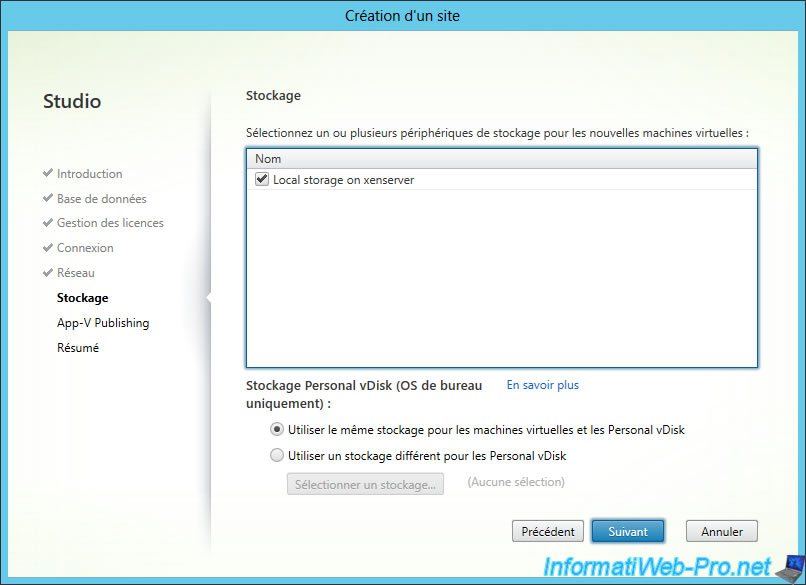
Select the storage to use on the server. If you have several hard disks on the server.
Note : If you wish, you can store personal vDisks on another local storage of the XenServer server.
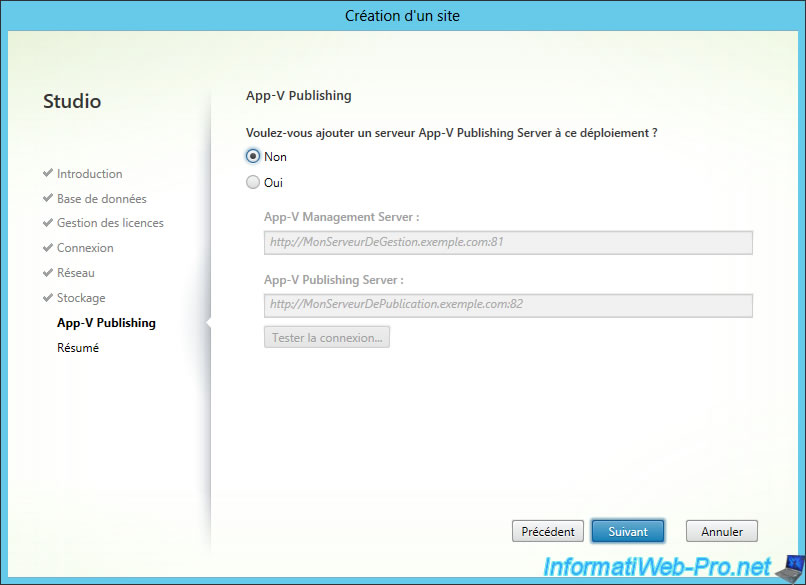
Select "No".
Choose if you want to participate to Citrix improvement program, or not.
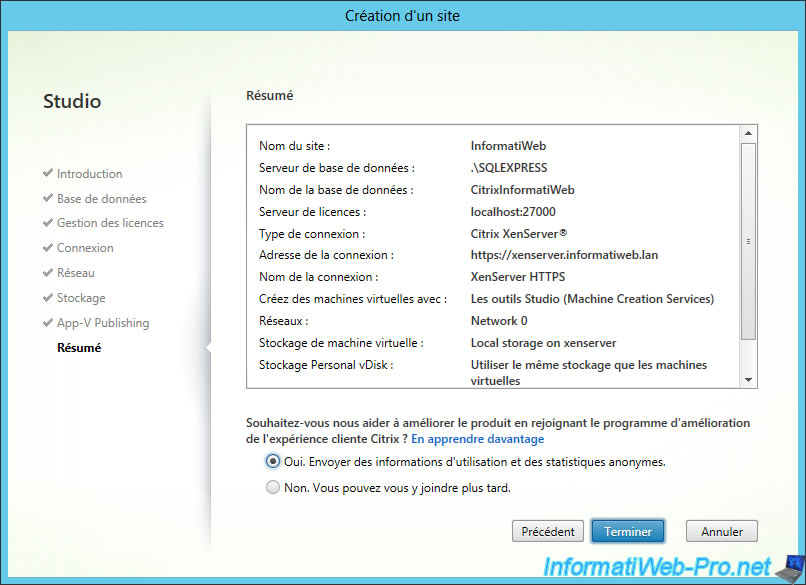
Once the setup is complete, test the configuration by clicking "Test site configuration".
5. Securing StoreFront (HTTPS)
To secure StoreFront over HTTPS, refer to the tutorial about XenApp because this procedure is identical for the two programs (XenApp and XenDesktop) : Citrix XenApp - Secure StoreFront (HTTPS)
6. Installing a virtual machine and the VDA
In this tutorial, we will use a virtual machine on Windows 7 x64.
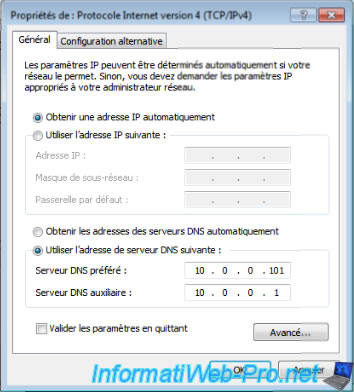
Because the VDA will connect to the XenDesktop server (the server where the Delivery Controller is installed), we will provide the IP address of the Active Directory server as a DNS server.
The second IP address is the router's IP address (for Internet access).
To improve the compatibility with Citrix Director and avoid getting the error "application is not currently available", it's recommended to enable WinRM on the machine where you install the VDA. To do this, follow this : Enable WinRM to improve compatibility with Citrix Director
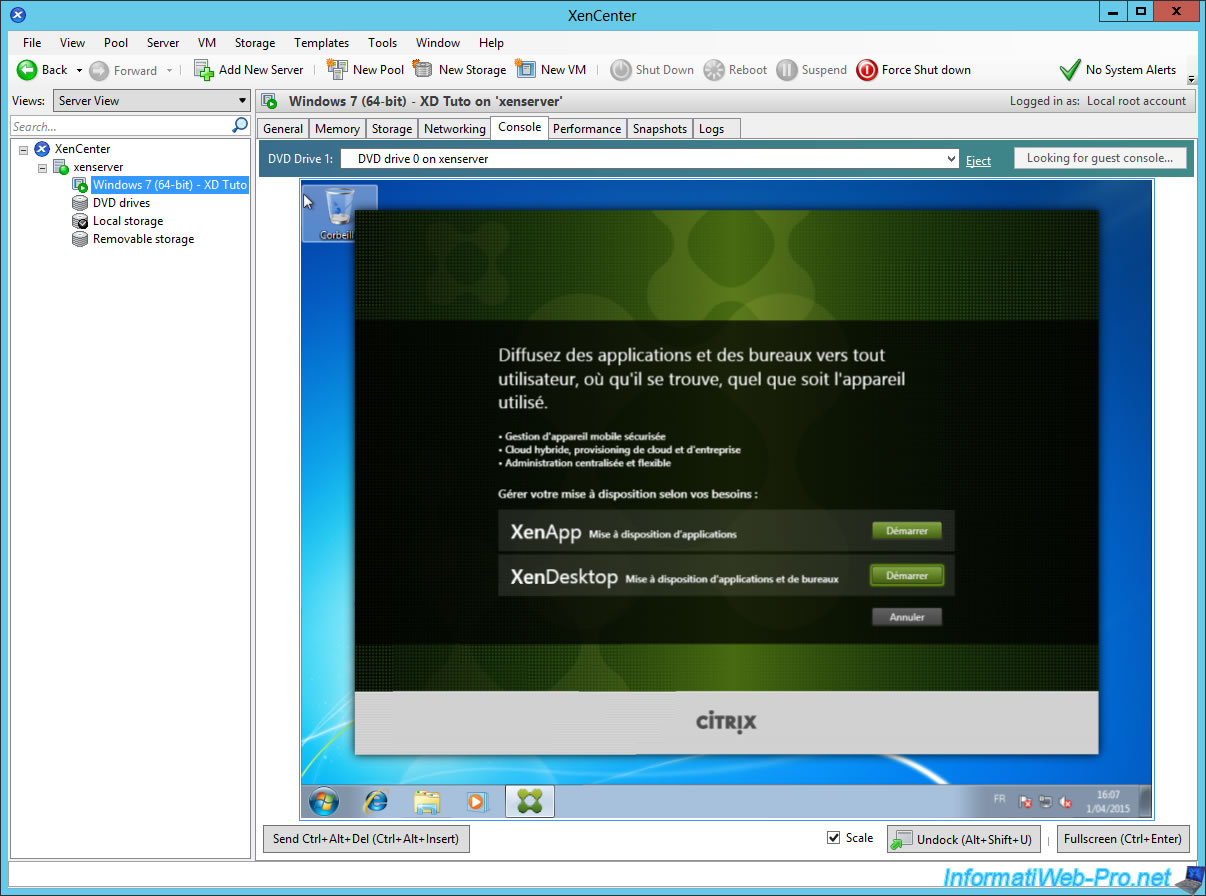
Then, insert the XenDesktop installation CD in the virtual CD drive of the virtual machine and click the "Start" button (in front of XenDesktop).
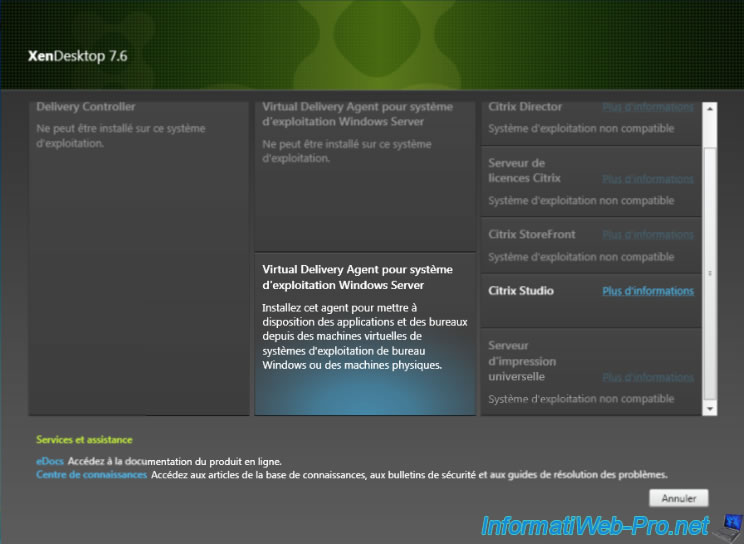
Install the Virtual Delivery Agent for Windows Desktop operating system (the bottom one).
Note: The bottom box is for Windows Clients (Win XP, Vista, 7, 8, ....). Citrix has simply made a "copy / paste" mistake.
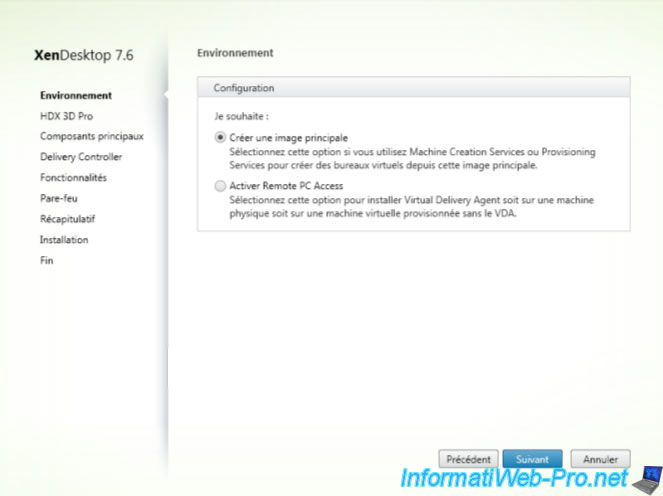
Because MCS (Machine Creation Services) will create copies of the virtual machine where you install the VDA, selecting "Create a master image".
Citrix Receiver is optional.

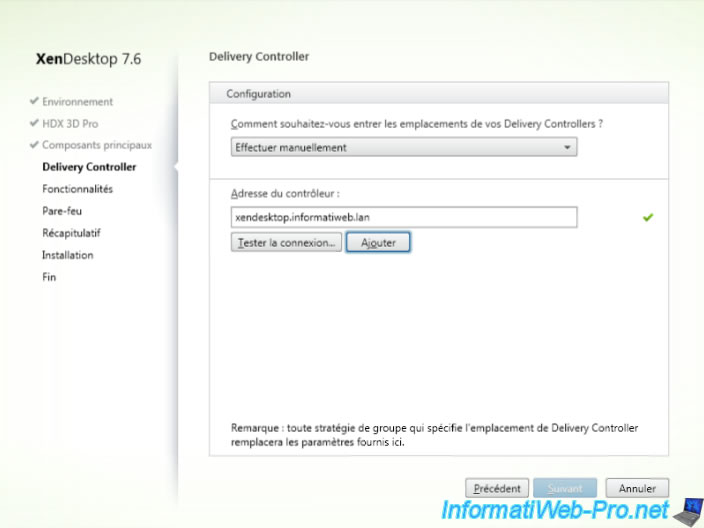
Enter the address of the controller (Delivery Controller) and click "Test Connection".
If a green V appears to the right of the box, click "add". If not, check your DNS settings or IP address (if applicable).
Then, click "Next".
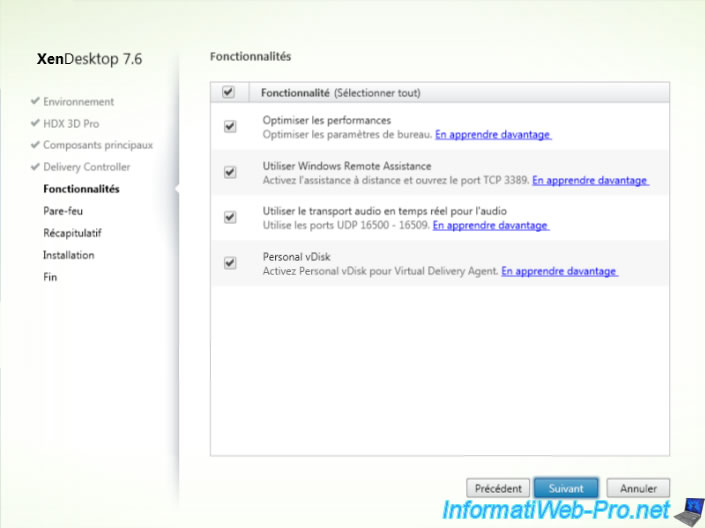
If you check the "Personal vDisk", changes made by your users will be stored in separate virtual disks (Personal vDisk). The virtual disk of the VM will not be altered.
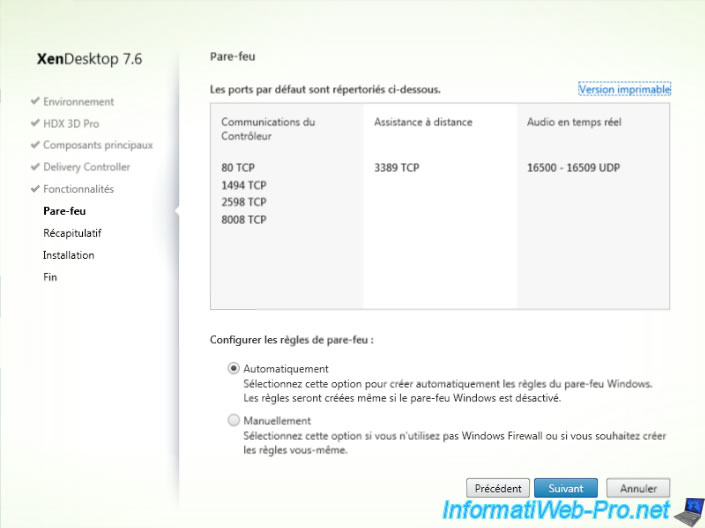
Select "Automatically".
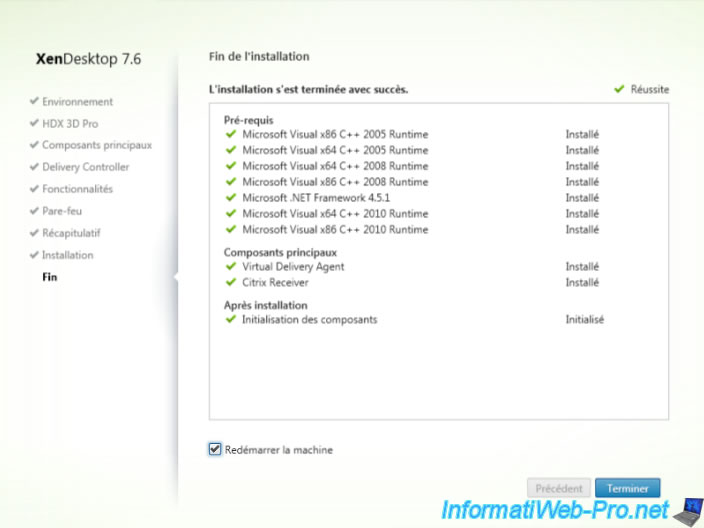
2 reboots are required during installation.
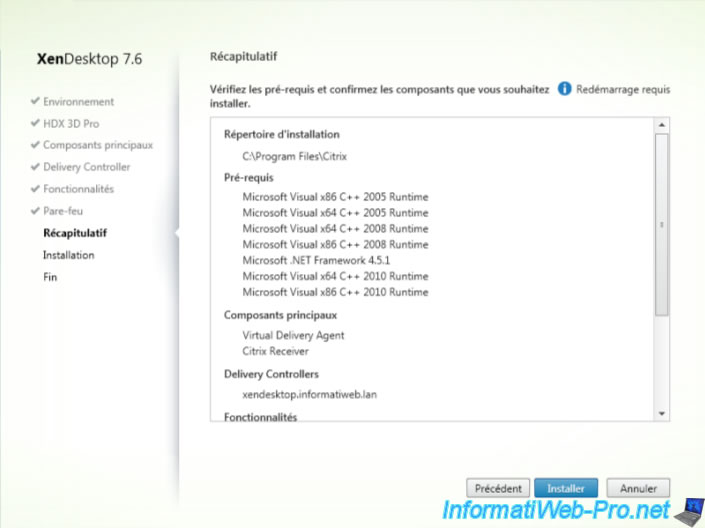
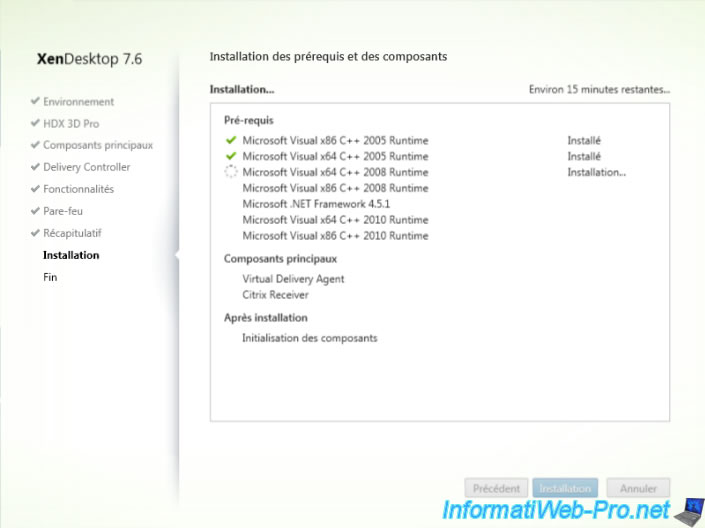
At the end of the installation, you must reboot the machine.
Once Virtual Delivery Agent is installed, install the applications you want to make available through this desktop.
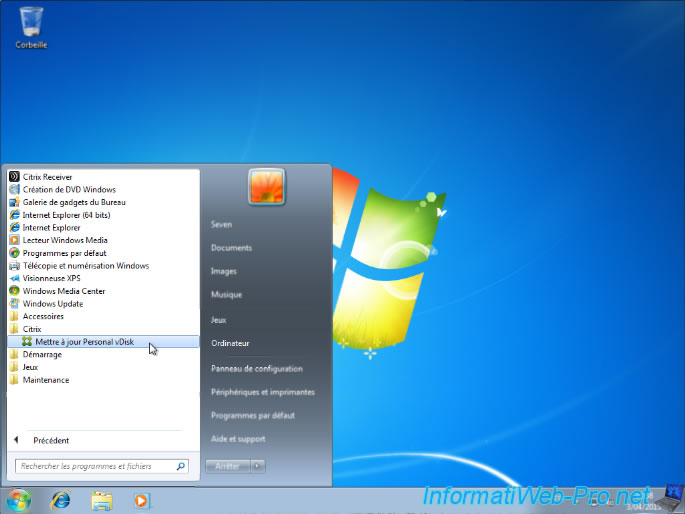
Then, go to the start menu -> Citrix -> Update Personal vDisk.
Wait for the update of the personnal vDisk.
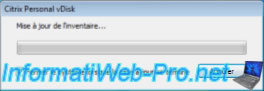
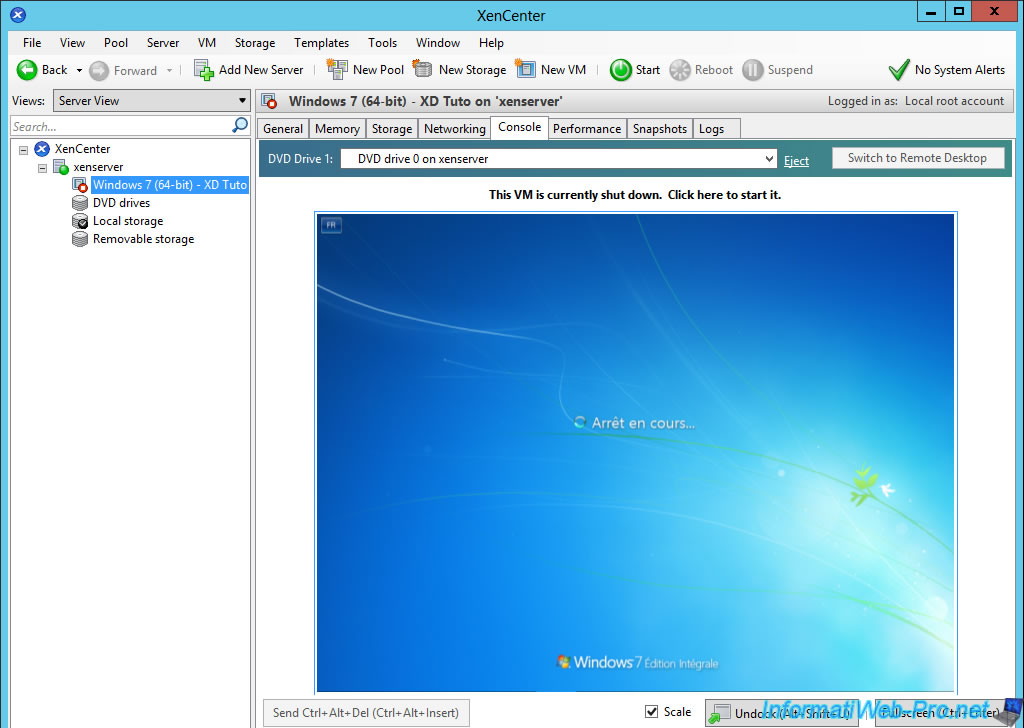
At the end of updating of the personnal disk, the machine will turn off. Leave the machine turned off and return to Citrix Studio.
Share this tutorial
To see also
-
Citrix 4/9/2016
Citrix NetScaler Gateway 11.0 - Configuration and integration with XenApp/XenDesktop
-
Citrix 5/14/2016
Citrix XenApp / XenDesktop 7.6 - Load balancing
-
Citrix 3/22/2015
Citrix XenApp 7.6 - Applications delivery
-
Citrix 3/27/2016
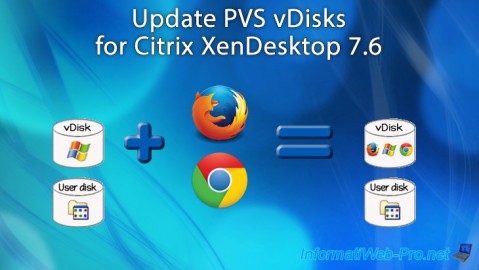
Citrix XenDesktop 7.6 - PVS - vDisks updates
No comment