- Windows Server
- WS2016
- 02 February 2024 at 11:42 UTC
-


In our tutorial "WS 2016 - Install an NFS server and an NFS client", we explained how to create an NFS server on Windows Server and connect to an NFS share from a client PC on Windows 10.
However, older versions of NFS were insecure.
Since NFSv4, you can enable Kerberos v5 authentication to benefit from integrity and/or confidentiality if your NFS client also supports these authentication options (which may not be the case at the moment or not completely).
- NFS protocol versions available on Windows Server 2016
- Create an NFSv4 share on Windows Server
- Access an NFSv4 share from a client PC on Windows 10
1. NFS protocol versions available on Windows Server 2016
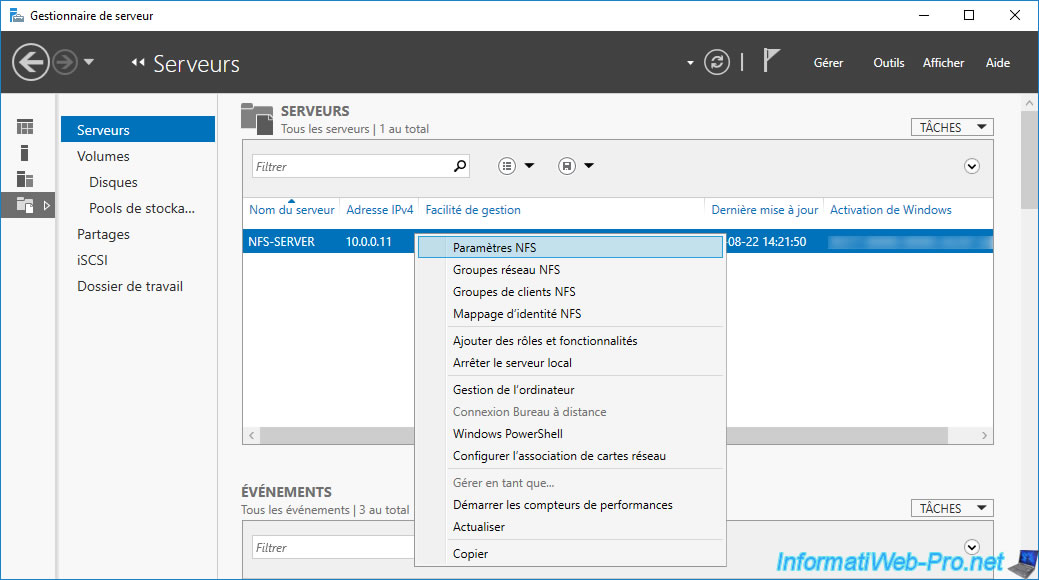
To see the versions of the NFS protocol available on Windows Server and check that NFS 4 is enabled on your NFS server, open the server manager and go to : File and Storage Services -> Servers and right click "NFS settings " on your NFS server.
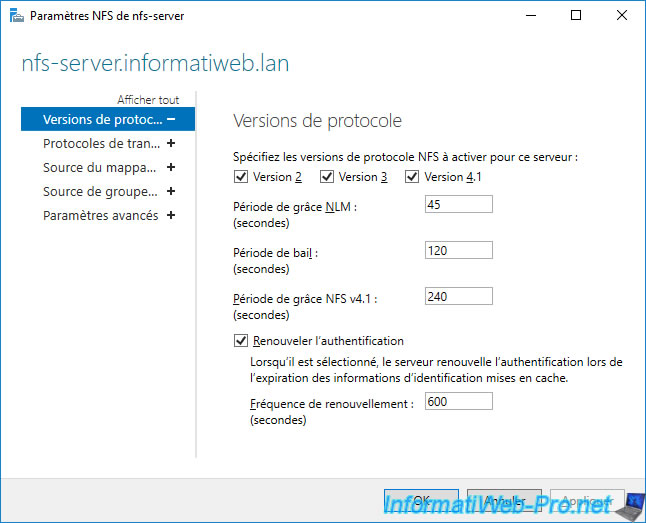
In the "Protocol Versions" section, you will see that on Windows Server 2016, 3 versions are available : version 2, version 3 and version 4.1.
2. Create an NFSv4 share on Windows Server
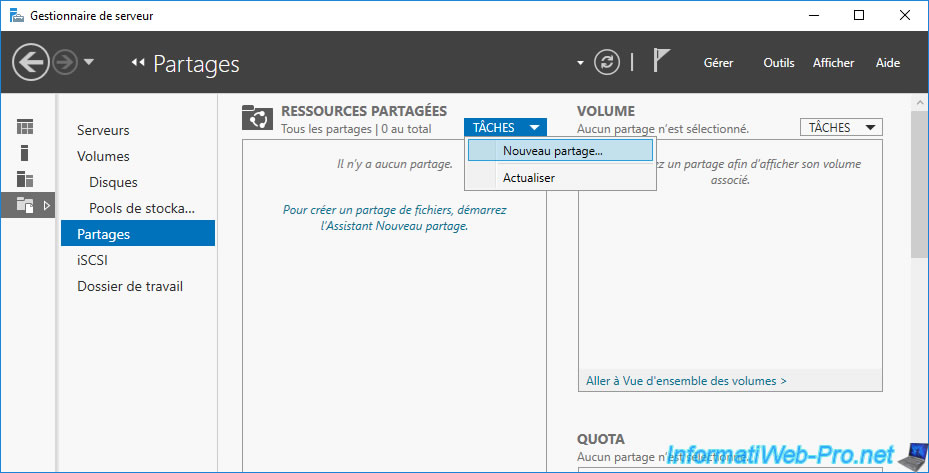
To create an NFSv4 share on Windows Server, go to "Shares" and click on: Tasks -> New Share.
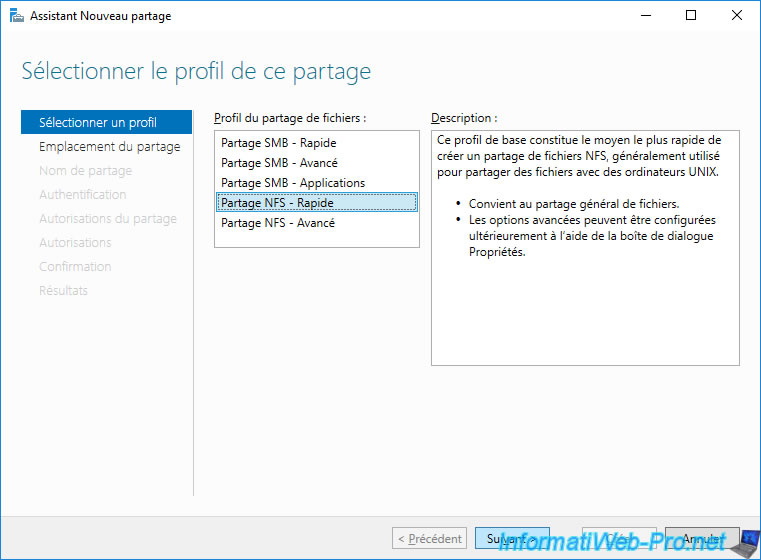
In the "New Share" wizard that appears, select "NFS Share - Quick" and click Next.
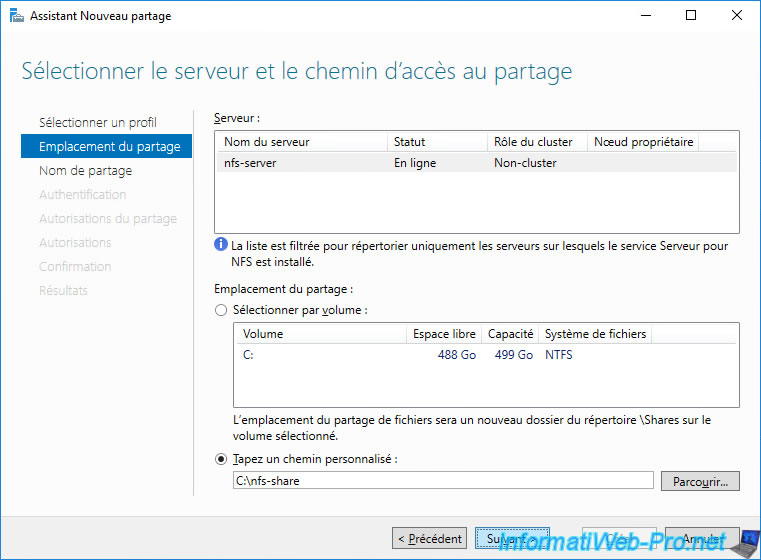
Select "Type a custom path" and click: Browse.
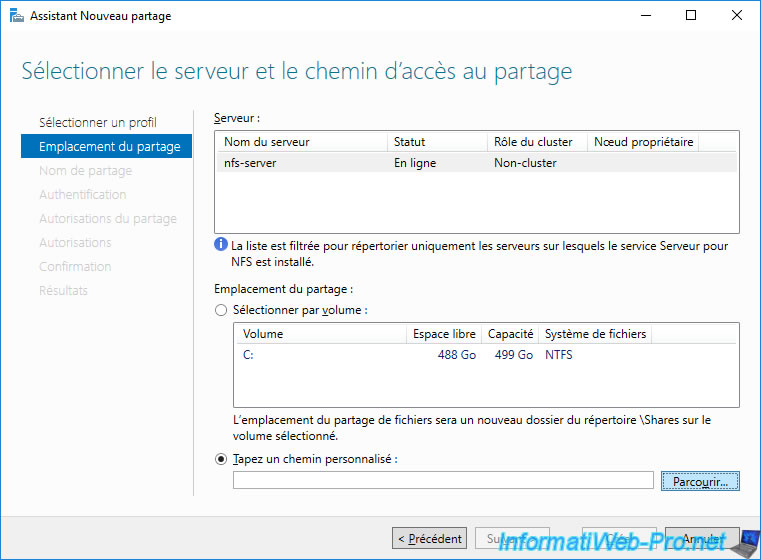
Select the folder you want to share via NFS.
In our case, the "C:\nfs-share" folder.

Once the desired folder is selected, click Next.
Specify a name for this share.
In our case: nfs-share.

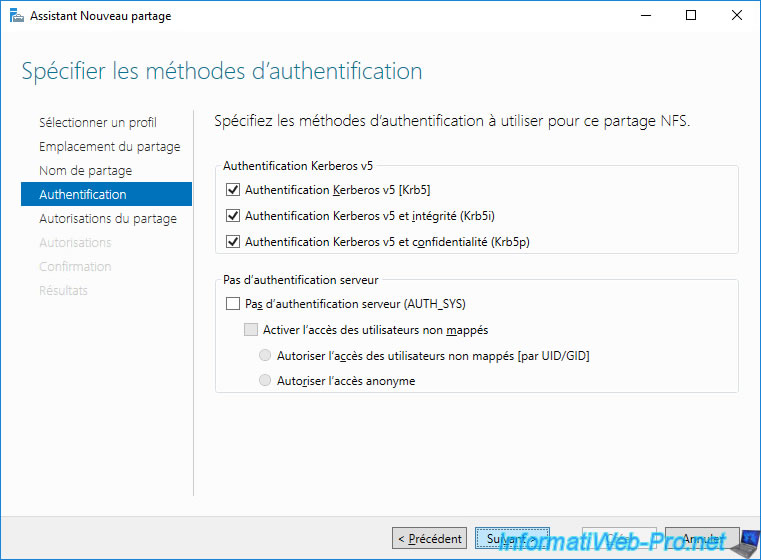
To create an NFSv4 share, you must at least enable Kerberos v5 authentication (Krb5).
To do this, select at least the 1st option, as well as those supported by your NFS client.
- Kerberos v5 authentification [Krb5]
- Kerberos v5 authentification and integrity [Krb5i]
- Kerberos v5 authentification and privacy [Krb5p]
In our case, your client PC on Windows 10 supports all these options.
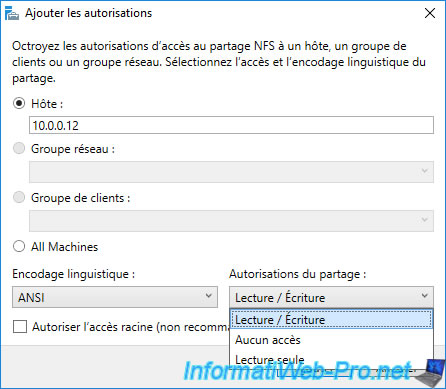
At the "Specify the share permissions" step, click "Add".
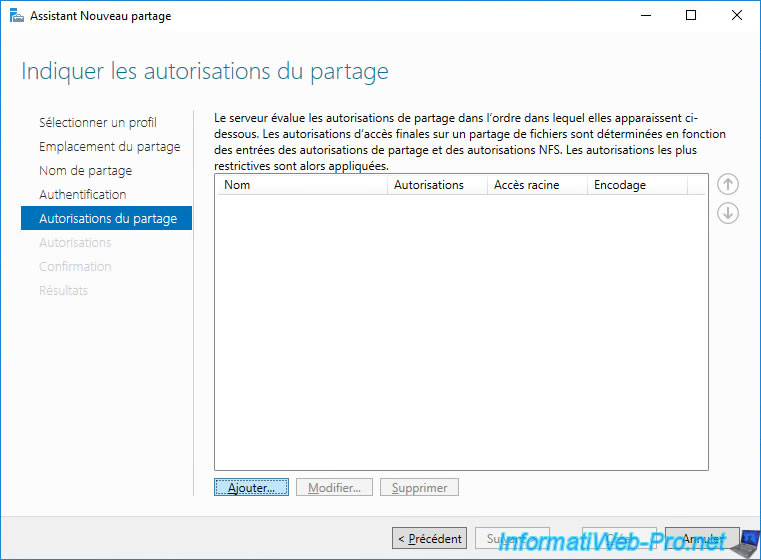
In the "Add Permissions" window that appears, select "Host" and provide the IP address of your NFS client.
In our case, it is the IP address "10.0.0.12" which corresponds to the IP address of our client PC on Windows 10.
Then, choose if this one can access the share in reading, in writing or not.
In our case, we select "Share permissions: Read / Write".
Once the desired NFS client is authorized, click Next.
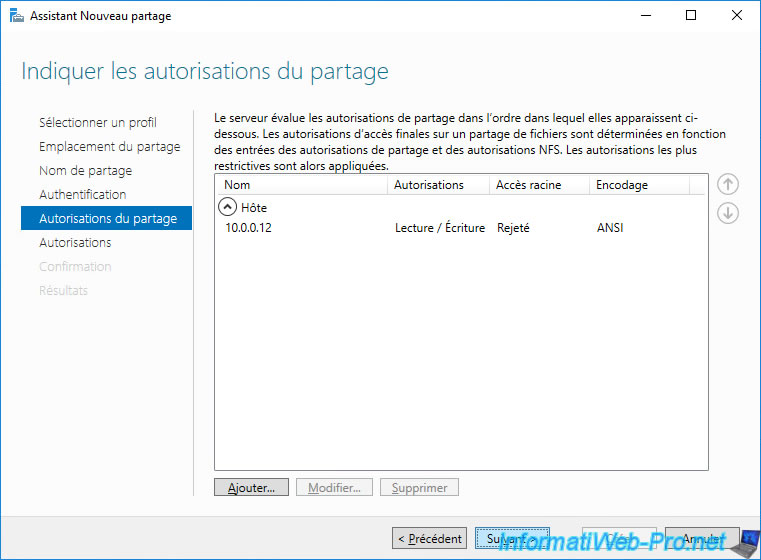
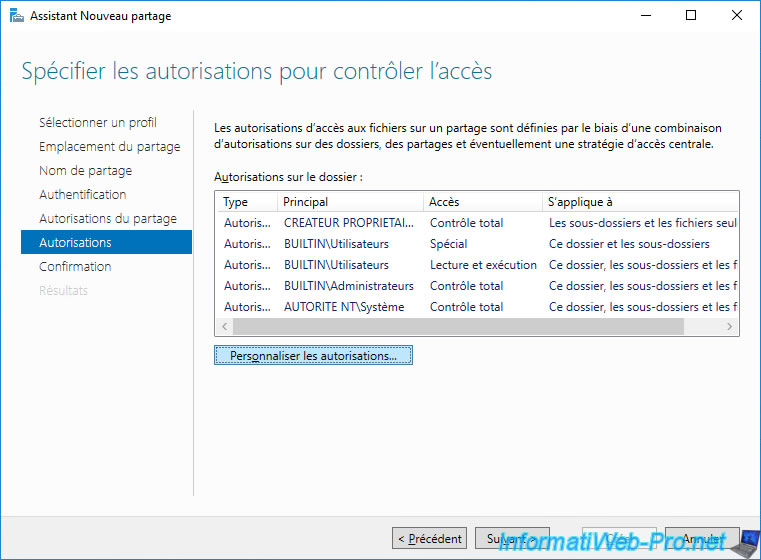
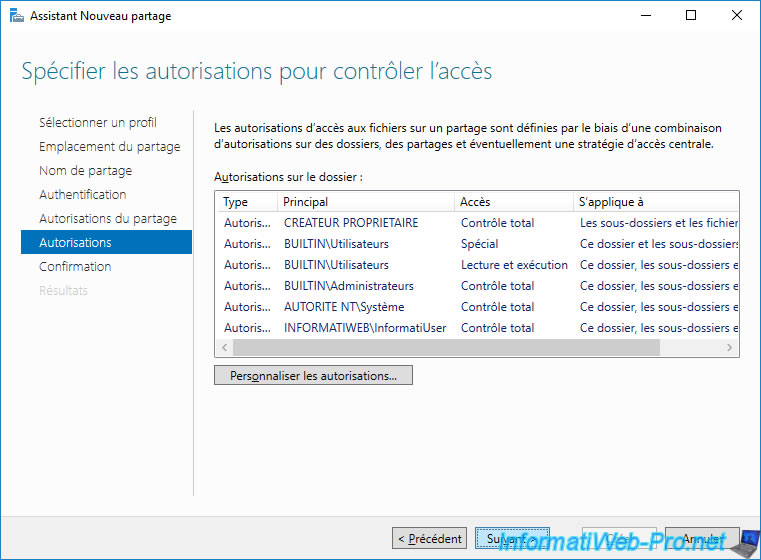
The next step "Specify permissions to control access" concerns the NFS permissions of the concerned folder.
Click on "Customize permissions".
In the "Advanced Security Settings for nfs-share" window that appears, click on: Add.
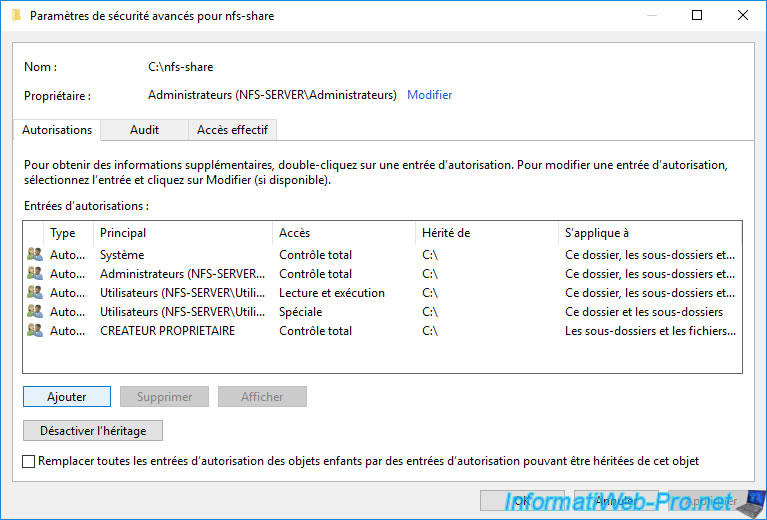
Then, click: Select a principal.
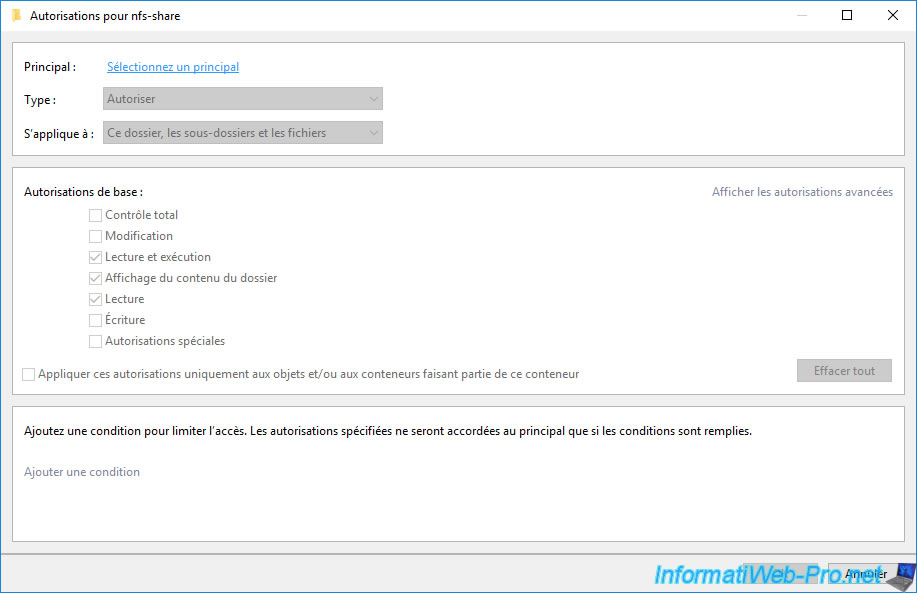
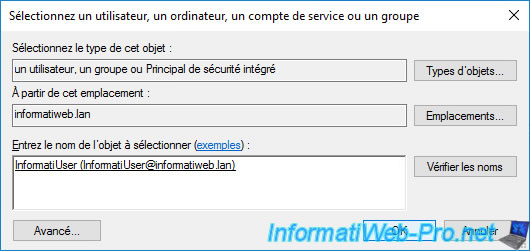
Specify the name of a user with whom you will attempt to connect to the NFS share from your client PC.
In our case, we have created an "InformatiUser" user.
Grant him full control over this folder (and its subfolders).
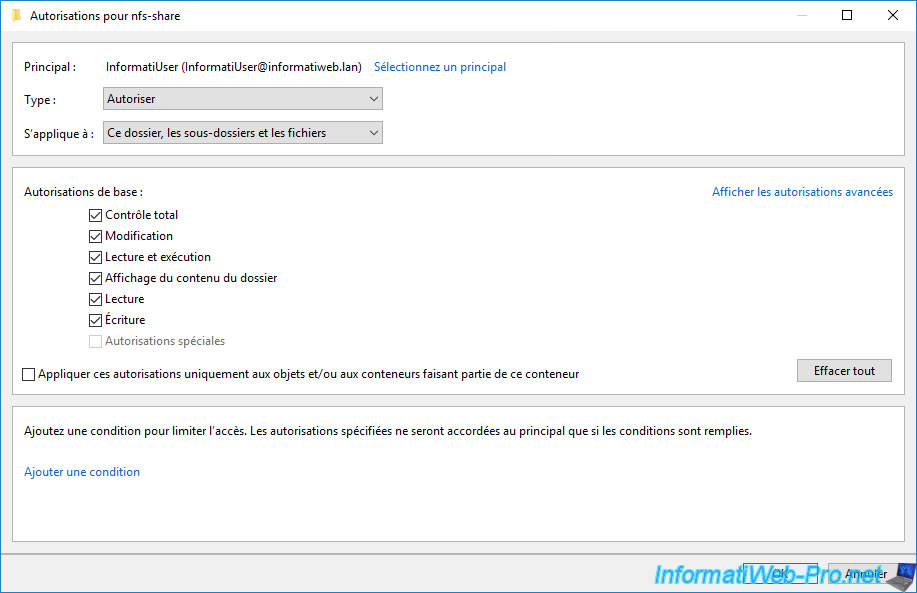
Click OK to save this new permission.
Click Next.
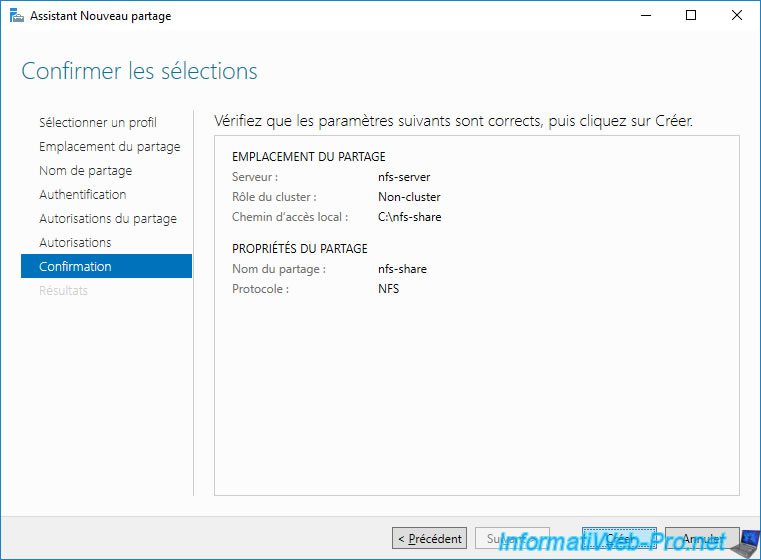
A summary of your NFS share configuration appears.
Click on: Create.
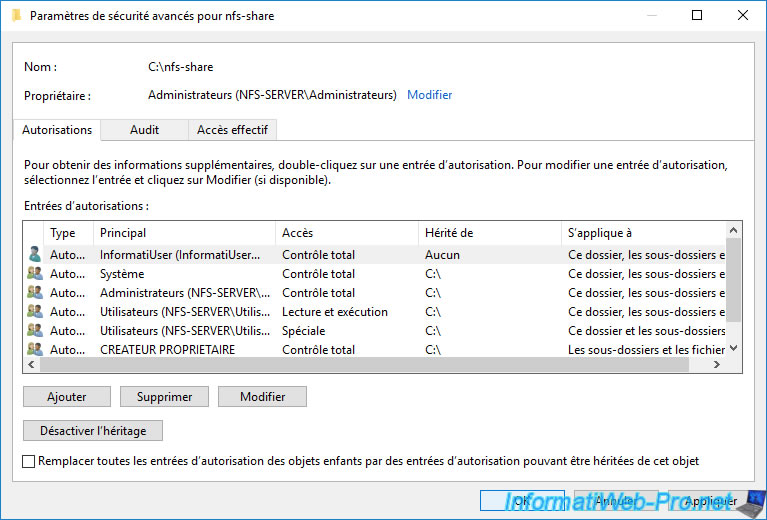
The wizard creates the NFS share and sets permissions on it.
Click Close.
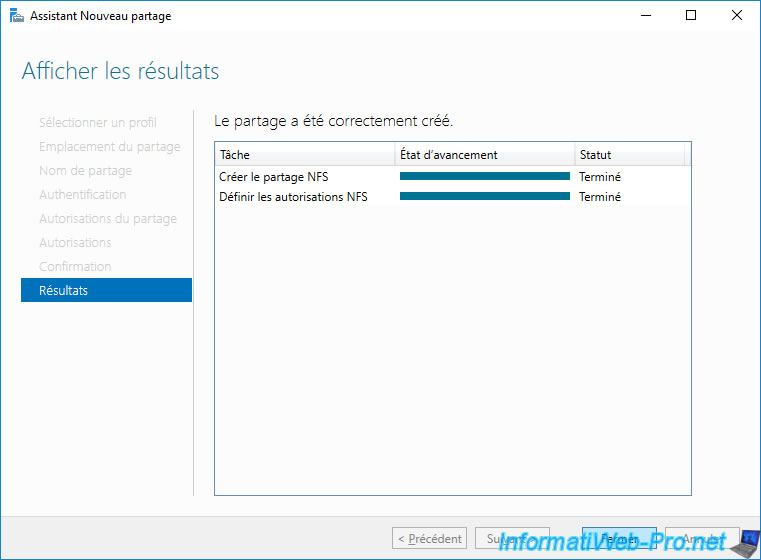
Your NFSv4 share has been created.

3. Access an NFSv4 share from a client PC on Windows 10
To access an NFSv4 share from a client PC running Windows 10, you will need to open a command prompt.
To find out which Kerberos v5 securities are supported by your version of Windows, type the command below:
Batch
mount /?
This will show you the list of available parameters, including the "-o" parameter to specify which Kerberos v5 options to use to access your NFSv4 share.
In our case, we can see that all 3 options are available.
Plain Text
...
-o sec=sys|krb5|krb5i|krb5p
To mount a network drive with the letter "Z" to our NFSv4 share "nfs-share" hosted on our server "nfs-server", just type this command.
Batch
mount /o sec=krb5 nfs-server:/nfs-share Z:\
Plain Text
Z: is now successfully connected to nfs-server:/nfs-share

The command completed successfully.
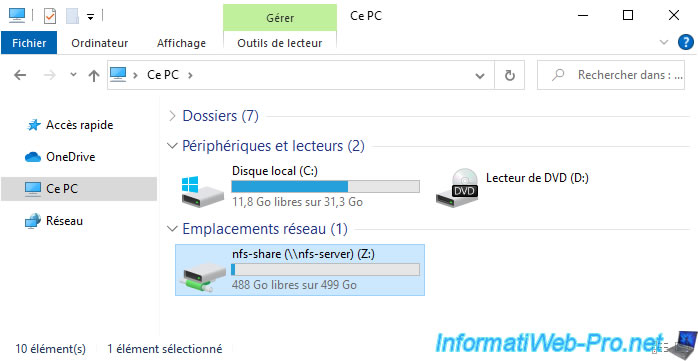
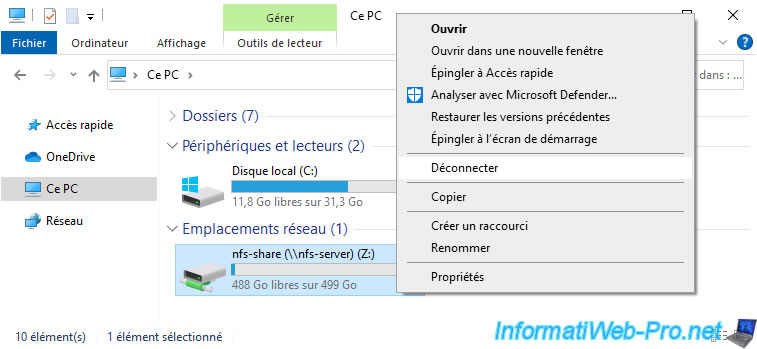
In file explorer, click "This PC".
As you can see, your network drive appears for your NFSv4 share.
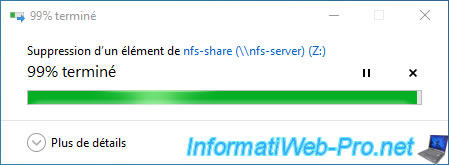
If you have granted "Read/Write" permission on this NFSv4 share, you will be able to delete a file on it without problem.
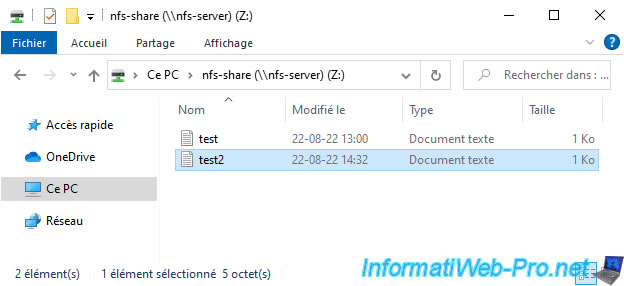
You can also create files there.

Finally, to disconnect this network drive, right click "Disconnect" on it from the file explorer.
To unmount a network drive, you can also use the command below, specifying its drive letter as a parameter.
Batch
umount Z:
Plain Text
Disconnect             Z:      \\nfs-server\nfs-share
The command completed successfully.
Share this tutorial
To see also
-

Windows Server 10/13/2023
WS 2016 - AD CS - Enable and use automatic certificate enrollment
-
Windows Server 9/15/2023
WS 2016 - AD CS - What is a CA and install an enterprise CA
-

Windows Server 8/27/2021
WS 2016 - AD DS - Console : Active Directory Administrative Center
-

Windows Server 10/1/2021
WS 2016 - AD DS - Managing preferences (GPP) from GPOs
You must be logged in to post a comment