- Windows Server
- 07 May 2021 at 08:21 UTC
-

- 1/2
Active Directory Domain Services (AD DS) allow you to centralize the management of users, but also the management of the security of your servers and your client PCs thanks to group policies.
To create an Active Directory environment, the first thing to do is to install a domain controller using the "Active Directory Domain Services" role.
- Install the Active Directory Domain Services role
- Promote your server as a domain controller
- Create a user
- Join a client PC on Windows 10 to your Active Directory
- Active Directory integrated with DNS
1. Install the Active Directory Domain Services role
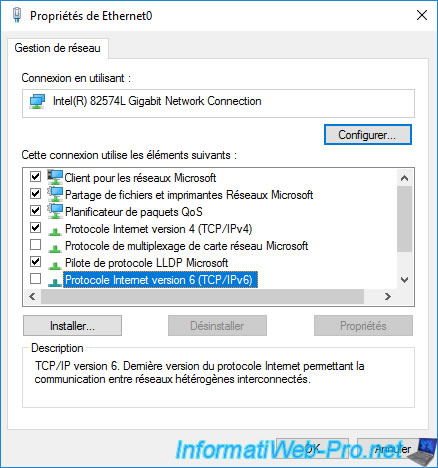
Before installing a controller, you must assign a static IP address to it for all TCP/IP protocols available on that server.
To simplify this tutorial, we are going to disable the "TCP/IPv6" protocol from the properties of our network adapter and define a static IPv4 address.
Then, disable and re-enable the network card so that the server manager gets the correct LAN IP address.
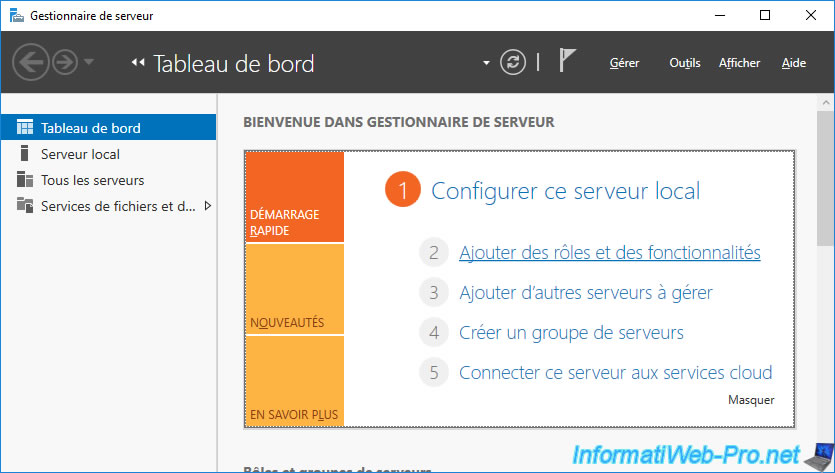
Once the network adapter is configured, start the server manager and click on : Add roles and features.
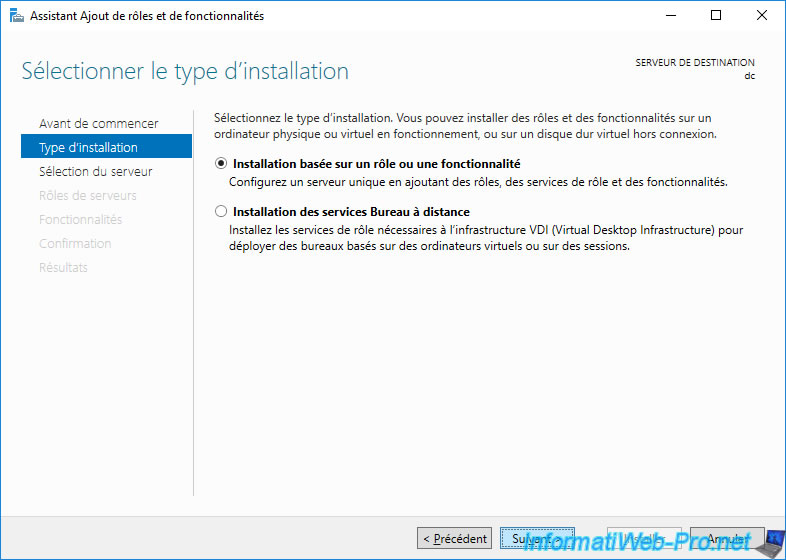
Select : Role-based or feature-based installation.
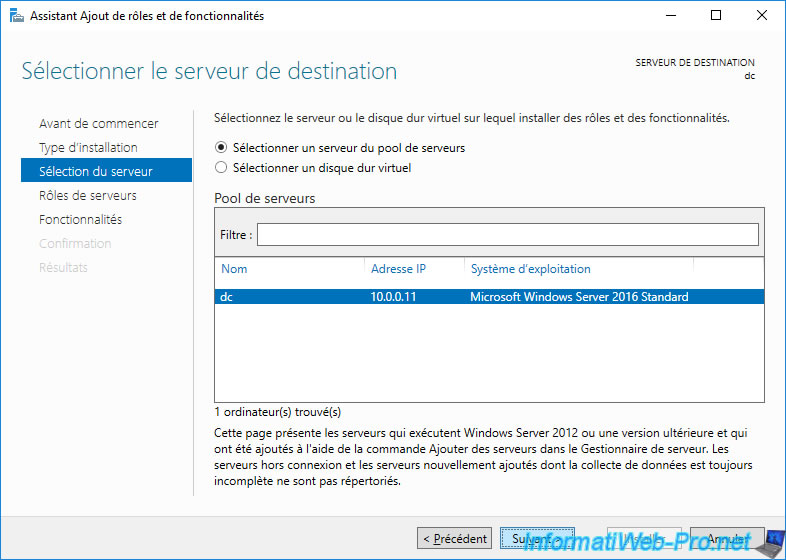
Select the server where you want to install Active Directory Domain Services.
Install the "Active Directory Domain Services" role.
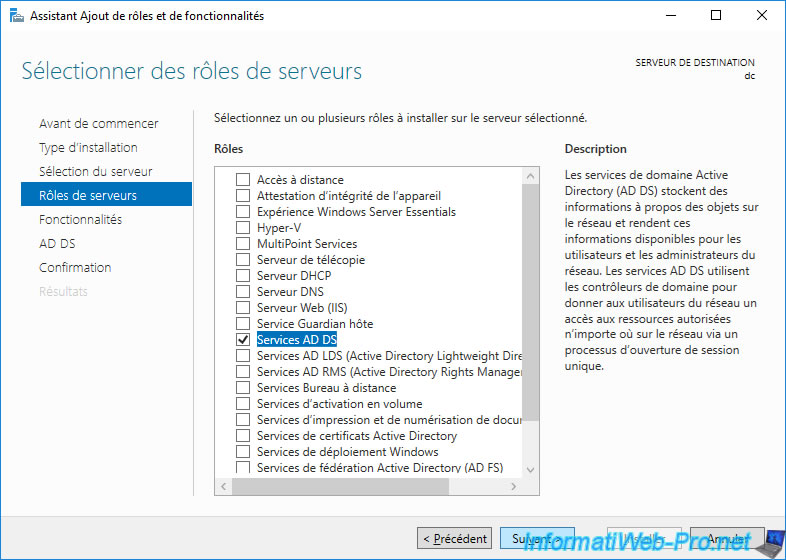
The wizard displays a description of Active Directory Domain Services.
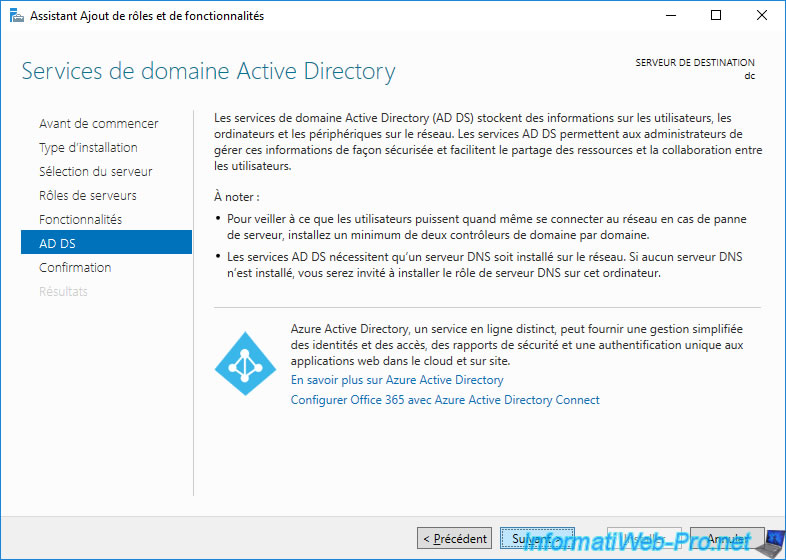
In summary, Active Directory allows you to centralize informations about users, computers and more.
As indicated, Microsoft recommends a minimum of 2 domain controllers per domain to ensure the availability of your Active Directory infrastructure and thus prevent your users can no longer connect in case of failure of your domain controller.
In addition, Active Directory Domain Services relies on DNS, so a DNS server will be automatically installed when installing Active Directory Domain Services.
Note that in this case, the DNS zones will be integrated automatically into your Active Directory infrastructure, which allows in particular to benefit from the replication of the DNS zones via the Active Directory replication system.
For Azure Active Directory, this is an online service provided by Microsoft, but it's optional.
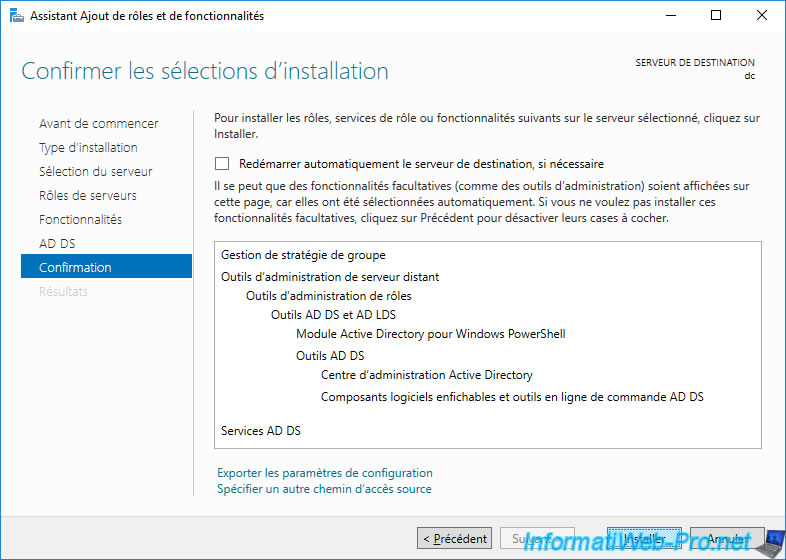
Click Install.
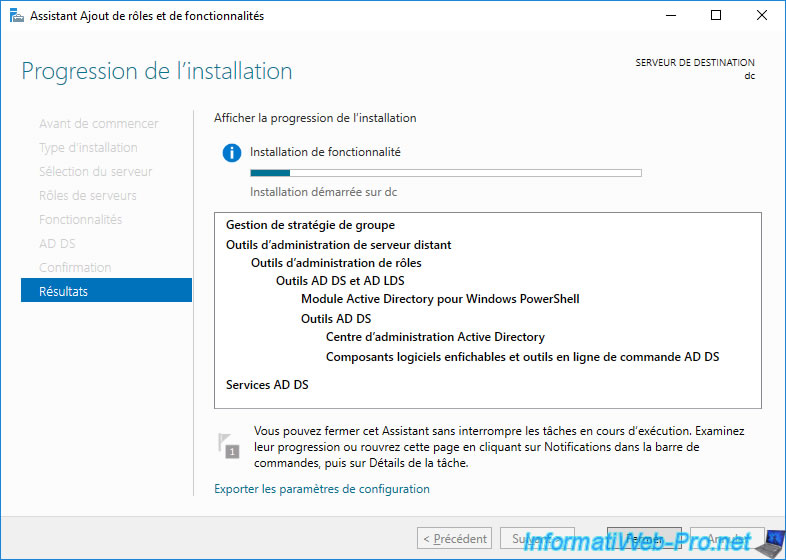
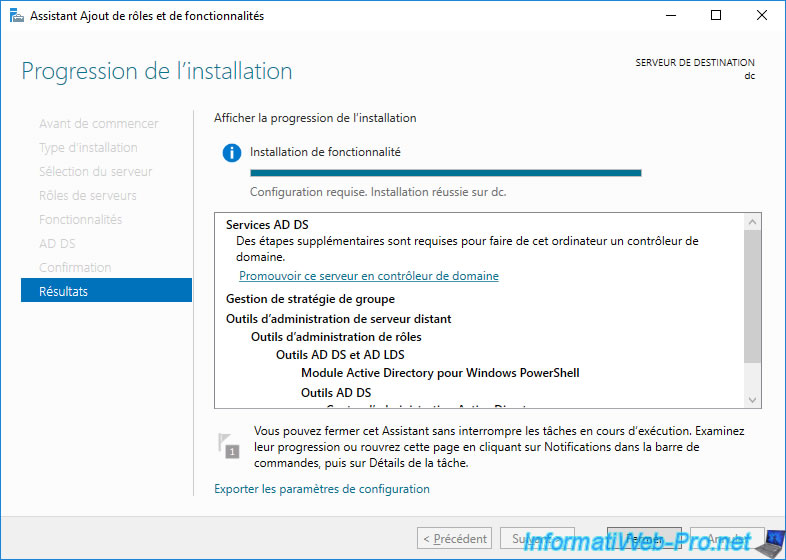
Wait while Active Directory Domain Services are installed.
2. Promote your server as a domain controller
After Active Directory Domain Services are installed, you must then promote this server as a domain controller to complete its configuration.
If you have used Windows Server 2003 before, be aware that this corresponds to the "dcpromo.exe" program.
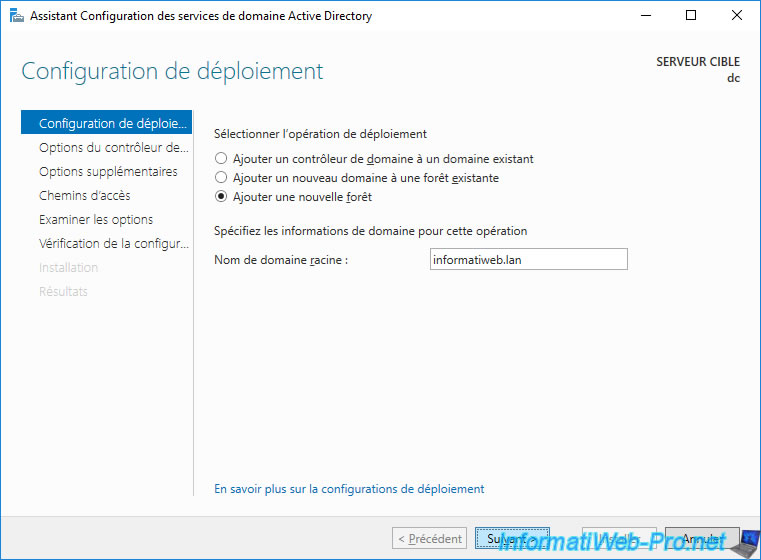
Since this is our 1st domain controller, we need to create a new forest (in other words : a new namespace).
To do this, select "Add a new forest" and specify a root domain name (which is not present on the Internet), such as : informatiweb.lan
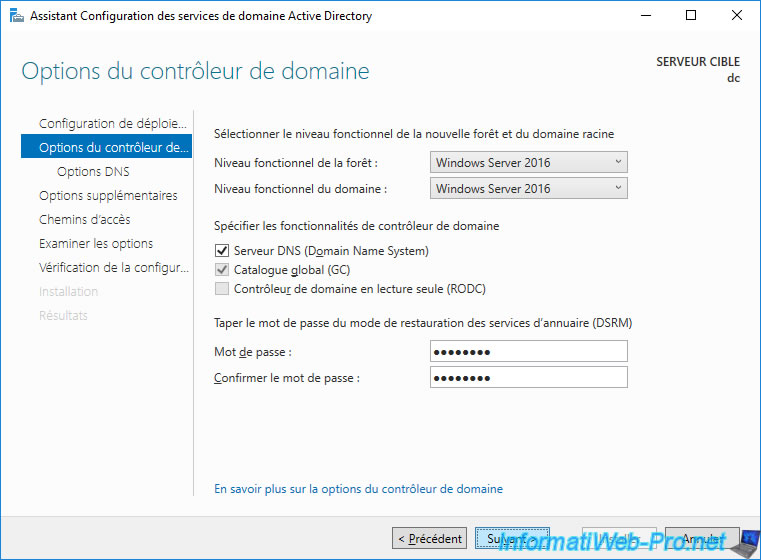
For the domain controller options, you will be able to choose the functional level of the forest and the domain which by default corresponds to your version of Windows Server.
By selecting the latest version available, you can take advantage of all the features that AD DS offers for your version of Windows Server.
However, if you have other domain controllers that are running an older version of Windows Server, then you will need to decrease this functional level for the forest and/or for the domain (depending on your Active Directory infrastructure).
To find out what features are available depending on your version of Windows Server, refer to our article : Overview of Active Directory functional levels
Then, you can choose :
- to install or not the DNS server on this server. Knowing that you need at least one in your Active Directory infrastructure.
- whether you want this domain controller to act as a global catalog (GC) or not
- whether you want this domain controller to be read-only (RODC) or not. WARNING : this is not possible in this case, since it's our 1st domain controller.
Finally, you will need to provide a Directory Services Restore Mode (DSRM) password.
This mode can be accessed by pressing F8 while the domain controller server is starting.
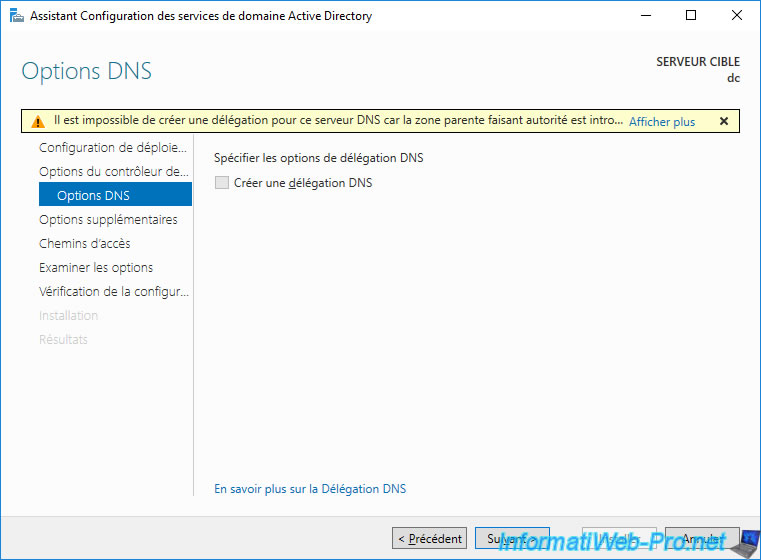
Since the parent DNS zone ".lan" doesn't exist, the wizard tells you that it's not possible to create a DNS delegation for this parent zone.
However, this is not mandatory. So, click Next.
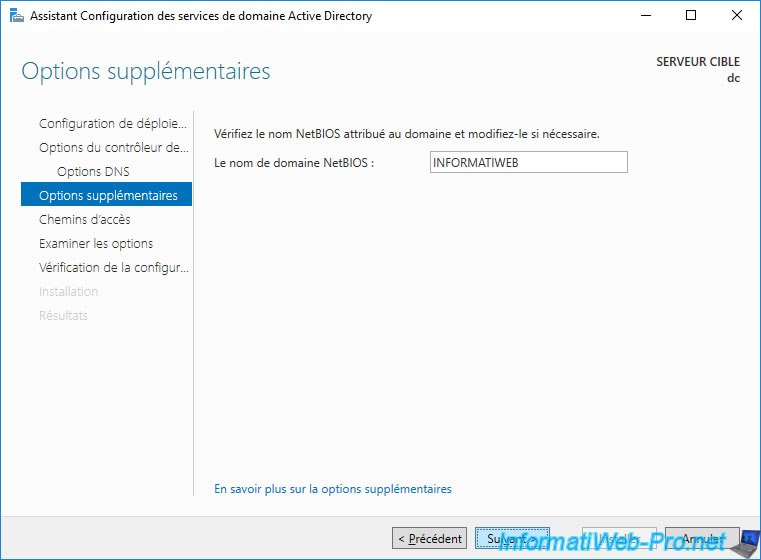
The wizard will automatically choose a NETBIOS domain name that is based on the left side of the domain specified previously.
In our case, this NETBIOS domain name is therefore : INFORMATIWEB.
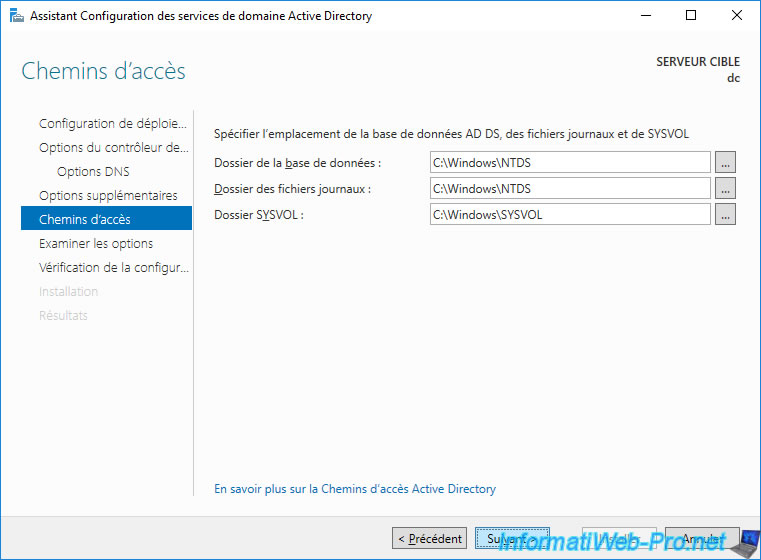
The wizard offers you to choose the location of the NTDS and SYSVOL folders which correspond to :
- the Active Directory database
- Active Directory log files
- the SYSVOL folder which contains, for example, the group policies (or GPO) and the startup and shutdown scripts, ...
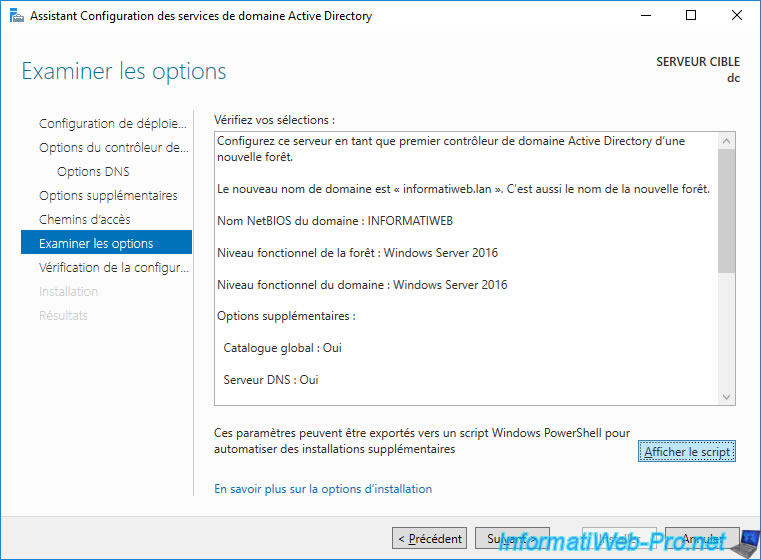
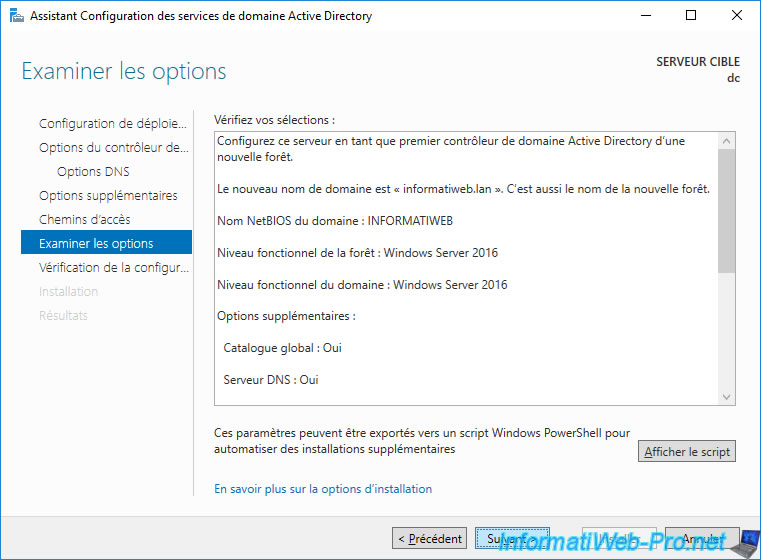
The Active Directory promotion wizard shows you a summary of the configuration of your Active Directory domain controller.
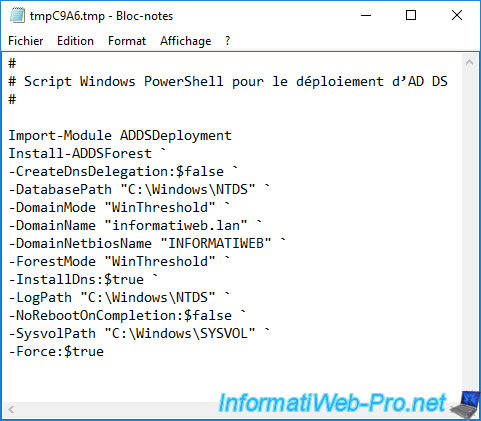
Note that it's possible to very easily get the PowerShell script to do the same from the command line by just clicking on the "Show script" button.
This PowerShell script will look like this in this case.
Click on Next.
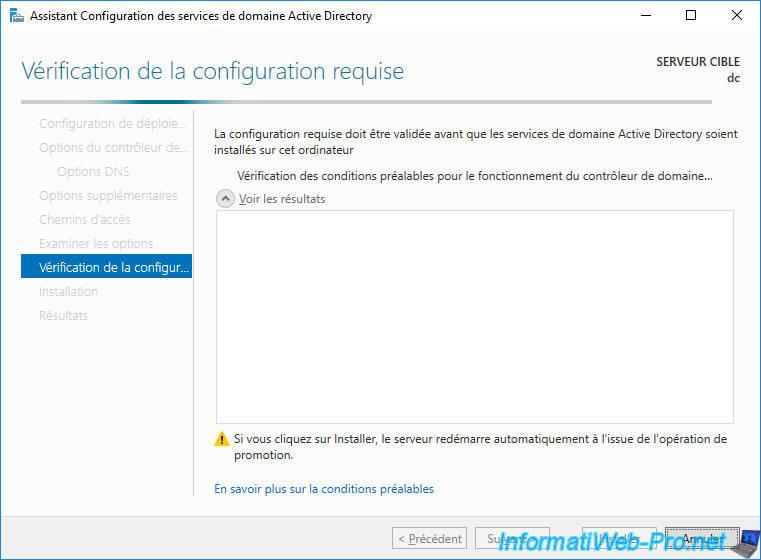
The wizard checks the requirements for promoting this domain controller.
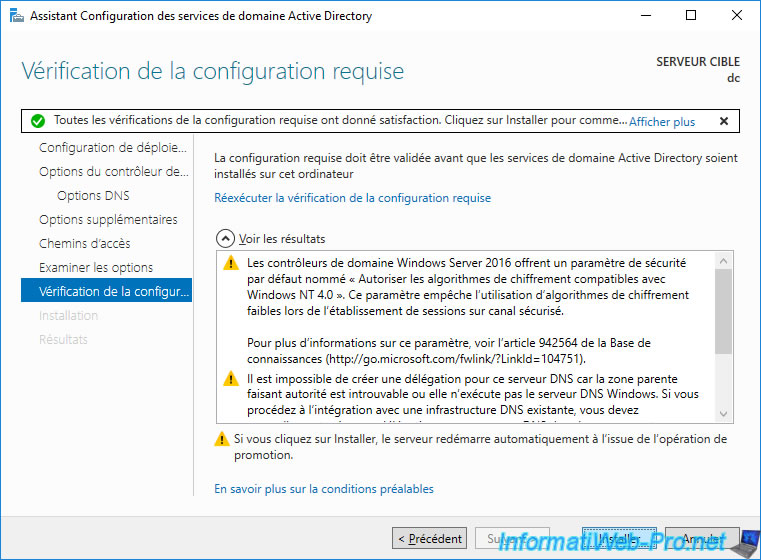
As you can see, the wizard displays 2 warnings :
- the 1st warning simply states that Windows Server 2016 domain controllers use a security setting that prevents them from working with Windows NT 4.0 environments. However, if you don't have servers running Windows NT 4.0, you can ignore this warning.
- the 2nd warning concerns the DNS delegation which cannot be created for the parent zone for the reason explained previously.
In short, you can safely ignore these warnings and click on Install.
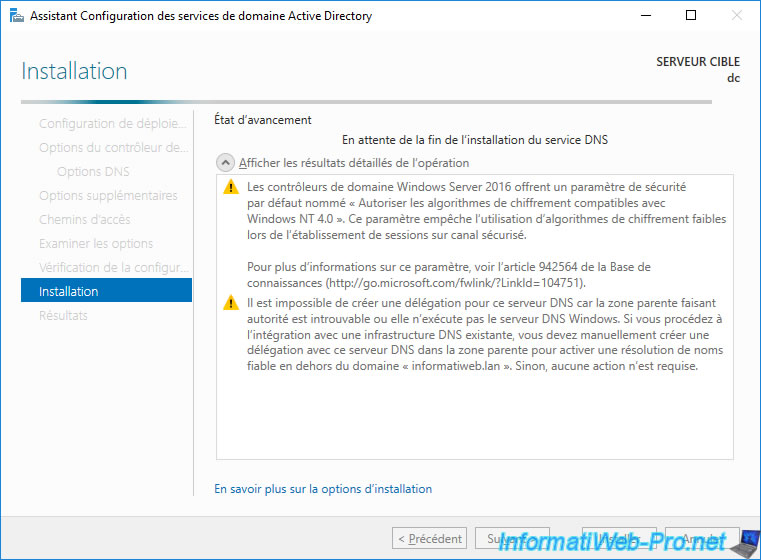
Wait while the DNS server is installed and your domain controller is configured.
As you can see, the Active Directory has partitions.
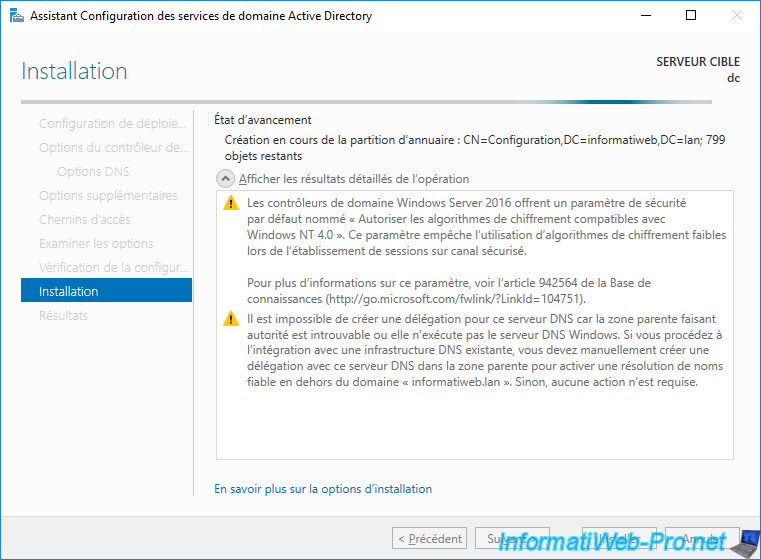
Once the domain controller is installed, a message will appear and your server will restart a few seconds later.
Plain Text
You are About to be signed off.
The computer is being restarted because Active Directory Domain Services was installed or removed.

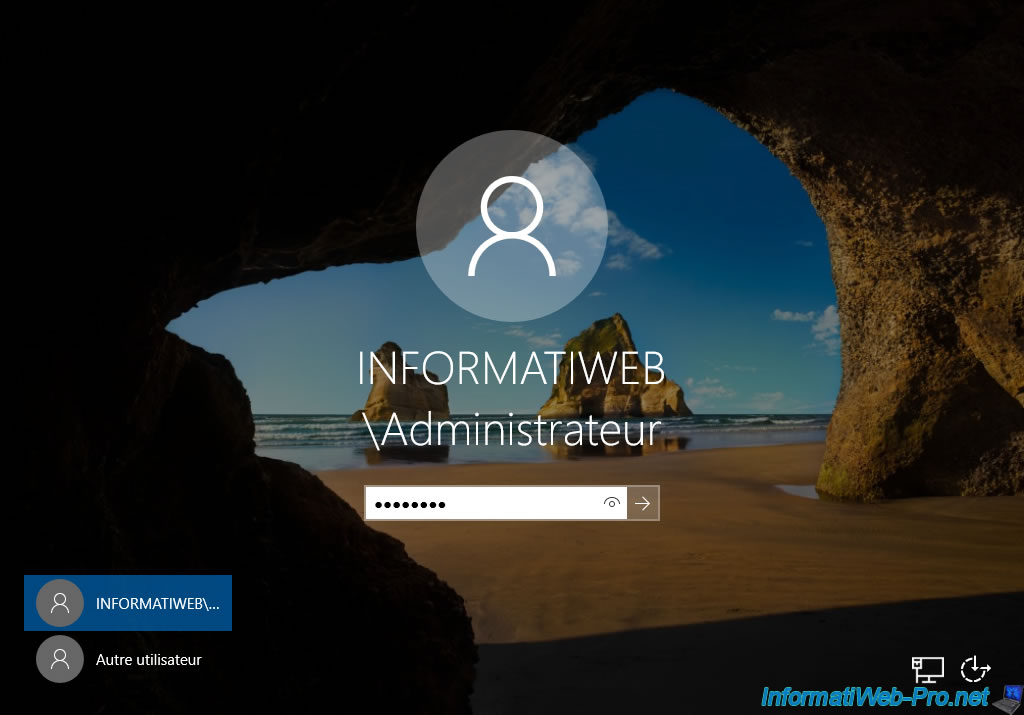
After the restart is complete, log in with the Domain Administrator account that corresponds to the local administrator of this server.
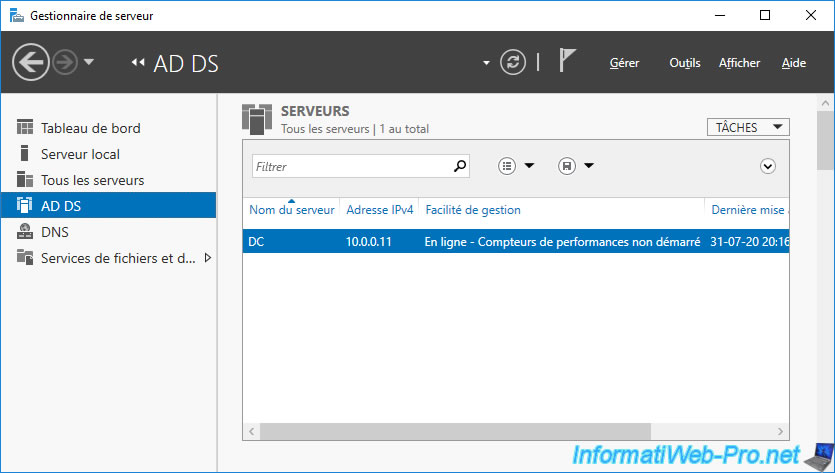
In Server Manager, you will see that the "AD DS" role is installed on your server.
Share this tutorial
To see also
-

Windows Server 4/16/2021
Windows Server - AD DS - How Active Directory replication works
-
Windows Server 4/30/2021
Windows Server - AD DS - Overview of Active Directory functional levels
-
Windows Server 4/3/2021
Windows Server - AD DS - The basics of Active Directory
-
Windows Server 5/21/2021
WS 2016 - AD DS - Add a domain controller to an existing AD domain

You must be logged in to post a comment