Manage groups in an Active Directory infrastructure on Windows Server 2016
- Windows Server
- 06 August 2021 at 17:11 UTC
-

- 2/2
4. Change the scope of a group
As mentioned earlier, when you create a group, you can choose between 3 scopes : local, dlobal and universal domain.
However, although it's possible to change the scope after it's created, you can't always change from one scope to another (all at once).
For example, when the group has a scope of "Global", its scope can't become "Local domain".
That being said, the solution that still works is to go through the "Universal" scope and apply the changes so that all the scopes are unlocked.
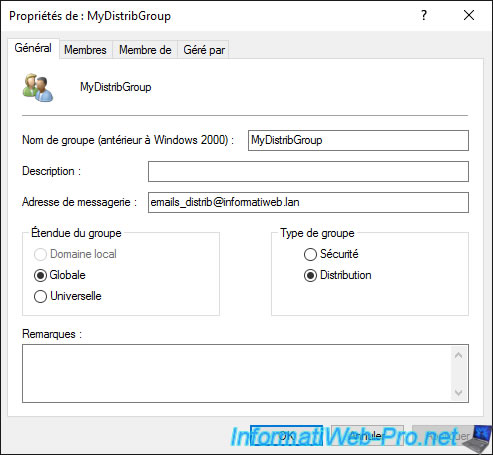
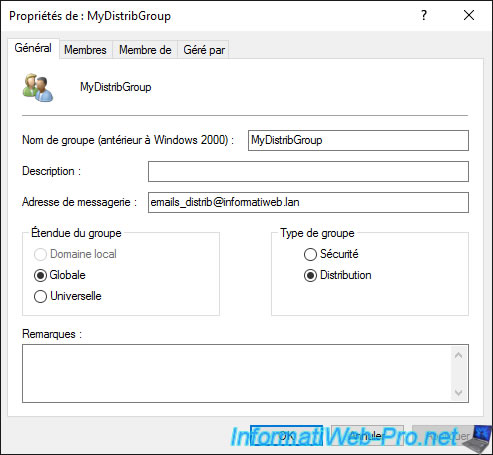
At the moment, the scope of this group is "Global", but we will change it to "Universal".
Click on "Apply".
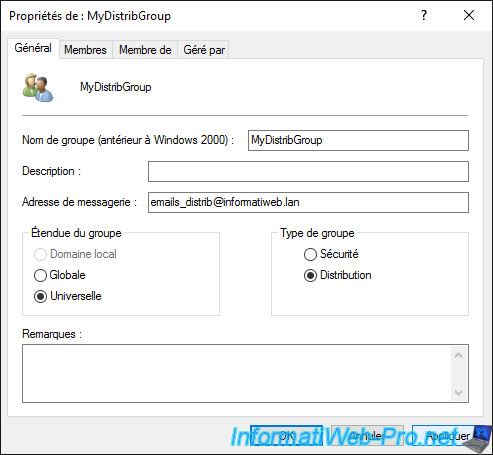
Now that the scope of this group is "Universal", you can choose any group scope.
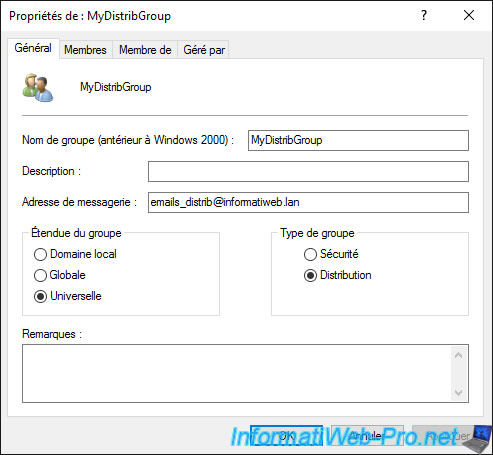
For example, let's choose "Local domain", then we click on "Apply".
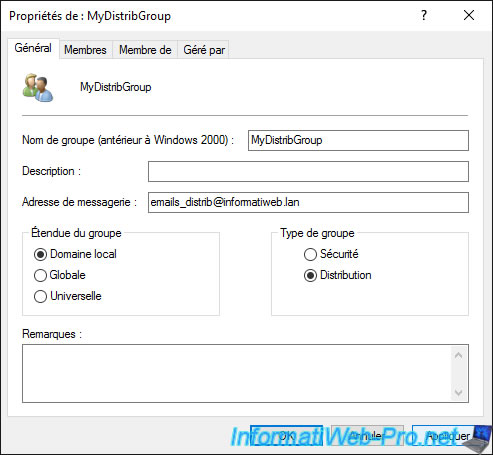
Now that the scope is "Local domain", the "Global" scope is grayed out.
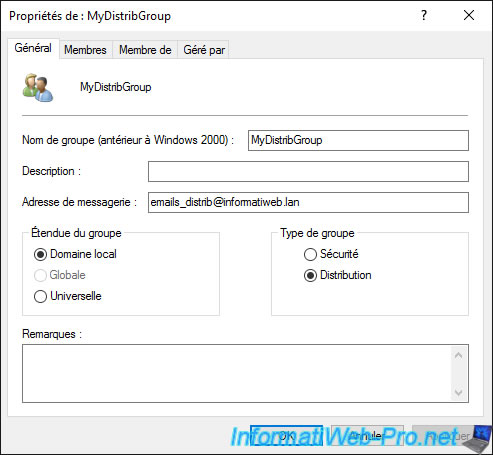
No problem, let's go back to the "Universal" scope and click on "Apply".
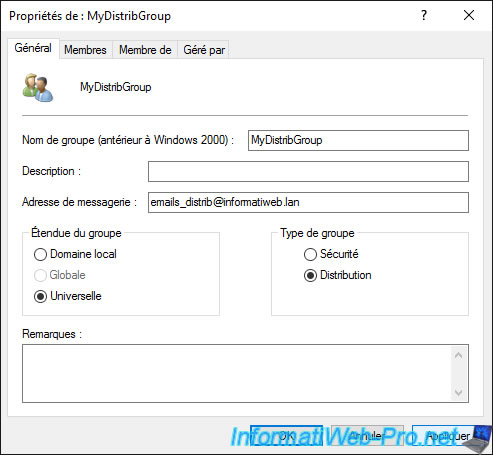
The different group scopes are now available again.
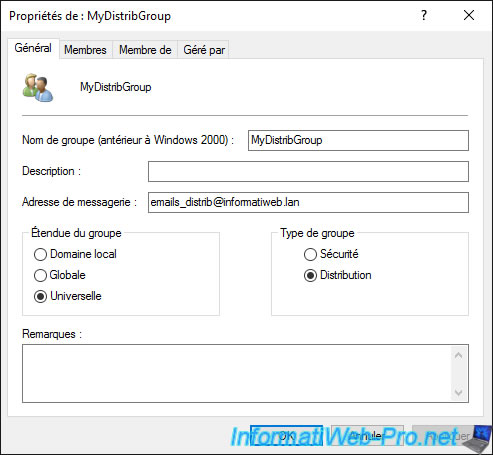
We put back the "Global" scope that we had chosen at the beginning and we click on "Apply".
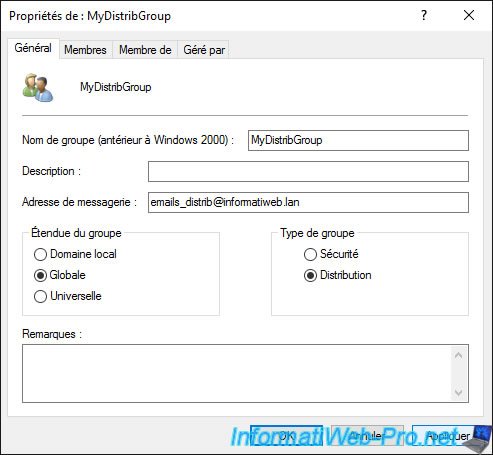
The "Local domain" scope becomes gray again.
5. Add users to a group
If you display the properties of a group, you will see that it can obviously contain members, but also belong to other groups themselves.
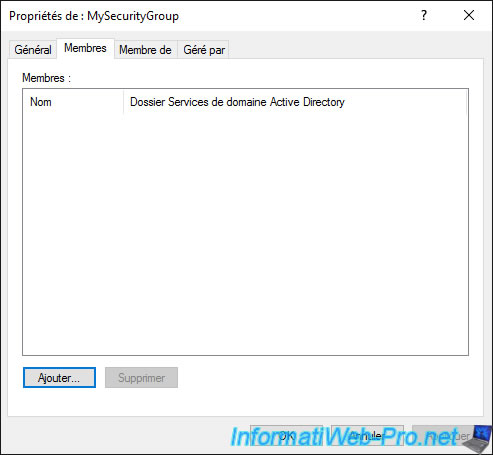
To add a user to a group, go to the "Members" tab and click on the "Add" button.
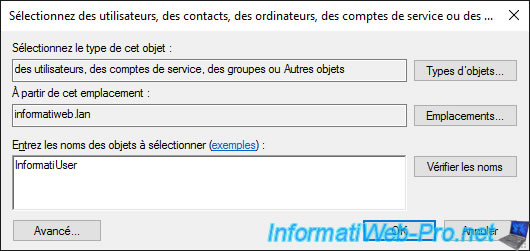
Specify the name of the user to add or search for it by clicking on the "Advanced" button.
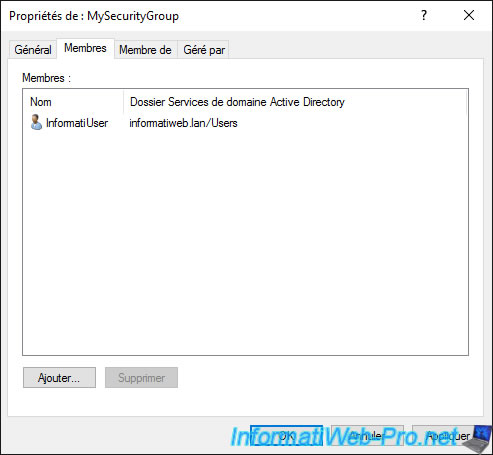
Our user "InformatiUser" is now part of our "MySecurityGroup" security group.
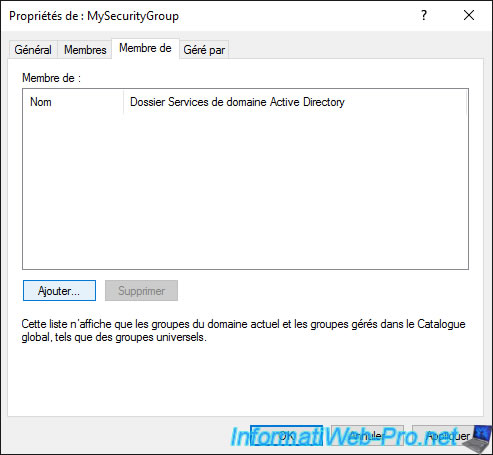
As explained previously, a group can also be part of another Active Directory group.
To do this, go to the "Member of" tab and click on : Add.
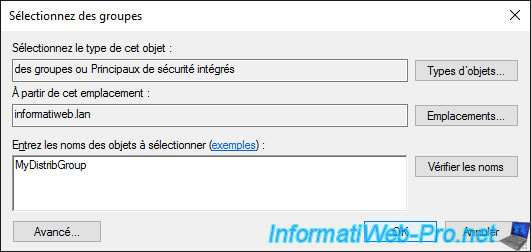
Specify the name of the group in which you want to add the group being modified.
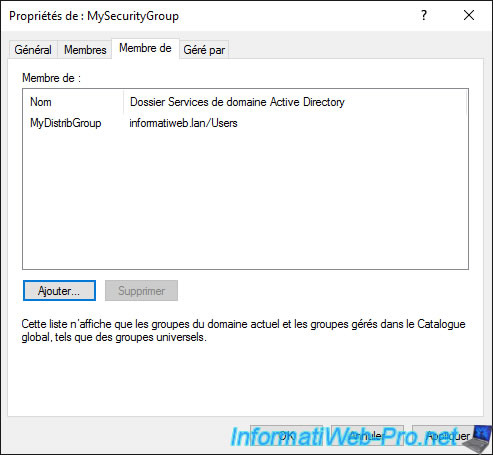
As you can see, our "MySecurityGroup" group is now in the "MyDistribGroup" group.
Warning : don't overuse this kind of grouping of groups, because by adding one group to another, the users of a child group may receive rights that were intended only for members of the parent group.
Nesting groups can therefore pose a security problem in specific cases. So, before nesting groups into other groups, make sure that it will not negatively affect your system infrastructure.
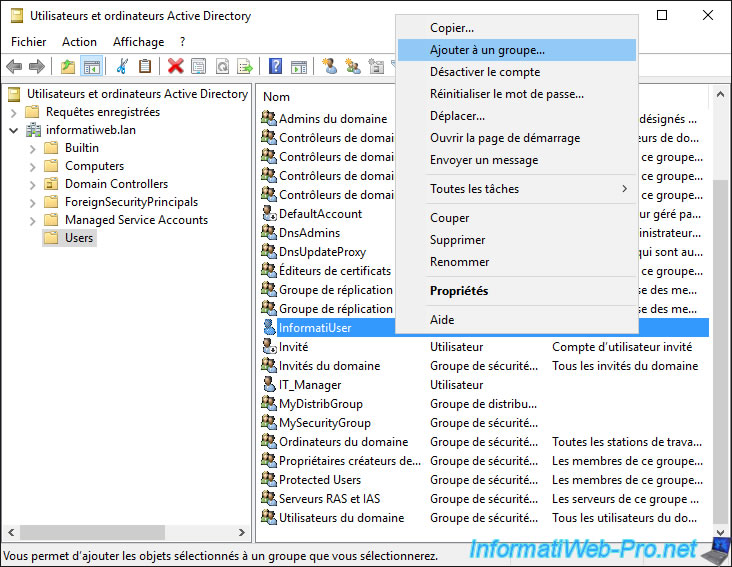
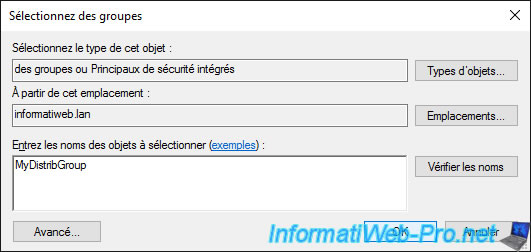
To add a user to a group, you can also right click "Add to a group" on the desired user.
Specify the name of the group in which you want to add this user.
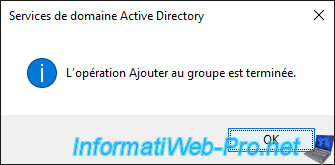
The "The Add to Group operation was successfully completed" message appears.
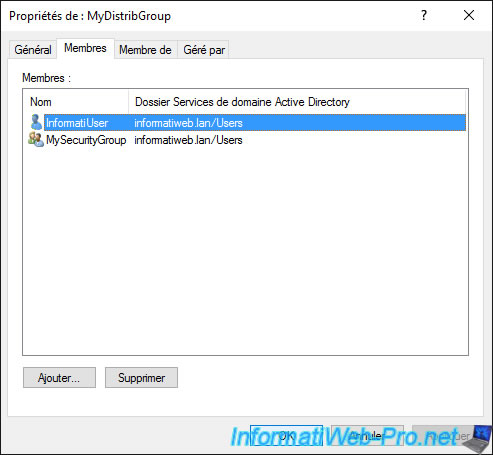
As you can see, the desired user has been added to the desired group.
6. Delegate management of a group
In large companies, when you have many users and they may be spread across different geographic locations, it may be beneficial to delegate management of a group to a local administrator (for example).
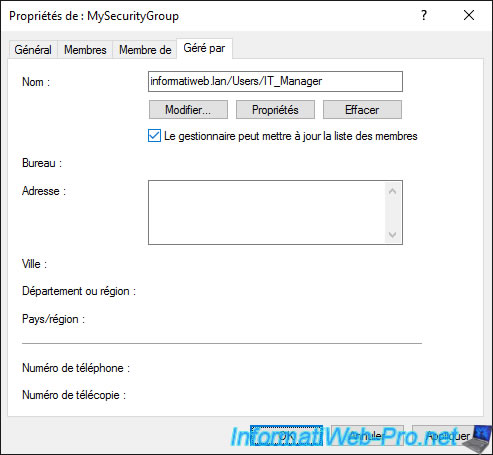
To do this, in the properties of the desired group, go to the "Managed by" tab and click on "Change".
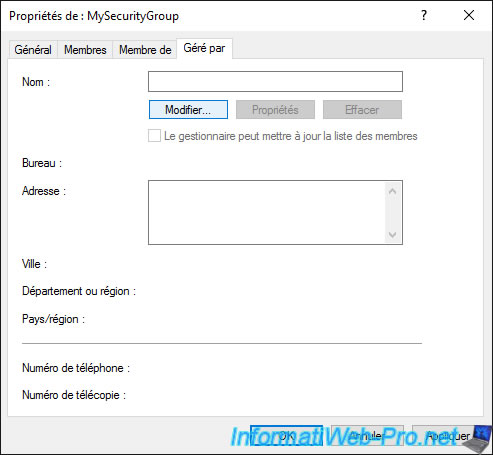
Specify, for example, the name of your local IT administrator.
In our case, his account is : IT_Manager.
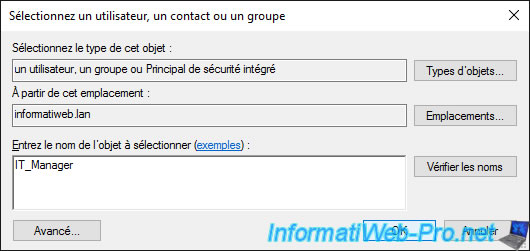
If necessary, you can even authorize him to manage the list of members of this group by checking the "Manager can update the membership list" box.
Share this tutorial
To see also
-

Windows Server 4/16/2021
Windows Server - AD DS - How Active Directory replication works
-

Windows Server 4/30/2021
Windows Server - AD DS - Overview of Active Directory functional levels
-

Windows Server 4/3/2021
Windows Server - AD DS - The basics of Active Directory
-

Windows Server 5/21/2021
WS 2016 - AD DS - Add a domain controller to an existing AD domain

No comment