Configure a multi-site Active Directory infrastructure on Windows Server 2022 and 2016
- Windows Server
- 10 November 2025 at 17:31 UTC
-

- 8/11

12.2. Join your VPN servers to your Active Directory domain
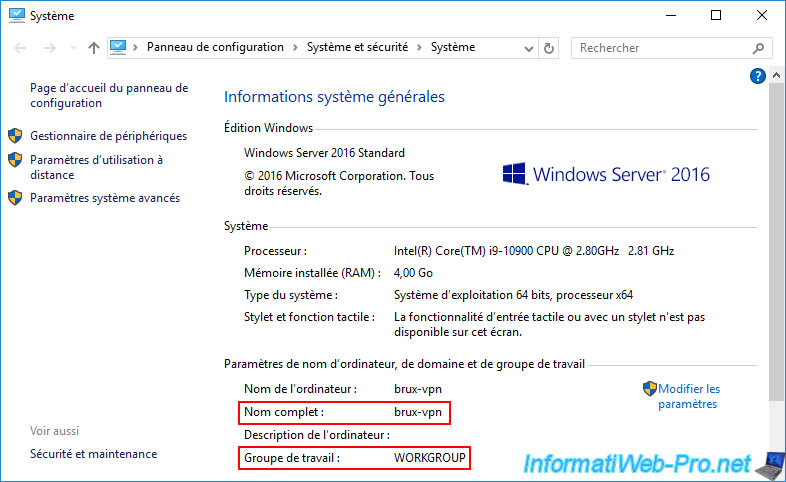
12.2.1. VPN servers in a workgroup
As you can see, currently, our 2 VPN servers (brux-vpn and paris-vpn) are still in the same workgroup named "WORKGROUP" (so the default one).

12.2.2. Join the VPN server at site 1 (Brussels) to your Active Directory domain
Before joining your Site 1 (Brussels) VPN server to your Active Directory domain, you'll need to change the DNS servers used by this server.
For the "brux-vpn" VPN server at Site 1 (Brussels):
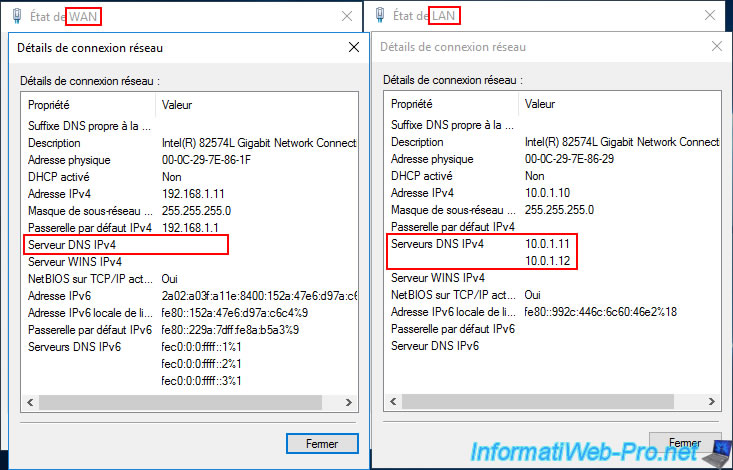
- make sure that no DNS server is specified for its WAN interface.
- enter the IP addresses of your two local domain controllers as DNS servers for the local interface.
In our case:- 10.0.1.11 : brux-dc1.
- 10.0.1.12 : brux-dc2.
Note: Internet access from this VPN server will still work, as it will use the DNS servers present on your AD domain controllers and these will by default redirect DNS requests to the root DNS servers present on the Internet (and which are already entered by default in the DNS servers installed on Windows Server).
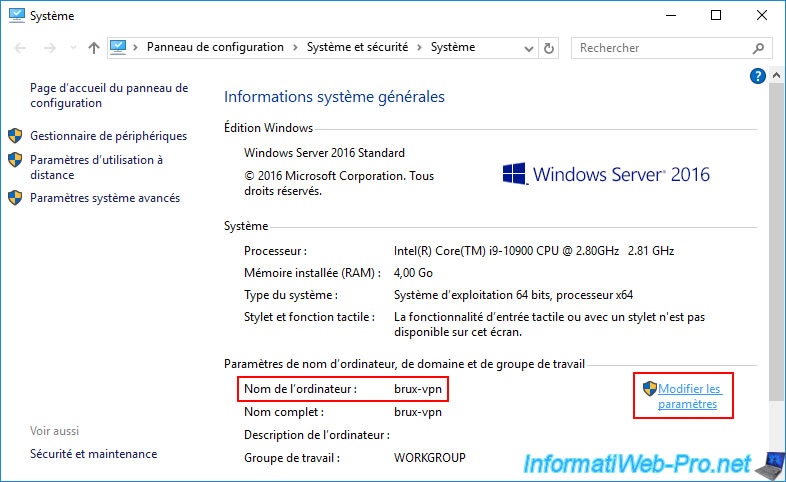
Then, display the system properties of this VPN server "brux-vpn" and click on the "Change settings" link.
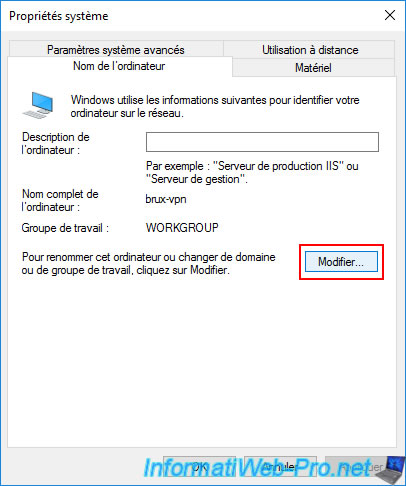
Then, click on "Edit".
Select "Domain" and enter your Active Directory domain.

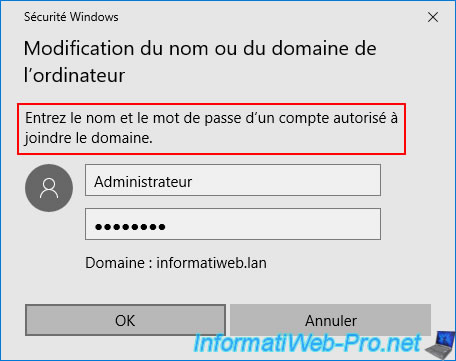
Specify the credentials of an account authorized to join this server to your Active Directory domain.
Click "Close".
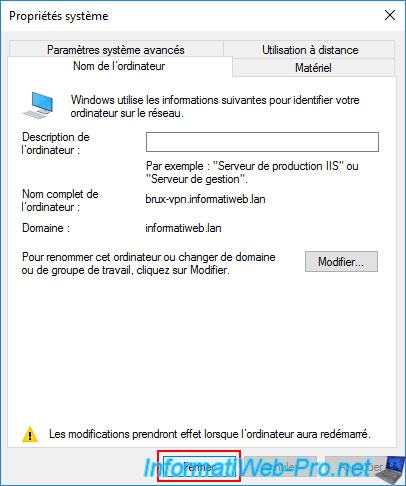
Warning : do not restart your VPN server yet.
Joining your VPN server to Active Directory created a computer account in its name on a local domain controller (on the same physical site as it), but this computer account has not yet been replicated to all your domain controllers.
This could cause problems after restarting this server, as it may contact another AD domain controller that does not yet have this computer account.
And since the connection between your two sites depends on this VPN server, you must wait until the account is also replicated to the other site (Paris in this case) before restarting your server.
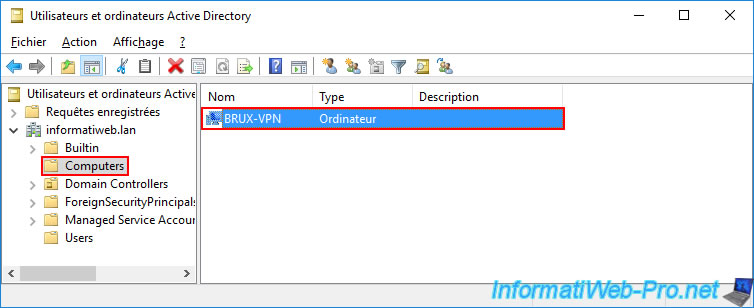
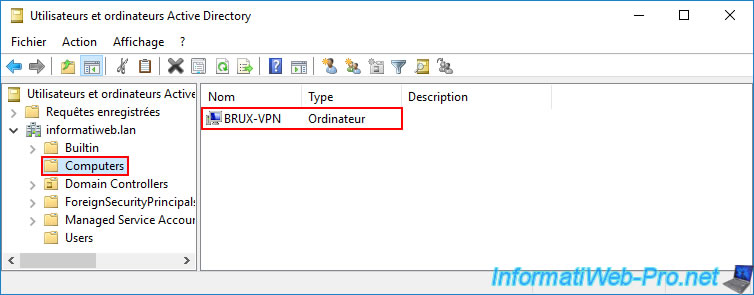
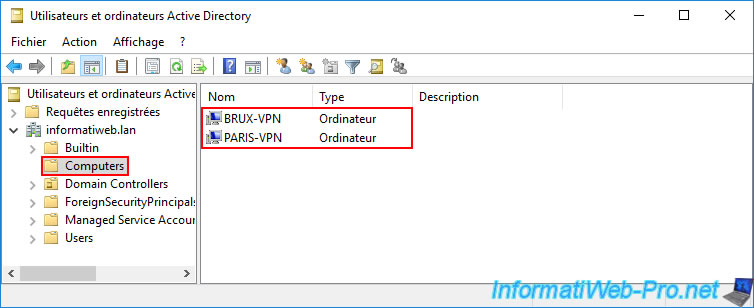
On the local AD domain controller (in our case: brux-dc1), we can see that a computer account "BRUX-VPN" has appeared in the "Computers" folder of this AD server.
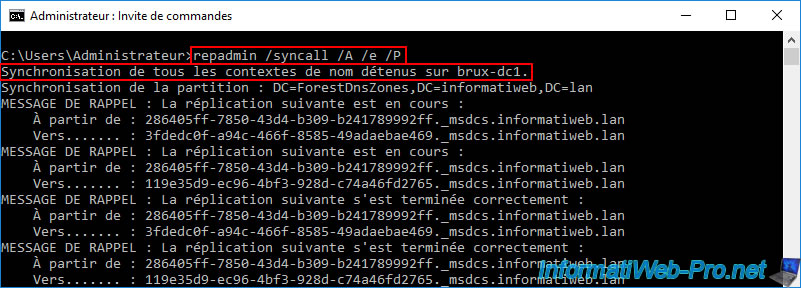
To make this computer account known to your other Active Directory domain controllers (including the remote physical site), open a command prompt on the local domain controller where the created computer account (in our case: brux-vpn) is visible.
Then, type the command below again.
Batch
repadmin /syncall /A /e /P
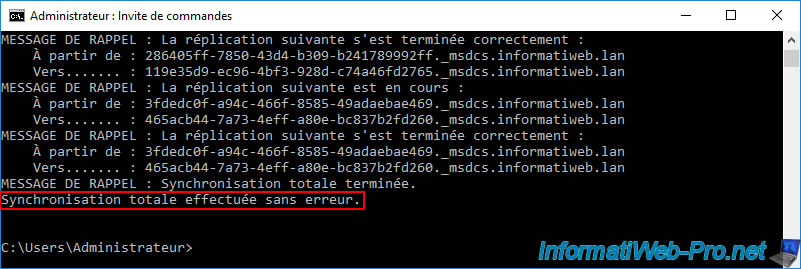
Once the command is complete, the message "Total synchronization completed..." will appear.
If you go to the VPN server "paris-vpn" of the remote site (Paris), you should see this same computer account "BRUX-VPN" appear.
12.2.3. Join the VPN server at site 2 (Paris) to your Active Directory domain
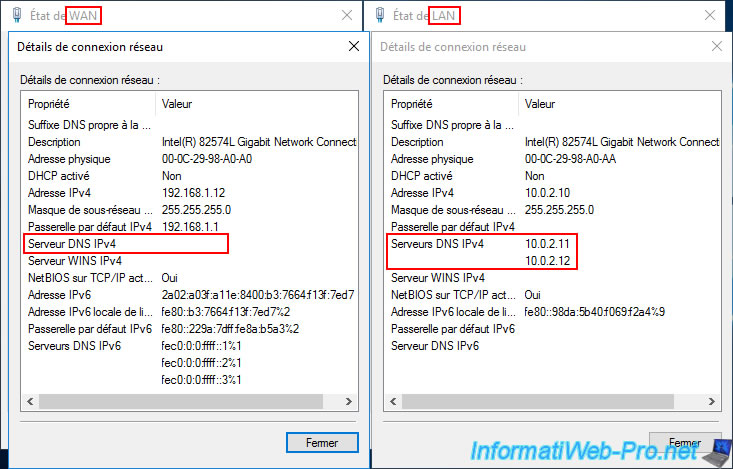
Similar to the other VPN server (at Site 1 (Brussels)), on the "paris-vpn" VPN server at Site 2 (Paris), ensure that you only use your local AD domain controllers as DNS servers.
Again, for the WAN interface, ensure that no DNS servers are specified.
Then, for the LAN interface, specify the IP addresses of your local AD domain controllers as DNS servers:
- 10.0.2.11 : paris-dc1.
- 10.0.2.12 : paris-dc2.
Next, open the System Properties of your Windows Server and click on the "Change Settings" link.

Select "Domain" and enter your Active Directory domain name again.

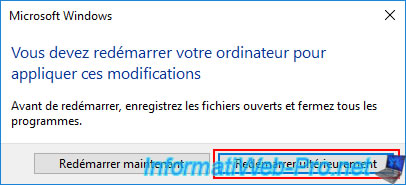
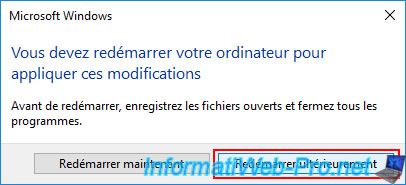
Warning : again, do not restart this second VPN server either.
So, click "Restart later".
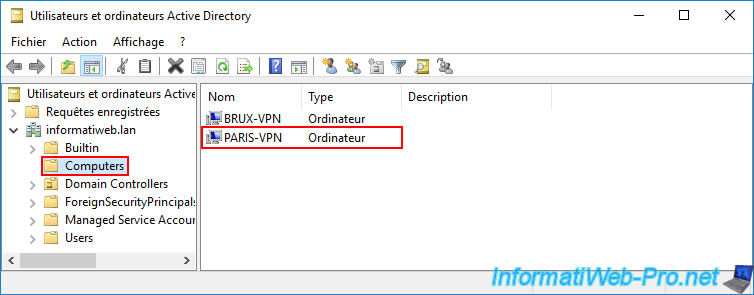
On one of your local domain controllers ("paris-dc1" in our case), you will see that a new computer account "PARIS-VPN" has been created in the "Computers" folder.
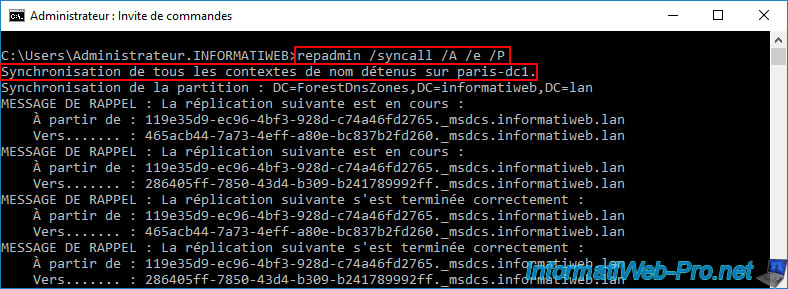
Similar to before, to have this computer account copied to all your Active Directory domain controllers, use the same command again on this AD domain controller (where the created computer account already appears).
Batch
repadmin /syncall /A /e /P
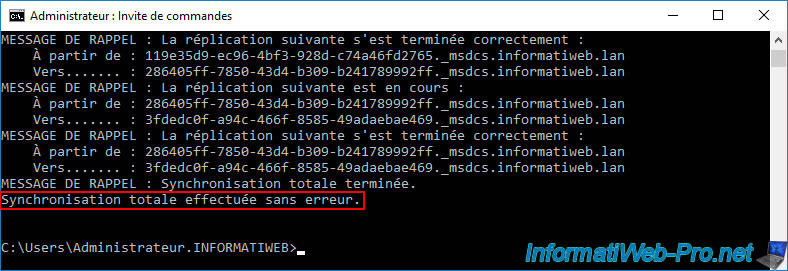
As expected, this new computer account (in our case: PARIS-VPN) is visible on all your Active Directory domain controllers.
Share this tutorial
To see also
-

Windows Server 4/16/2021
Windows Server - AD DS - How Active Directory replication works
-
Windows Server 4/30/2021
Windows Server - AD DS - Overview of Active Directory functional levels
-
Windows Server 4/3/2021
Windows Server - AD DS - The basics of Active Directory
-

Windows Server 5/21/2021
WS 2016 - AD DS - Add a domain controller to an existing AD domain
No comment