- Windows Server
- WS2012 R2
- 14 December 2018 at 12:56 UTC
-


On Windows Server 2012 and 2012 R2, you can create virtual disks from multiple hard disks to increase the security of your data and the performance of your file server.
To do this, refer to our previous tutorial : Windows Server 2012/2012 R2 - Create storage spaces to improve the performance and/or security of your file server
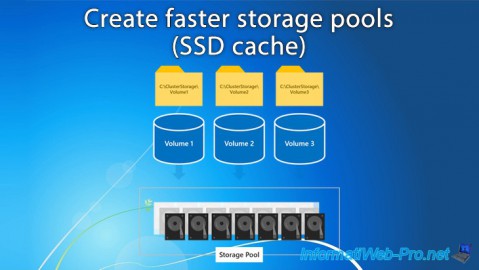
Since Windows Server 2012 R2, you also have the option of using SSDs (faster hard disks) to increase the performance of your file server.
However, you will not create a SSD-only storage, but rather a kind of SSHD.
In summary, Windows Server will analyze the use of stored files to transparently and automatically move frequently used files to the SSD defined as "faster hard drive".
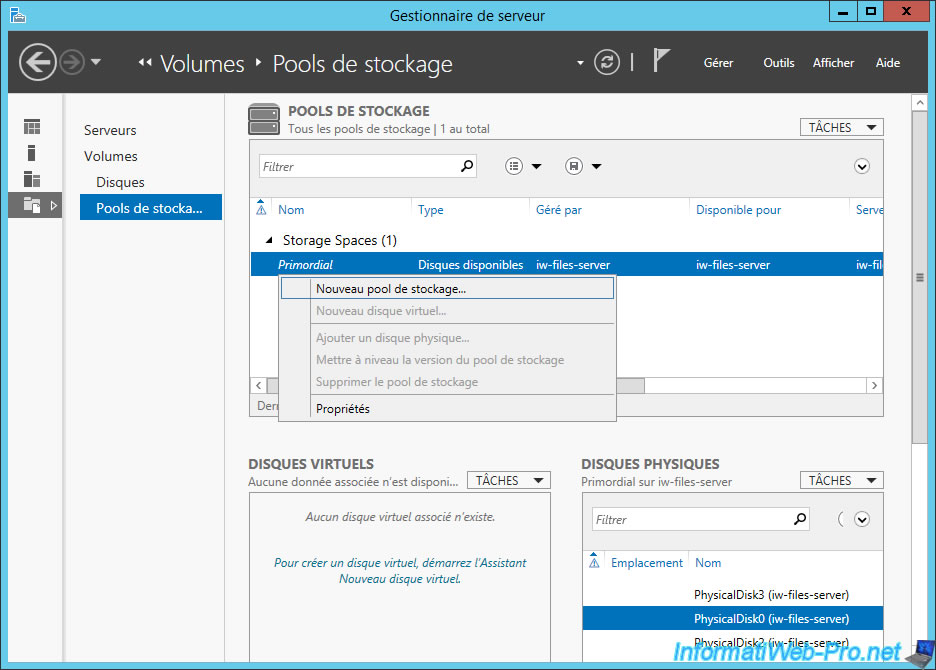
1. New storage pool
To begin, create a storage pool.
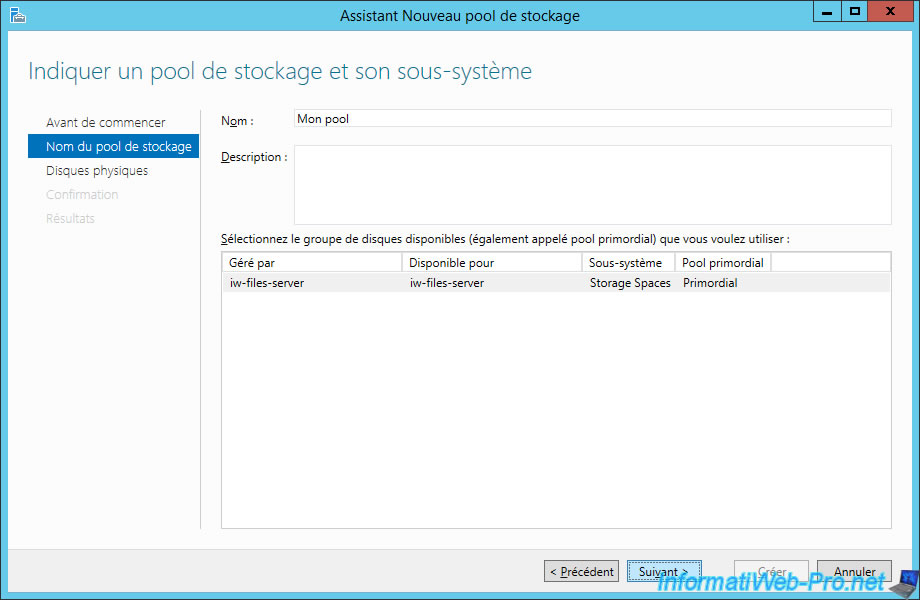
Specify a name for this pool (hard disks group).
Choose the physical disks to place in this storage pool.
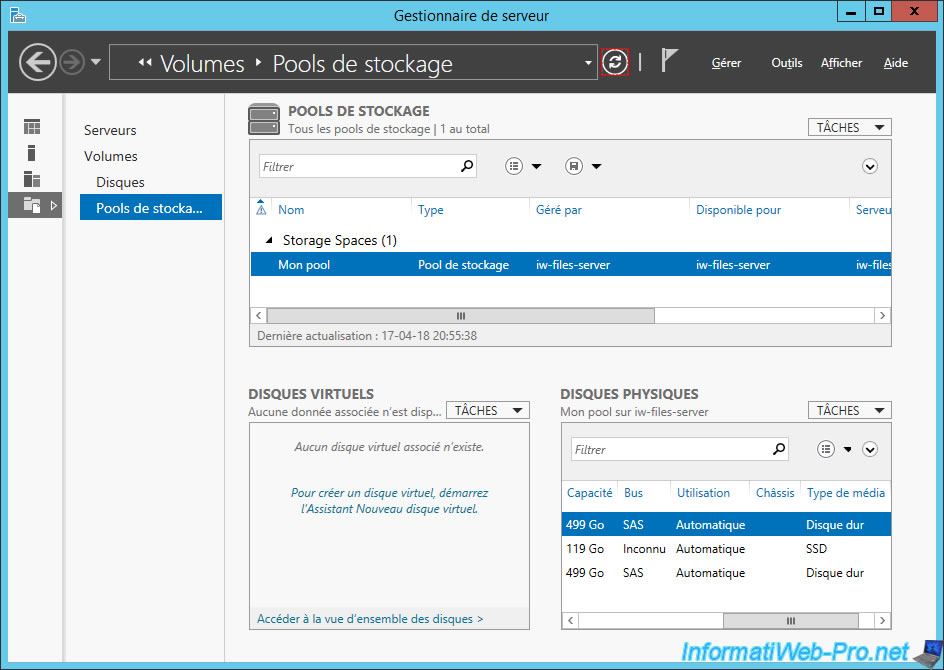
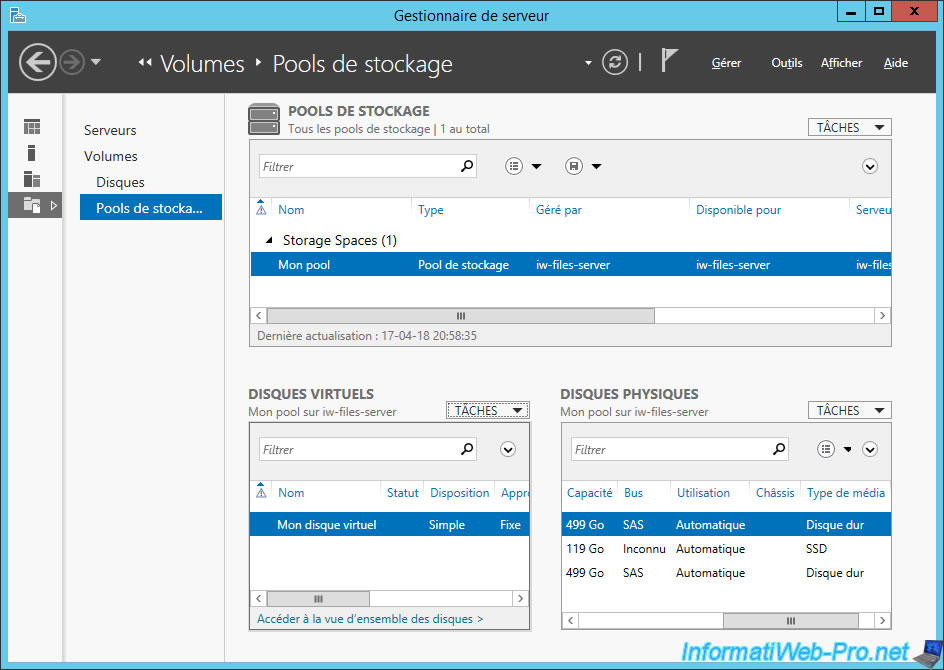
Note : as you can see in the picture below, we have 1 SSD, as well as 2 hard drives (which are currently detected as "Unknown").
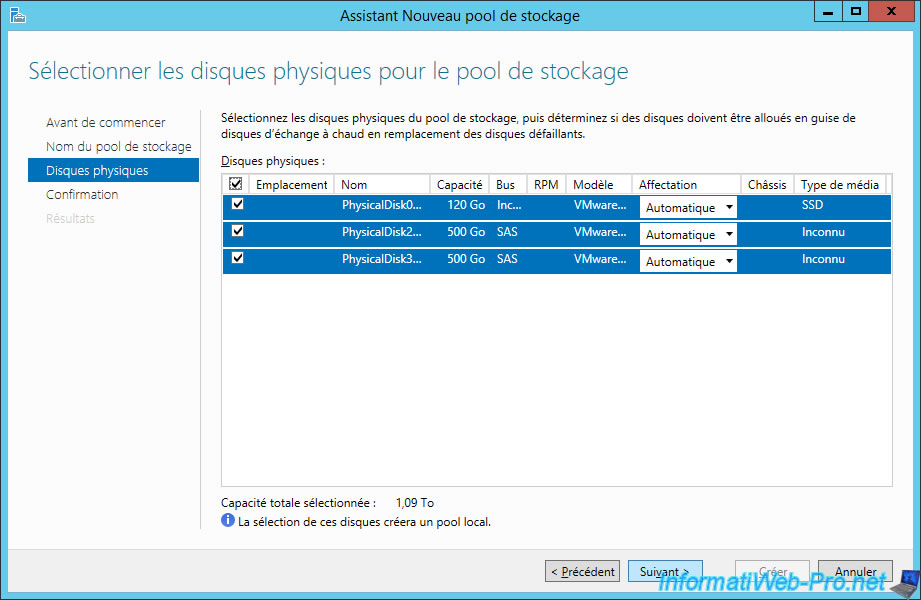
Click Create.
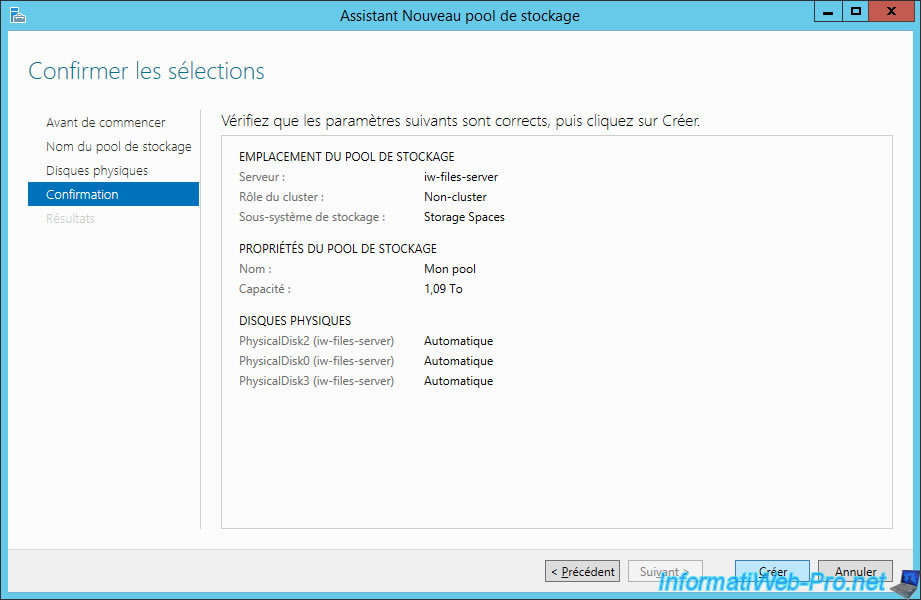
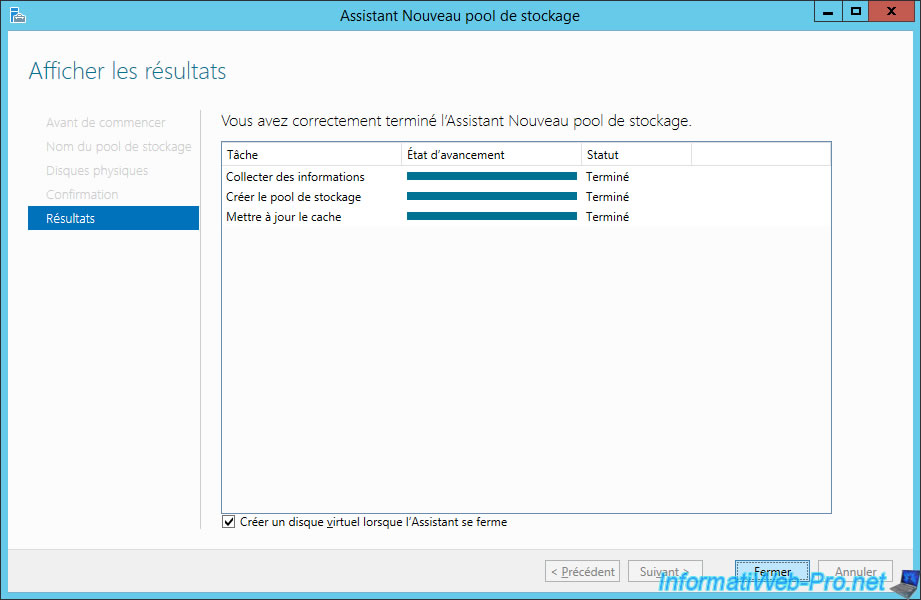
After the pool is created, select the "Create a virtual disk when the wizard closes" check box and click Close.
2. New virtual disk
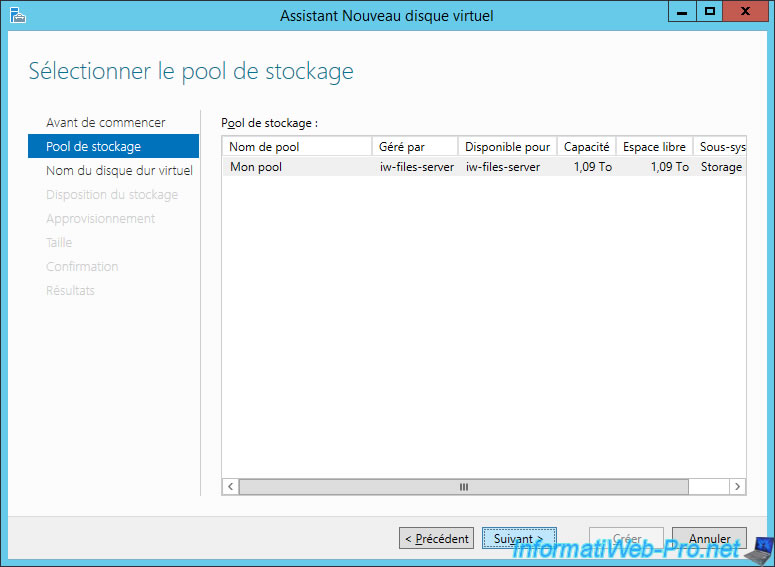
To create a virtual disk on this storage pool, select your storage pool and click Next.
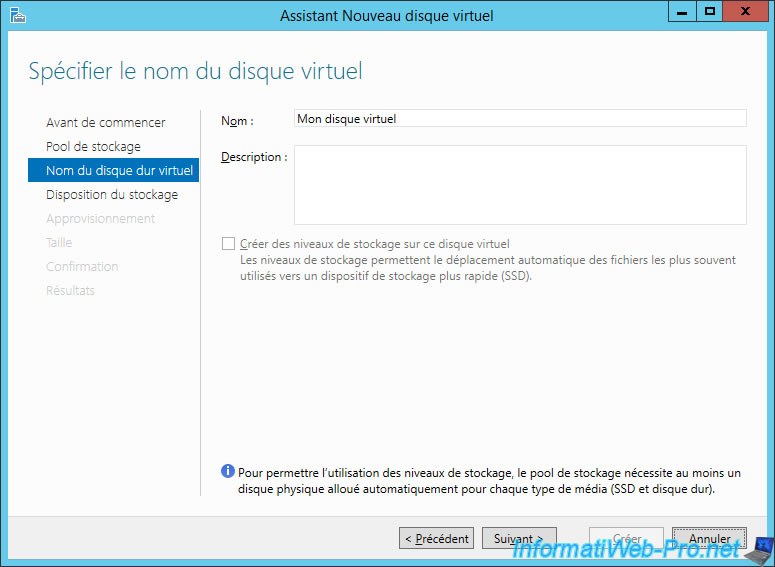
If Windows Server didn't correctly detect the type of SSD / HDD used for your pool, the "Create storage levels on this virtual disk" check box will be grayed out.
In this case, close this wizard and use the commands proposed later in this tutorial.
To fix this problem, you will need to use some PowerShell commands.
To start, list the hard drives of your server :
PowerShell
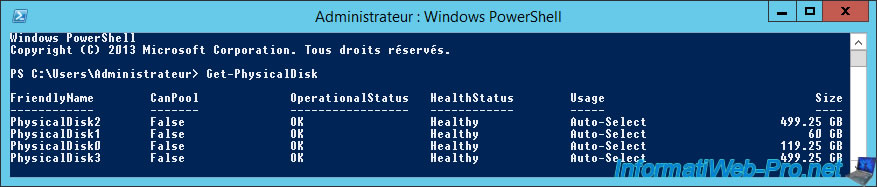
Get-PhysicalDisk
In our case, this command shows us 4 disks :
- the hard disk where Windows is installed : PhysicalDisk1 (60 GB)
- the 120 GB SSD (119.25 GB)
- 2 standard hard drives of 500 GB (499.25 GB)
Plain Text
FriendlyName        CanPool             OperationalStatus   HealthStatus        Usage                              Size
------------        -------             -----------------   ------------        -----                              ----
PhysicalDisk2       False               OK                  Healthy             Auto-Select                   499.25 GB
PhysicalDisk1       False               OK                  Healthy             Auto-Select                       60 GB
PhysicalDisk0       False               OK                  Healthy             Auto-Select                   119.25 GB
PhysicalDisk3       False               OK                  Healthy             Auto-Select                   499.25 GB
Then, check how Windows Server recognizes your disks.
PowerShell
Get-PhysicalDisk | ft FriendlyName, MediaType
In our case, Windows Server correctly recognizes our SSD, but doesn't recognize the type of our hard drives.
So, the "MediaType" displayed is "UnSpecified".
Plain Text
FriendlyName                                                MediaType
------------                                                ---------
PhysicalDisk2                                               UnSpecified
PhysicalDisk1                                               UnSpecified
PhysicalDisk0                                               SSD
PhysicalDisk3                                               UnSpecified
To solve the problem, simply set the pool hard drives as conventional hard drives.
In our case, we will use the "PhysicalDisk2" and "PhysicalDisk3" hard disks for our storage pool.
Note: If no error is displayed, it's good.
Otherwise, verify that the disks are in a storage pool.
PowerShell
Get-PhysicalDisk PhysicalDisk2 | Set-PhysicalDisk -MediaType HDD
Get-PhysicalDisk PhysicalDisk3 | Set-PhysicalDisk -MediaType HDD
To verify that the changes have been made, you can use this command :
PowerShell
Get-PhysicalDisk | ft FriendlyName, MediaType
As expected, we find our 2 hard drives (2 and 3), as well as our SSD (0).
Plain Text
FriendlyName                                                MediaType
------------                                                ---------
PhysicalDisk2                                               HDD
PhysicalDisk1                                               UnSpecified
PhysicalDisk0                                               SSD
PhysicalDisk3                                               HDD
In the server manager, click on the "refresh" icon at the top.
Then, you will see that you have 2 hard disks and 1 SSD in the "Physical disks" list.
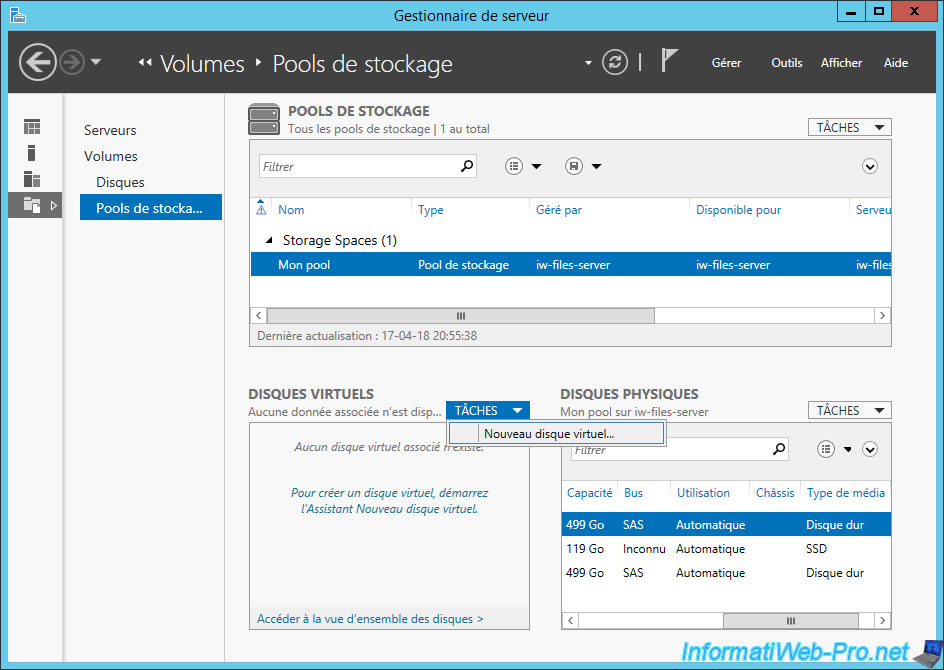
Now, restart the wizard by clicking "Tasks -> New Virtual Disk" in the "Virtual Disks" section.
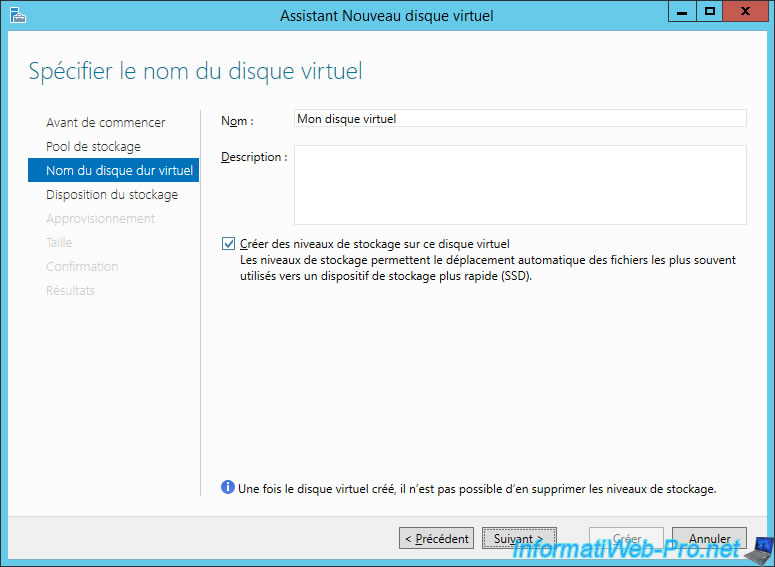
Enter a name for your virtual disk and check the "Create storage tiers on this virtual disk" box.
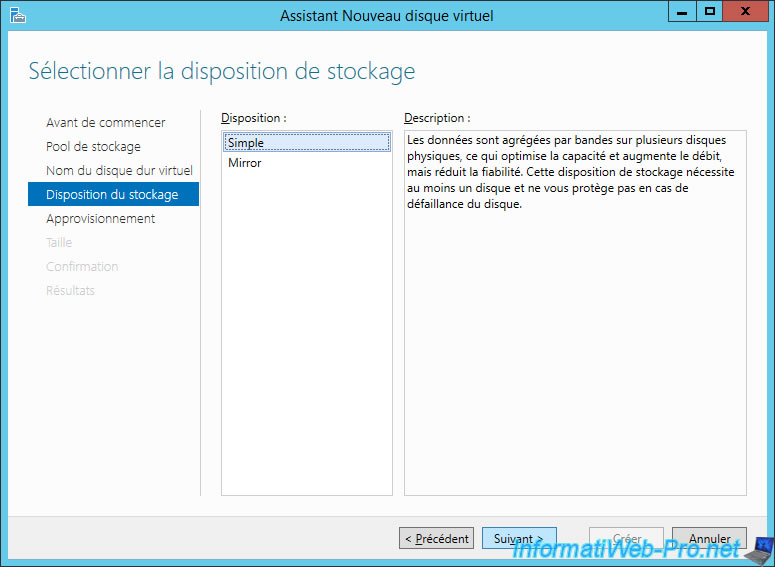
Select the "Simple" storage layout.
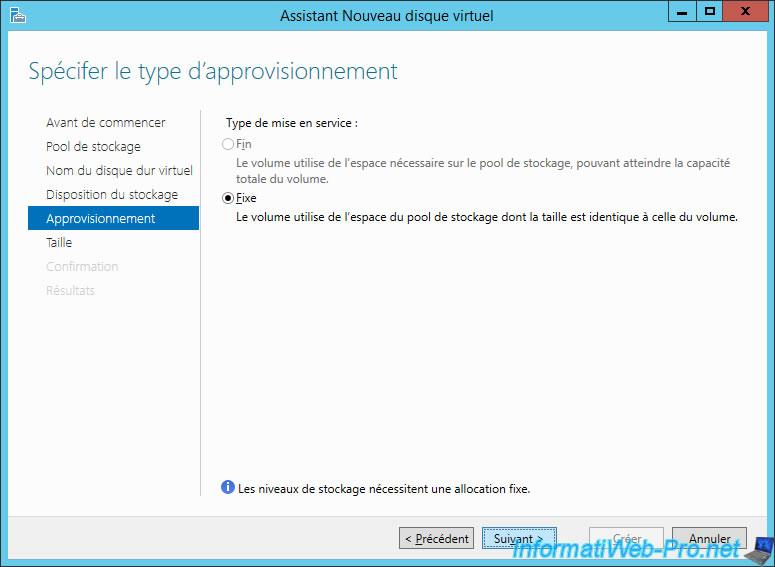
As stated by the wizard, the storage levels (so the cache system on an SSD) require a fixed allocation.
Click Next.
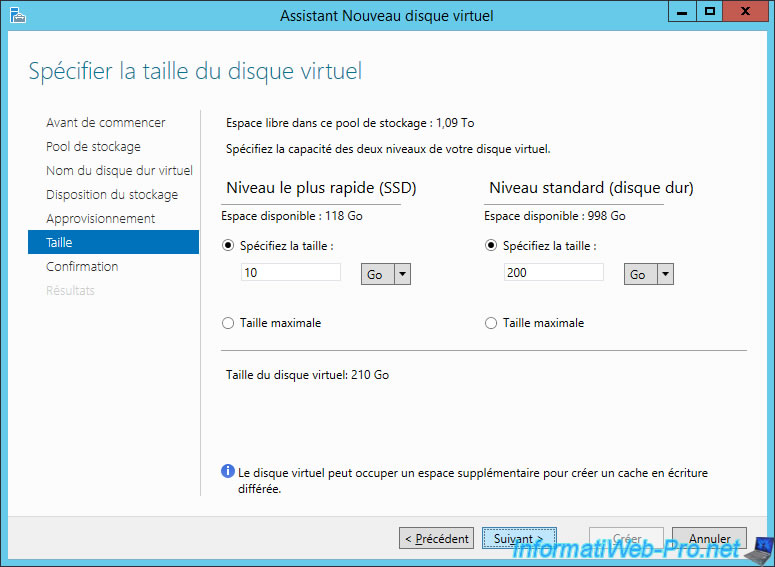
Specify the size:
- for SSD cache
- for the data to be stored on the classic hard disk
In total, you will get a single virtual disk whose size will be the sum of the sizes.
However, the larger the size for the SSD, the more Windows Server will be able to move frequently used files to that drive.
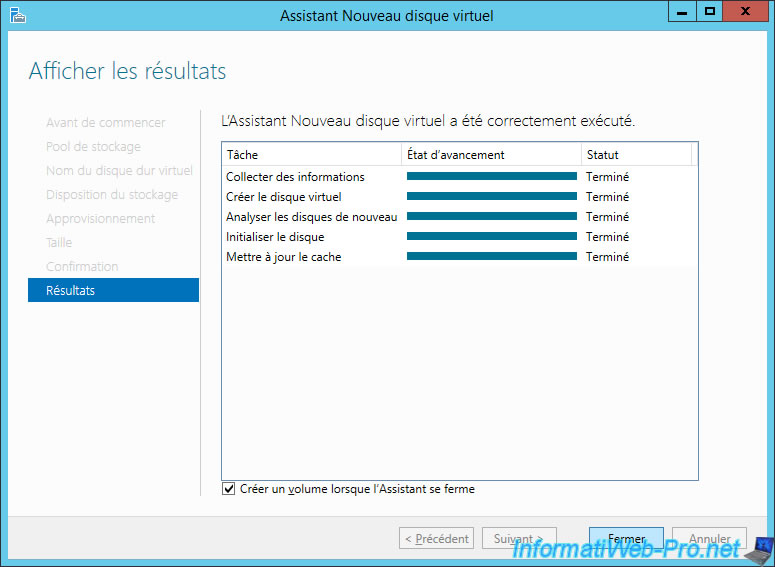
The wizard displays a summary of the configuration of your virtual disk.
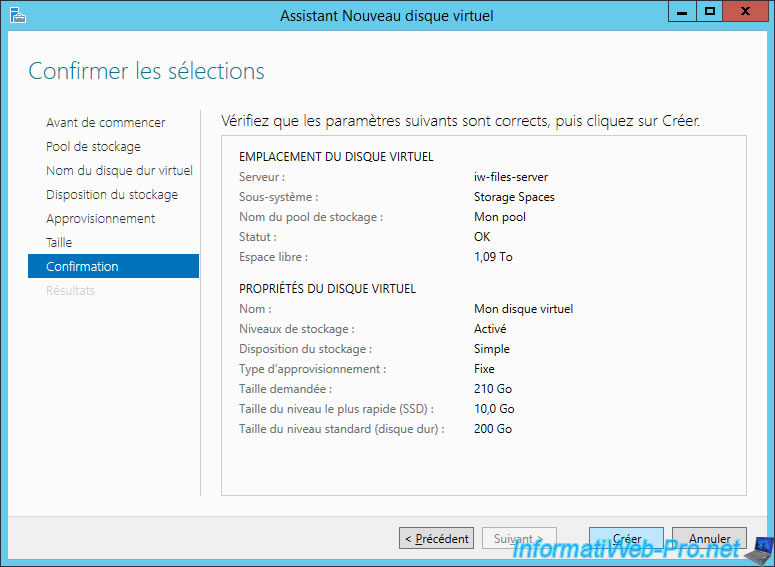
Leave the "Create a volume when the wizard closes" box and click Close.
3. New volume
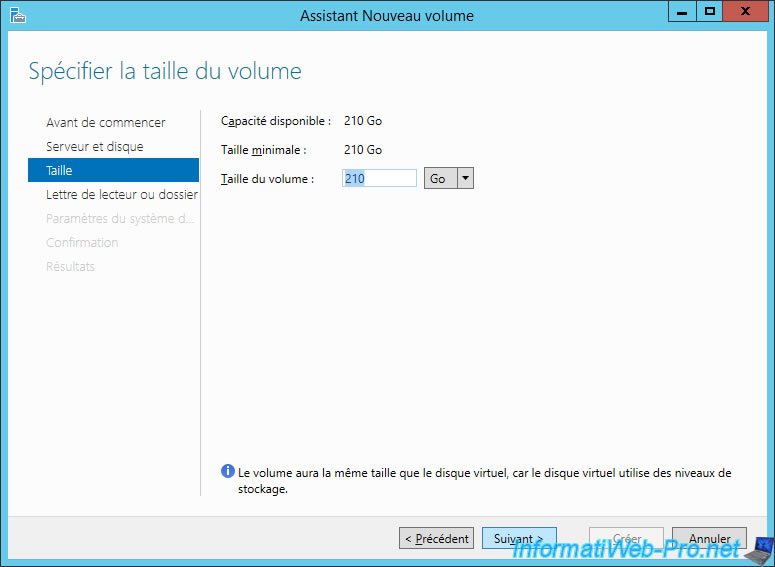
To be able to store data on your virtual disk, you must partition it.
For that, we will create a volume on this one.
Leave the size indicated, and then click Next.
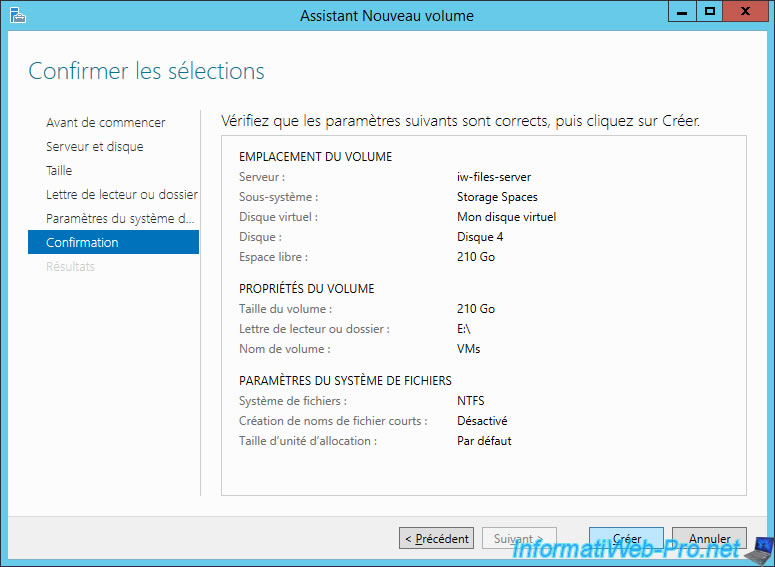
Click Create.
Your virtual disk is ready to use.
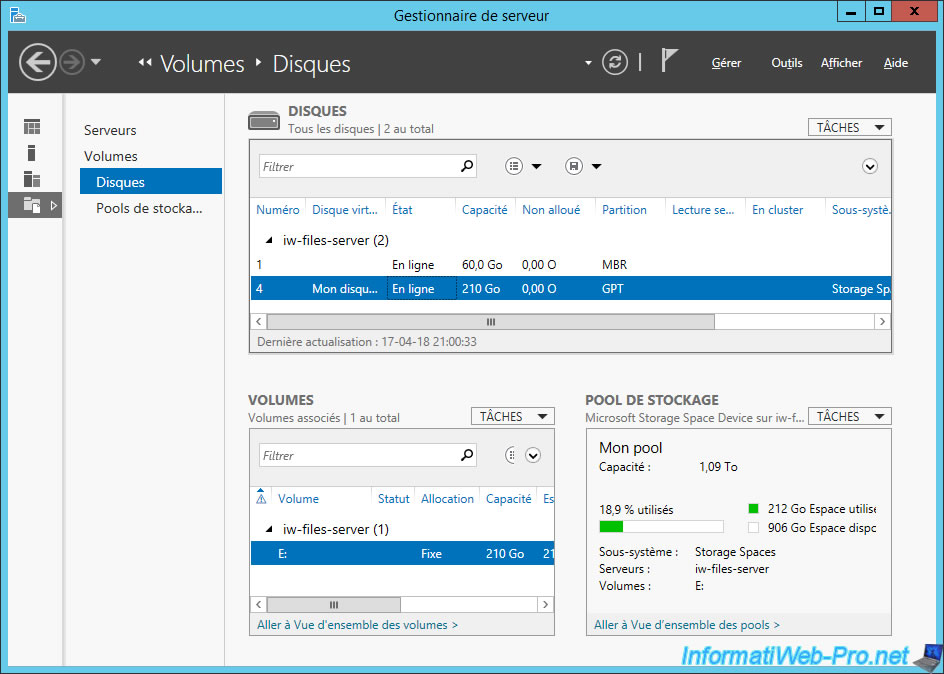
Click on "Volumes" (on the left).
As you can see, we have a virtual disk with a volume of 210 GB accessible with the "E" letter.
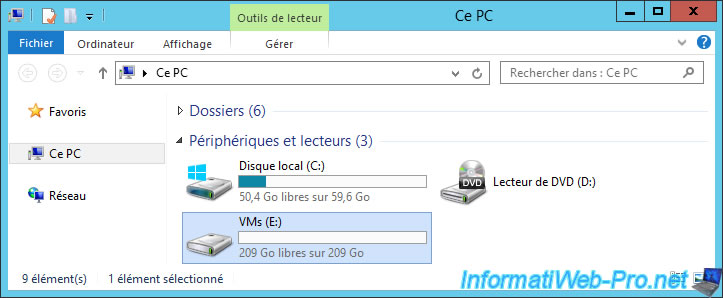
In computer, you will find your 210GB partition with the "E" letter.
Share this tutorial
To see also
-
Windows Server 4/30/2021
Windows Server - AD DS - Overview of Active Directory functional levels
-
Windows Server 4/9/2018
WS 2012 / 2012 R2 - Install a WINS server
-
Windows Server 2/16/2019
WS 2012 / 2012 R2 / 2016 - RDS - Customize the RDS web access
-
Windows Server 2/8/2019
WS 2012 / 2012 R2 / 2016 - RDS - Single sign-on (SSO) for the RDS web access
You must be logged in to post a comment