Install and configure Windows Server 2012 in Core mode
- Windows Server
- Core Mode
- 03 April 2017 at 10:06 UTC
-

- 3/4

3. List, add and remove roles and features in Core mode
Now that our server is configured, we can install roles and features.
To do this, you will need the Powershell console that is already preinstalled.
To launch it, type :
Batch
start powershell

The "Windows PowerShell" program will appear.
In this console, you can use the DOS commands, as well as the PowerShell commands.

3.1. List roles and features available in Windows Server 2012
To install a role or feature, you will obviously need its name in PowerShell.
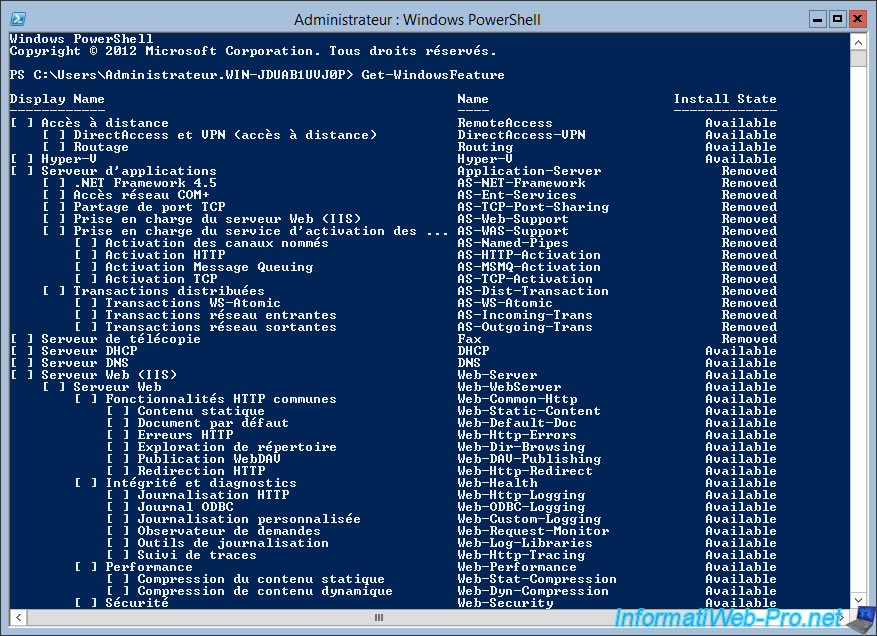
To know it, just use the command :
PowerShell
Get-WindowsFeature
Note : loading the list may take some time.
3.2. List installed roles and features
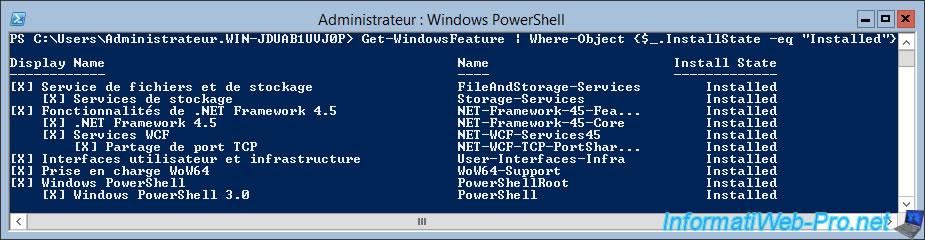
To know the roles and features that are currently installed on your server, you must use this command :
PowerShell
Get-WindowsFeature | Where-Object {$_.InstallState -eq "Installed"}
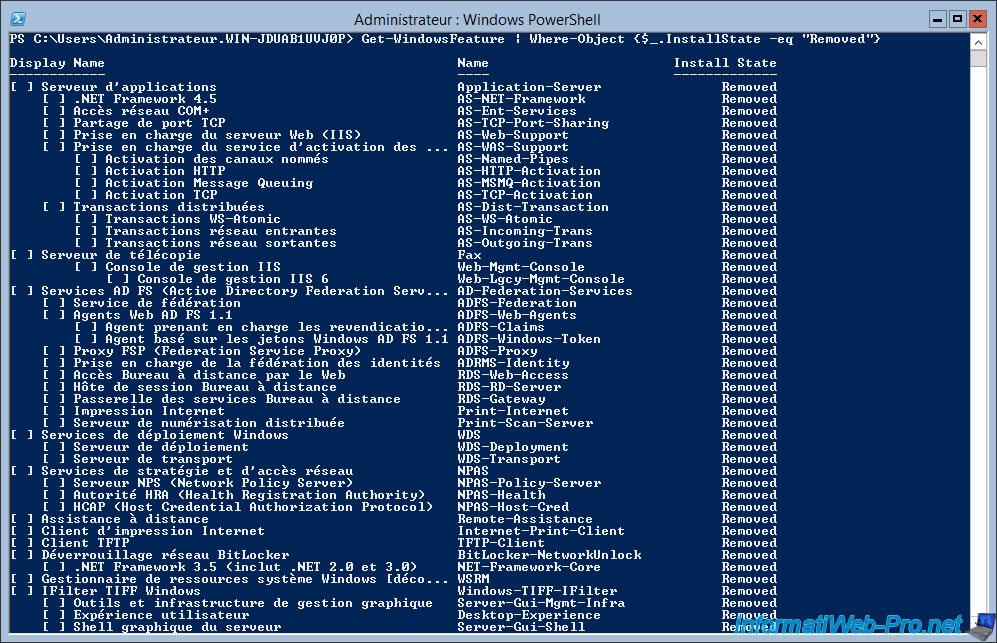
3.3. List roles and features that are not available in Core mode
In Core mode, some roles and features are not available by default.
This means that you will need the Internet (to connect to Windows Update) or an installation media (installation DVD, for example) to install them.
To list these roles and features, use this command :
PowerShell
Get-WindowsFeature | Where-Object {$_.InstallState -eq "Removed"}
3.4. Add a role or feature
To add a role or feature, simply use the "Install-WindowsFeature" PowerShell command and specify the name of the role or the feature that you want to install.
For example, to install the Windows Server IIS web server, you must use this command :
PowerShell
Install-WindowsFeature Web-Server

Once installed, Windows will display 3 informations :
- Success : True = installation done correctly and False = installation error
- Restart Needed : Yes = reboot required and No = no reboot required
- Exit Code : Success = installation completed successfully. And error in the other case.

3.5. Remove a role or a feature
To remove a role or feature, the syntax is the same except that you will use the "Remove-WindowsFeature" command instead of "Install-WindowsFeature".
To uninstall the IIS web server, you must type :
PowerShell
Remove-WindowsFeature Web-Server

Once uninstalled, you will find the same 3 informations as above (Success, Restart Needed, Exit Code).
In this case, Windows Server asks us to restart the server.
To do this, you can use the DOS command "shutdown /r" or use the PowerShell command :
PowerShell
Restart-Computer

Share this tutorial
To see also
-
Windows Server 11/16/2018
WS 2012 / 2012 R2 - Manage multiple Core servers remotely
-
Windows Server 11/23/2018
WS 2012 / 2012 R2 - Manage multiple Core servers remotely (Workgroup)
No comment