Install and configure Windows Server 2012 in Core mode
- Windows Server
- Core Mode
- 03 April 2017 at 10:06 UTC
-

- 4/4

4. Install the GUI on a server in Core mode
For now, you have the basics to manage your server in Core mode through the command prompt and the PowerShell console.
However, if you want to temporarily reinstall the Windows Server GUI, you should know that this is possible.
To reinstall the Windows Server GUI, you must first install the features : .Net Framework 4 (NetFx4) and PowerShell (MicrosoftWindowsPowerShell).
To do this, type these commands :
Batch
DISM.exe /Online /enable-feature /featurename:NetFx4 /all
DISM.exe /Online /enable-feature /featurename:MicrosoftWindowsPowerShell /all
After installing these 2 features, you will need to restart your server.
To do this, use this DOS command :
Batch
shutdown /r -t 0
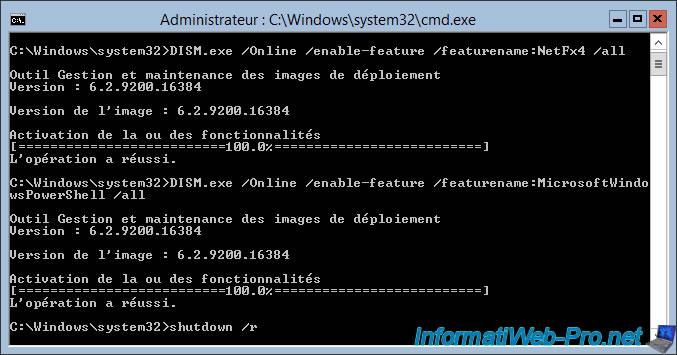
Your server will restart instantly.
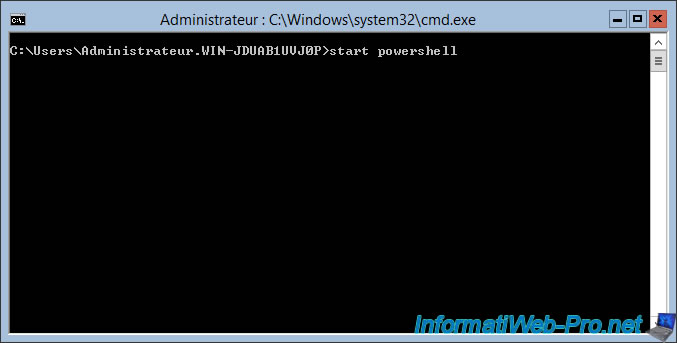
After the reboot, log on with the Administrator account and launch the PowerShell console by typing this command :
Batch
start powershell
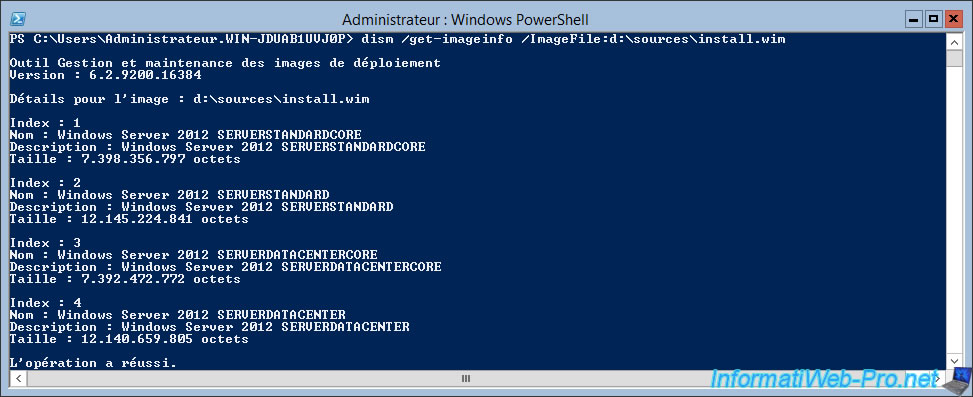
To install the Windows Server GUI, you will need Windows Update (and therefore the Internet) or the Windows installation DVD.
If you want to reinstall the GUI from the Windows Server 2012 installation DVD, you will need to know the version index that you have installed.
In our case, we installed the Standard version in Core mode of Windows Server 2012.
We will therefore have to use image 1 of the file "install.wim" present on the installation DVD.
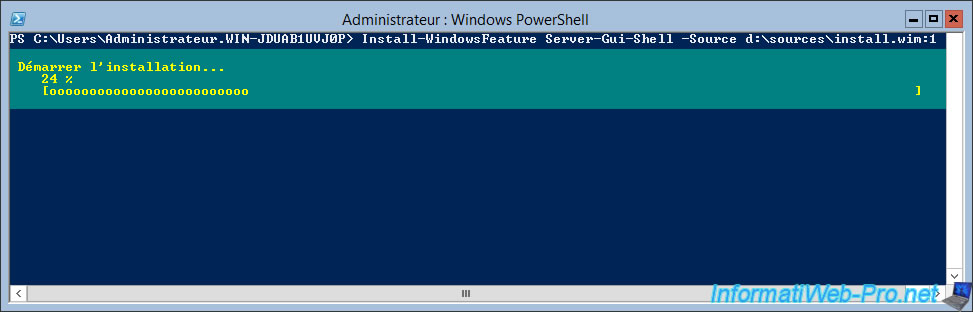
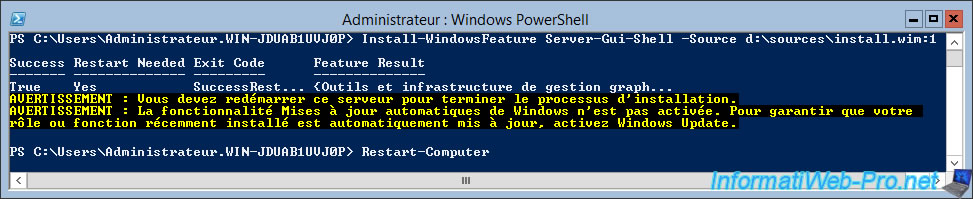
To reinstall the GUI from the installation DVD, use this command :
PowerShell
Install-WindowsFeature Server-Gui-Shell -Source d:\sources\install.wim:1
Note : "d:" corresponds to the letter of the DVD drive of our server and ":1" to the number of the image recovered previously.
At the end of the installation, Windows Server will prompt you to restart the server to complete the GUI installation.
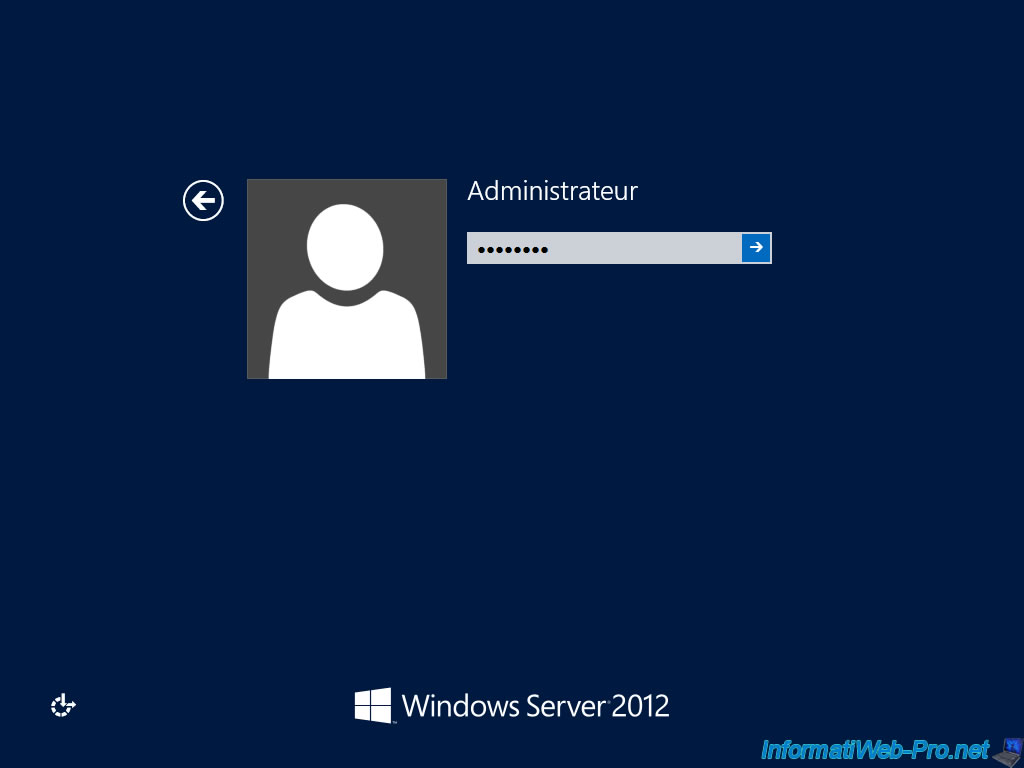
After rebooting, you will see that the Home screen is now gray.
Press the keys : CTRL + ALT + DEL

Now that the GUI has been installed, an avatar has appeared.
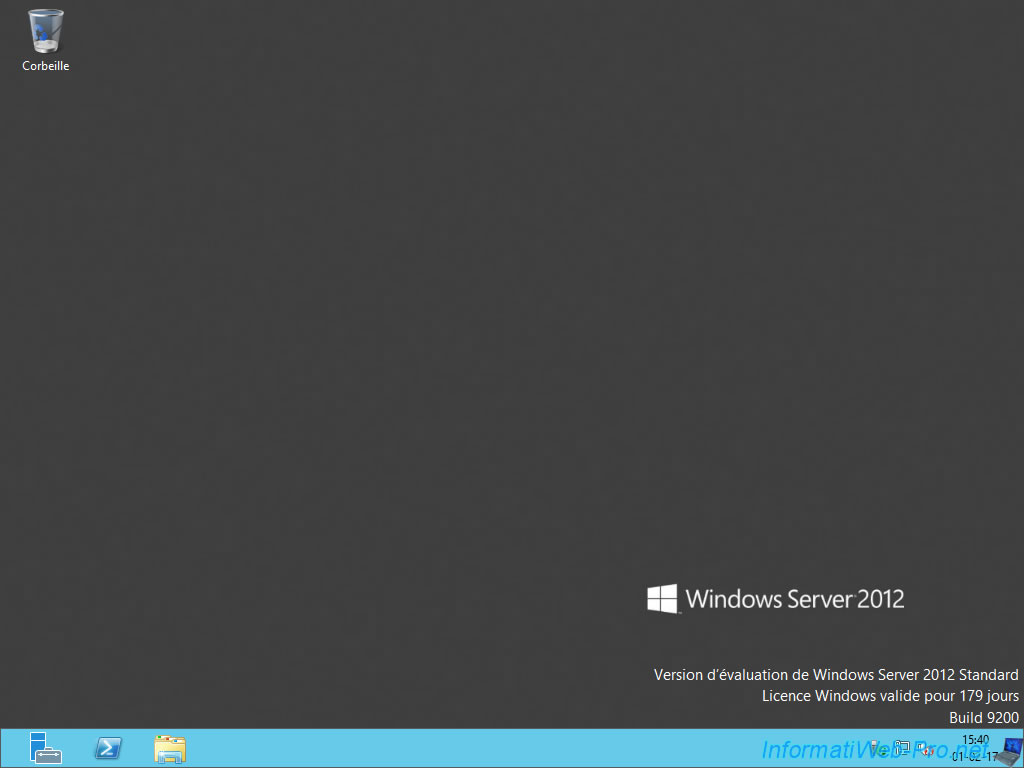
Now the Windows Server GUI is available.
To complete the installation, launch the PowerShell console using the blue icon in the taskbar.
Type this command : Install-WindowsFeature Server-Gui-Mgmt-Infra.

5. Uninstall the Windows Server GUI
When you no longer need the Windows Server GUI, you can uninstall it if you want.
However, keep in mind that some roles and/or features may no longer work after uninstalling the GUI.
Indeed, some roles and features have dependencies that will no longer be satisfied if you uninstall the GUI.
To uninstall the Windows Server GUI, you have two options :
- with the GUI by using the Remove Roles and Features Wizard
- with the PowerShell console
5.1. Uninstall the GUI through the Remove Roles and Features Wizard
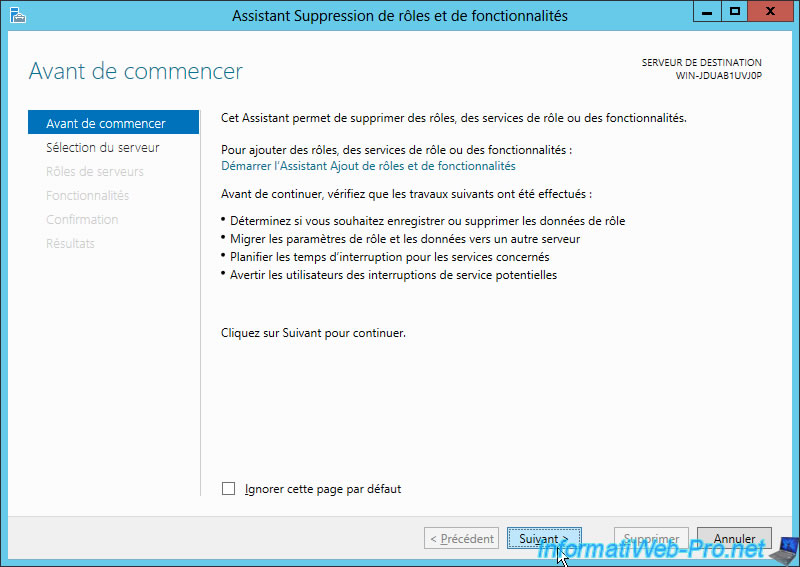
To do this, go to Server Manager and click "Add Roles and Features".

Then, click the "Start the Remove Roles and Features Wizard" link.
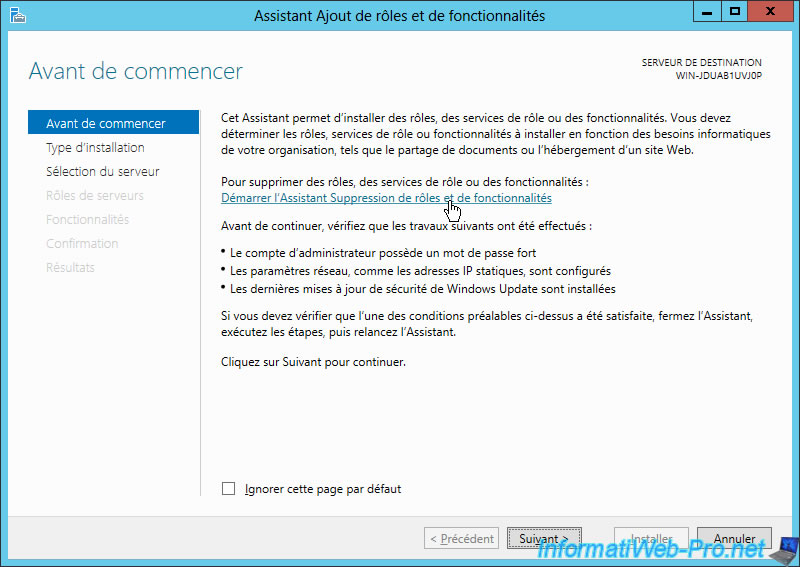
The Remove Roles and Features Wizard appears.
Select your server if necessary.
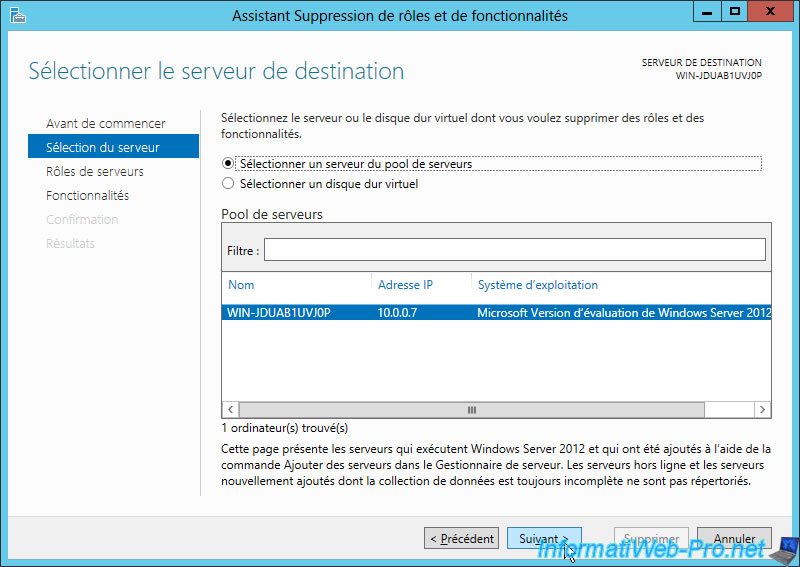
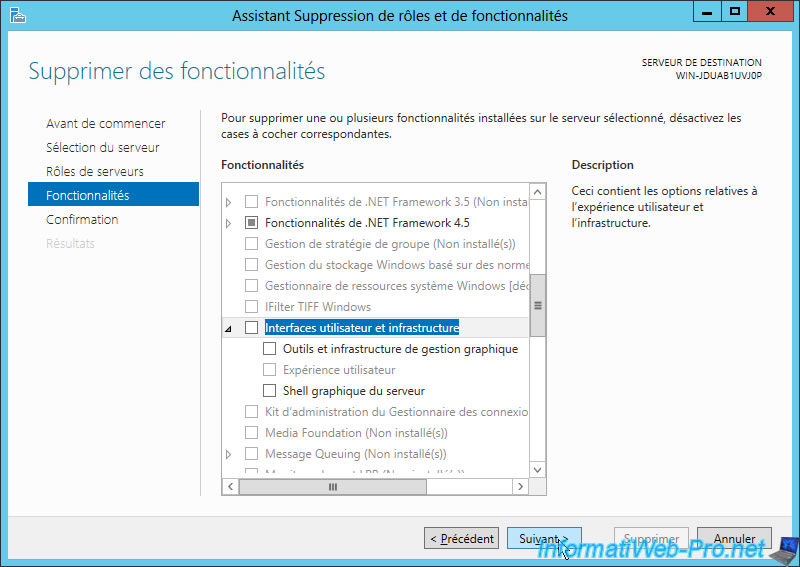
The GUI is not a role, so click Next.
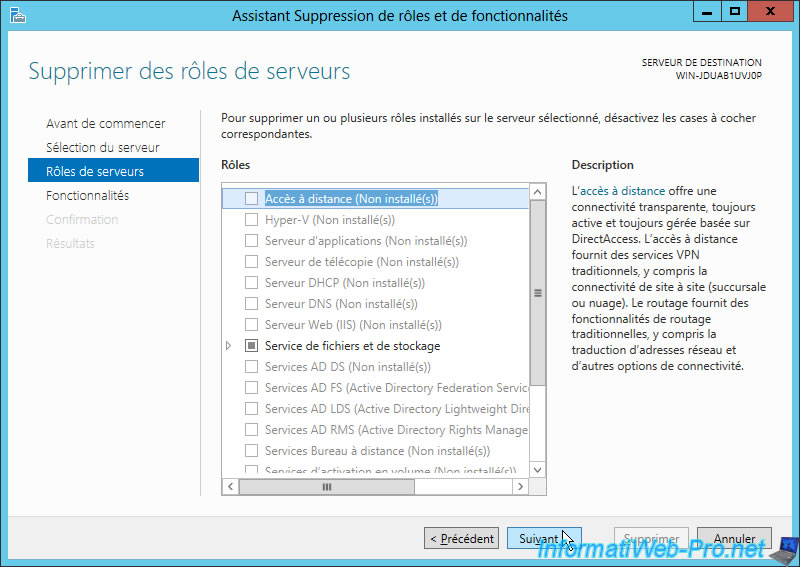
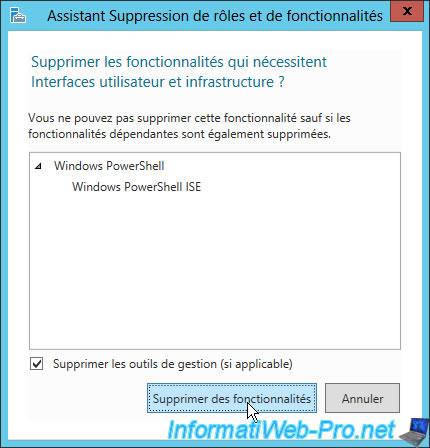
To uninstall the GUI, uncheck the "User Interfaces and Infrastructure" checkbox.
As you will understand, this will uninstall the 2 features we had added via PowerShell.
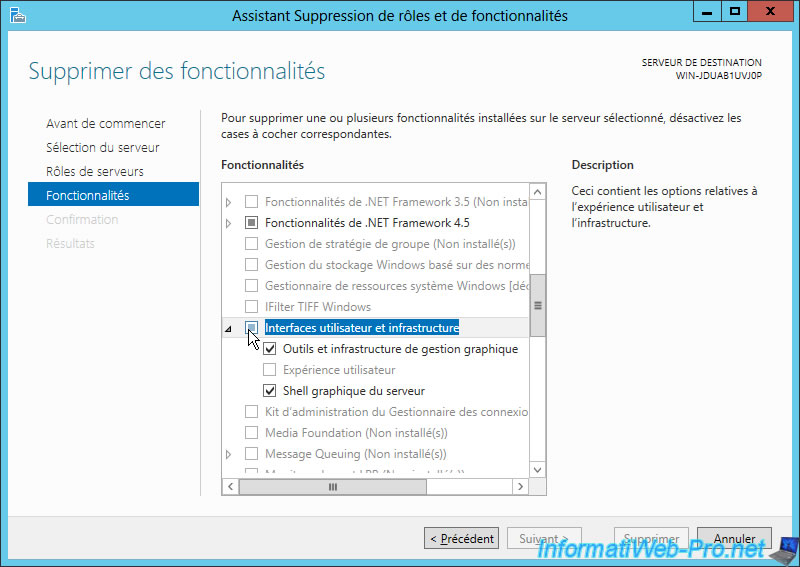
As mentioned earlier, uninstalling the GUI may result in the uninstallation of a role or a feature.
In our case, that will not be a problem. So, click on "Remove Features".
Now that the checkboxes are unchecked, click Next.
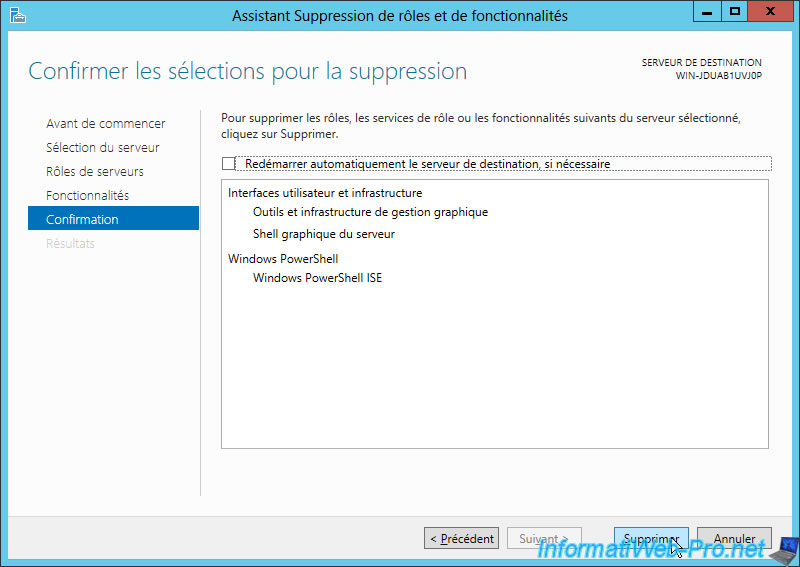
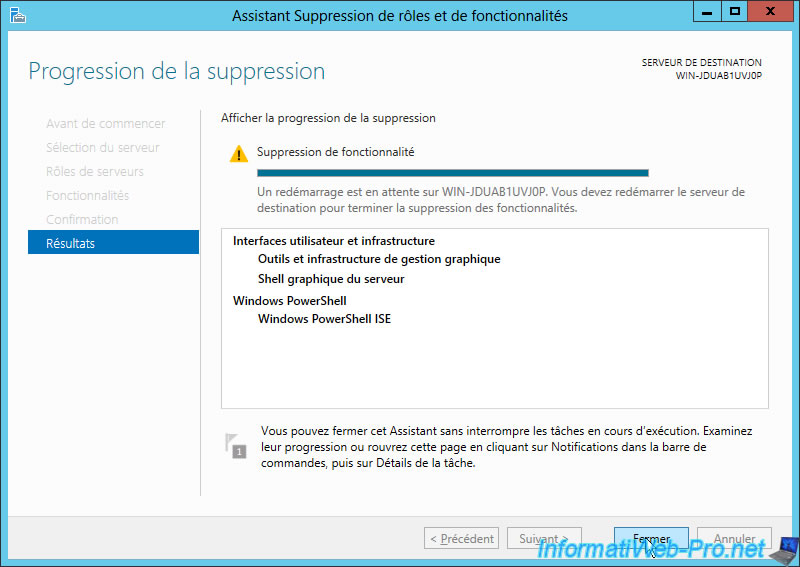
To finish, click Remove.
Windows Server uninstalls its GUI.
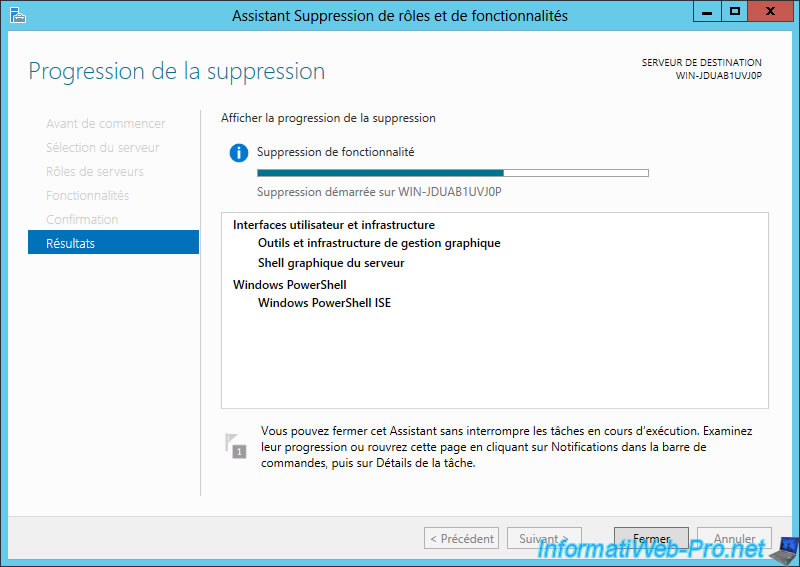
After the uninstallation, you will of course have to restart your server.
Click Close and restart your server.
During the reboot, you will see that Windows reconfigures its features.

Then, the screen will remain gray.
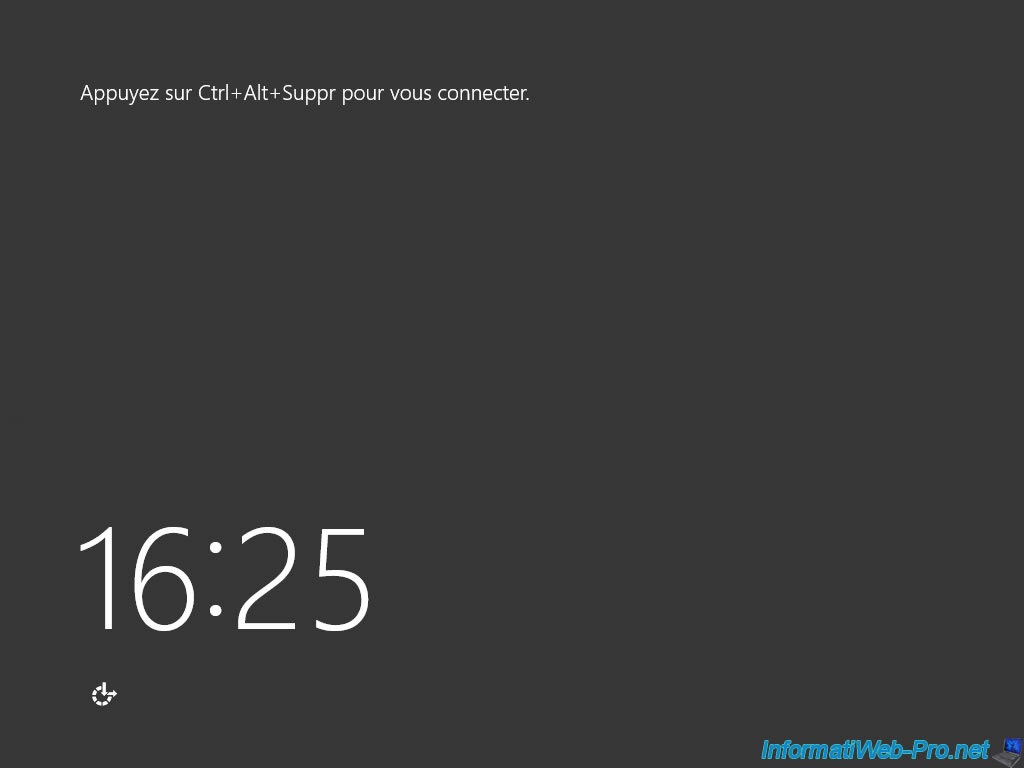
But the avatar of the account will have disappeared.

And you will come back to your command prompt again.

If you want to shut down your server, use this command :
Batch
shutdown /s

5.2. Uninstall the GUI through the PowerShell console
To uninstall the GUI through the PowerShell console, uninstall the features : Server-Gui-Shell and Server-Gui-Mgmt-Infra
To do this, use this PowerShell command :
PowerShell
Remove-WindowsFeature Server-Gui-Shell, Server-Gui-Mgmt-Infra

Then, restart your server using this command :
PowerShell
Restart-Computer

During the reboot, Windows Server will reconfigure its features.

You will arrive on the Windows Server Home screen.
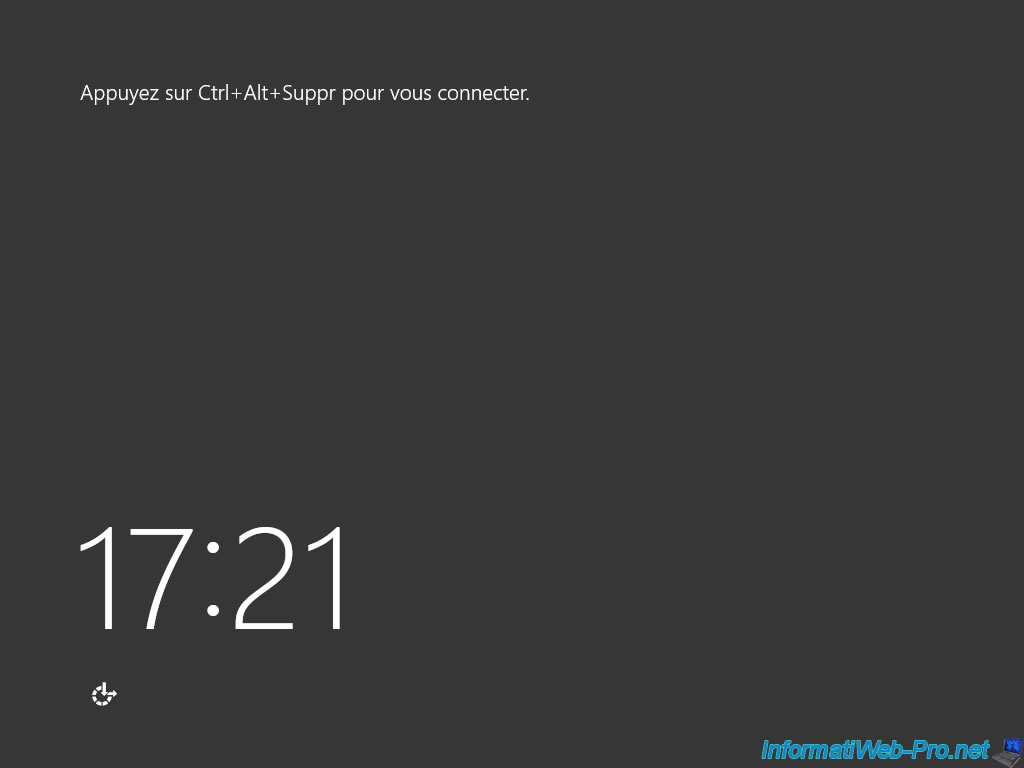
The avatar of the Administrator account will no longer be displayed.

And you'll get the command prompt again.
To shutdown your server, use this command :
Batch
shutdown /s

Share this tutorial
To see also
-
Windows Server 11/16/2018
WS 2012 / 2012 R2 - Manage multiple Core servers remotely
-
Windows Server 11/23/2018
WS 2012 / 2012 R2 - Manage multiple Core servers remotely (Workgroup)
No comment