Sign your DNS zones with DNSSEC on Windows Server 2012 / 2012 R2
- Windows Server
- DNS
- 11 May 2018 at 09:01 UTC
-

- 3/3
8. Sign the DNS zone again
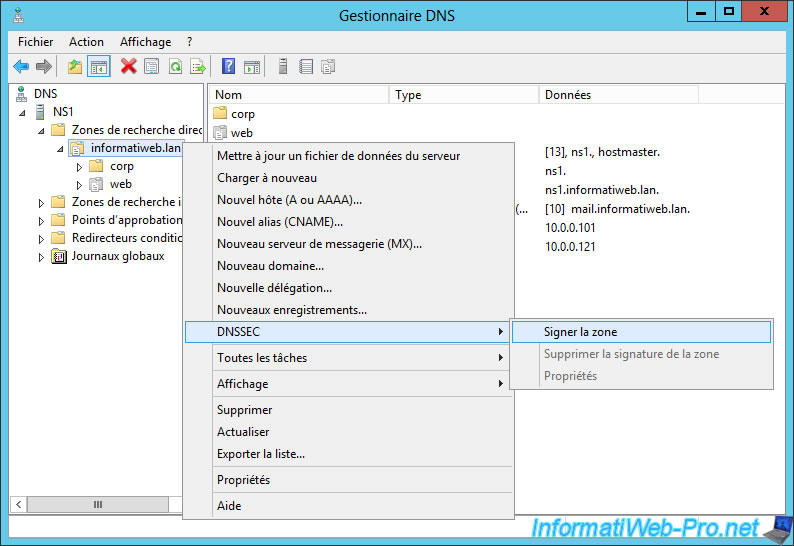
To sign your DNS zone again, right click on it and click on : DNSSEC -> Sign zone.
The Zone Signing Wizard appears.
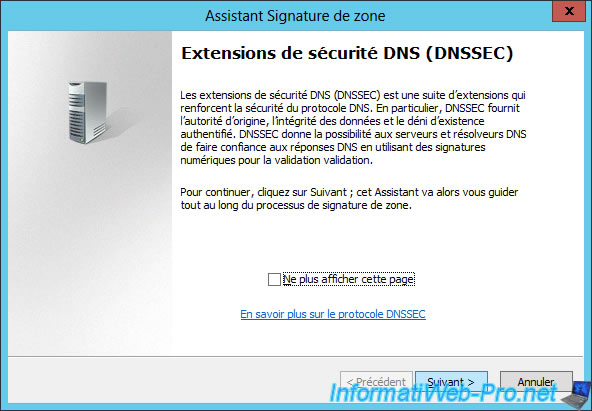
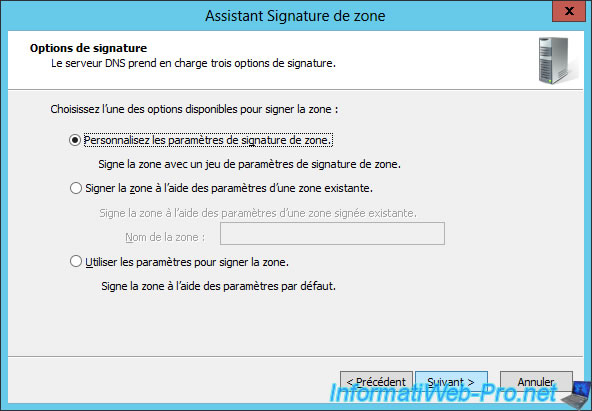
If you want to sign the zone again with the same settings as before, choose "Customize zone signing parameters".
Note : if you use PowerShell, you can also reuse the same settings using the "DoResign" parameter of the "Invoke-DnsServerZoneSign" PowerShell command.
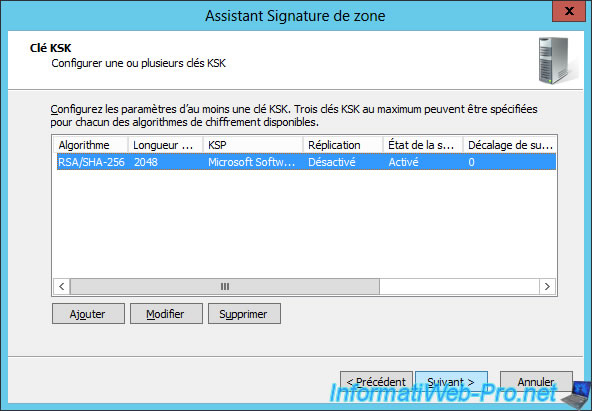
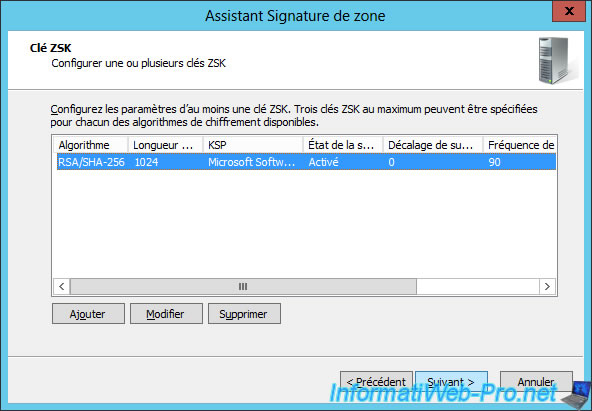
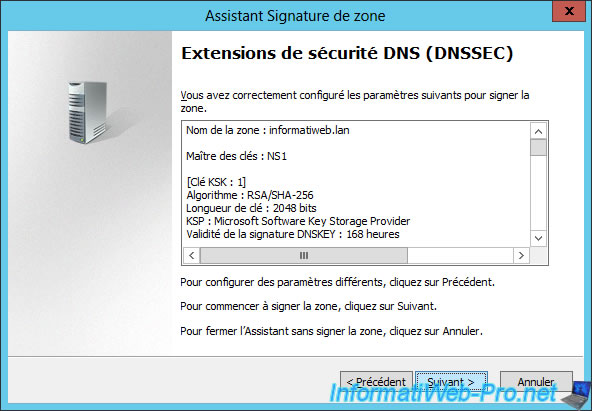
As you can see, the old settings were kept in memory by Windows Server.
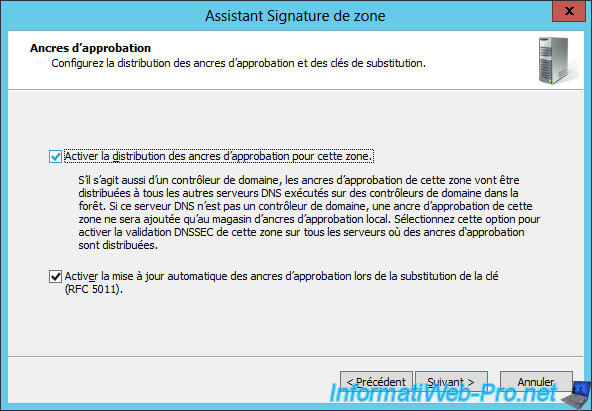
Same for the parameters of the trust anchors.
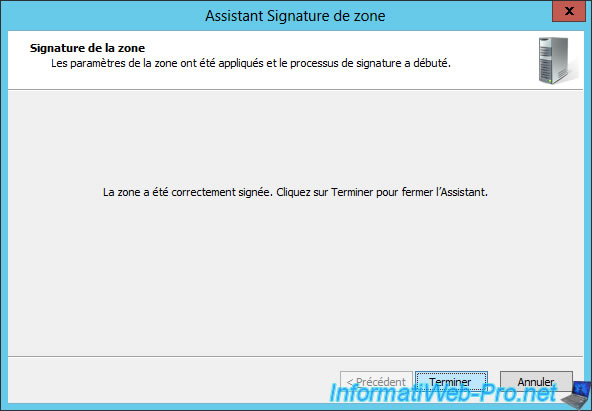
The zone is signed again.
9. Enable WINS lookup for signed DNS zones (not recommended)
On Windows Server 2008 R2, the WINS lookup (forward and reverse) was disabled for signed DNS zones (with DNSSEC).
Source : DNS Servers | Microsoft Docs
But, on Windows Server 2012 and 2012 R2, you will be able to activate it. Although this isn't recommended as it can be a security hole in your DNS infrastructure.
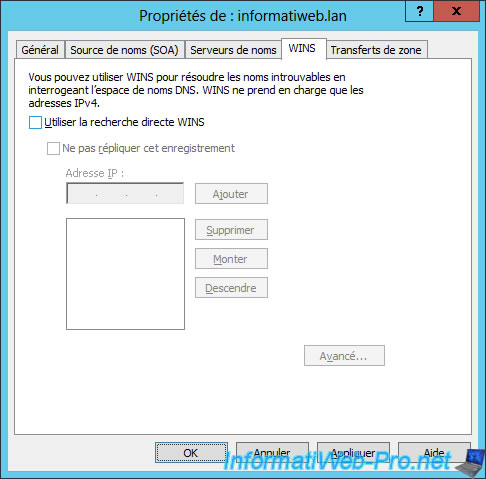
To do this, right-click "Properties" on your direct lookup zone and go to the "WINS" tab.
Then, check the "Use WINS forward lookup" box.
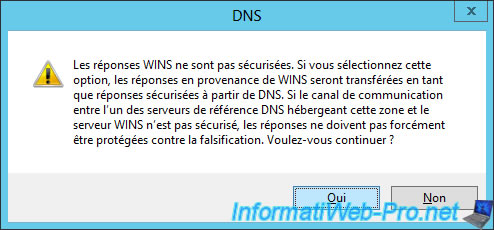
Since your forward lookup zone is signed with DNSSEC and WINS responses are not secure, a warning will be displayed.
Click Yes to ignore this warning.
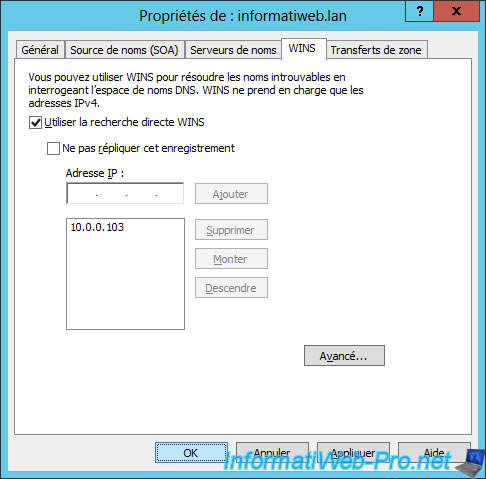
Then, enter the IP address of your WINS server and click Add.
Finally, click OK to close the window.
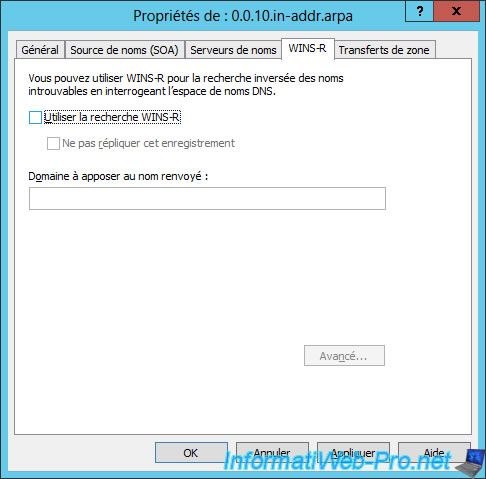
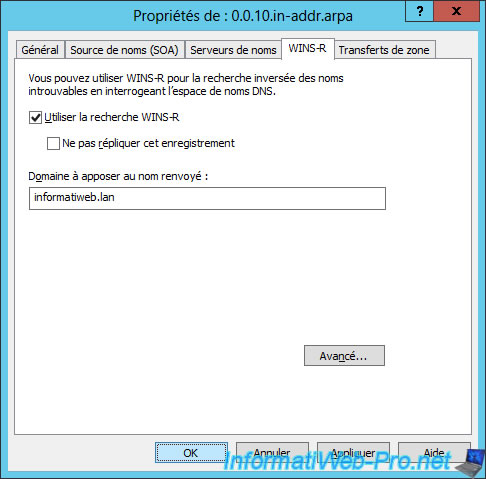
To enable the WINS reverse lookup (or WINS-R), right-click "Properties" on your reverse lookup zone.
Then, check the "Use WINS-R lookup" box.
As before, a warning is displayed because WINSR responses are not secure.
Click Yes again to ignore this warning.
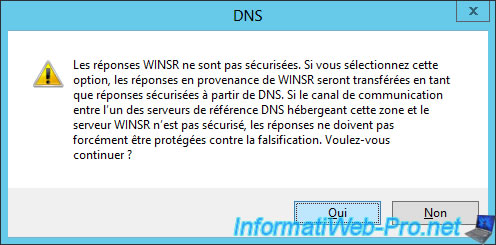
Specify the local domain name that you use in your network and click OK.
Note : this is the suffix that will be added after the NETBIOS name returned by your WINS server.
To test the configuration of your DNS server, use these commands:
1) To know the IP address of a PC of the network (currently on) thanks to its NETBIOS name, use this command :
PowerShell
Resolve-DnsName WIN-8-1-PC -server ns1.informatiweb.lan
Note : "WIN-8-1-PC" is the NETBIOS name of a PC on our network and "ns1.informatiweb.lan" is the domain name pointing to our local DNS server.
2) To know the name of a PC of the network (currently on) thanks to its IP address, use the command :
PowerShell
Resolve-DnsName 10.0.0.10 -server ns1.informatiweb.lan
Note : "10.0.0.10" is the IP address that our "WIN-8-1-PC" computer currently uses.

Share this tutorial
To see also
-
Articles 5/1/2018
Why deploy DNSSEC on your DNS server ?
-
Windows Server 1/15/2013
WS 2008 - Create a DNS server
-
Windows Server 4/15/2018
WS 2012 / 2012 R2 - Create a DNS server and delegate subdomains
-
Windows Server 4/25/2018
WS 2012 / 2012 R2 - Create a secondary DNS server

No comment