Create a virtual desktop infrastructure (pooled virtual desktops) on Windows Server 2012 / 2012 R2 - RDS - VDI
- Windows Server
- 27 December 2019 at 12:53 UTC
-

- 5/6
9. Publish RemoteApps from virtual desktops
In previous tutorials, we explained how to publish RemoteApps using Remote Desktop Services.
However, in this case, the programs ran on a server running Windows Server and not on a classic operating system like Windows 8 Enterprise. This can be a problem with some programs that only work on some versions of Windows or that only work on client versions of Windows.
Note that publishing RemoteApp from a virtual desktop collection will make direct access to the virtual desktop by itself unavailable.
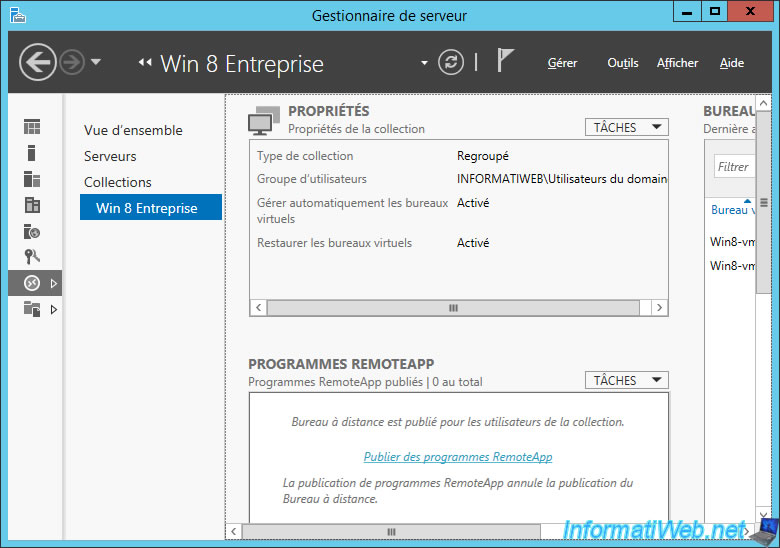
In short, to publish RemoteApp, choose your virtual desktop collection and click on the "Publish RemoteApp programs" link.
WARNING : for legal reasons, you will need to use Volume Licensing (VL) versions whenever possible. Especially for the Microsoft Office suite.
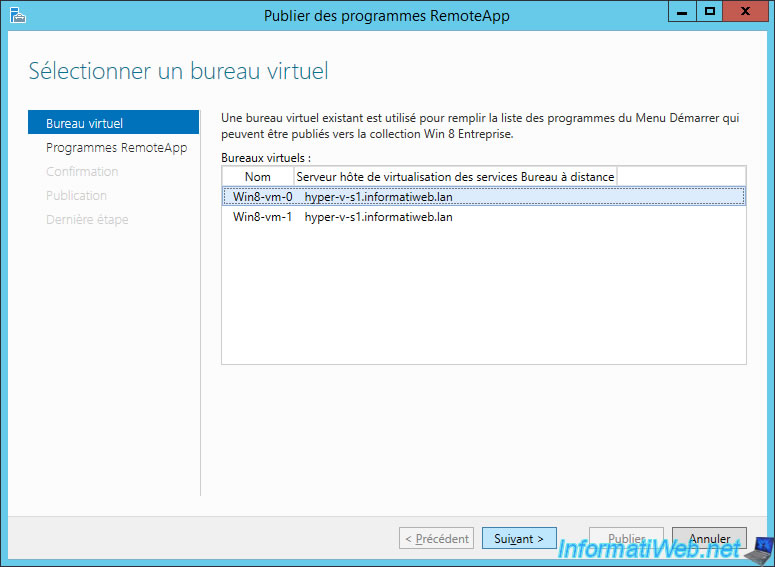
Select a virtual desktop from which you want to retrieve the list of programs you can publish.
Note : this doesn't really matter since all virtual desktops in a collection have the same configuration and programs.
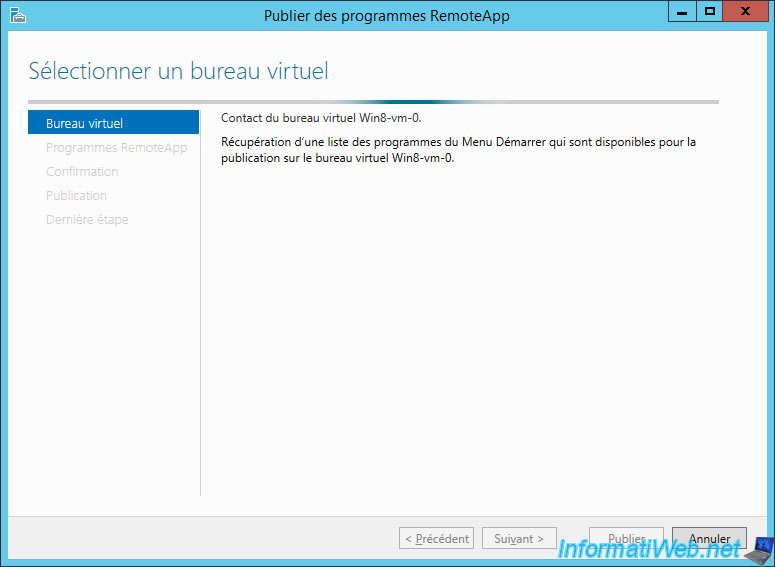
Wait while the wizard retrieves the list of programs.
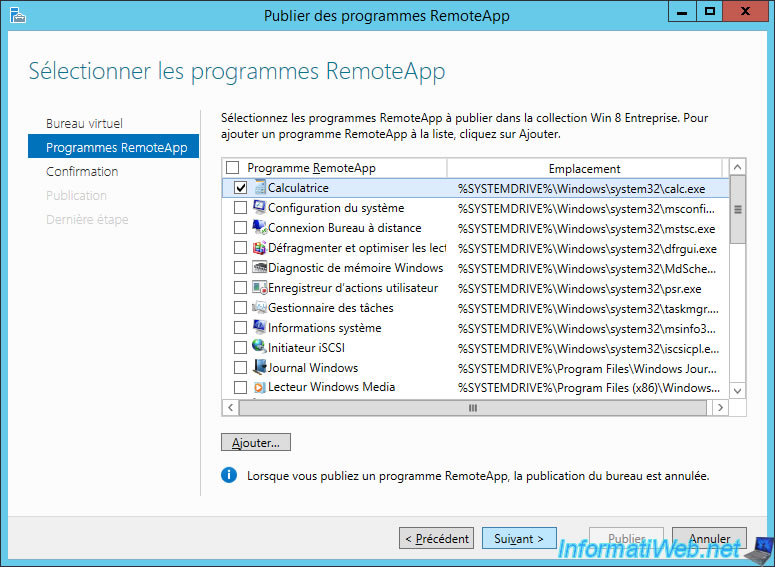
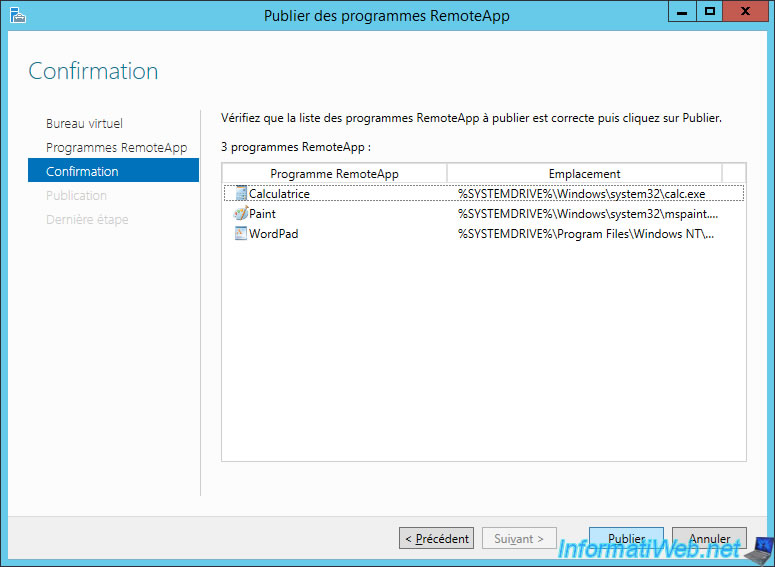
Select the programs to publish.
As in our previous tutorials, we will publish : the calculator, Paint as well as WordPad (which is supplied with Windows).
Click Publish.
Once published, exit the wizard.
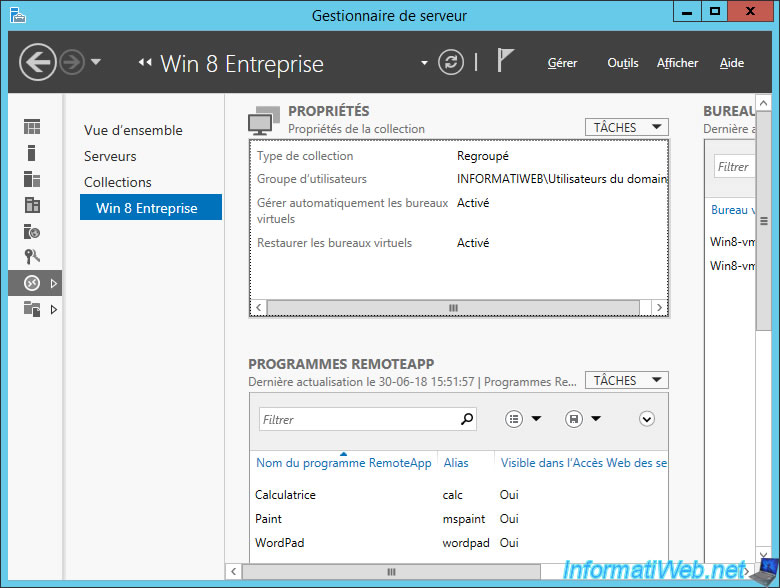
Now, the desired RemoteApp programs appear in your collection.
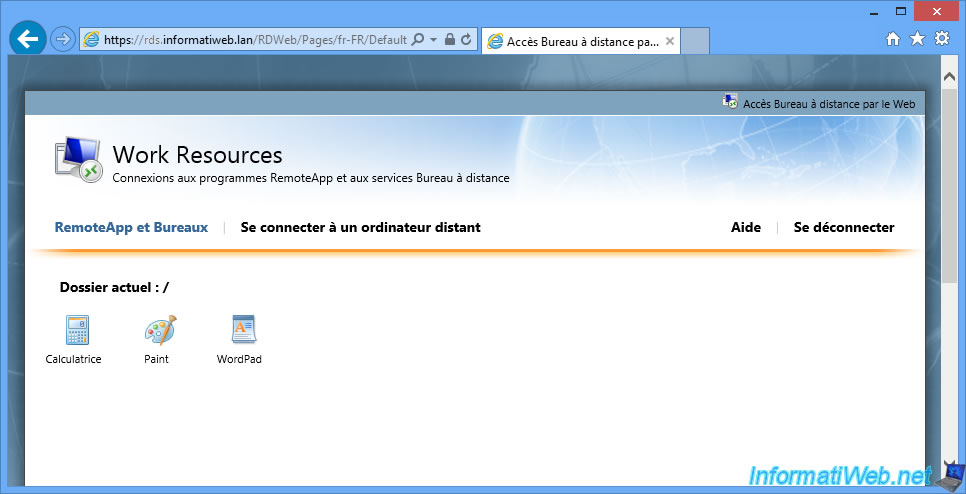
As previously explained, from the moment you publish RemoteApp, the associated virtual desktop will no longer be available remotely.
10. Users data
To understand how users data is stored, create a file on the desktop.
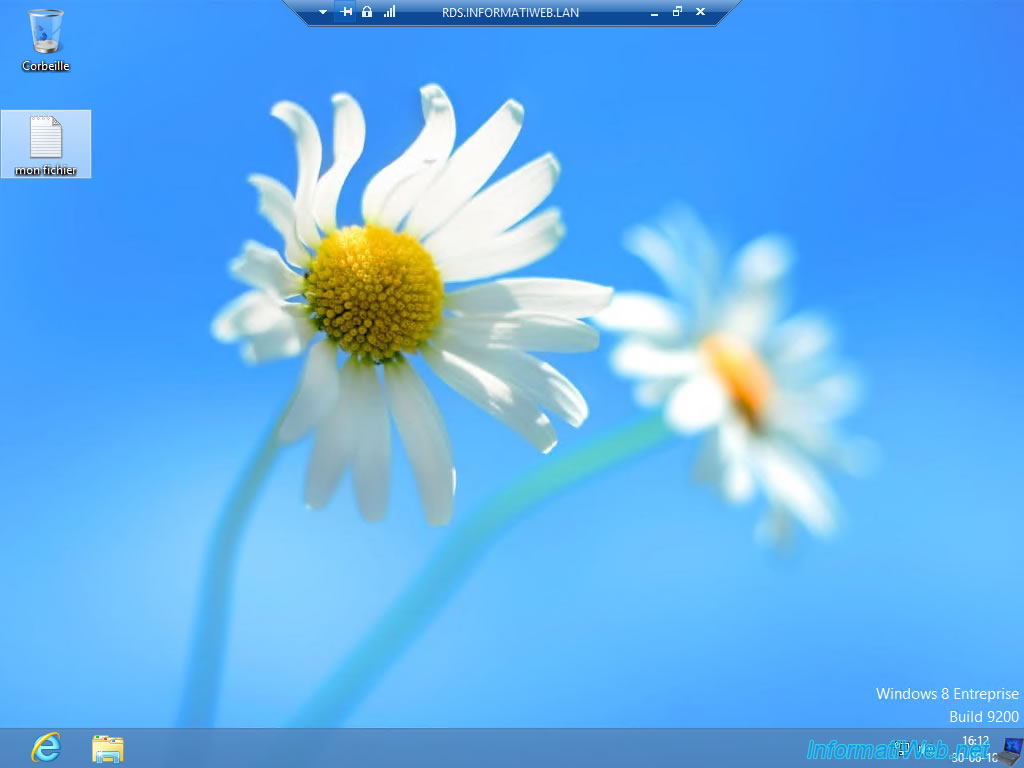
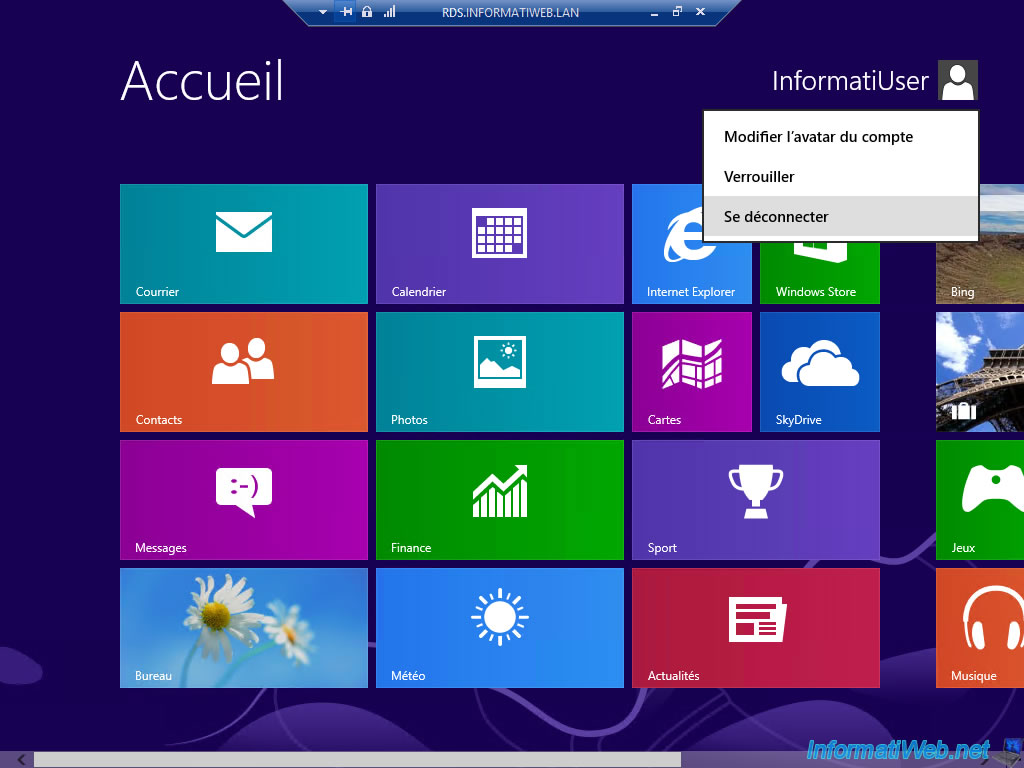
Then, log out from the virtual desktop to save the data to the user profile disk and release it to the server.
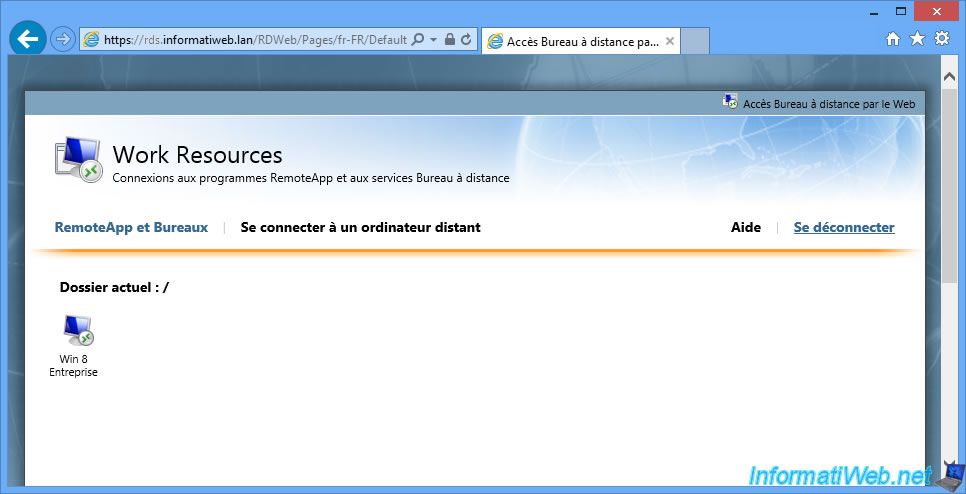
Log out of the web access too.
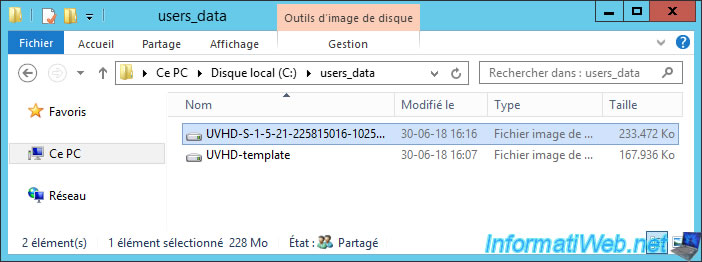
On your server, you will see that VHDX-formatted virtual hard disks appeared in the folder you specified for storing user profile disks.
The "UVHD-template" file will not interest us, but the other one that starts with "UVHD-S" will contain the data saved by your user.
The identifier indicated is simply the SID of the user concerned.
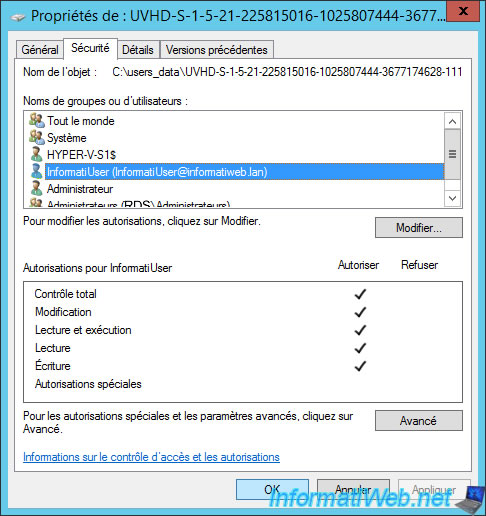
To quickly know which user corresponds to this user profile disk, right-click Properties on it and go to the "Security" tab.
As you can see, our user "InformatiUser (InformatiUser@informatiweb.lan)" is one of the users with NTFS rights on this file.
So, we can deduce that this is his user profile disk.
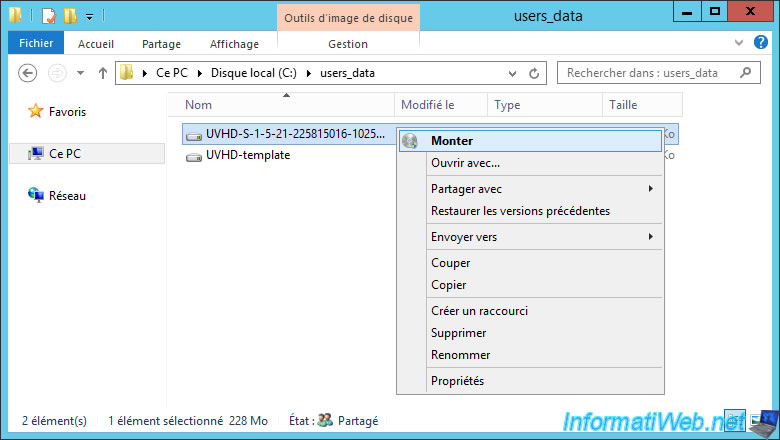
If you have closed the session of this user on the virtual desktop, you can mount his virtual disk on your server.
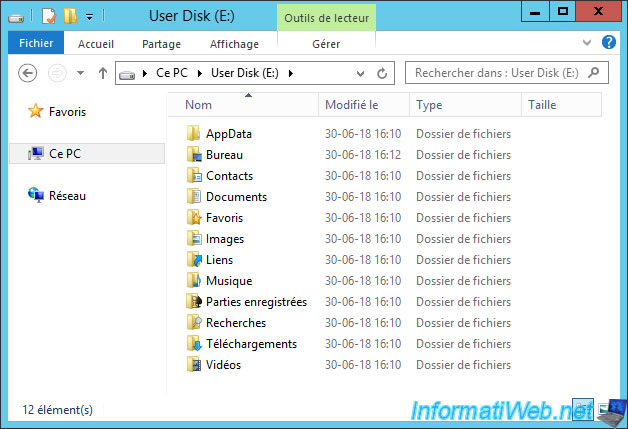
As you can see, this virtual disk contains these folders : Documents, Images, Downloads, ... (which is similar to what you get with roaming profiles).
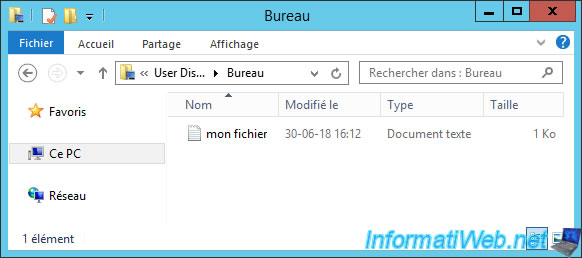
If you enter in the Desktop folder, you will find the file created previously.
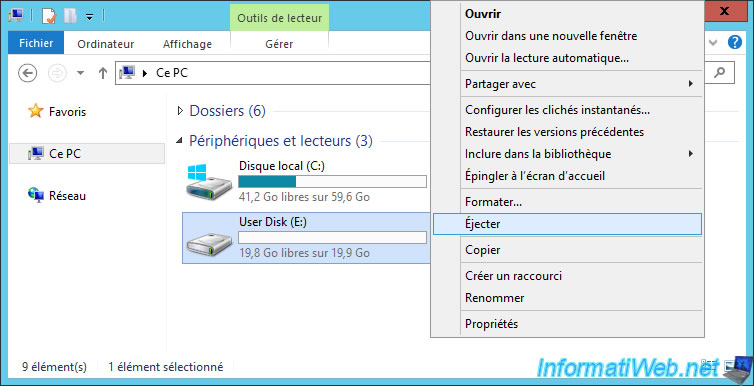
In order for your user to reconnect to the virtual desktop and for the security of your server, be sure to eject the user profile disk from the file explorer.
Note that even if a user finds the network path of the folder that contains the user profile disks, there will be no access.
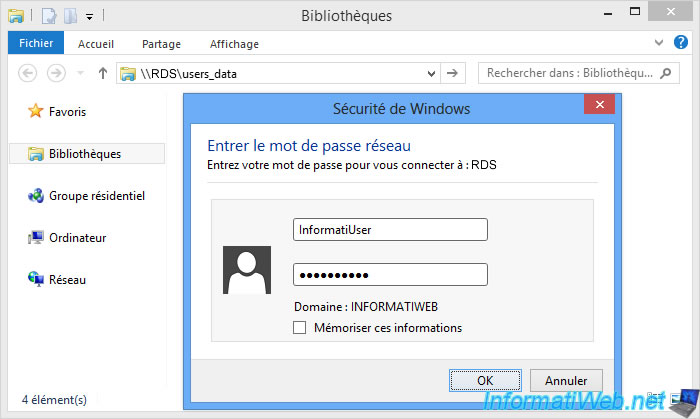
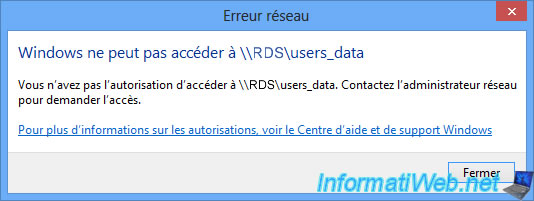
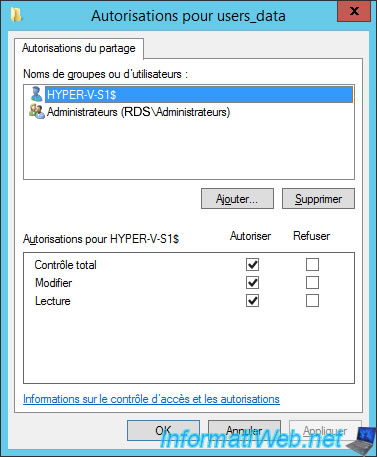
Indeed, only the required "virtualization host" servers and the local administrators of the concerned server have access to it by default.

No comment