Create a virtual desktop infrastructure (personal virtual desktops) on Windows Server 2012 / 2012 R2 - RDS - VDI
- Windows Server
- 03 January 2020 at 09:59 UTC
-

- 2/3

3. Storing user data
You may have noticed that when creating the virtual desktop collection, the wizard did not offer an option to choose a location for the user profile disks.
Since these are personal virtual desktops, data are no longer stored in user profile disks, but directly in the virtual desktop virtual disk that your user uses.
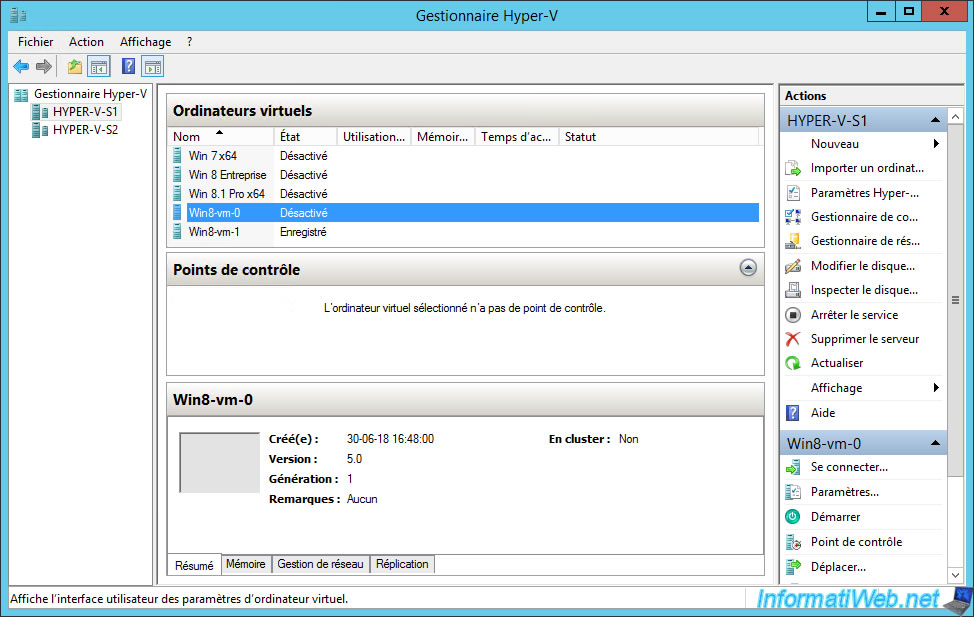
To better understand how this works in the background, go to your Hyper-V server and access the settings of the virtual machine your user previously used.
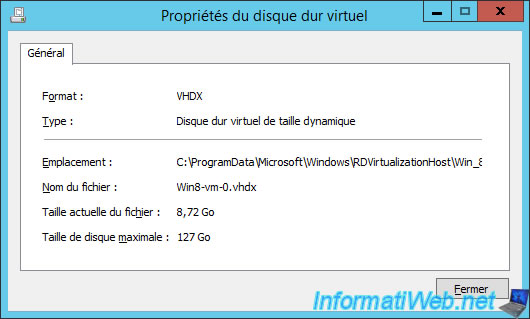
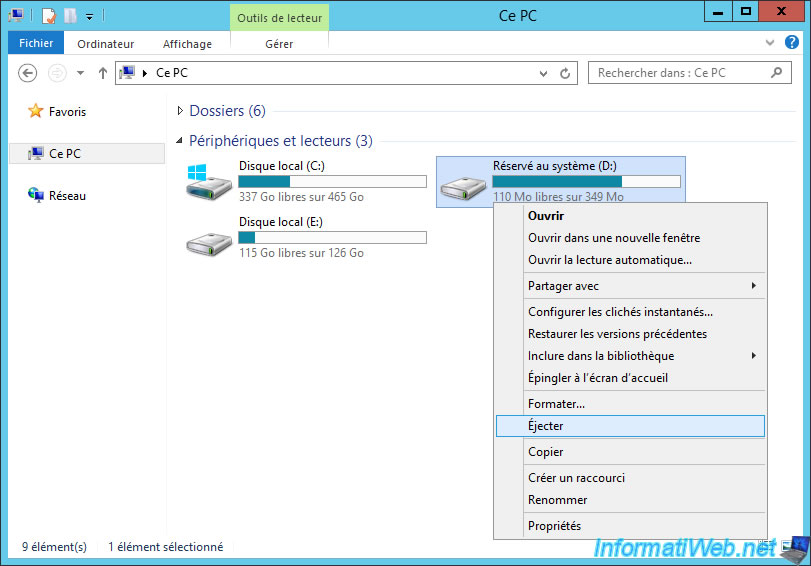
Check the virtual machine hard disk information by clicking Inspect.
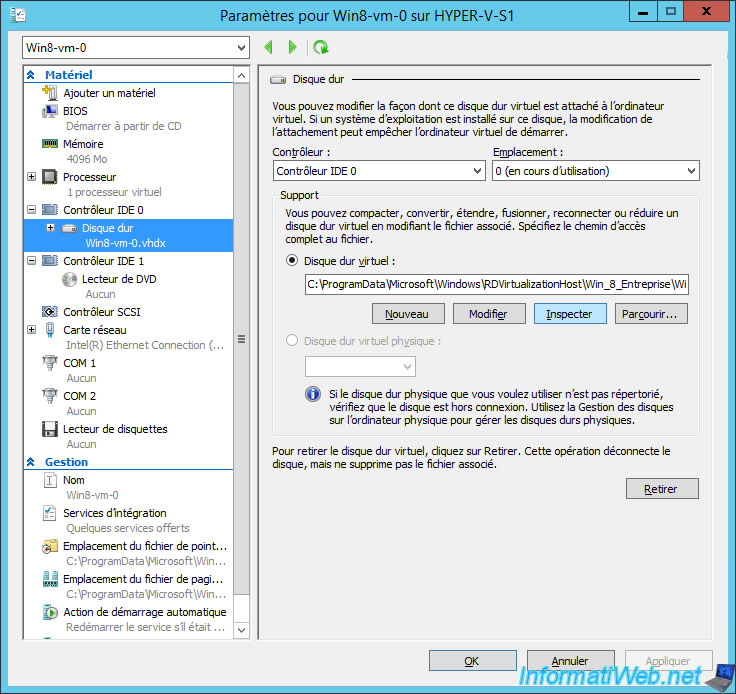
Copy the file path to the folder where the virtual hard disk of this virtual machine is located.
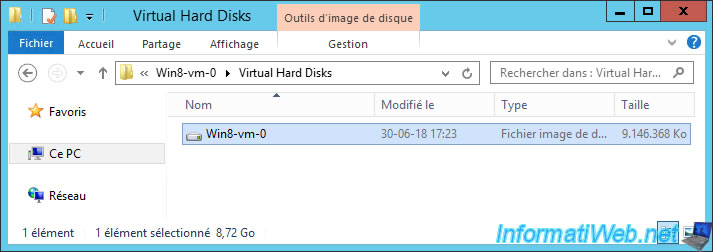
Right-click "Mount" on this one.
As you can see, the data created by your users in the "My documents" (or Documents on Windows 8) folders will be stored in the "C:\Users\[user name]\Documents" folder and not in a "Documents" folder of a user profile disk.
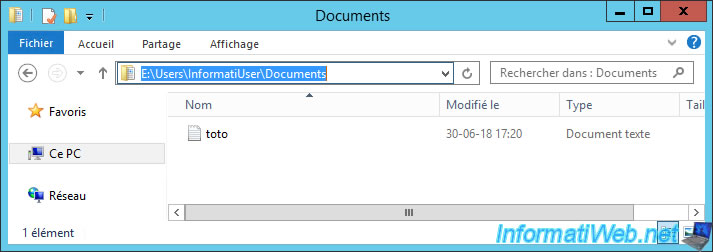
Don't forget to eject the virtual hard disk from the file explorer.
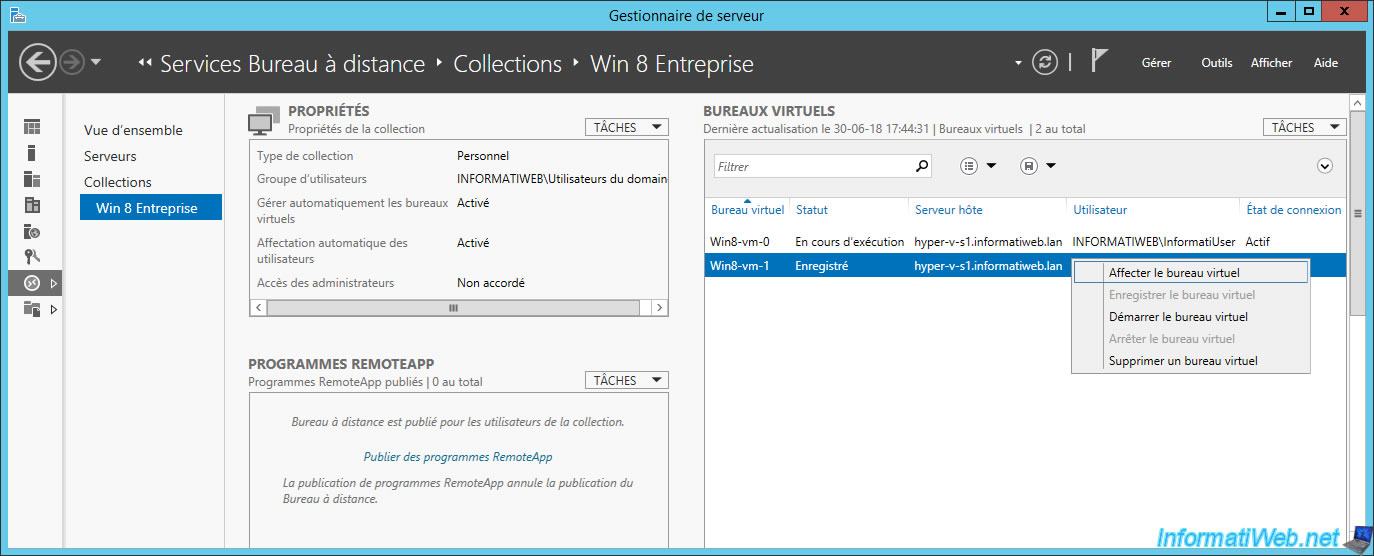
4. Assign a user to a virtual desktop
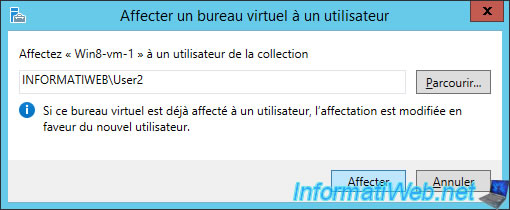
To assign a user to a personal virtual desktop, you can also right-click on a free virtual desktop and click "Assign virtual desktop".
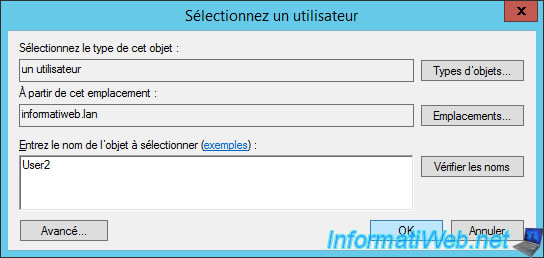
Click Browse to choose the user to assign to this virtual desktop.
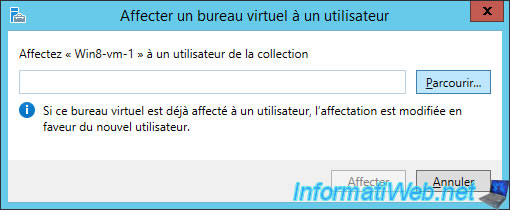
Enter the name of the desired user.
Click Assign.
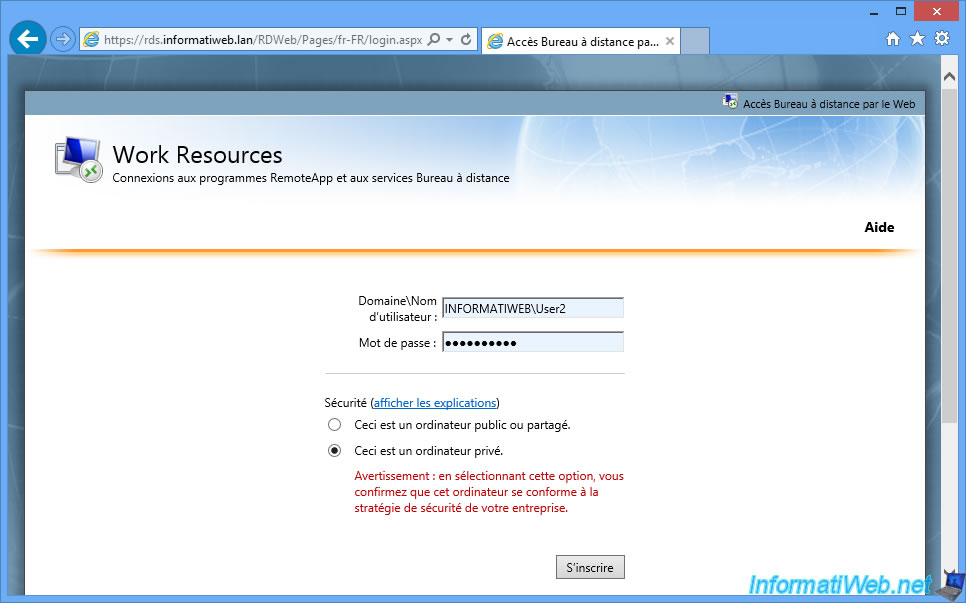
Log in with this user from a client computer.
Launch the displayed virtual desktop.
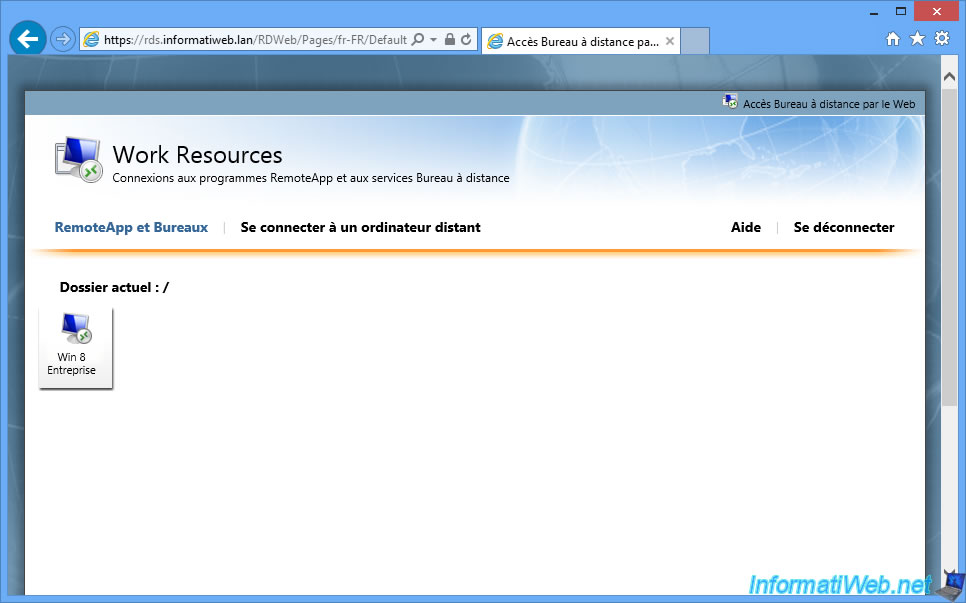
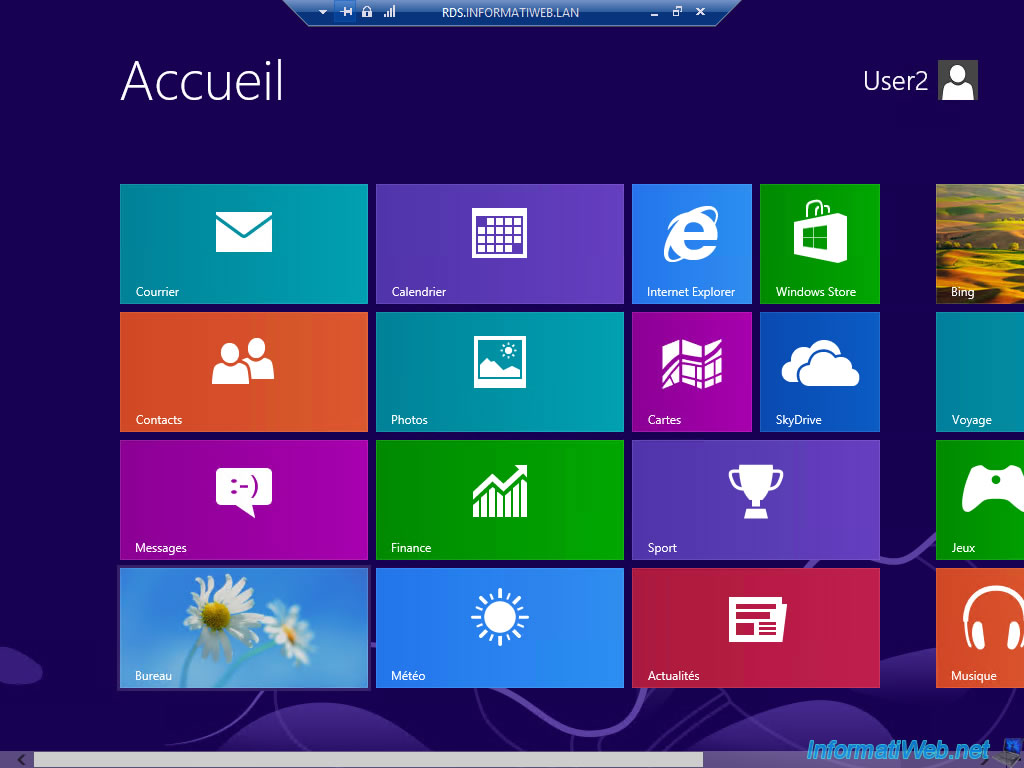
You arrive on your virtual desktop.
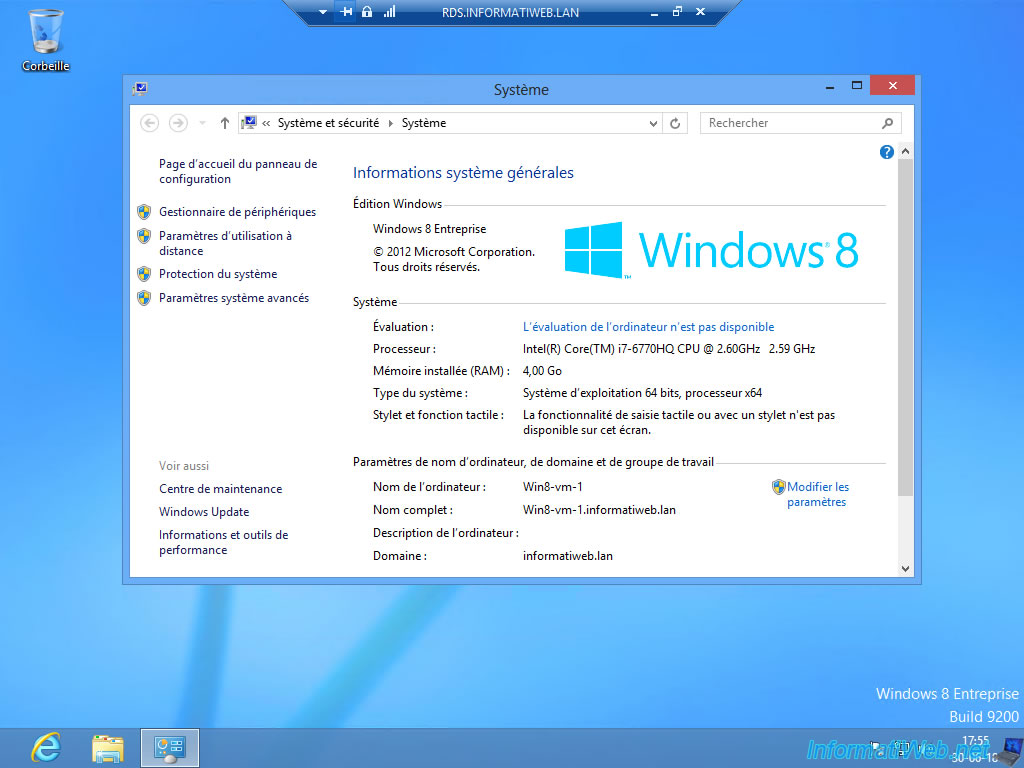
If you check in the Windows system information, you can see that you are on the virtual machine that you assigned this user to.
No comment