Create a virtual desktop infrastructure (personal virtual desktops) on Windows Server 2012 / 2012 R2 - RDS - VDI
- Windows Server
- 03 January 2020 at 09:59 UTC
-

- 3/3
5. Manual assignment
5.1. Disable automatic assignment when creating the collection
Previously, when creating the virtual desktop collection, we enabled automatic user assignment.
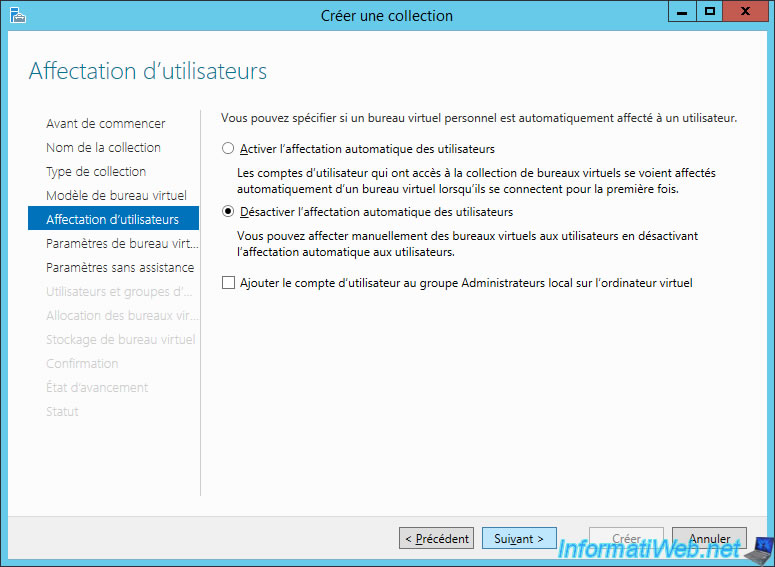
This time, we will recreate this desktop collection by selecting the "Disable automatic user assignment" option.
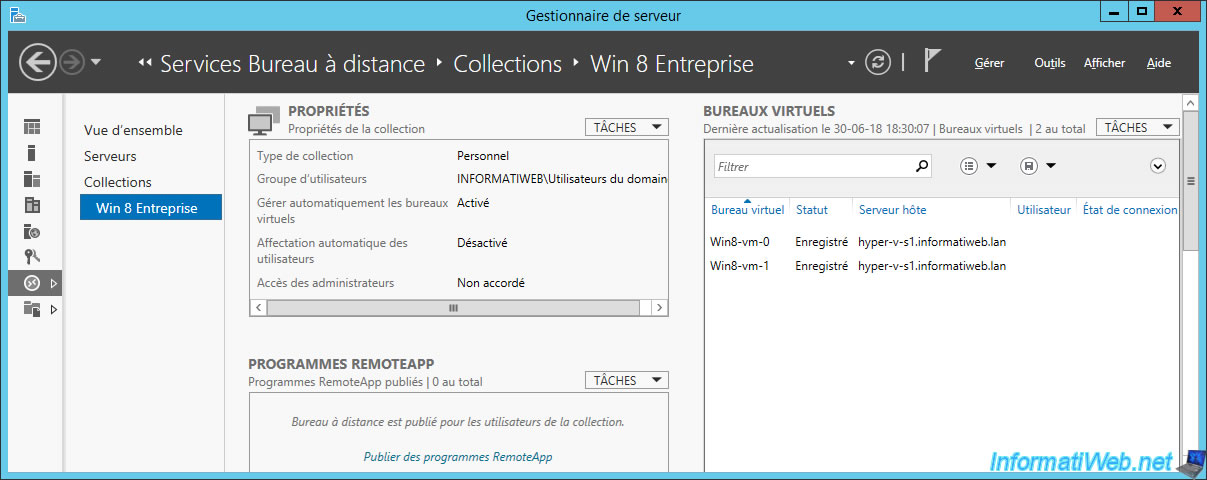
Once the collection is created, you will see that the virtual desktops are not assigned and the automatic user assignment is disabled.
5.2. Virtual desktop test
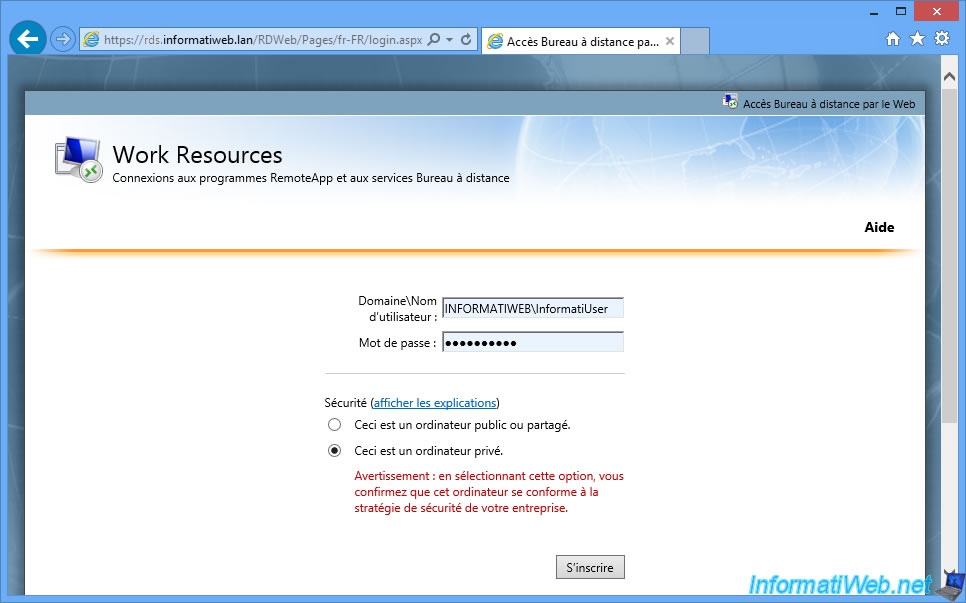
Log in to the web access of your RDS server.
Try to launch your virtual desktop.
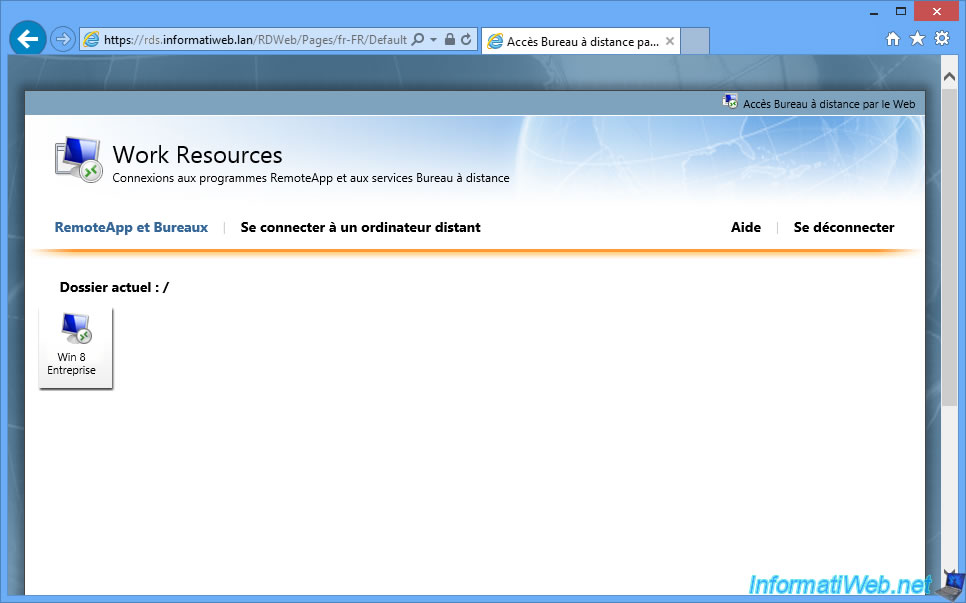
Since our user is not assigned to one of our virtual desktops and the dynamic assignment is disabled, this error is displayed : There is no available computers in the pool.

5.3. Users assignment
To allow users to use your personal virtual desktops, you must assign the desired users to a virtual desktop of the collection.
To do this, right-click on an unused virtual desktop and click on "Assign virtual desktop".
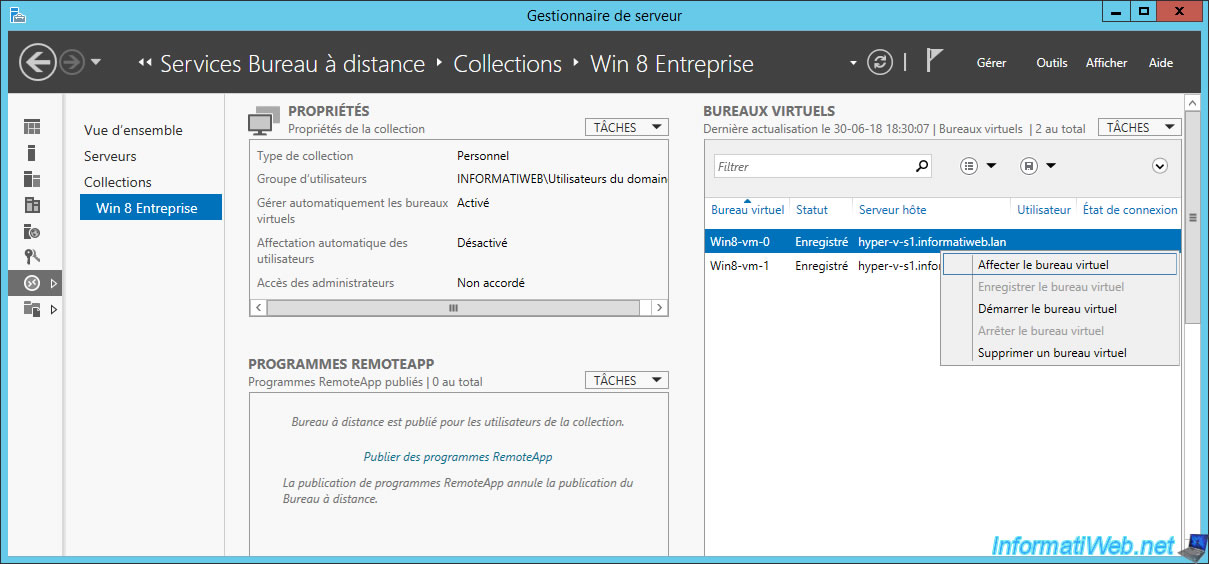
Click Browse.
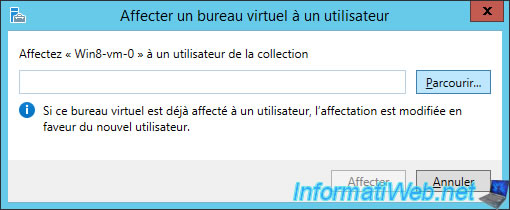
Enter the name of a user and click OK.
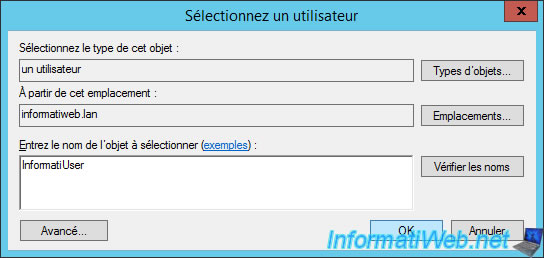
Click Assign.
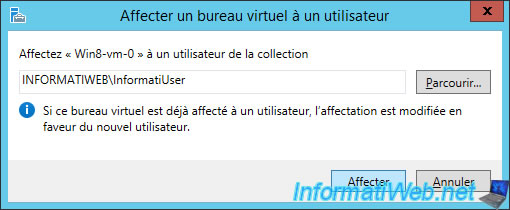
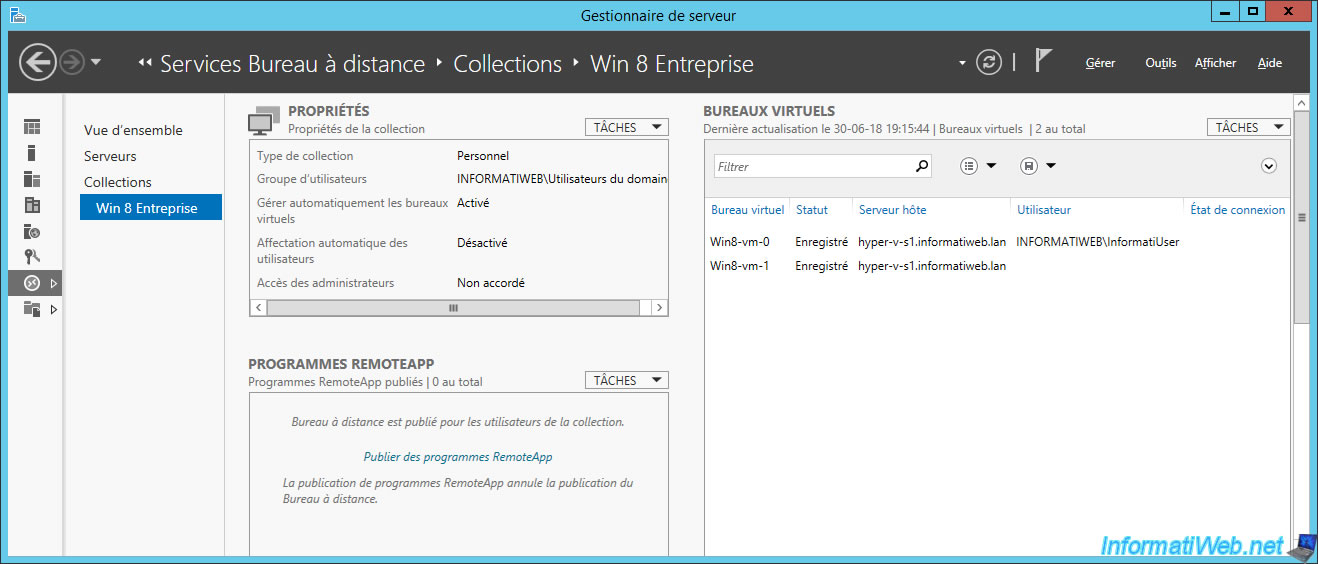
Now, our "Win8-vm-0" virtual desktop is assigned to our "INFORMATIWEB\InformatiUser" user.
5.4. Connection to the virtual desktop
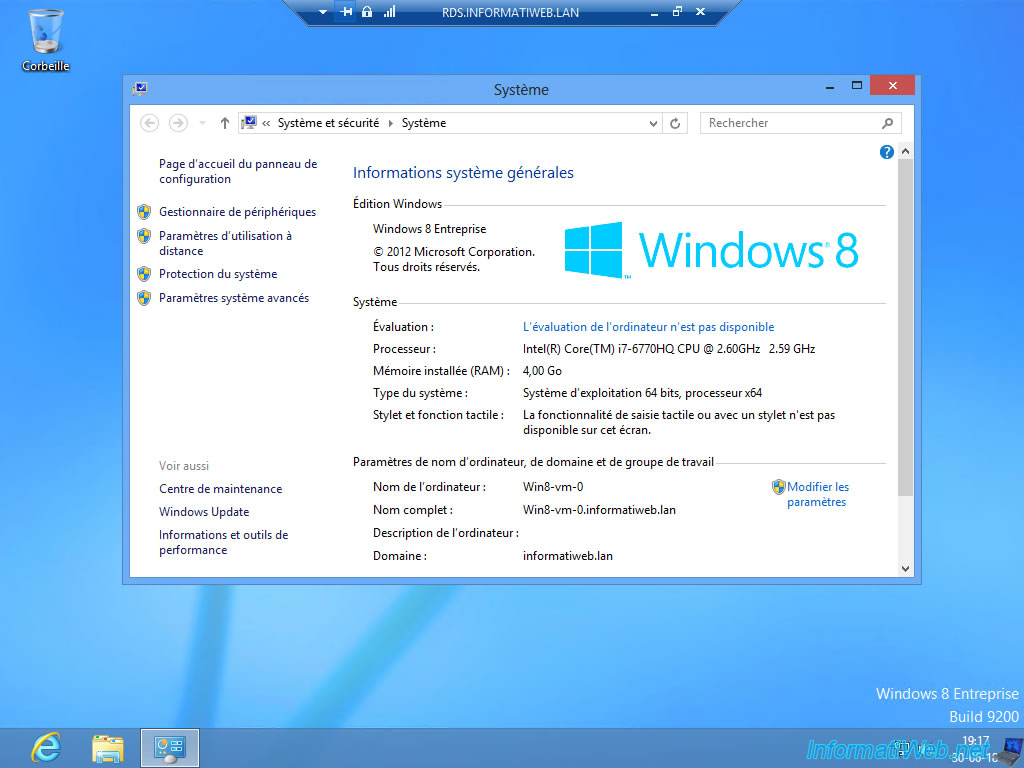
This user is able to launch this virtual desktop.
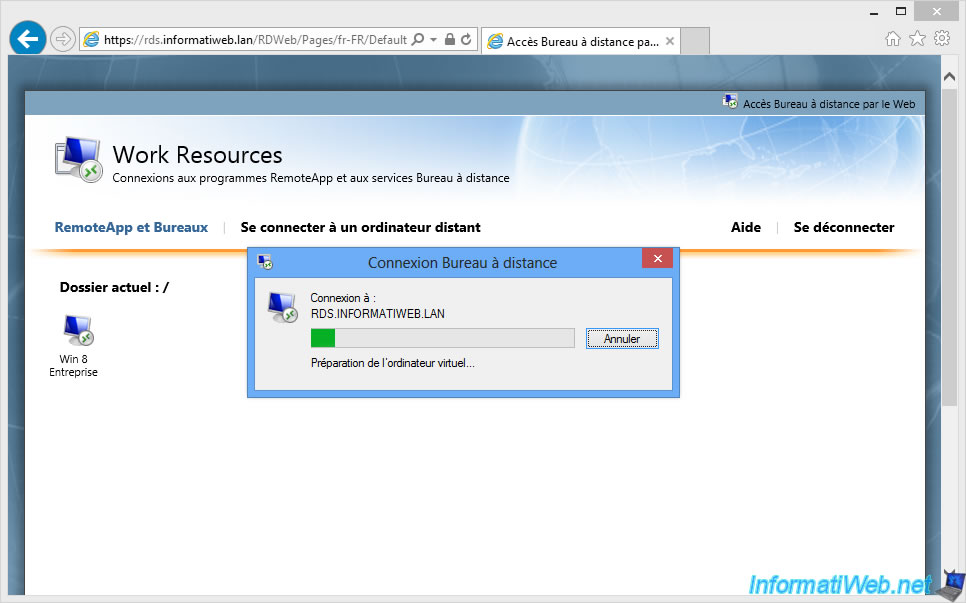
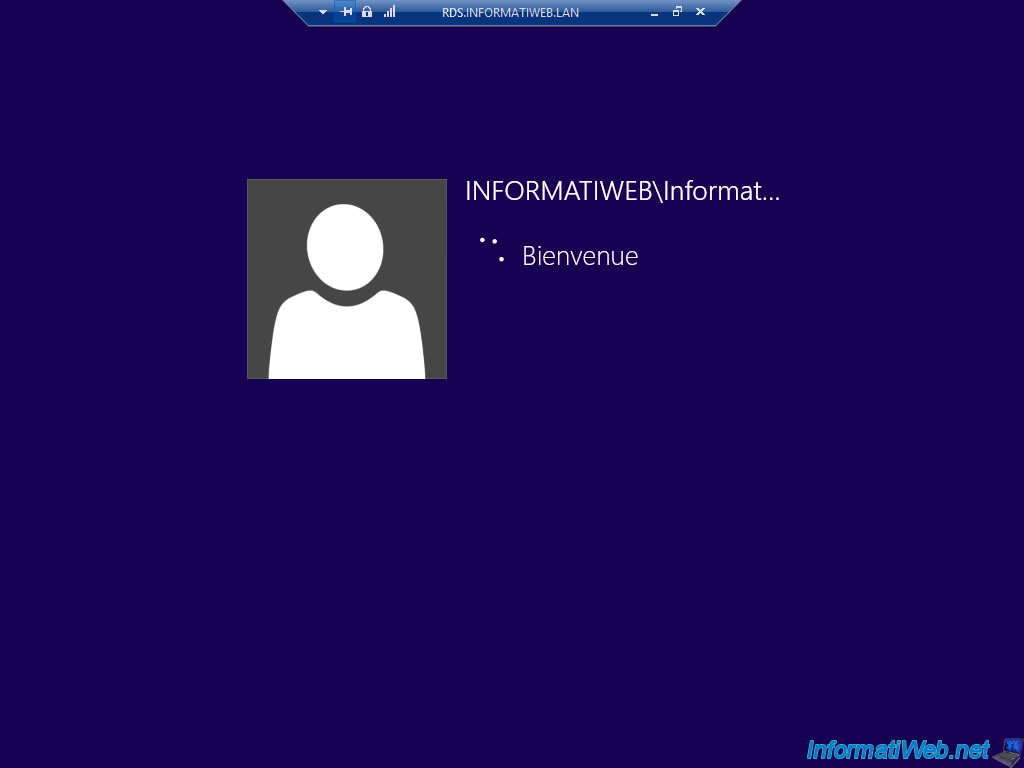
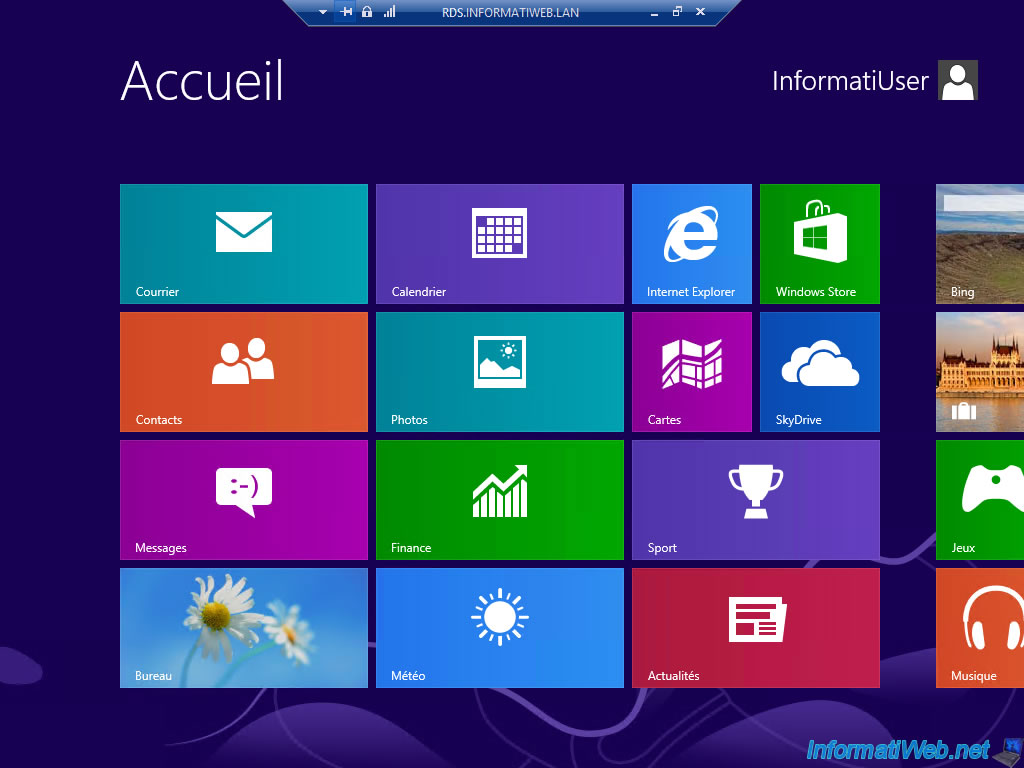
As expected, our InformatiUser user arrives on our "Win8-vm-0" virtual desktop.
5.5. Delete a personal virtual desktop collection
Unlike deleting a collection of "pooled virtual desktop" where deletion also deletes the associated resources (including affected virtual machines on your Hyper-V server), this is not the case for personal virtual desktops.
To begin, delete the personal virtual desktops collection from your RDS server.
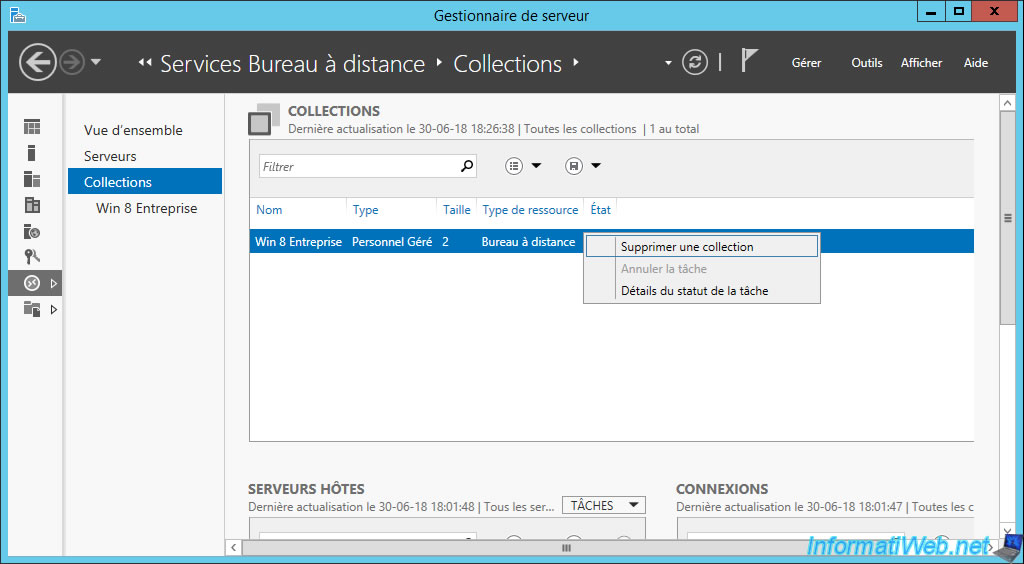
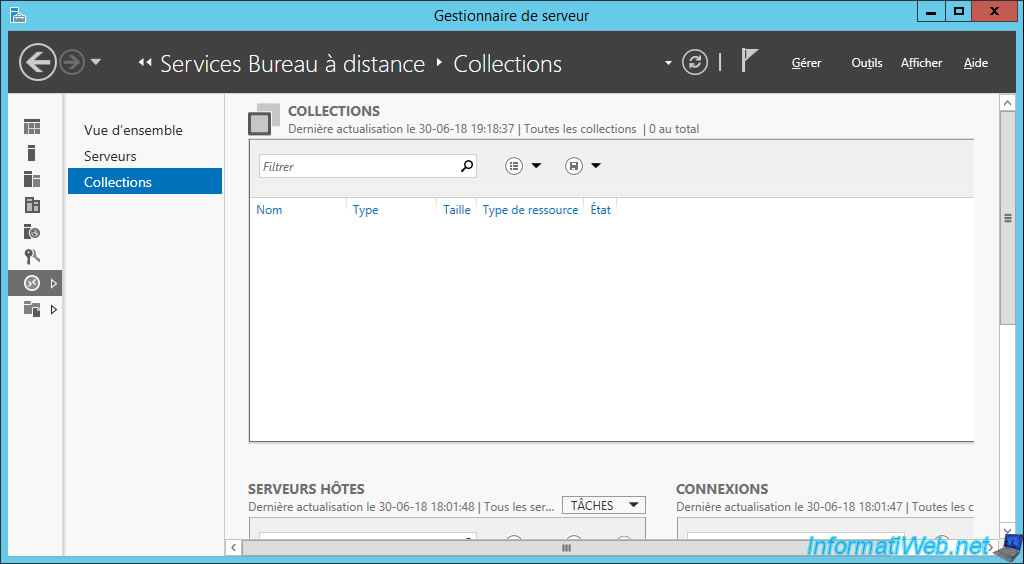
As you can see, the collection disappears from the RDS server.
However, associated virtual machines will not be deleted or stopped on the Hyper-V server for this collection.
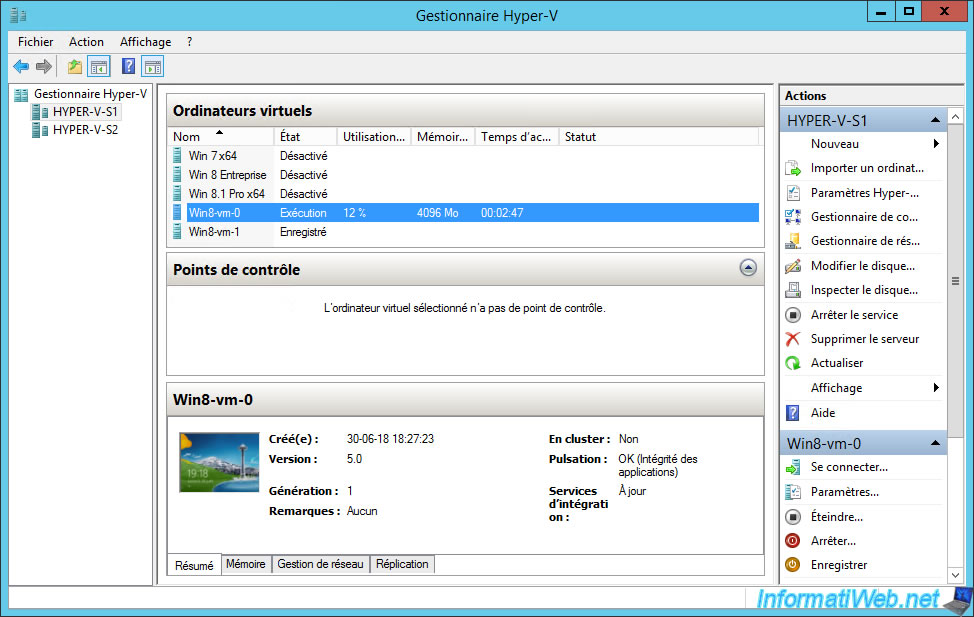
After you are assured that users have successfully backed up their data outside of these virtual desktops, stop them and delete them from the Hyper-V Manager.
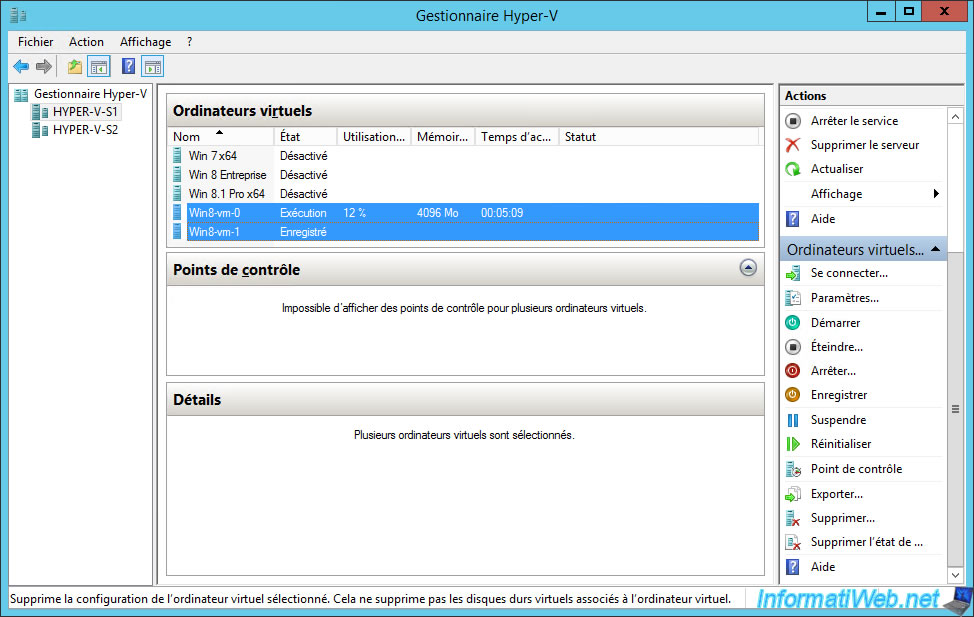
Since removing a virtual machine from the Hyper-V Manager never removes the files associated with it (such as virtual hard disks), be sure to delete these files manually.
By default, if you have stored the virtual desktops locally, these files will be located in a subfolder of this folder : C:\ProgramData\Microsoft\Windows\RDVirtualizationHost
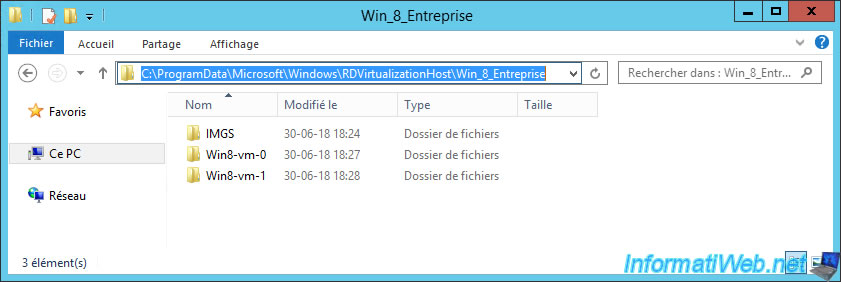
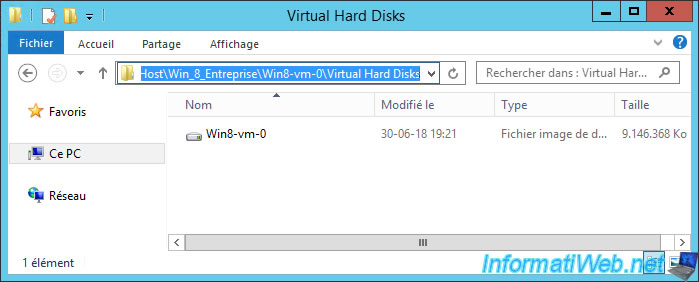
By deleting these folders, you will also delete associated virtual hard disks that are in a "Virtual Hard Disk" subfolder.
On your Active Directory server, you will have to manually delete the corresponding computer accounts.
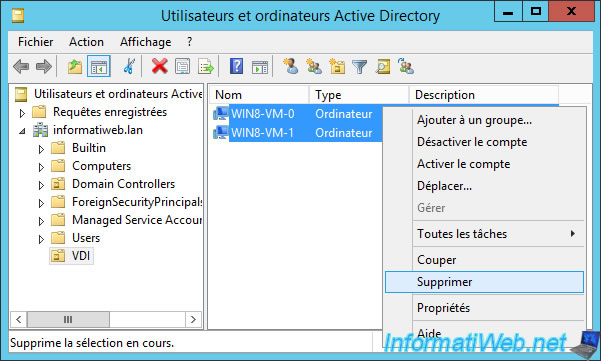
Confirm the deletion of these objects.
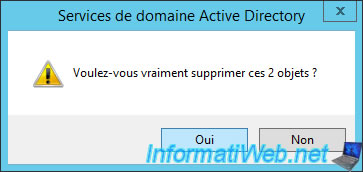
As well as the removal of objects that depend on it. To do this, check the "Use delete subtree server control" box and click "Yes for all".


No comment