Improve the performance of your iSCSI server with MPIO (Multipath I/O) on Windows Server 2012 / 2012 R2
- Windows Server
- iSCSI
- 28 June 2019 at 11:01 UTC
-

- 2/2
5. Installation and activation of MPIO for iSCSI
To install the MPIO feature, it's easy.
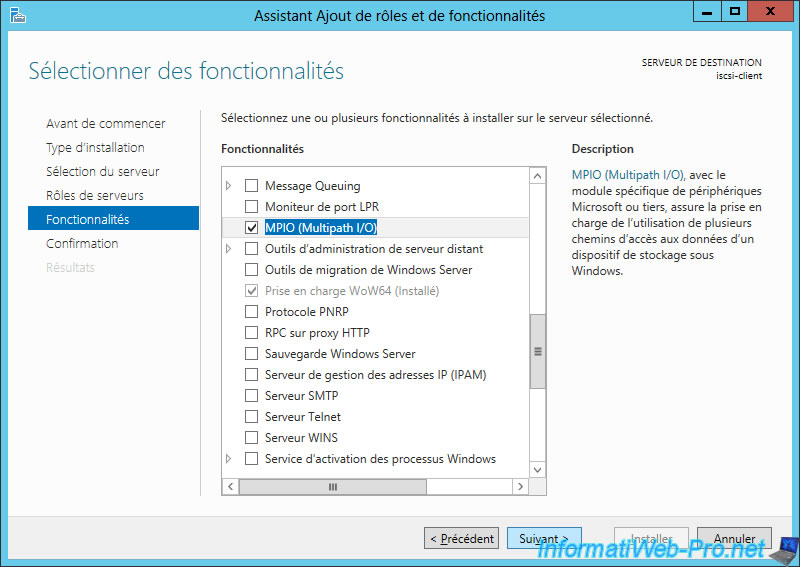
Just launch the Add Roles and Features Wizard on the client PC and install the "Multipath I/O" feature.
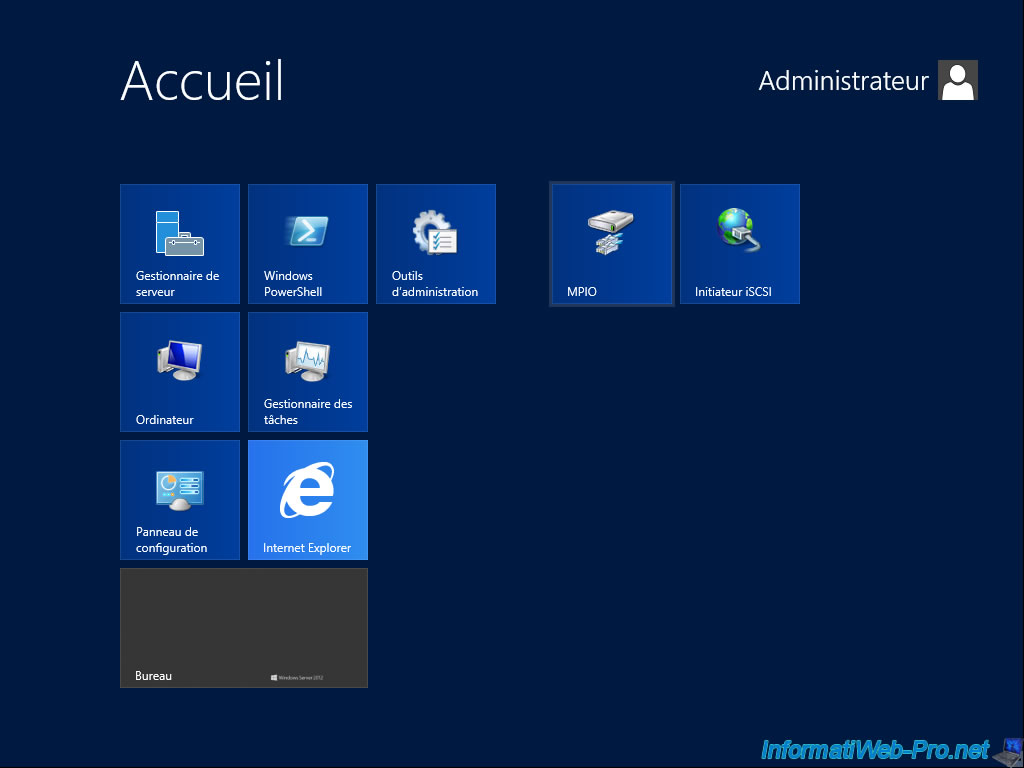
Then, start the MPIO program.
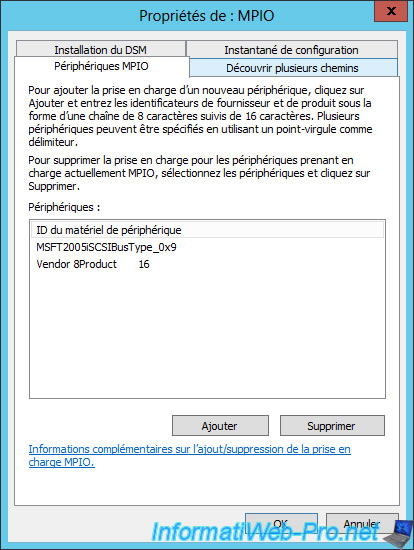
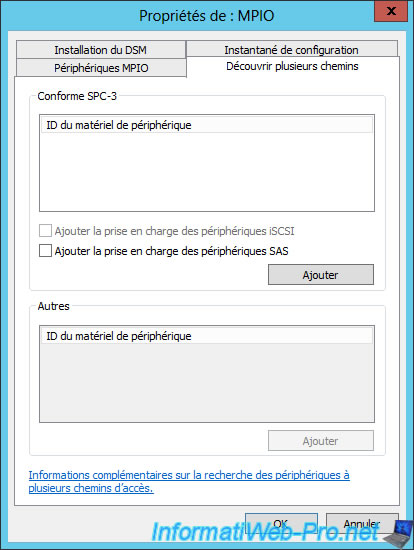
Go to the "Discover Multi-Paths" tab.
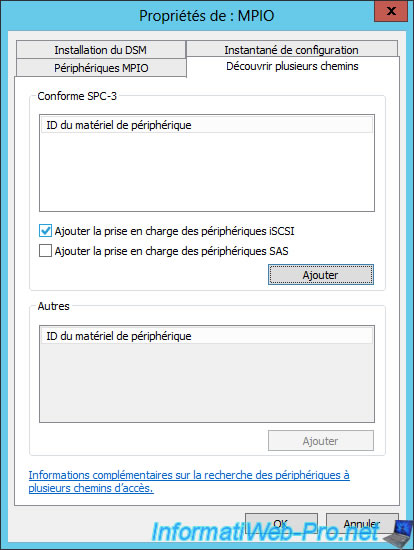
Since we have already connected to our iSCSI server, the "Add support for iSCSI devices" box will be available.
Indeed, in the opposite case, this box would be grayed out.
Check the box next to "Add support for iSCSI devices" and click "Add".
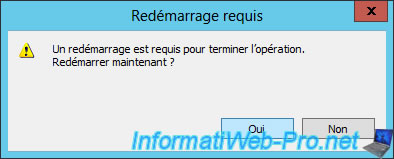
The message "A reboot is required to complete the operation. Restart Now?" is displayed.
Click Yes.
After rebooting, you will see that the box is now grayed out.
This is normal, because iSCSI support has already been enabled.
6. MPIO options for iSCSI
Now that MPIO is installed, enabled, and iSCSI support is enabled as well, you will be able to access MPIO options for iSCSI.
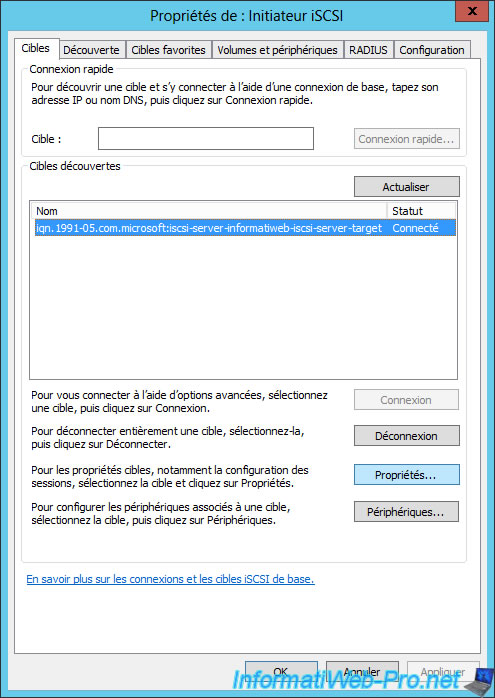
To do this, return to the "Targets" tab of the iSCSI initiator.
Then, click on "Properties".
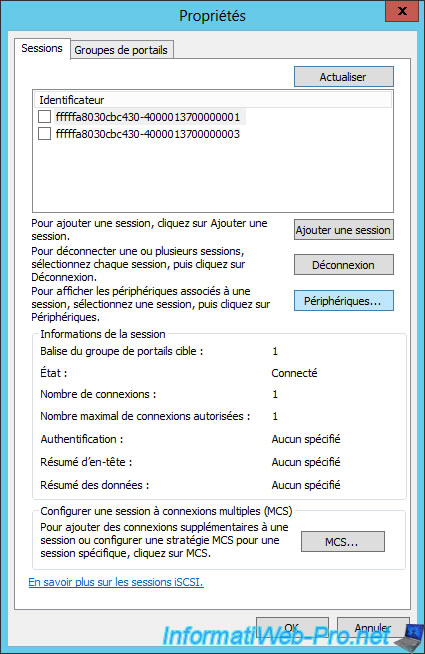
Click on "Devices".
Click MPIO.
Note : when the MPIO is not installed, this button is grayed out.
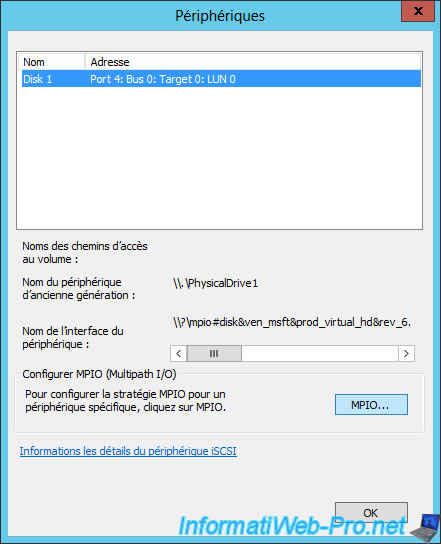
By default, you will see that the MPIO load balance policy is "Round Robin" and both paths are currently active.
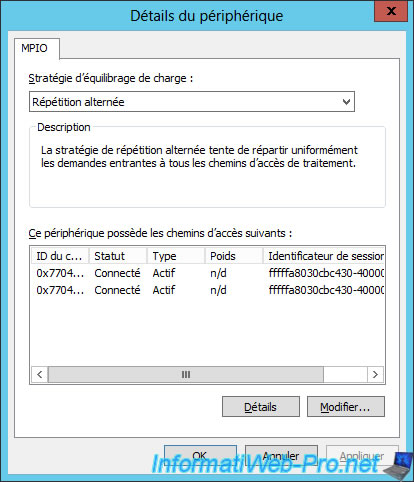
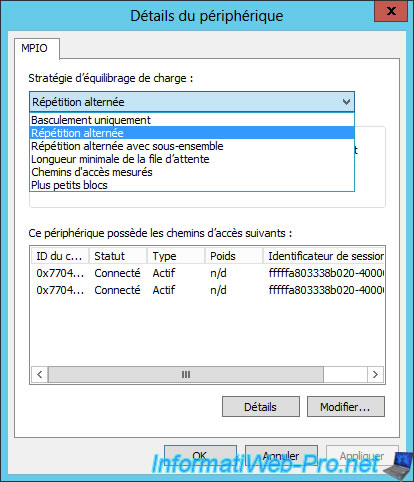
For the load balance policy, you will have the choice between :
- Failover : fault tolerance (or active/passive)
- Round Robin : network load distribution (active / active)
- Round Robin With Subset : network load distribution on paths defined as active (select a path and click "Edit" to change its type : Active / Pending)
- Least Queue Depth : load distribution to compensate for non-uniform loads
- Weighted Paths : allows to distribute the load on the different paths with a system of weight (configurable per path by clicking on the "Edit" button)
- Least Blocks : allows data to be transferred to the path with the least number of I/O blocks pending
7. iSCSI disk access test
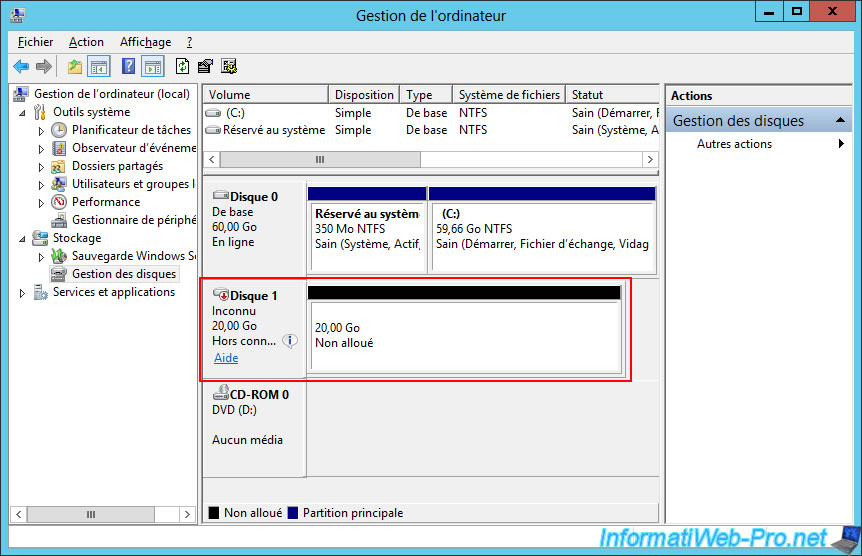
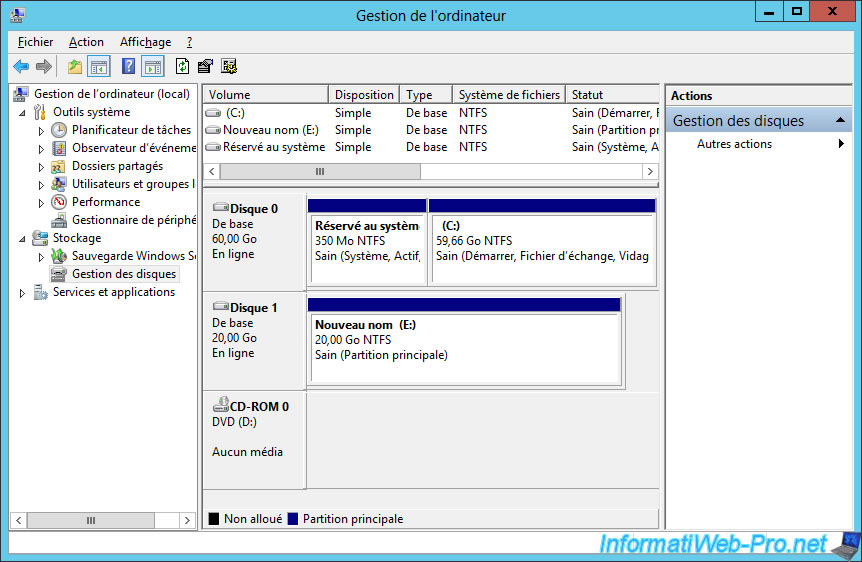
To use the iSCSI disk, first open the "Computer Management" console on the client PC.
Then, you will find a new disk.
By default, you will have to put it online, initialize it and finally partition it to store data.
Note : if you see several times the same disk (iSCSI), it's probably that you have not installed MPIO or that the support of iSCSI has not been activated in the properties of the MPIO program.
Then, this new disk will be usable.
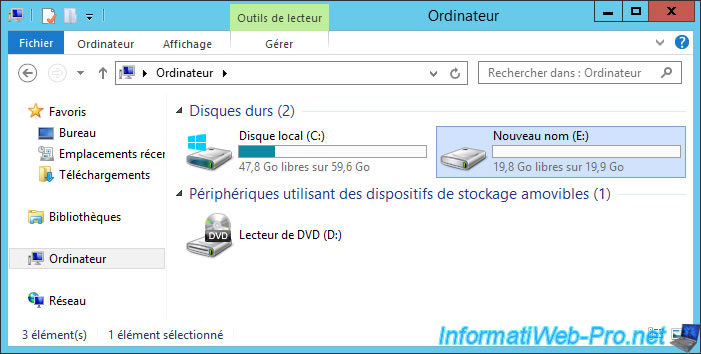
As expected, the partition appears in the workstation of the client PC.
Share this tutorial
To see also
-
Windows Server 4/29/2017
WS 2012 - Install an iSCSI server and an iSCSI client
-
Windows Server 5/7/2017
WS 2012 - Replicate data iSCSI data with StarWind Virtual SAN

No comment