Install and configure Windows Deployment Services (WDS) on Windows Server 2008
- Windows Server
- WDS
- 11 August 2012 at 16:11 UTC
-

- 5/5
5. Deployment by PXE
First, be aware that the default OS installed by WDS are members of the domain in which the WDS server is located.
Next, configure the computer to install, to boot over the network (PXE). Then don't forget to press F12 to boot from the network.

Select "Install a Windows 32-bit (x86)" or "Install a Windows 64-bit (x64)" following the architecture of Windows to install.

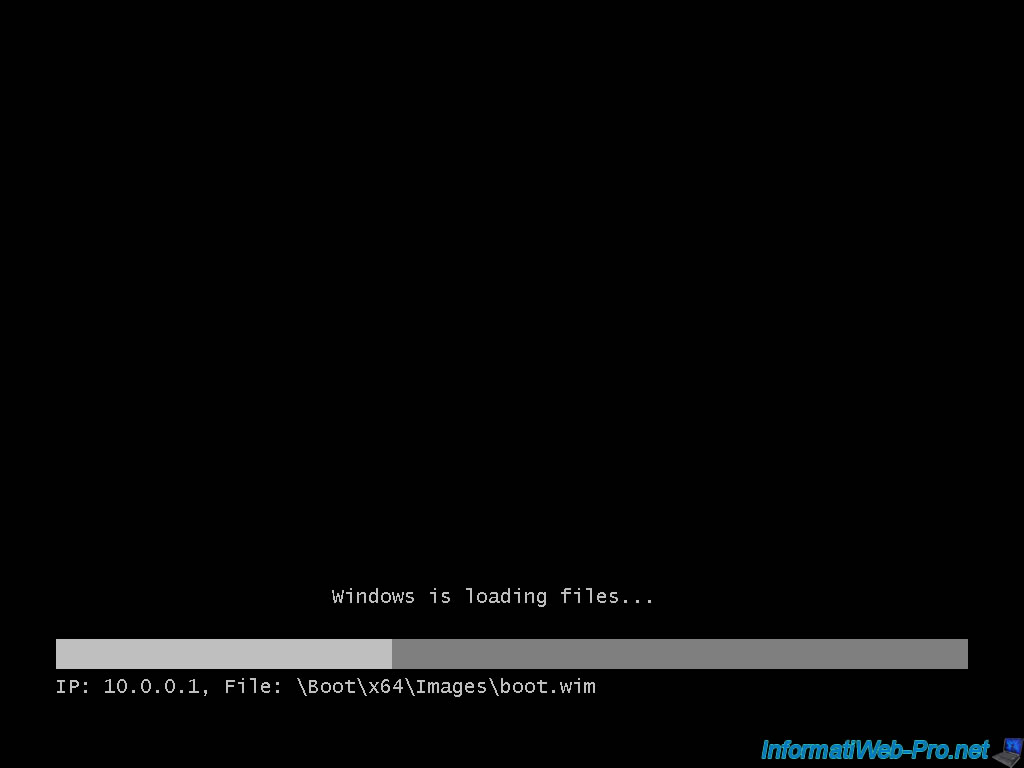
If you select "Install a Windows 32-bit (x86)", the file will load the boot.wim file located in the "x86" folder on the WDS server

Otherwise, it will load that the file of the "x64" folder. The 64-bit architecture is supported by 64-bit processors but allows for better performance. As against the 32-bit can be installed with a 32 or 64 bits CPU.

Select the language of your keyboard and click "Next".

Enter the username / password of the "Administrator" server account in the format shown : Domain\User .

Select the Windows installation that you want. Be careful to choose the edition you have purchased if you want to activate it later otherwise Windows will be in trial version until it expires.
If you choose "Install Windows 64 Bit (x64)", the wizard runs in 64 bits and can install 32-Bit (x86) and 64 Bit. Otherwise you will only see the Windows 32-bit (x86) appear.
The line "Install a Windows 32-bit (x32)" allows reality to support 32-bit computers that can not run 64-bit code.

Partitioning the hard drive if you wish. In this tutorial, we will install Windows without partitioning before. The wizard will then create a single partition on any hard disk + 1 system partition of a few hundred mega for some Windows (Windows Vista / 7 / ...).

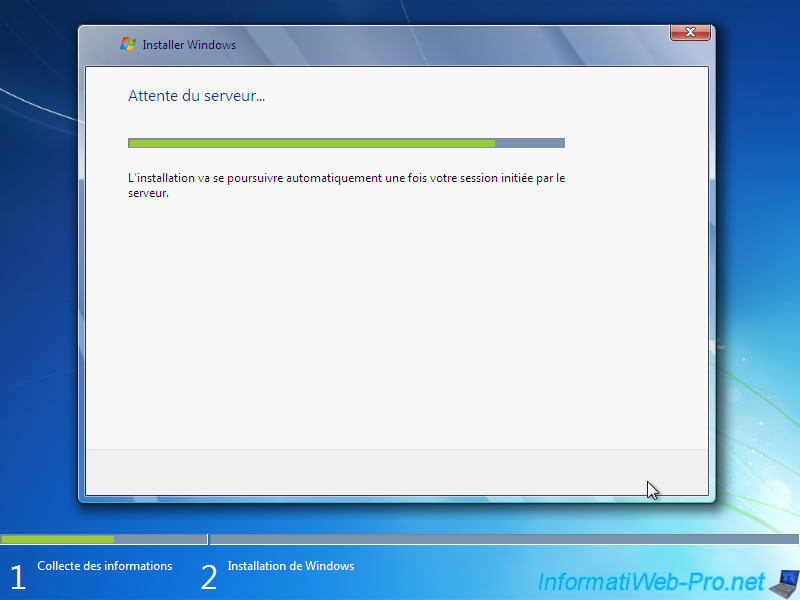
The wizard will now receive the necessary installation files to install Windows.

Whatever Windows to install, the installation wizard will always look the same because it's based on the boot.wim selected in the server configuration file. Since we selected the file of Windows 7, the appearance will always be that installing Windows 7 but the Windows install that will select the one by the wizard.

Once installed by the wizard completes, the computer will restart once on this wizard then the second time on the hard disk. In the case of Windows XP will restart in the same way as earlier in this tutorial. With mini installation wizard. In the case of Windows Vista and Windows 7's, the appearance will be the following :

Enter a user name to create locally on the computer. Windows installed by WDS is automatically member of the domain as indicated in the top of the page, the computer name is managed by the WDS server to prevent it from there 2 times the same computer name on the network.

Enter a password for the local user that you just created. This password is optional.

Enter the serial number of Windows that you have installed or leave blank to leave the trial.

Check the box "I accept the terms of the license agreement".

Select "Use recommended settings" to keep your system up to date and protect you from hackers.

Select the time zone and the date and time. These parameters are stored in the BIOS and are kept in memory by the CR2032 3V battery which is on the motherboard. This means that when you will format your computer these settings will already be correct. If this isn't the case, you should change the battery.

The wizard completes the installation with the parameters you have defined.

Since your computer is in a domain, the home screen is disabled and will show you "Press CTRL + ALT + DEL to open a session".

Either you connect to the domain in which the computer is located by the format "User" or a local account in the format "Computer Name\Username". To know the name of the computer click on "How to open a session from another domain ?".


No comment