Install and configure Windows Deployment Services (WDS) on Windows Server 2008
- Windows Server
- WDS
- 11 August 2012 at 16:11 UTC
-

- 4/5

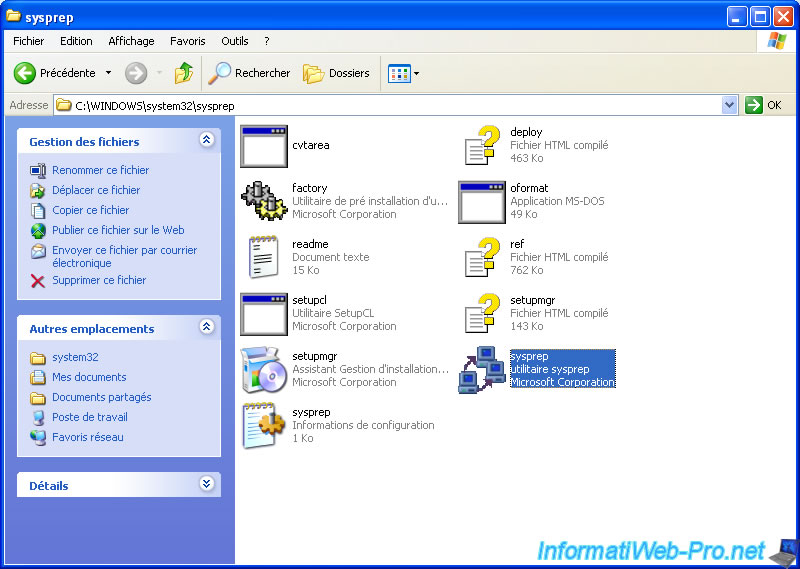
Now run sysprep for your system to be prepared before capturing.
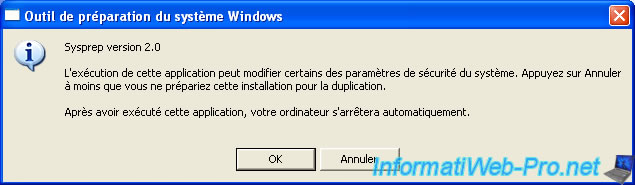
The sysprep tool warns you that some parameters can be changed by this tool. Click OK.
Check the "Mini-Setup" box and "Reboot" in the list below.
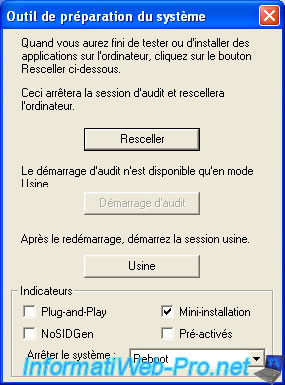
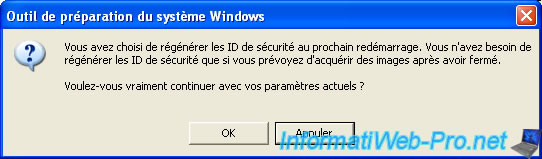
Click "OK". You will then see a small loading window left open and your computer will restart itself.
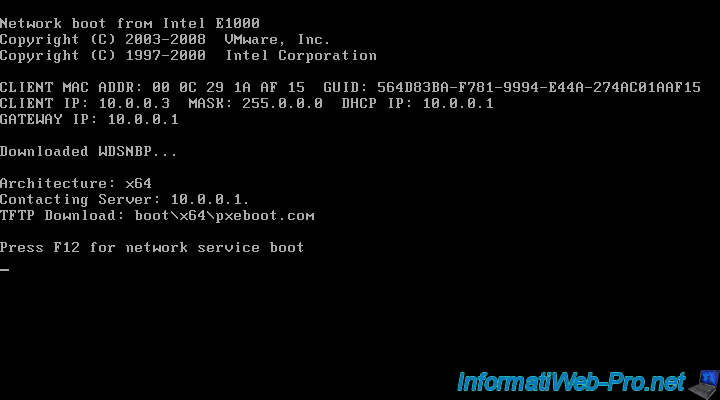
If you have configured your BIOS properly, the computer will now restart on the network (PXE).
Your computer will then receive an IP address ... as well as the address of a TFTP server (for short it's a files server) and upload a so-called ROM (a small image that allows a computer to boot from the network). Press F12.
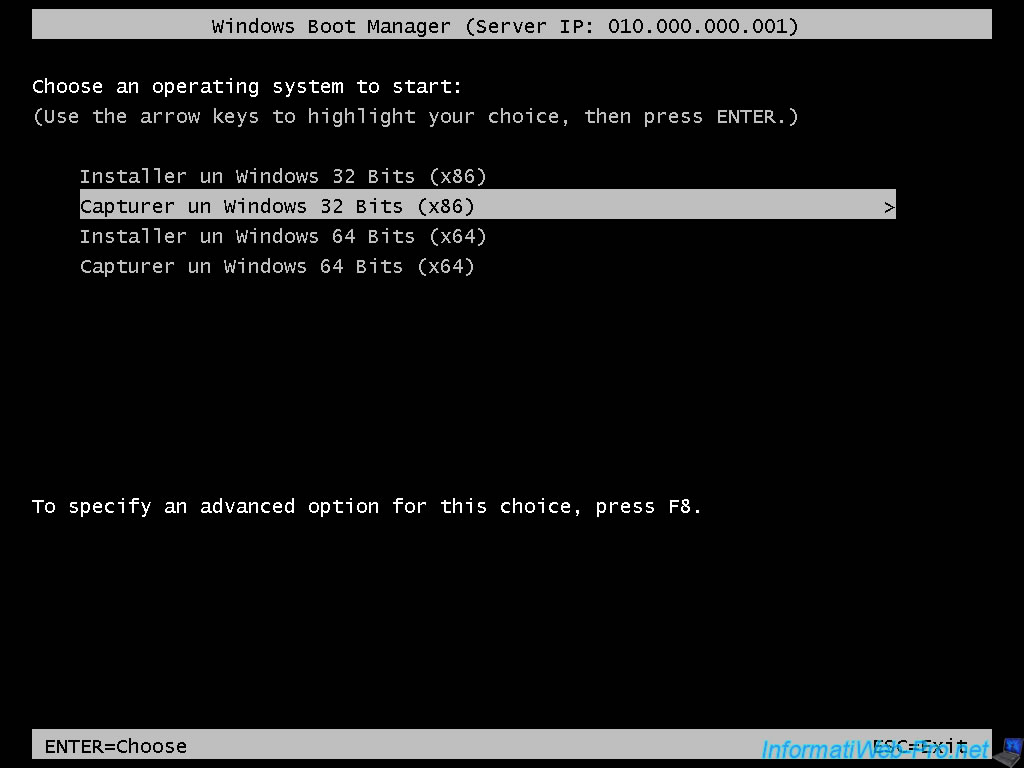
Select "Capture a Windows 32-bit (x86)" unless you have a Windows XP 64-bit (but it's very rare).
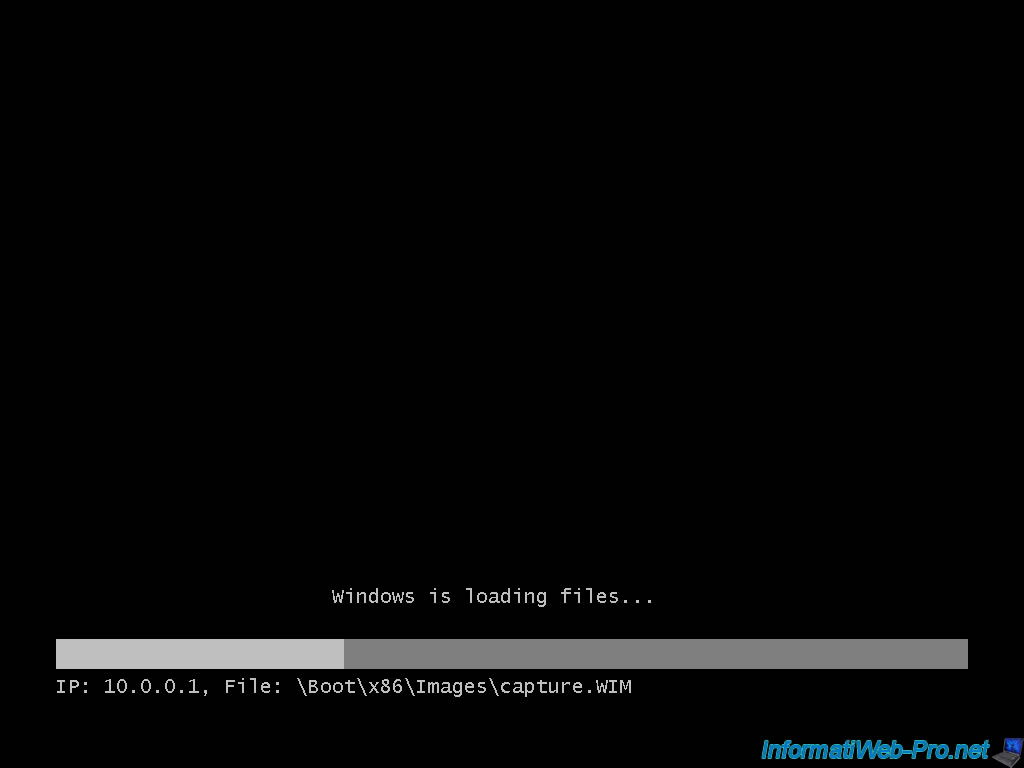
Your client computer loads the boot image (capture image) from your Windows Server that is the IP address 10.0.0.1 (in our case).
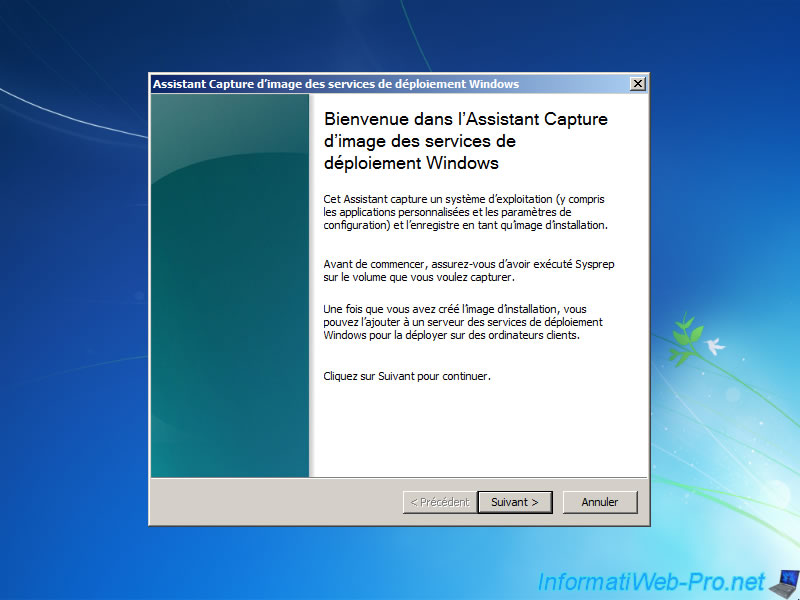
Windows Server 2008 is the server version of Windows Vista, you have the start screen of Windows Vista.

Having used the boot image of Windows Seven in this tutorial to create the capture image, appearance similar to installing Windows 7.
Click "Next".
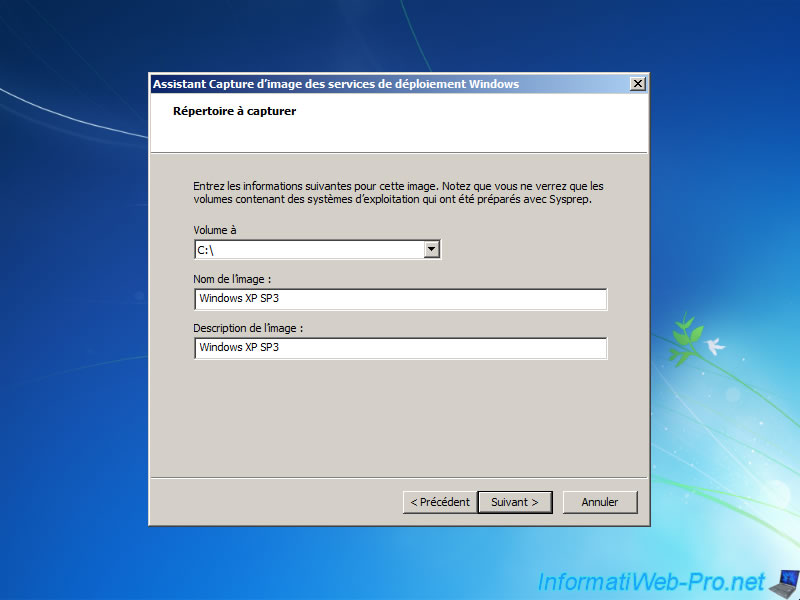
If you have prepared your Windows XP correctly, the partition "C" should appear in the list "Volume at". Specify a name and a description and click "Next".
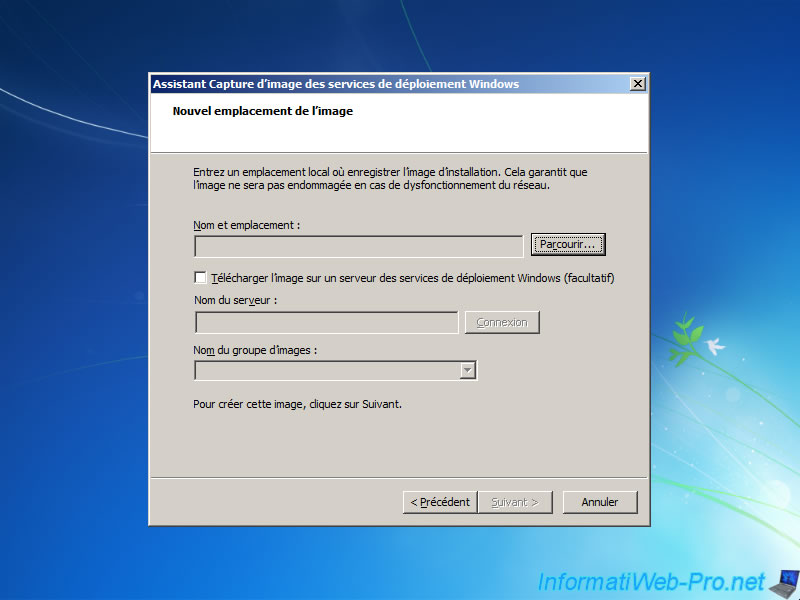
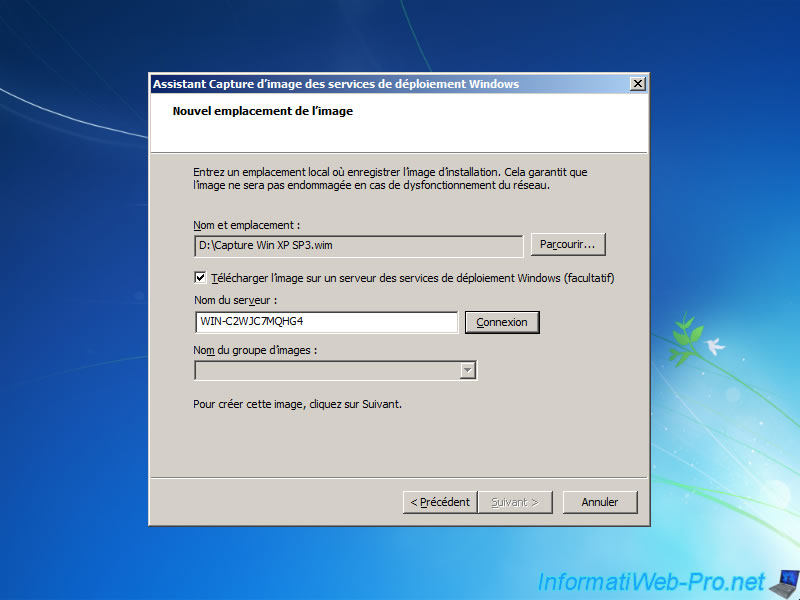
Click "Browse".
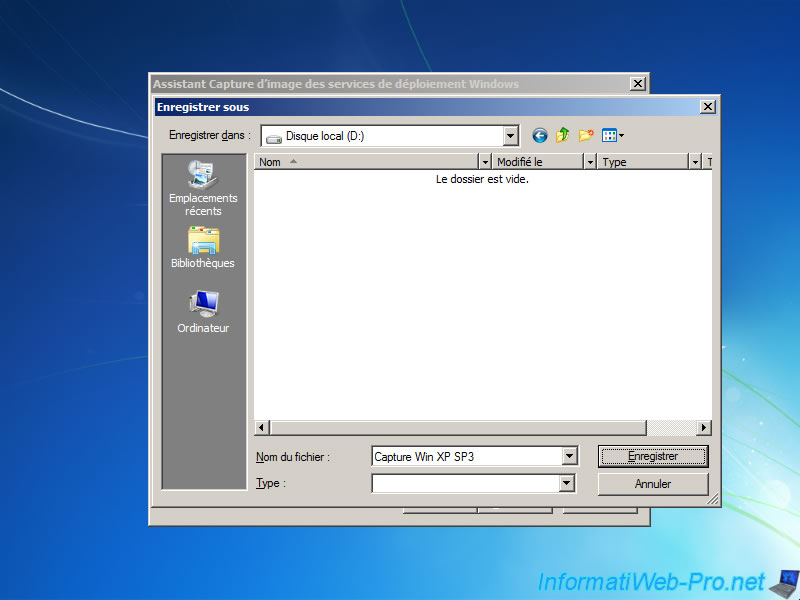
Enter a name to save the capture of your Windows XP and click "Save".
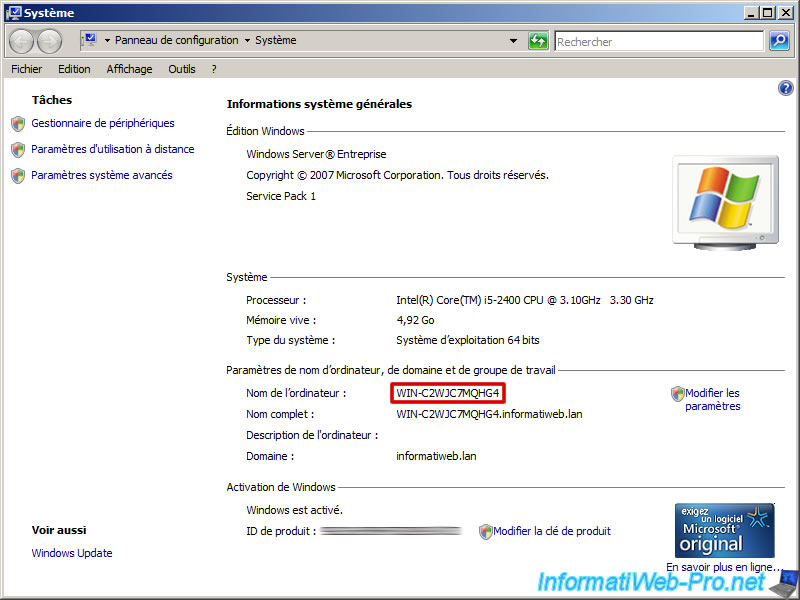
To transfer the capture of your Windows XP on your server you will need the name of your server or its IP address. For his name, you must go to the start menu and right click on "Computer". Then you have the window below. The computer name is marked in red on this image.
Enter the name you just get on your server or specify the IP adress and click "Login".
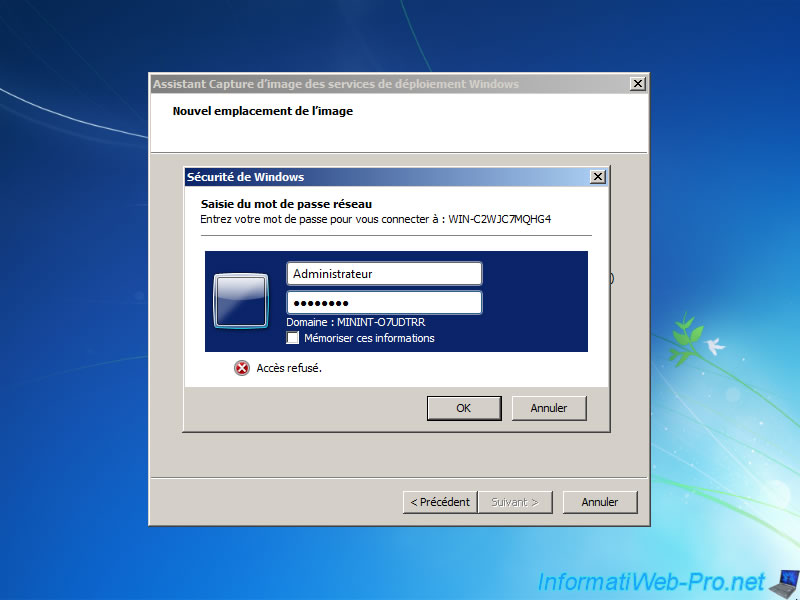
If the wizard found your server, it will ask for the username / password of the server administrator to perform the copy on the server and add the capture image to installation images.
If this isn't the case, check that your network card is recognized by pressing "Shift + F10". In the command prompt, type the command "ipconfig /all" (without the quotes). If there is no display of IP address is that your network card is not recognized. In this case either you are capturing and then copy the image manually on the server file by adding it to the install images or by adding the driver for your network card in the boot image.
If successful connection you can select the image group in which to transfer your image capture Windows XP. Click "Next".

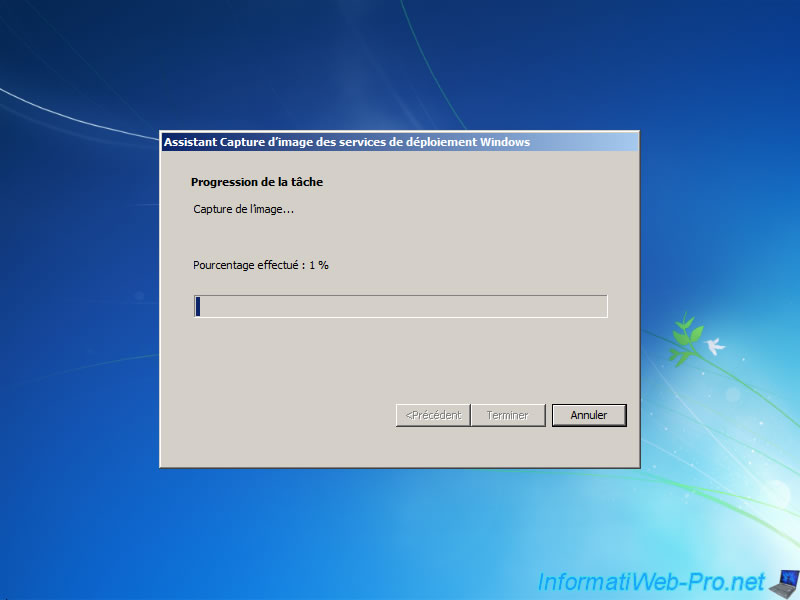
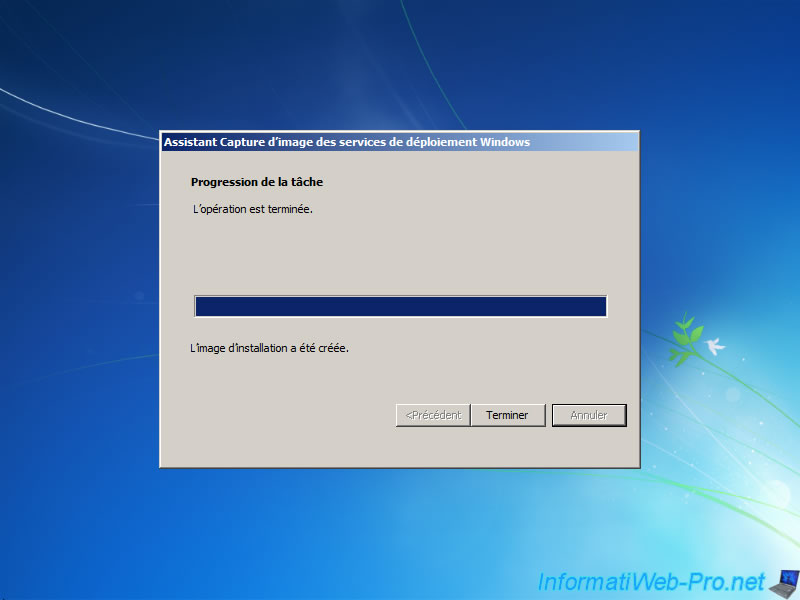
The wizard captures the image.
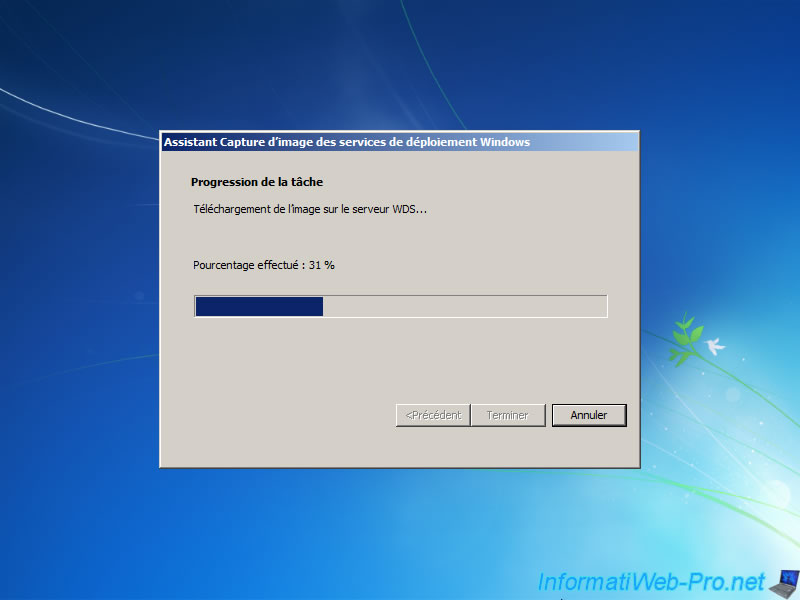
The assistant then transfers the image to the WDS server. The file saved locally used if the transfer fails.
Once the image is created, exit the wizard by clicking "Finish".
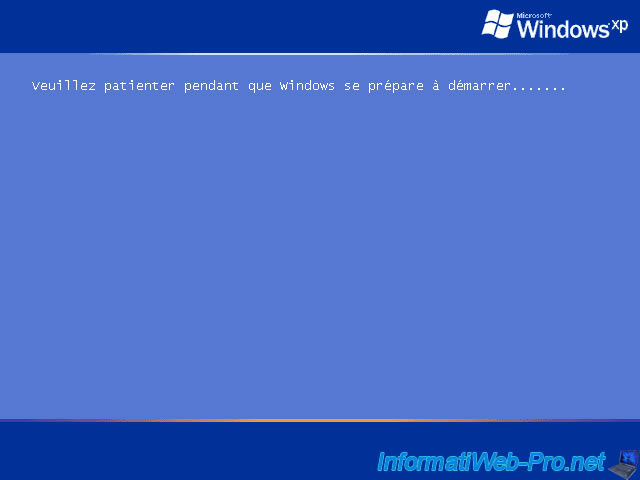
When your computer restarts hard disk (ignore the network boot (PXE)), you will receive the following message "Please wait while Windows prepares to start ..."
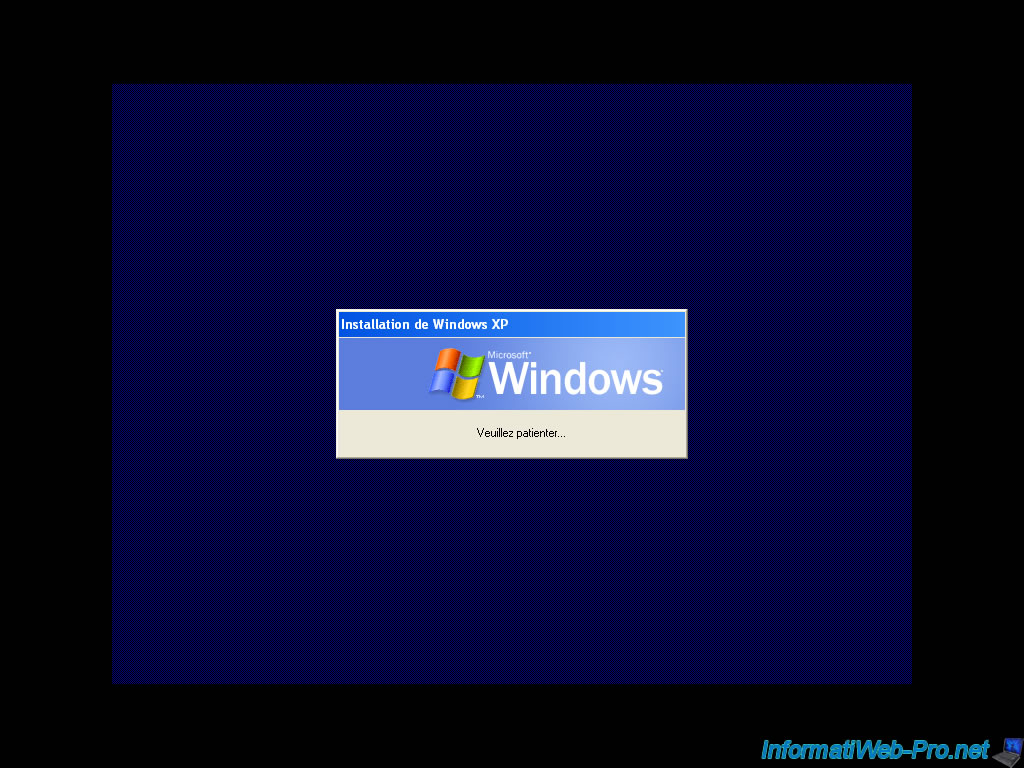
Then, it will display a small window called "Install Windows XP". Your computer is not going to be reinstalled, no data has been lost but the preparation utility used your answer file to set the mini installation you selected in the sysprep utility. Other computers that you install from your Windows XP capture will start for the first time in the same way.
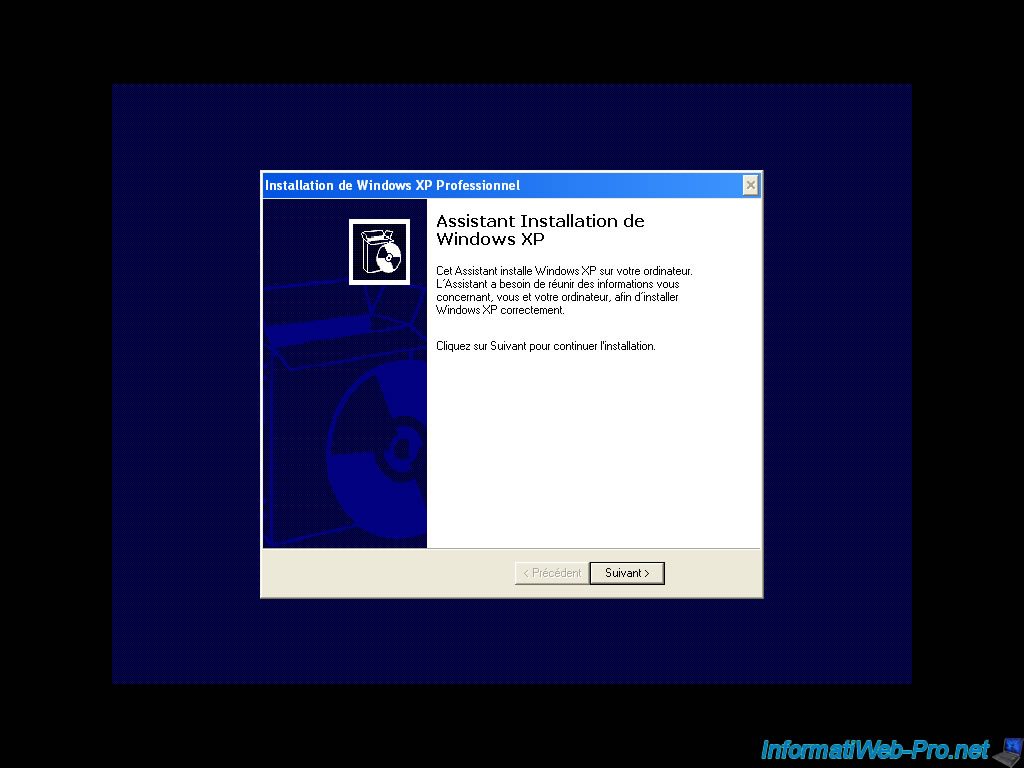
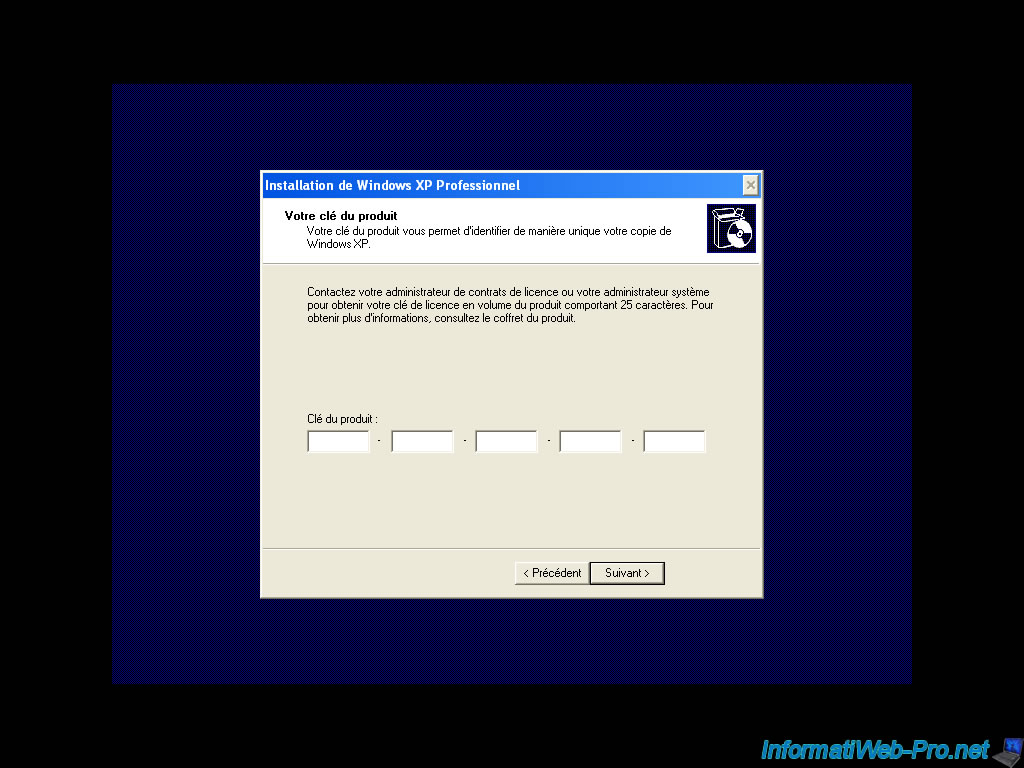
The installation (mini installation) wizard appears. Click "Next".
Next if you have specified in the response file and what you've spent, you only require information that had passed. If you had all filled, the software will install with one click and the computer will restart normally.
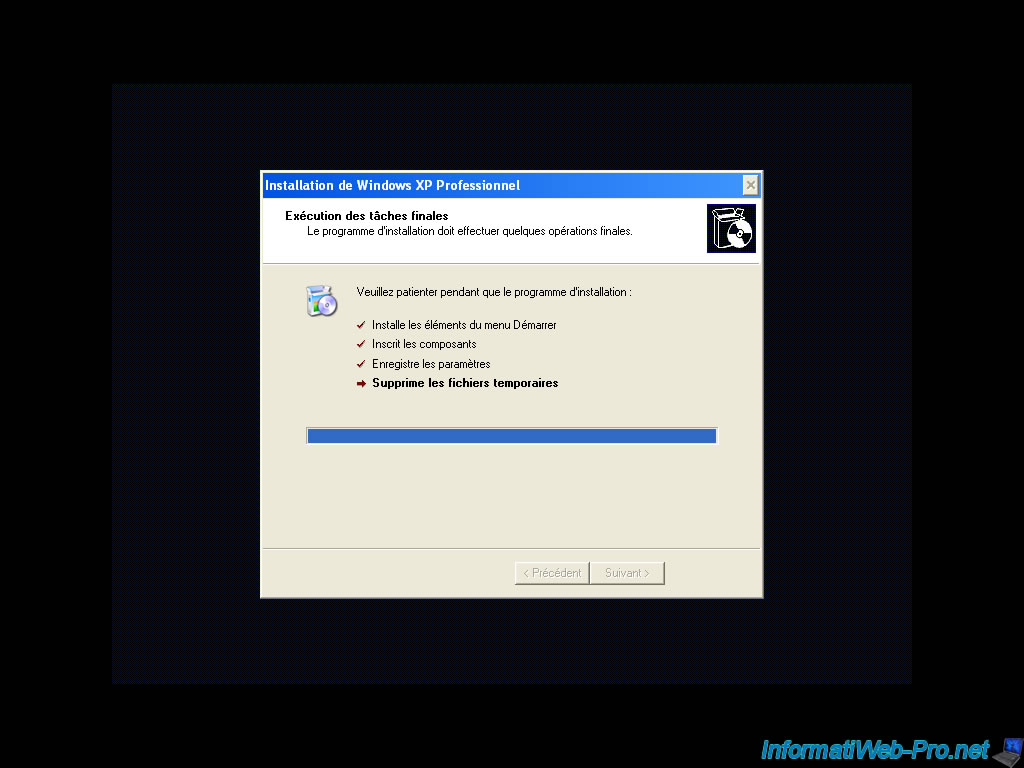
The wizard configures settings.
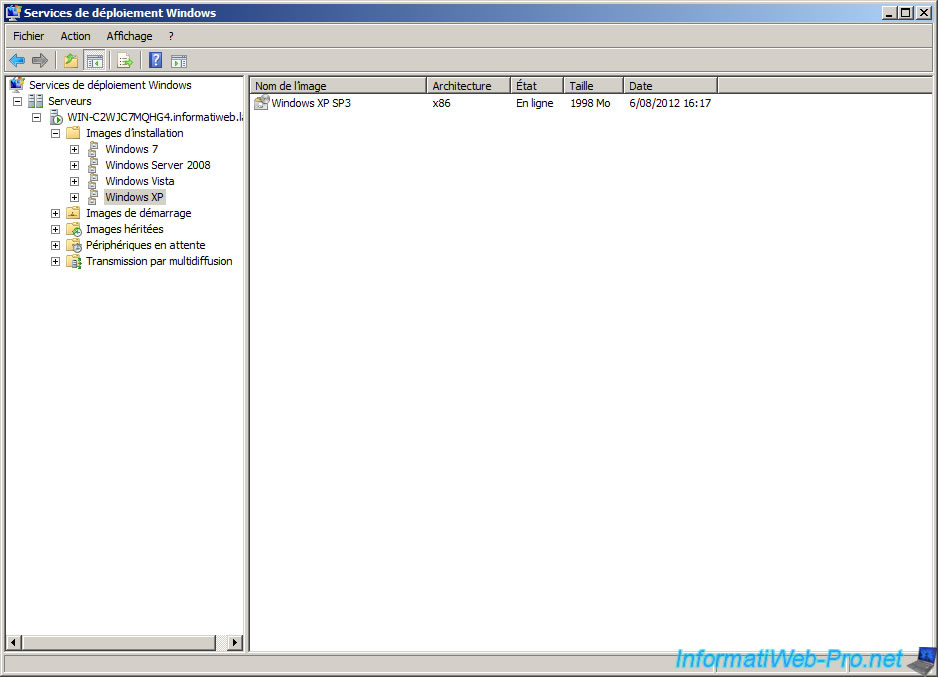
Once transferred the picture you'll see it appear in the installation images in the selected group.
No comment