- Windows Server
- Core Mode
- 03 April 2017 at 10:06 UTC
-

- 1/4

In production, performance is essential. This is why Microsoft offers the option of installing Windows Server with or without a GUI (Graphical User Interface).
The version without GUI is called : Windows Server Core.
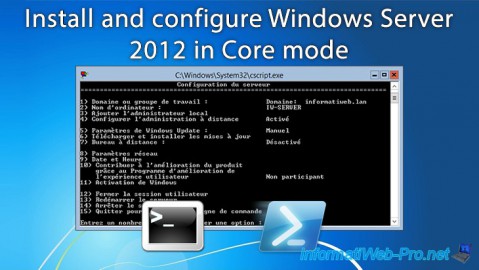
Once installed, you will only have access to a typical command prompt, as well as a PowerShell command prompt to add and remove roles, for example.
- Installer Windows Server en mode Core
- Configure your server in Core mode
- List, add and remove roles and features in Core mode
- Install the GUI on a server in Core mode
- Uninstall the Windows Server GUI
1. Installer Windows Server en mode Core
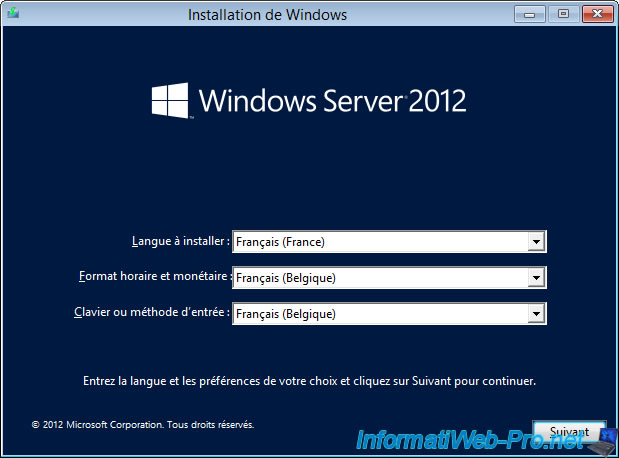
To do this, boot on the Windows Server 2012 installation DVD and choose your country and language.
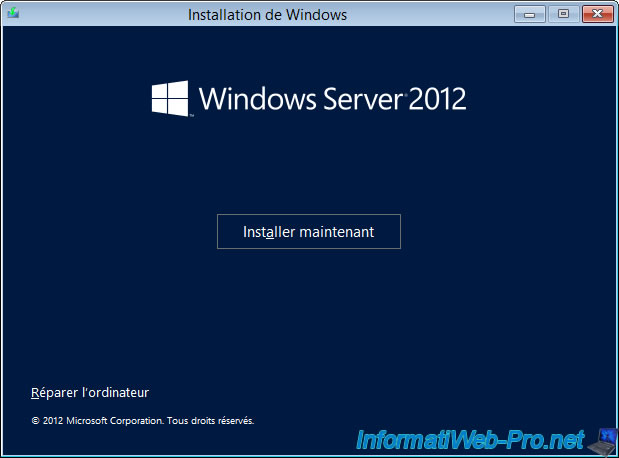
Then, click : Install now.
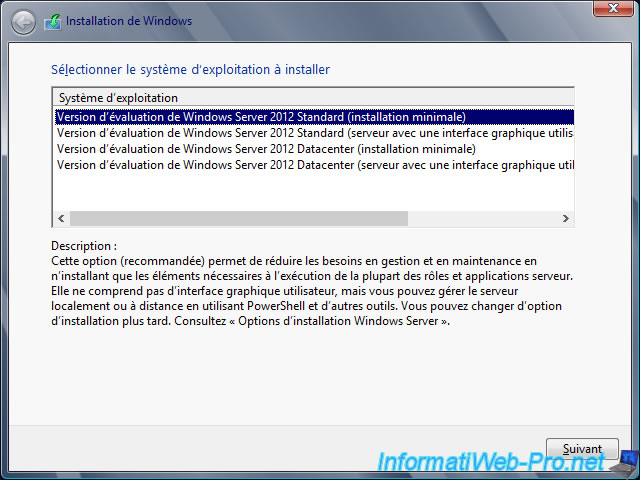
At this step, the wizard offers you two editions : Standard and Datacenter.
Among the available options, you will also see :
- Server Core installation : this is the Core mode where you can manage your server only through a command prompt and Powershell
- Server with a GUI : the version that everyone knows with windows and different wizards (including the server manager, ...).
When you install Windows Server in Core mode, Windows installs fewer administration features and tools (since everything will be done with the command line).
So, there are no console, no wizard, ... That means there will also be fewer updates to install.
In short, Windows Server will start faster, you will spend less time to install updates and your server will perform better.
Nevertheless, a good knowledge of PowerShell and main commands is recommended.
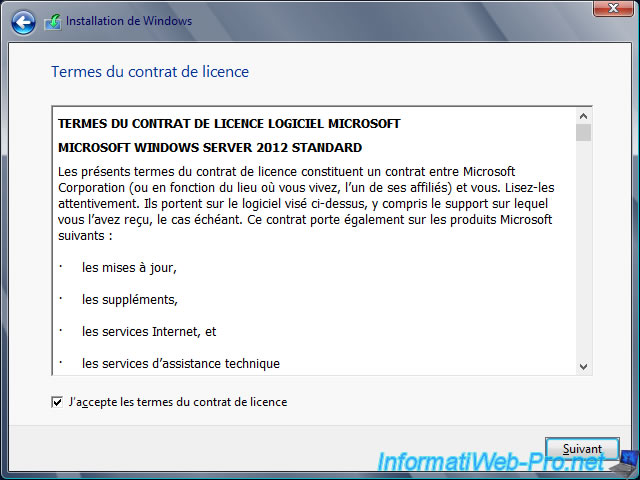
Accept the license agreement.
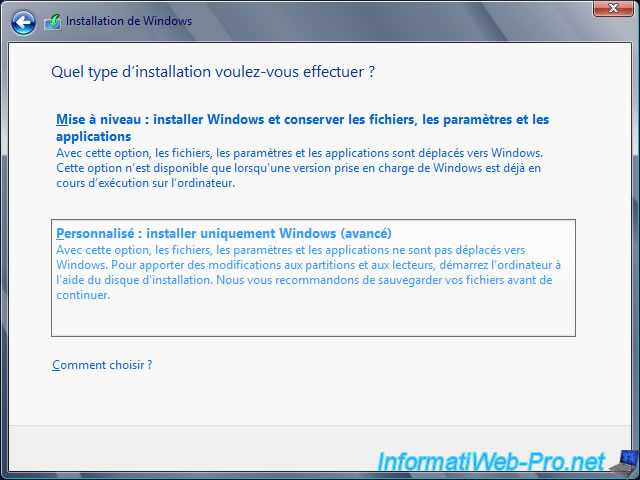
Choose : Custom.
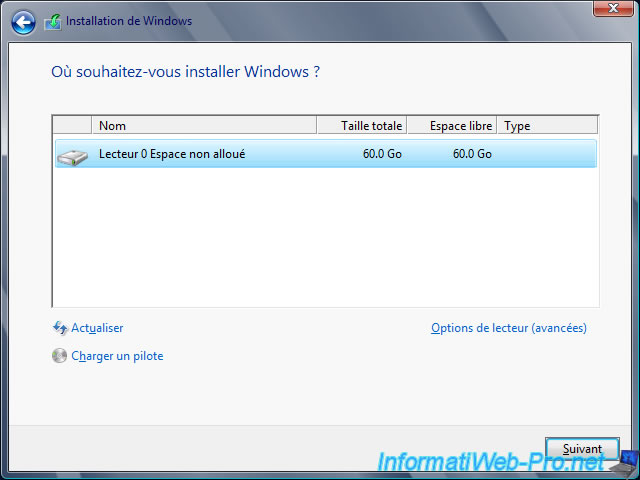
Partition the hard drive as desired or install Windows on the unallocated space of the hard disk.
In production, you should create at least 2 partitions : one for Windows and one for user data.
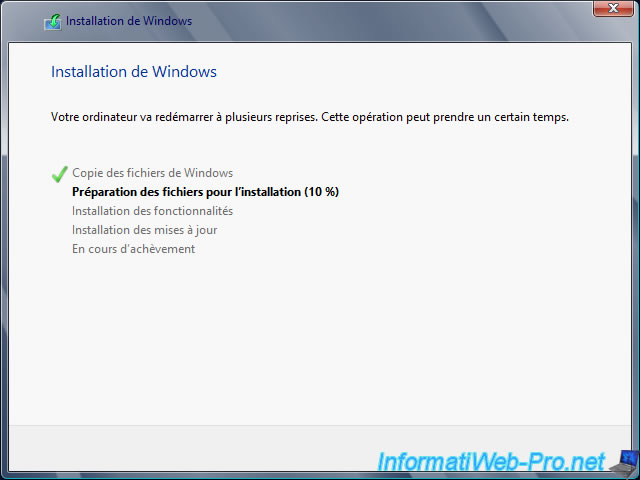
Installation starts.
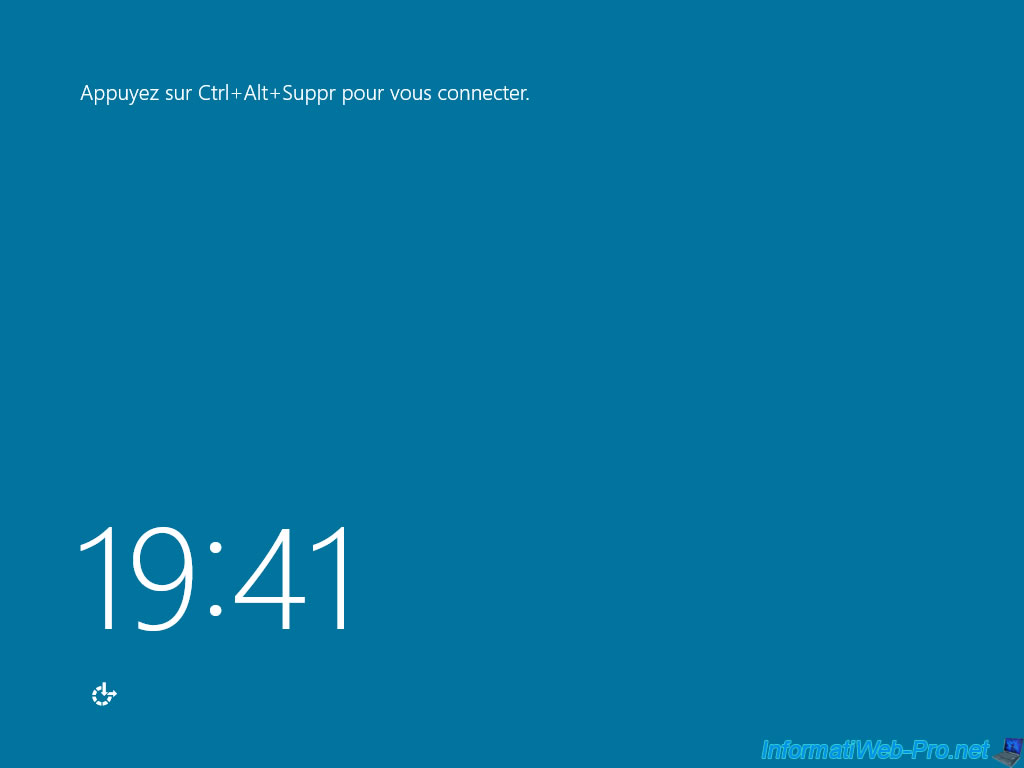
In Core mode, the Home screen will have a turquoise color (a kind of blue).
Press the keys : CTRL + ALT + DEL
Click on the Administrator account.

At first launch, you will need to create a password for the local administrator.
Click OK.

Enter the new password twice.

Windows saves the password.

Now, Windows is installed.
Click OK.

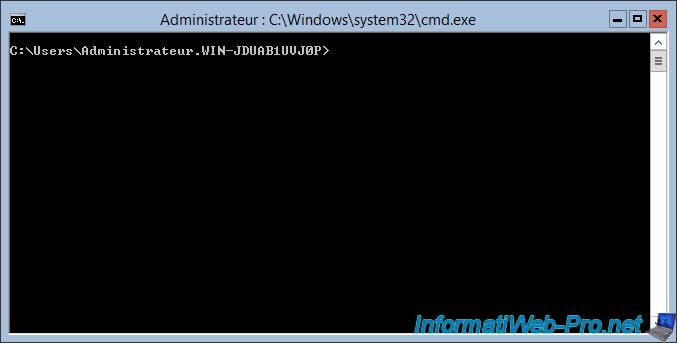
When you arrive at your session, you will only see a command prompt.
From this command prompt (cmd), you will be able to access the tools :
- netsh.exe : to configure the network adapter
- ping.exe : to test the network connection between 2 machines
- ipconfig.exe : to view the network configuration of the server
- powershell.exe : to open a Powershell command prompt. On Windows Server 2012, this is the version 4.0 of Powershell.
- sconfig.cmd : a program included with Windows Server Core that will allow you to configure basic Windows Server settings (change the name of the computer, workgroup, ...)
- SCregEdit.swf : to enable the Remote Desktop of the Core version of Windows Server.
- regedt32 : to access the server registry
- taskmgr.exe : to open the task manager
- notepad.exe : to create and edit text files
Note : if you accidentally close this command prompt, you should be able to reopen it via the Task Manager.
To do this, press "CTRL + ALT + DEL" and go to "File -> New task". Finally, type cmd.exe and press Enter.
Share this tutorial
To see also
-
Windows Server 11/16/2018
WS 2012 / 2012 R2 - Manage multiple Core servers remotely
-
Windows Server 11/23/2018
WS 2012 / 2012 R2 - Manage multiple Core servers remotely (Workgroup)
You must be logged in to post a comment