Configure and use VMware ESXi 5.0
- VMware
- VMware ESXi
- 11 November 2012 at 20:16 UTC
-

- 2/2
3. Upload the installation CD/DVD (in ".iso" format) to the server
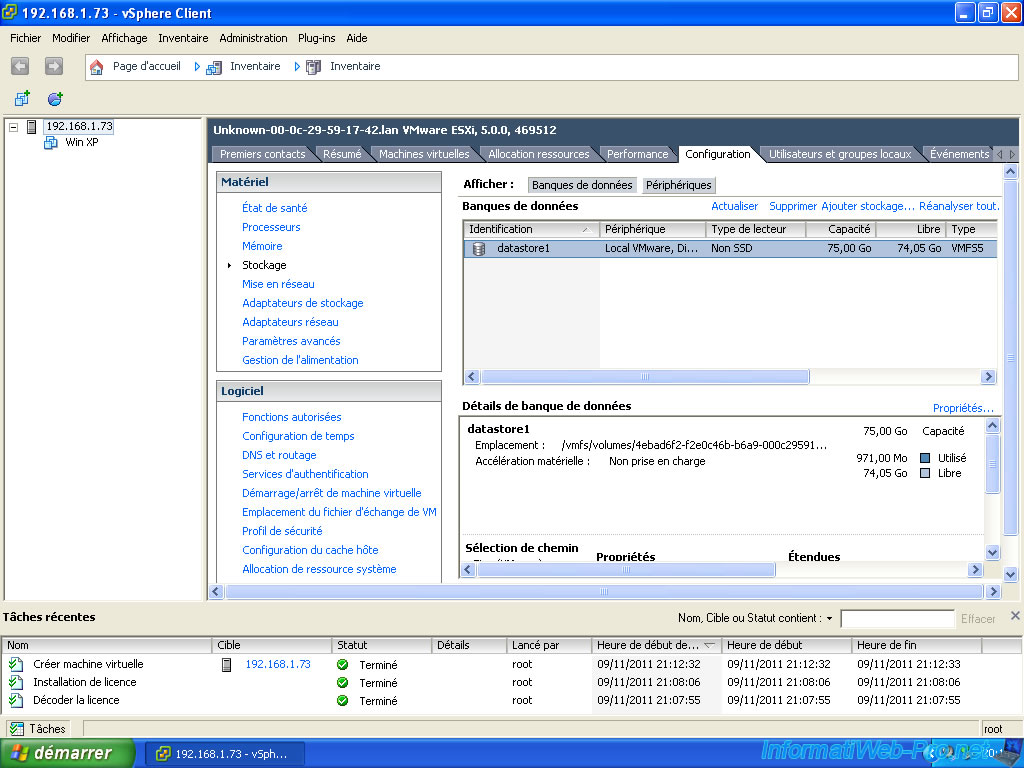
To install our OS "Windows XP" by an ISO file which can be installed faster than from a physical CD, we'll add the ISO file of "Windows XP" in the datastore or is the machine that we just created. To do this go to the "Configuration" tab and select the "datastore1".
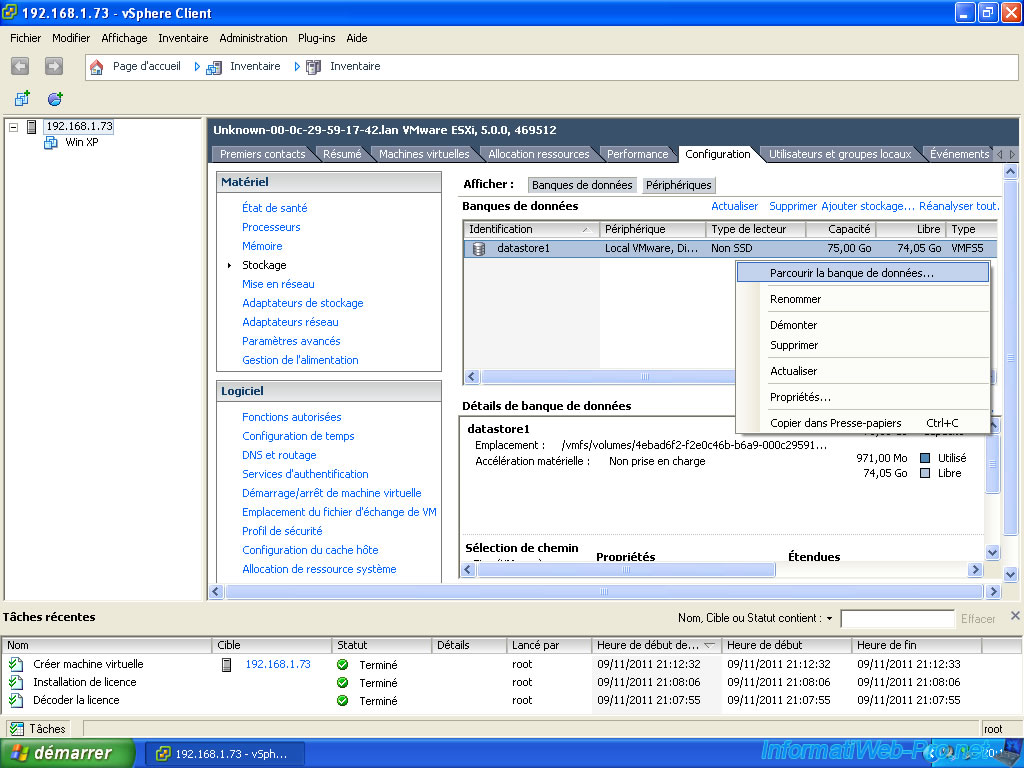
Right-click it and click "Browse the database ...".
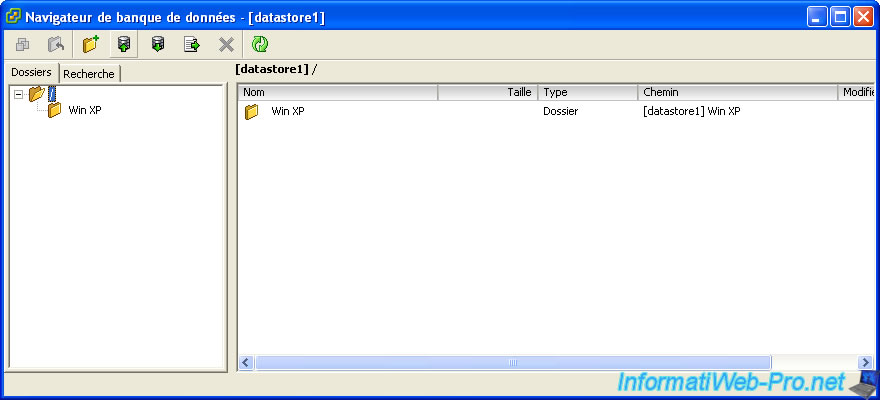
Browser databases appears. We can see that a "Win XP" folder is already created. It actually contains the files of the virtual machine that we just created.
Click the green arrow going up.
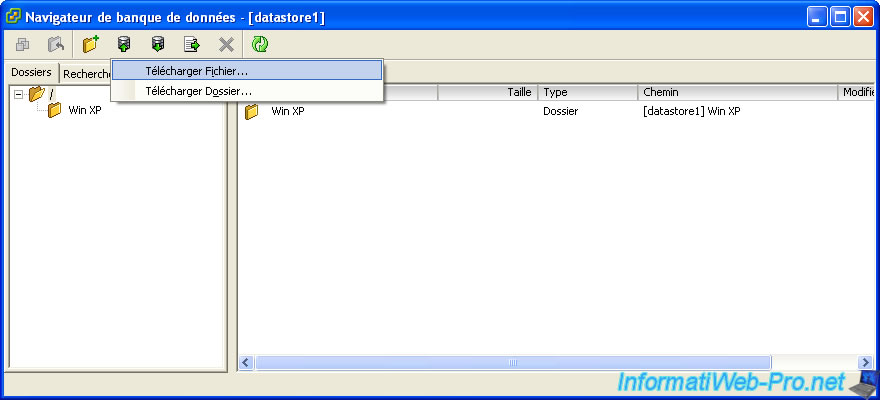
Click on "Download File ...".
Select the ISO file of "Windows XP" and click "Open".
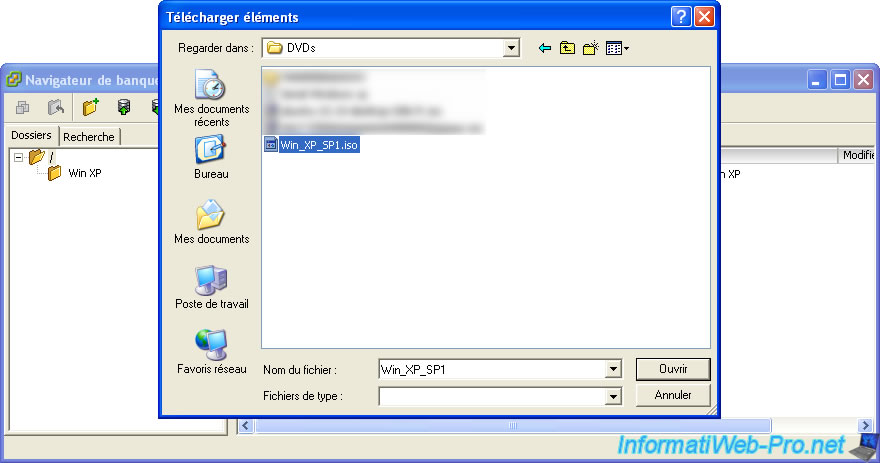
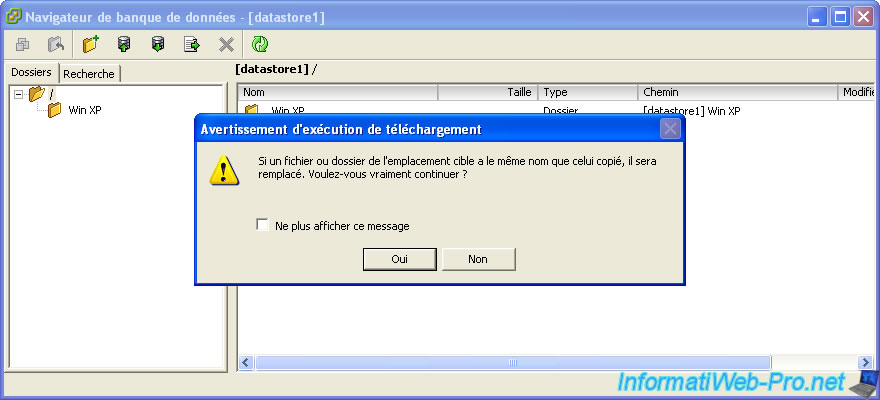
Now, he warns that if a file with the same name already exists it will be replaced, for us this isn't the case so we click "Yes".
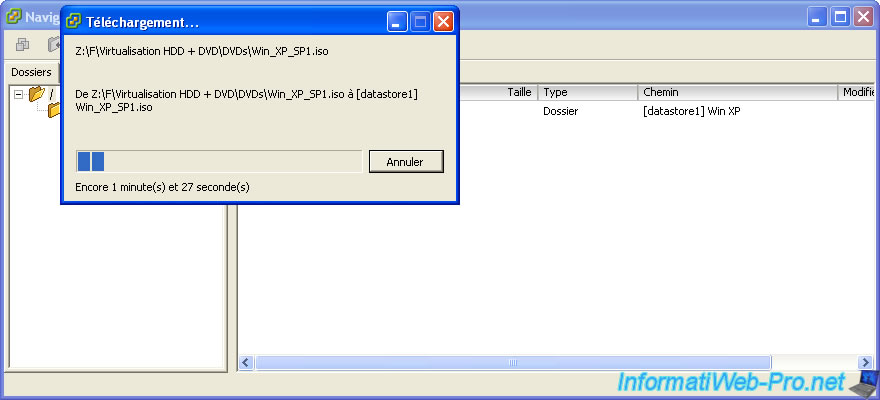
The file is transferred (copied) of your PC (PC Client) to PC server in the "datastore1".
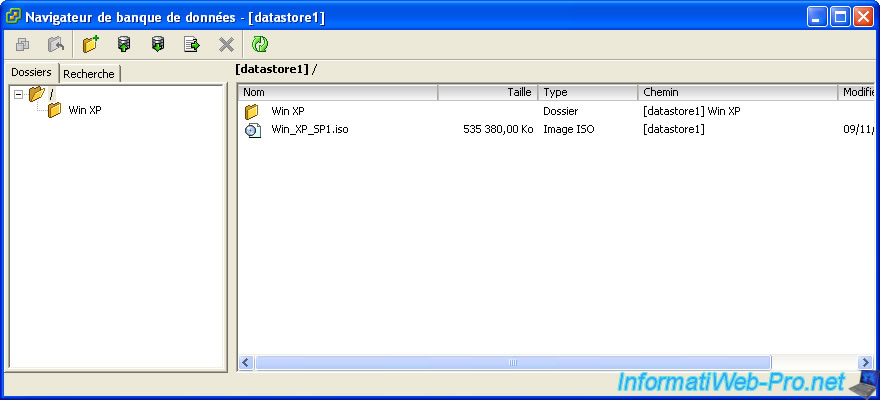
If the transfer is OK, you should see your file in the list.
4. Virtual machine installation
Then, you go to the "Virtual Machines" tab and click on the icon (Start the virtual machine console) located above.
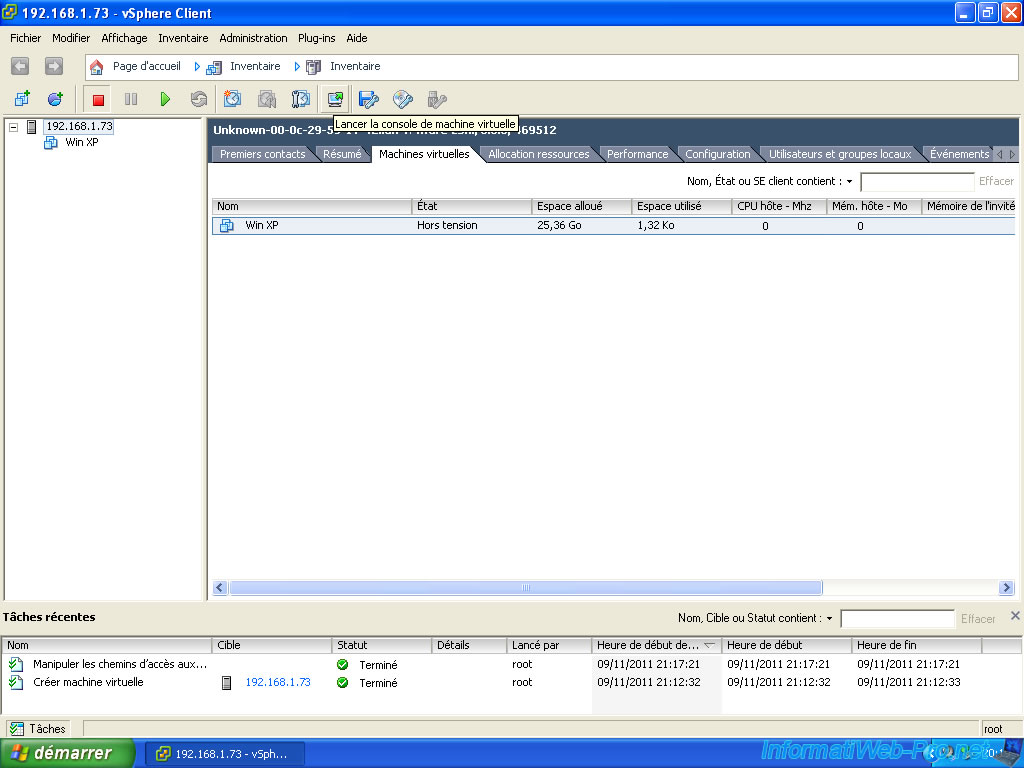
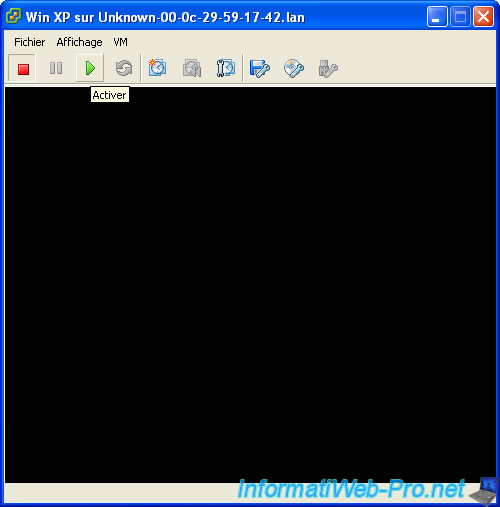
For now the window is black because the virtual machine is not yet started. So we will set the machine to boot from the Windows XP installation CD that we put in the "datastore1". To do this, go to "VM -> Edit Settings".
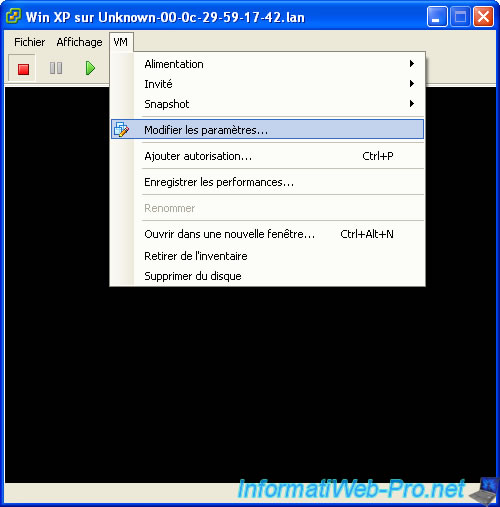
Select "ISO file database" and don't forget to check "Connect at power" because it doesn't check automatically.
Then click "Browse".
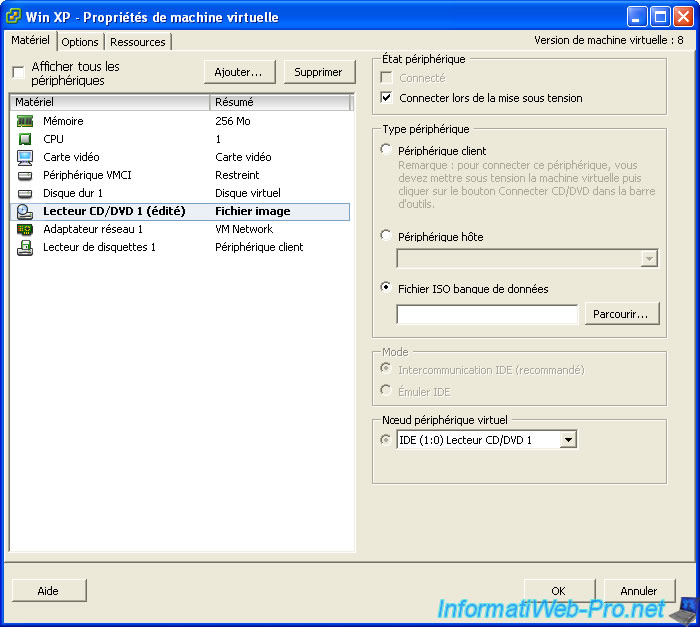
Double click on "datastore1" to enter it.
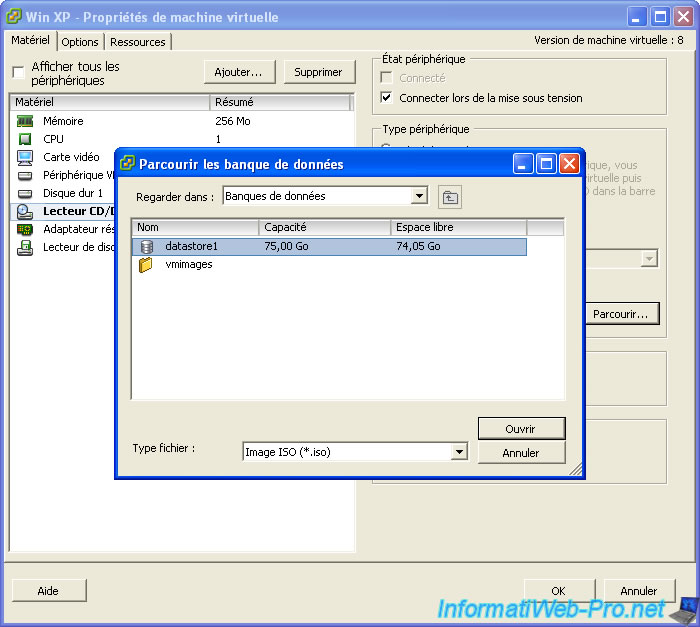
Select the ISO file that we have transfered and click "OK".
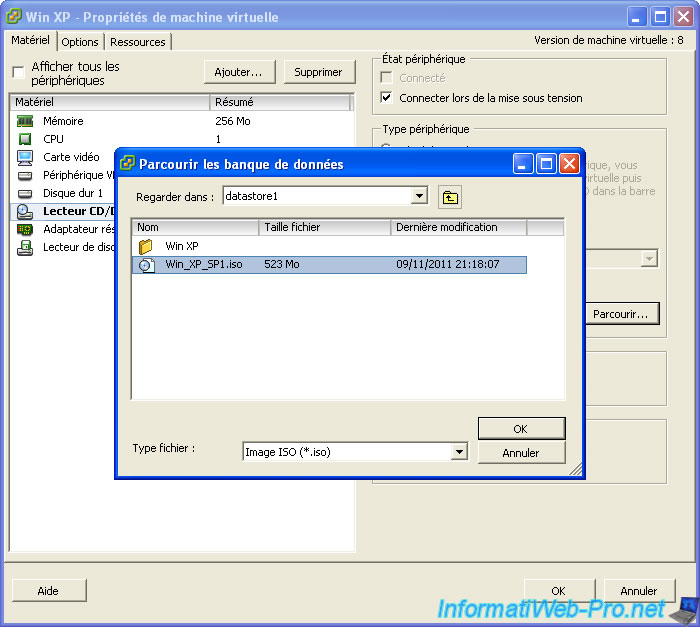
You see that the file has been selected. Press "OK" to exit the window.
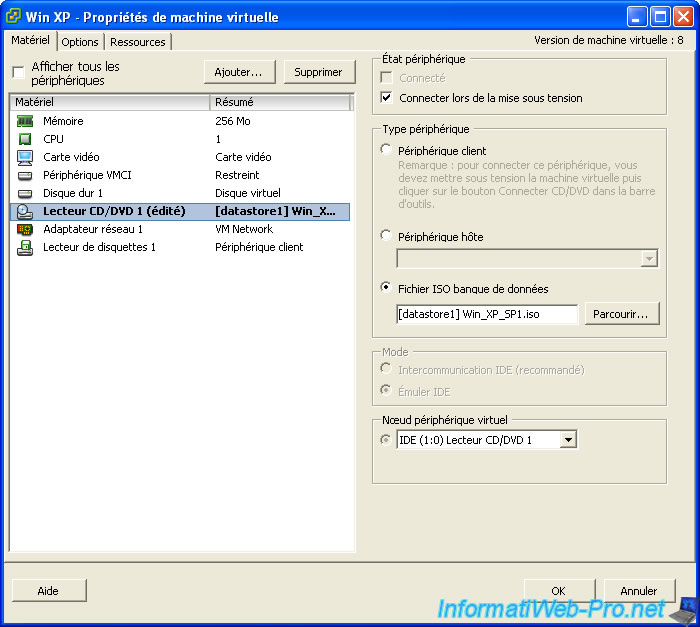
Then, click on the green triangle "Enable" to start the machine.
The screen is usually the motherboard is replaced by VMWare which is common in virtualization.
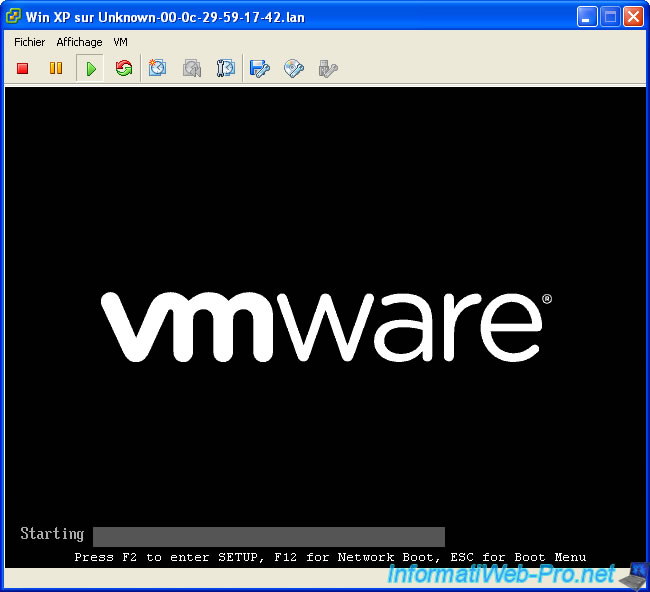
The virtual machine starts on our installation CD of Windows XP and the Windows XP installation program starts.
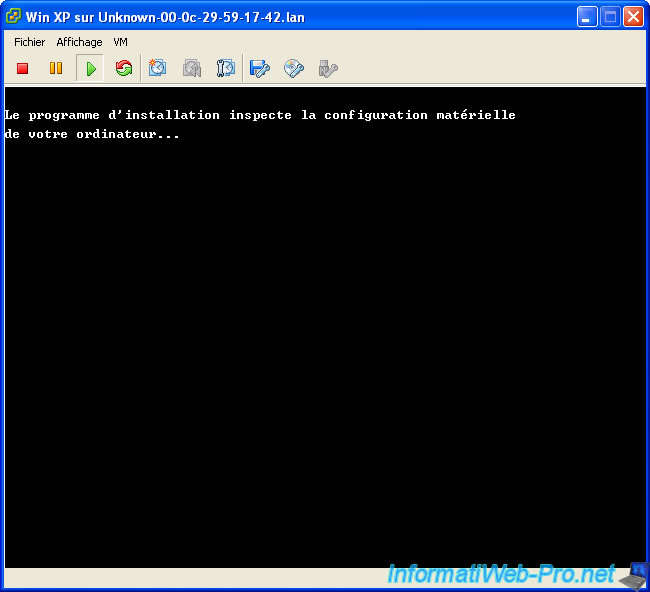
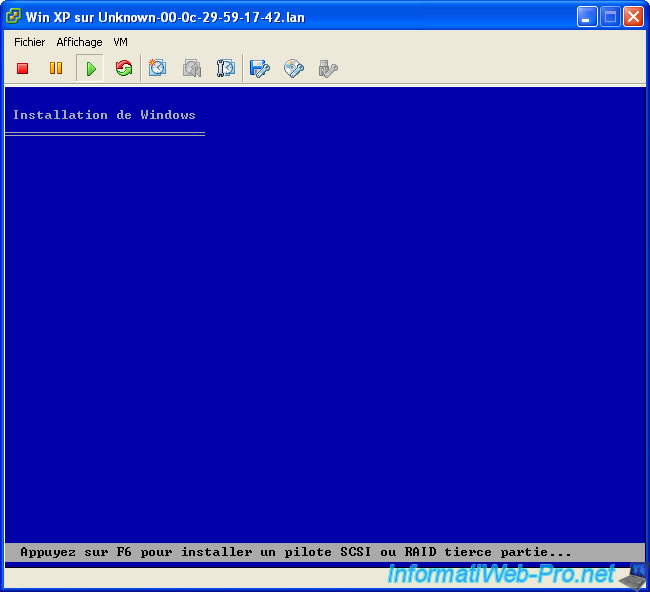
Now install the OS as you would install on a physical PC. In this tutorial, I will go voluntarily skip installing the OS because it isn't the purpose of this tutorial.
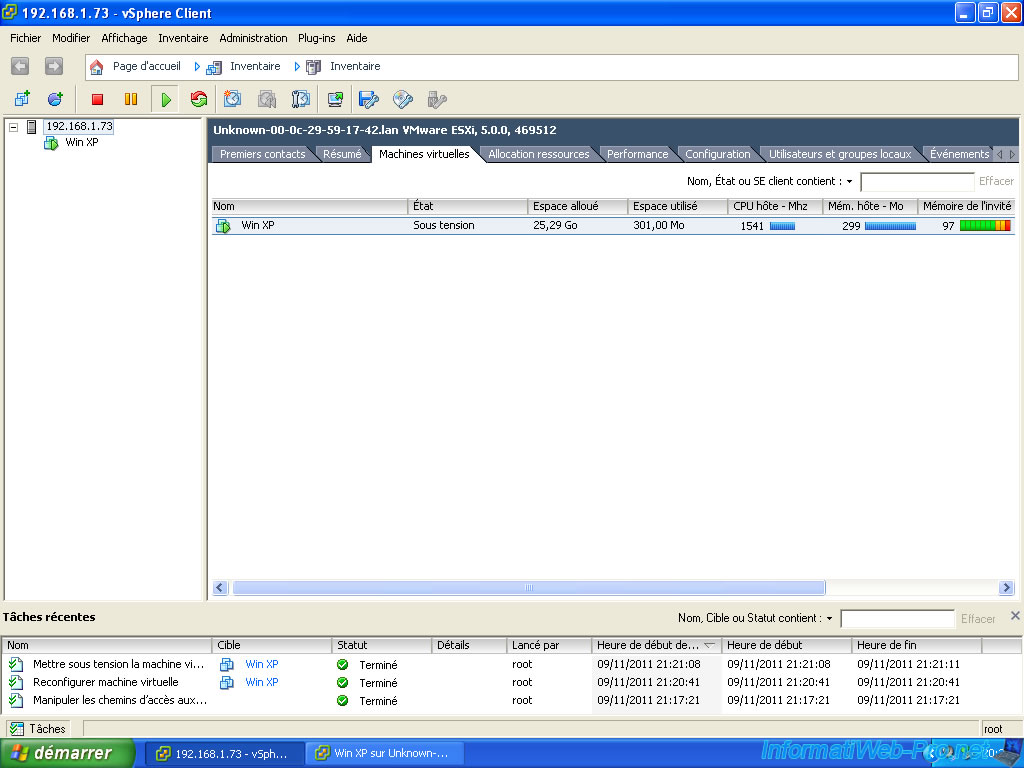
Throwing a small cost eye on the client, you can see the performance of the virtual machine that runs on the server (as I recall) and not on the client. One can observe the percentage of CPU utilization, the use of RAM (random access memory), ... Besides, you can pretty much close the window of the virtual machine and it will continue to operate normally since it turns on the server and not the client.
As with any virtual machine, either in VirtualBox, VMWare Workstation or ESXi always install the drivers provided by the software virtualization. (Under VMWare it's "VMWare Tools" and under the VirtualBox is "Guest Additions").
CAUTION : Never install guests drivers in the host PC.
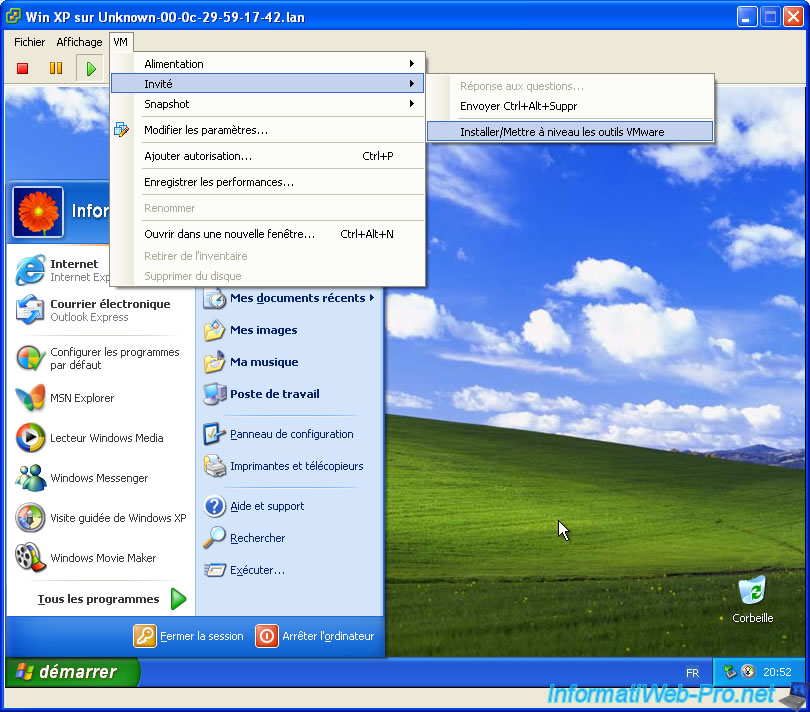
As indicated, the drivers VMWare allows the guest operating system (one that is installed in the virtual machine) to work better and also no longer need to press "CTRL + ALT" every time we wants to make the cursor out of the virtual machine to use in the host system (Physics PC).
Press "OK" to install.
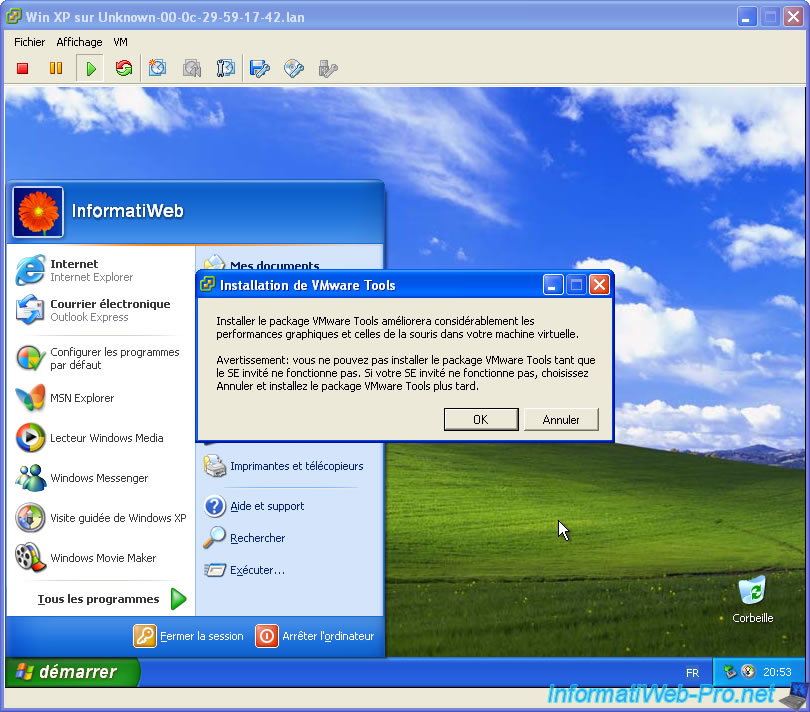
The installer appears. If this is not the case wait 2-3 minutes and try again, this is because a silent installation of VMWare is done during the first logon and must wait for it to finish to ability to install VMWare tools.
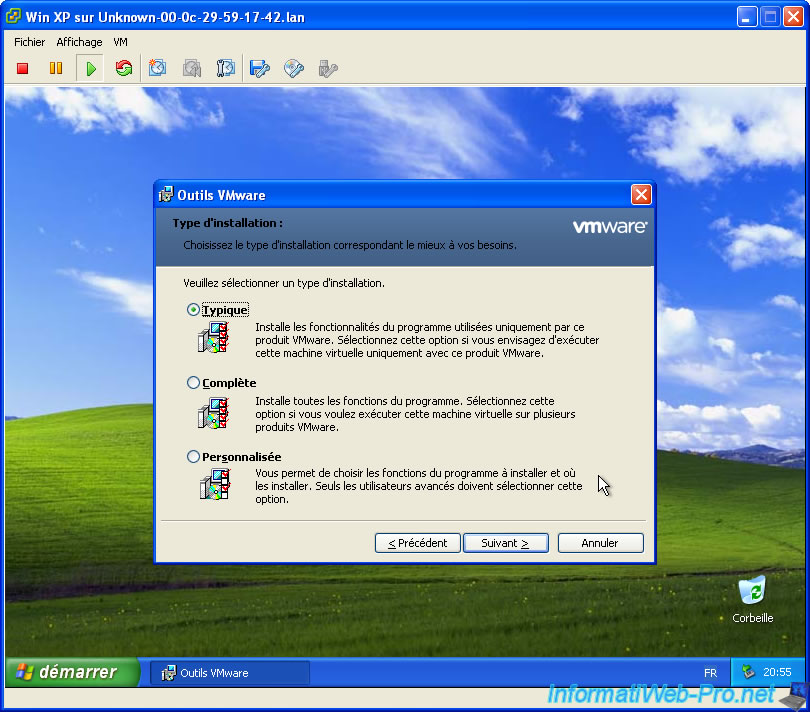
The easiest way to install these drivers is to leave everything as default as this is sufficient for normal use of virtualization.
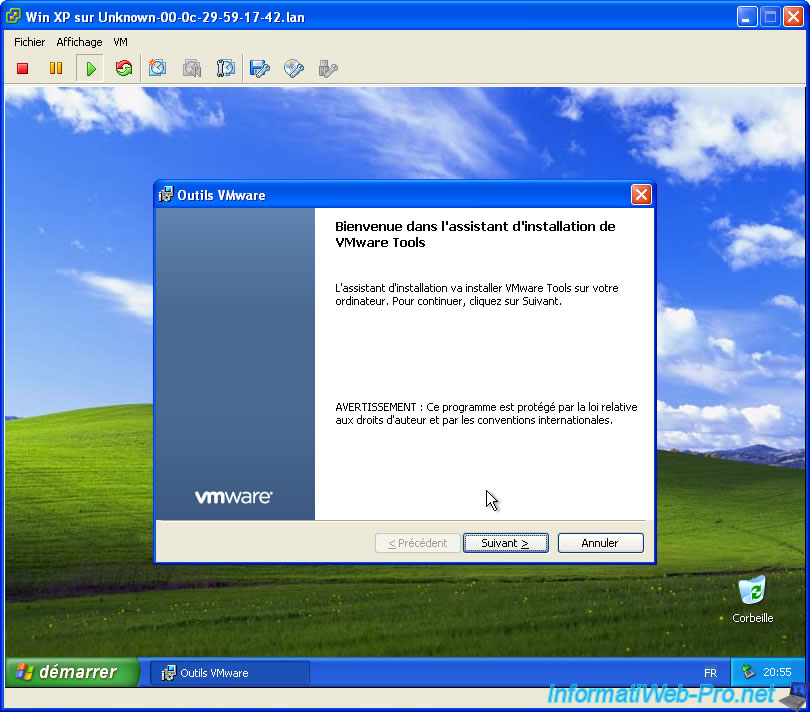
Let Typical checked.
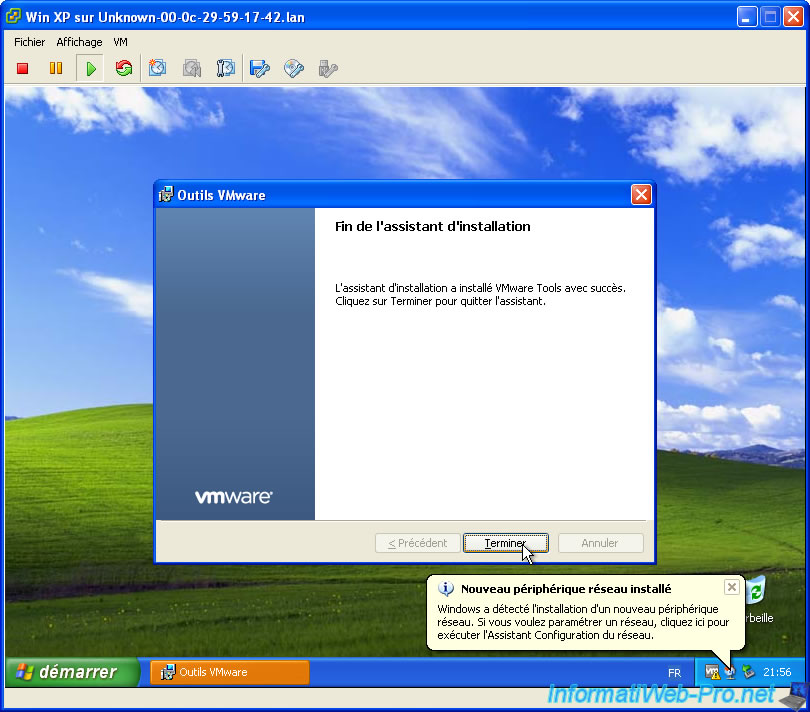
Once the installation is complete press "Finish" without worrying about the bubble that is displayed at the bottom of the screen.
Restart the virtual machine (NOT your physical pc) by clicking "Yes".
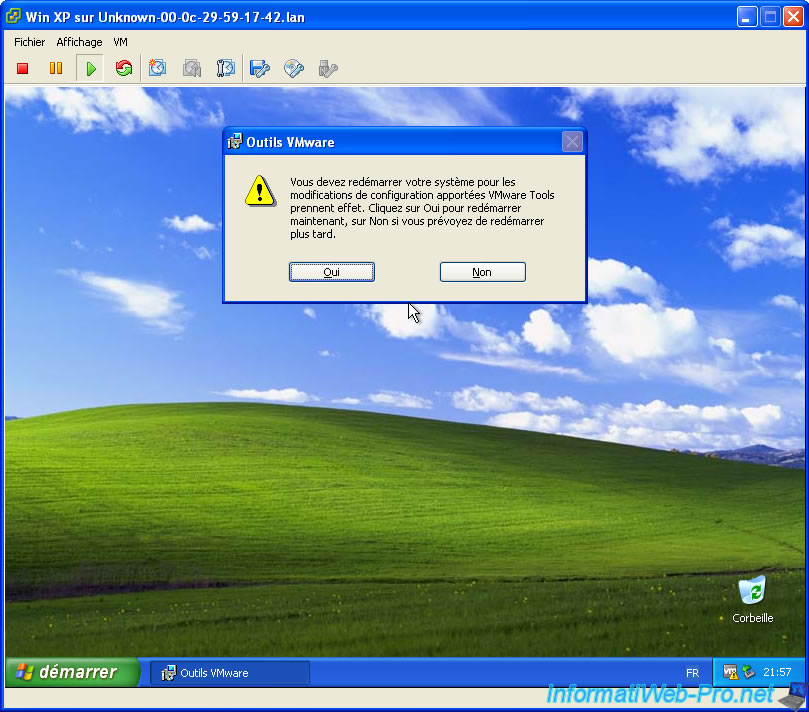
Here, your virtual machine is now functional and Windows XP is installed. You can now use your virtual machine as if the machine was a real Physics PC, which means you need to install an Anti-virus and firewall as for any machine.
For our tutorial, we will now stop our virtual machine properly by going to the start menu of the virtual machine and click "Turn Off Computer" and wait it out.
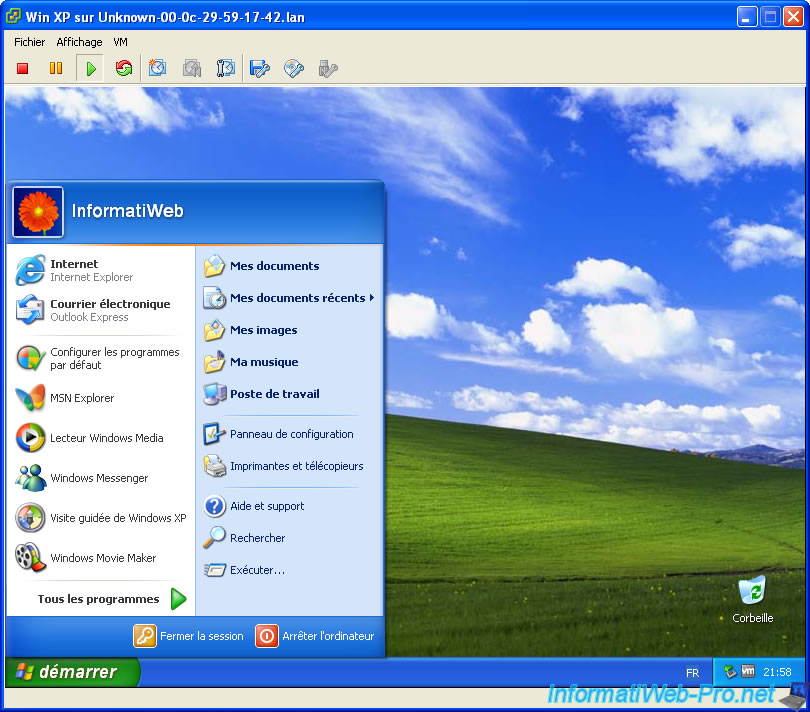
Once off our virtual machine, we'll show you how to shutdown your ESXi server itself.
5. Shutdown the server
To do this, go to the "Summary" tab and click "Enter in maintenance mode" and then : "Stop".
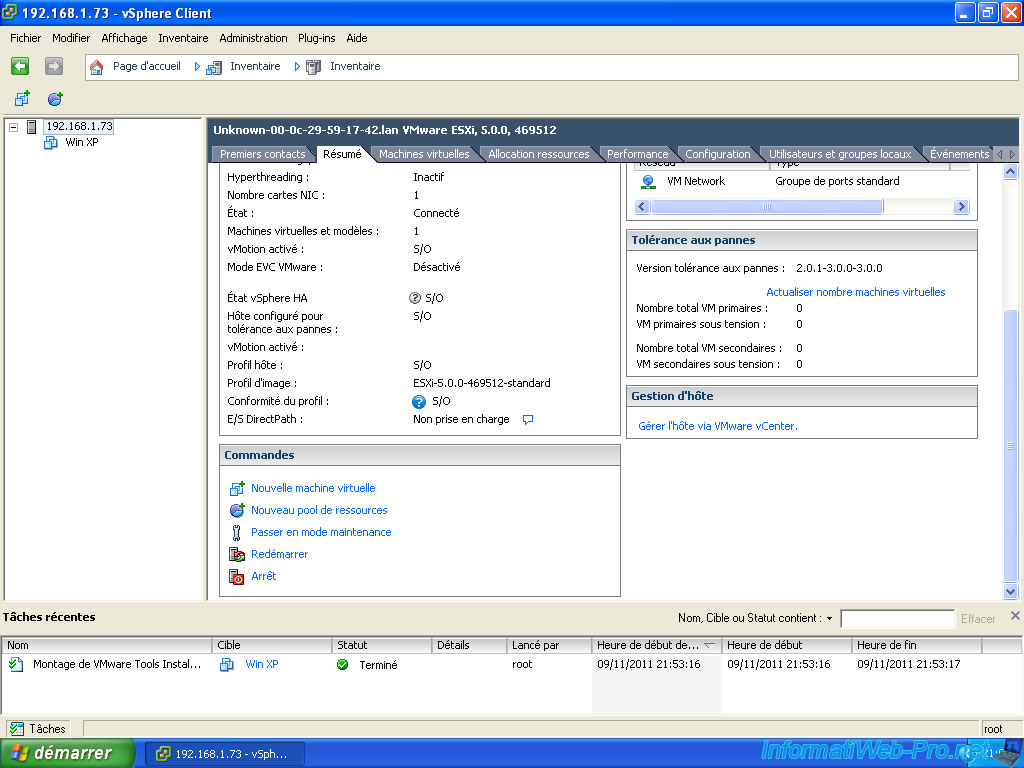
As with any server, you must always specify a reason for the stop. In case you did not know, a production server is almost never off and is under UPS to allow the server to continue to operate despite a power outage or when to shut down properly after a specified time for the case or power failure is too great, but it only works if the driver of the UPS is installed on the server and the shutdown script is configured. Because if the servers were not on any UPS power outage cut the PC abnormally and crashing the server that can't afford the professional world.
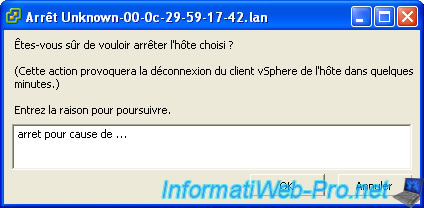
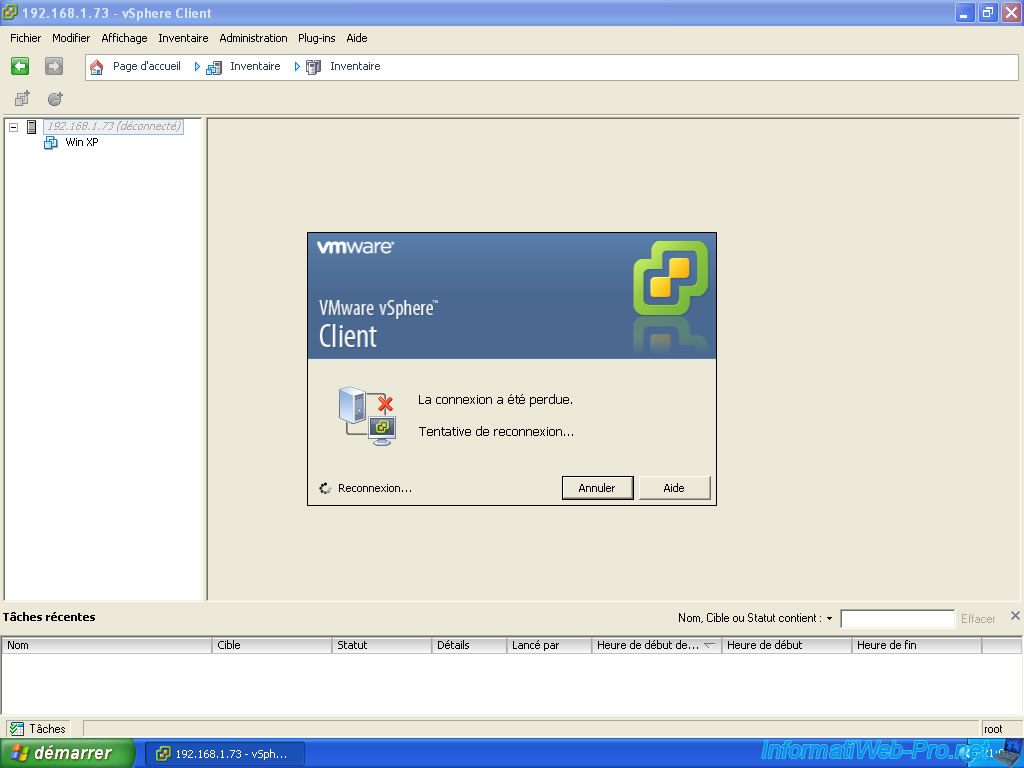
And finally, our client loses connection to the server as our server is going to stop. Click "Cancel" to exit the client and close the windows.
Well, now you know how to use your ESXi server.
Share this tutorial
To see also
-
VMware 5/19/2023
VMware ESXi 6.7 - Create an iSCSI datastore
-
VMware 12/2/2022
VMware ESXi 6.7 - Install and use the VMRC console on Linux
-
VMware 11/23/2022
VMware ESXi 6.7 - VMRC console (VMware Remote Console) presentation
-
VMware 8/19/2022
VMware ESXi 7.0 / 6.7 - Export and import VMs

No comment