- Parallels
- 2X AppServer
- 20 August 2012 at 16:21 UTC
-

- 1/2


First of all, this software is free but limited to 3 clients. In fact, when you download it on their site, you need to mention a valid email address where you receive a serial number to register the software for free once the trial version 30 days expired. During these 30 days you can use an unlimited number of customers, but this number will be limited to 3 at the end of this period. Against by the free license is valid for life as shown in the download page of this software "2X ApplicationServer XG".
Then this software is compatible with Windows Server 2000, 2003, 2008 and 2008 R2.
1. Server Installation
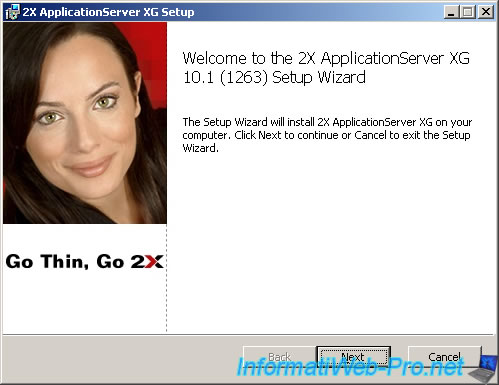
Accept the terms of the license.

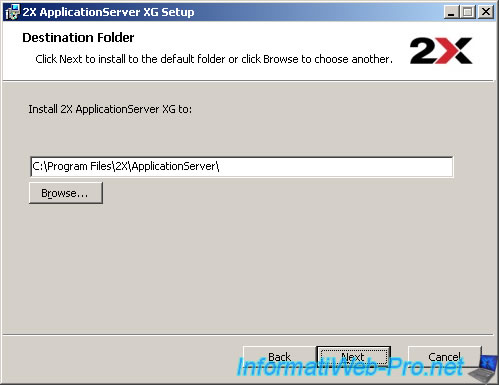
Select the folder in which to install 2X.
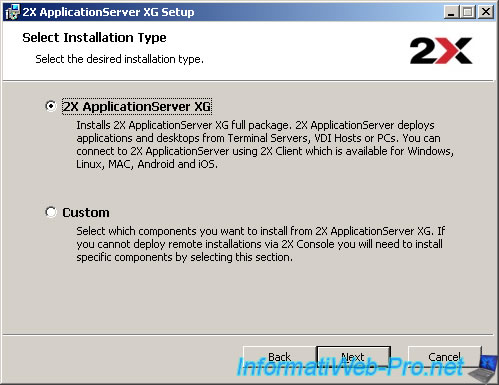
Select "2X ApplicationServer XG".
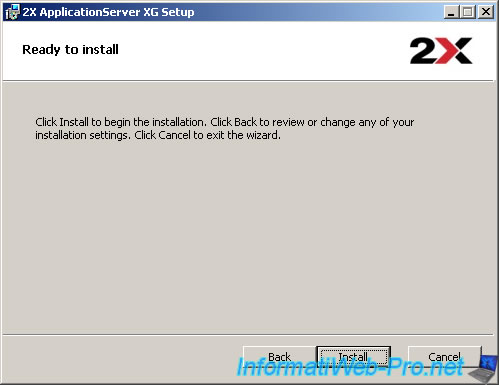
Click "Install".
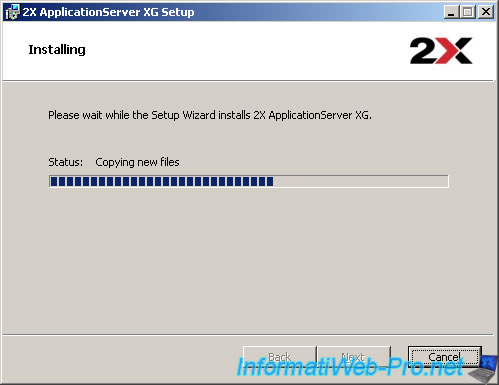
The wizard installs "2X ApplicationServer XG".
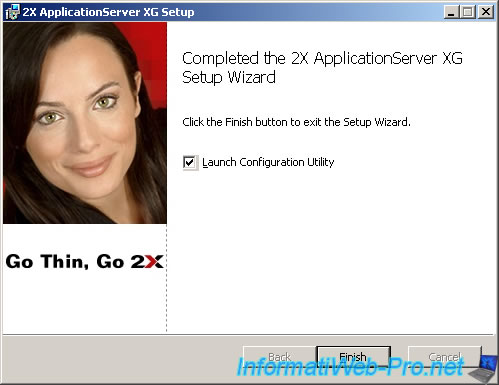
Check the "Launch Configuration Utility" (if this isn't the case) and click "Finish" box.
2. Server configuration
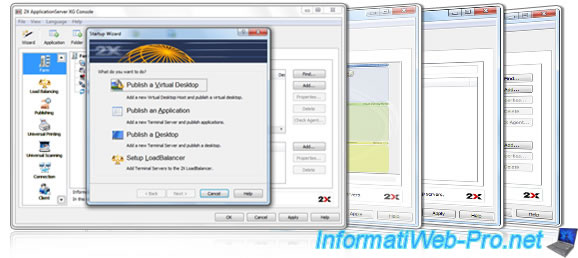
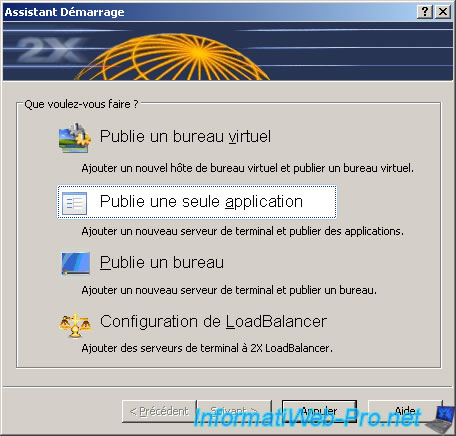
Select "Publish a single application".
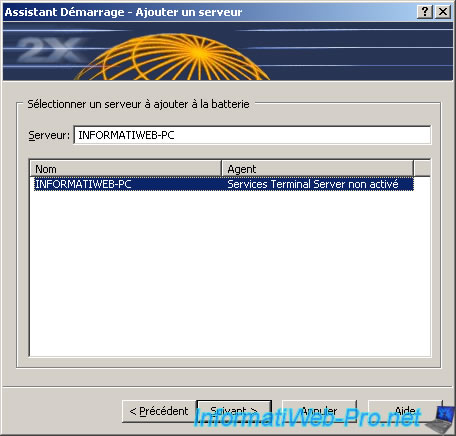
Select the server to add to the battery. If you look like the picture below that the Terminal Server service is not enabled, it must be enabled manually. We will do later in this tutorial.
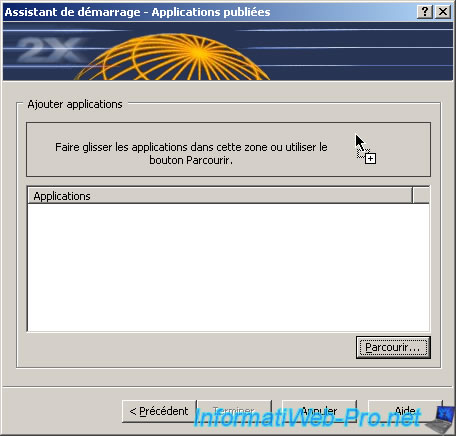
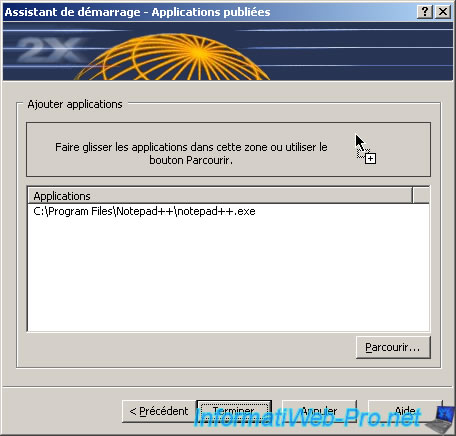
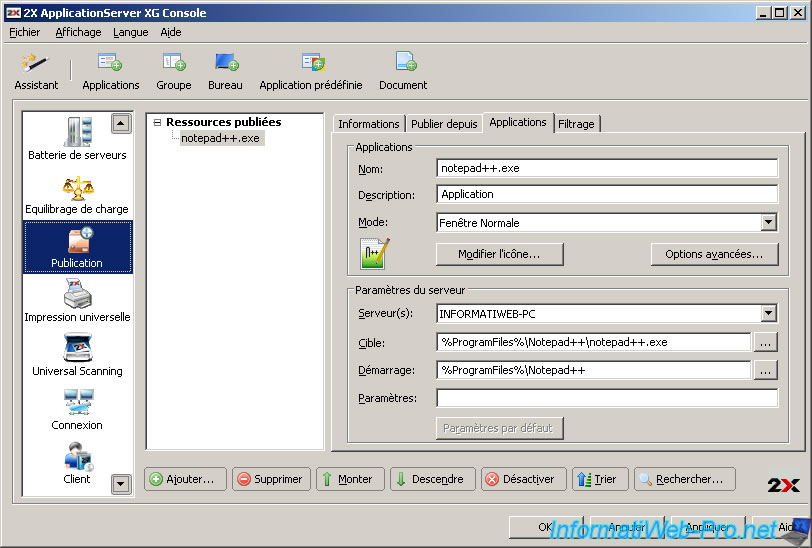
Click "Browse" and select the main "exe" program file to add.
Once selected applications, click "Finish".
Applications is published in the "Publish" tab. Click "Apply" to save the changes.
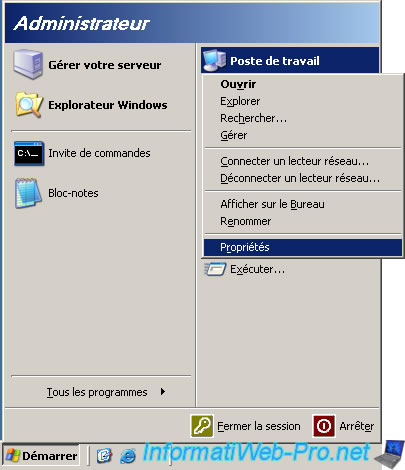
Then go to the start menu, right click on "My Computer" and click "Properties".
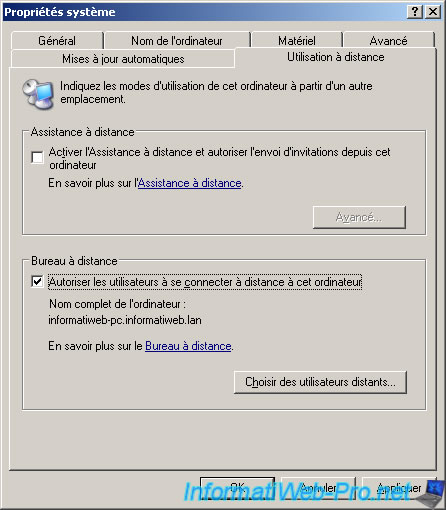
Go to the "Using Remote" tab and check the "Allow users to connect remotely to this computer".
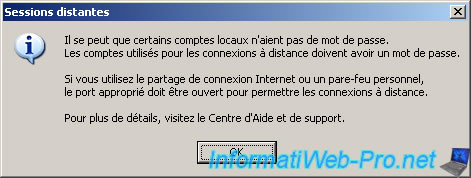
Windows notifies you that the remote connection can not be done via a user account without a password. Remote Desktop must be enabled in the firewall. Since this tutorial was created on Windows Server 2003, the firewall is not installed (which is risky, but the machine has not served for this tutorial).
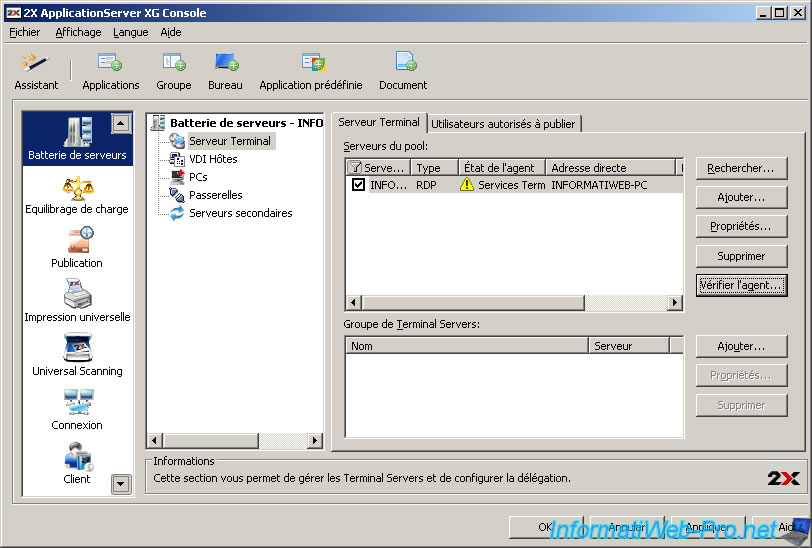
Go to the tab "server farm" and click on "Terminal Server". In the "Terminal Server", there must be a green "v"in the "Agent Status". If it isn't the case as shown in the image below, click on the button "Check the agent".
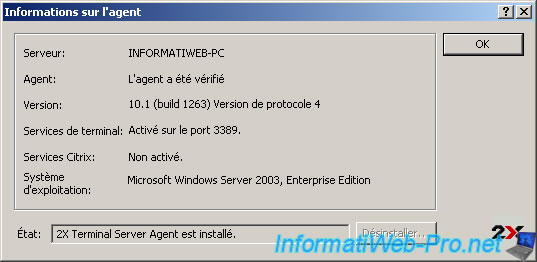
The state should be "2X Terminal Server Agent installed". Click OK.
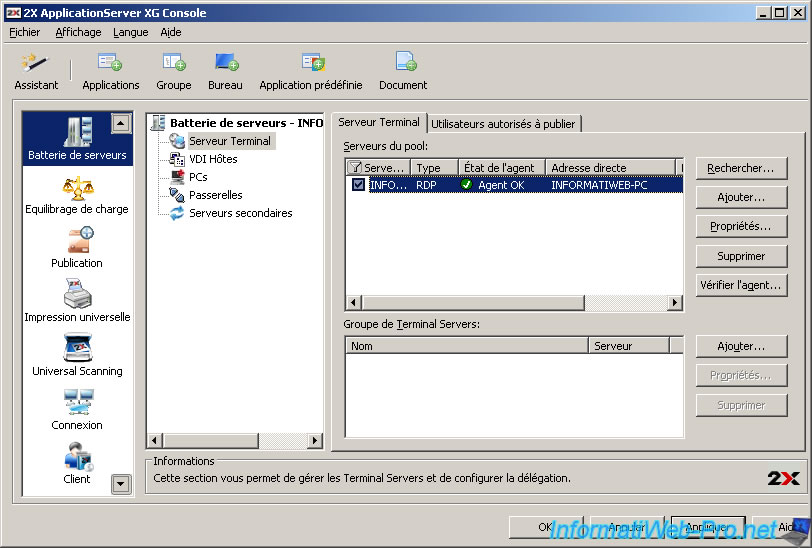
The agent status is now "Agent OK". Click OK to save changes and exit the window. The program continues to run in the background. The 2X icon remains visible in the system "systray" next time.
You must be logged in to post a comment