Active Directory authentication with Citrix XenServer 6.5
- Citrix
- Citrix XenServer
- 21 June 2017 at 09:04 UTC
-

- 2/3

4. Configuring NTP and DNS settings of the XenServer server
As mentioned in step 1 of the tutorial, you must synchronize the time of your XenServer with the same NTP server that your Active Directory server uses.
Because the NTP service is available by default on Windows Server-based Active Directory servers, you can synchronize the time of your XenServer with your Active Directory server.
In addition, to be able to join your XenServer server to your Active Directory server, you will need to specify the IP address of your Active Directory server as the primary DNS server of your XenServer.
To configure the NTP and DNS settings of your XenServer, you have two options :
- perform these configurations during the XenServer installation
- or perform these configurations after the installation with XenCenter
4.1. Configuration during the XenServer installation
During the XenServer installation, the installation wizard will prompt you to configure your server's network adapter.
Since all servers must use static IP addresses, take advantage of this to set a static IP address to your XenServer server.
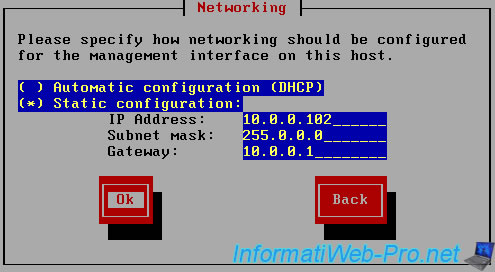
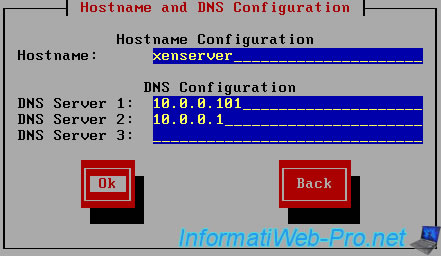
Then, specify an unique name for your XenServer and add at least 2 DNS servers :
- the IP address of your Active Directory server (thus, XenServer can resolve your Active Directory domain name)
- the IP address of your Box (or router) to resolve the domain names of the Internet
- optional : the IP address of a public DNS server, such as Google : 8.8.8.8 or 8.8.4.4
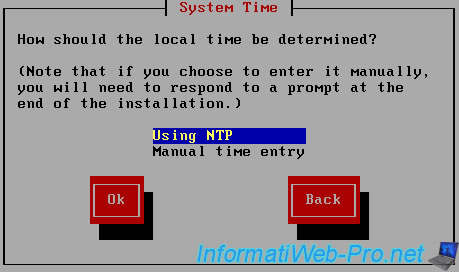
Then, the wizard will ask you whether you want to manually set the date and time, or if you want to synchronize the date and time of your XenServer server using a NTP server.
Since we are going to implement the Active Directory authentication, we will use a NTP server.
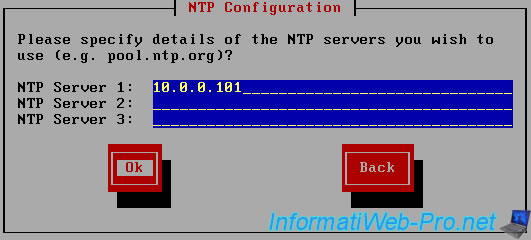
Specify the IP address of your Active Directory server as the NTP server.
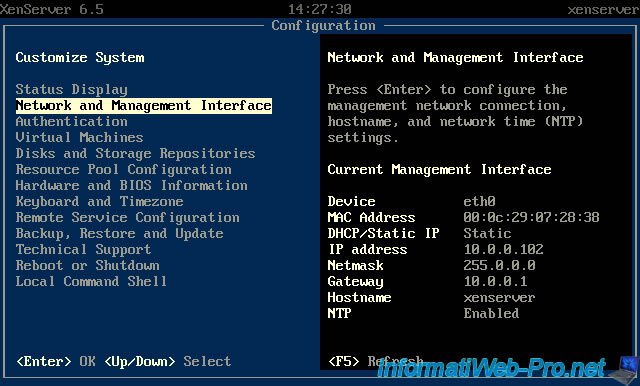
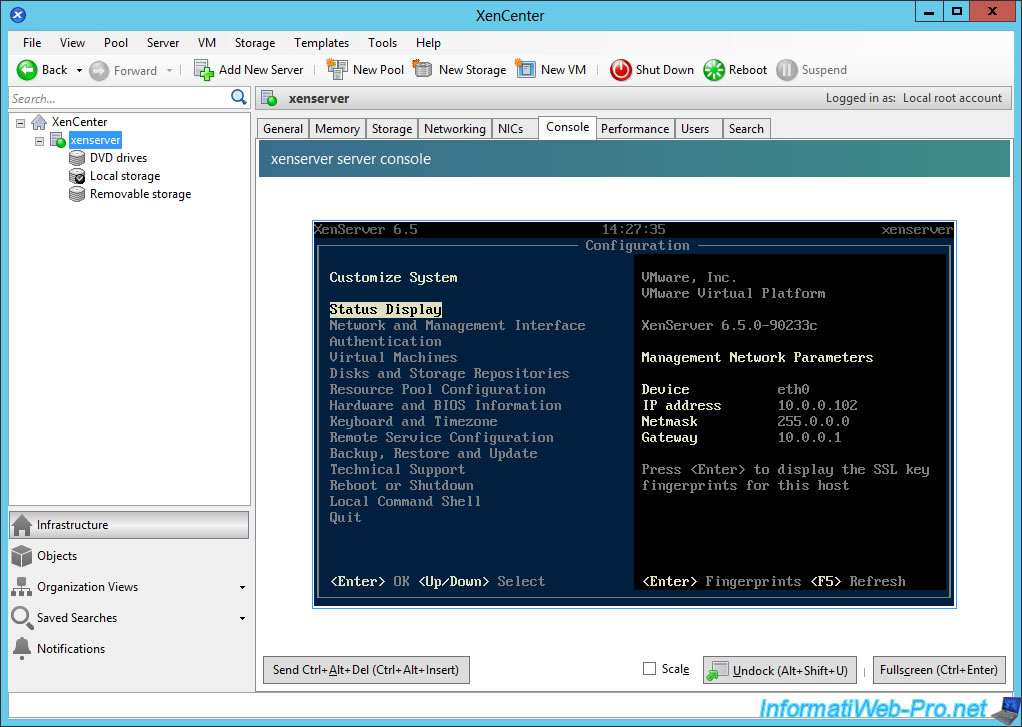
Once the installation is complete, go to the "Network and Management Interface" section and verify that the NTP option is set to "Enabled".
4.2. Configuration with XenCenter after installing XenServer
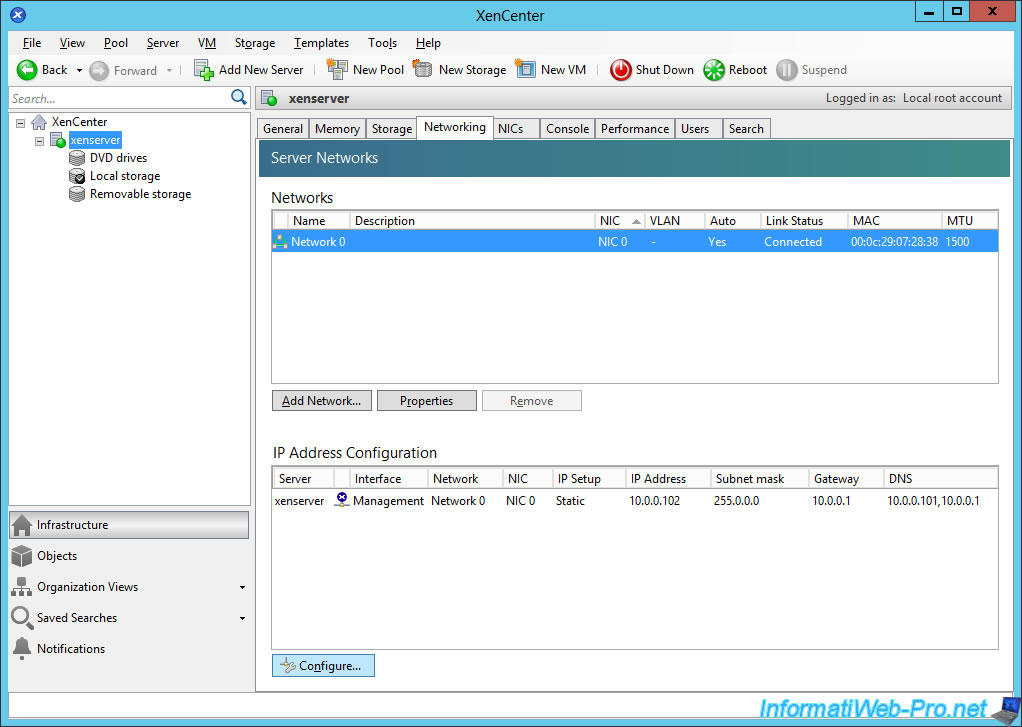
If your XenServer server is already installed, connect to your XenServer using XenCenter and select your XenServer server from the list on the left.
Then, go to the "Networking" tab and click on the "Configure" button at the bottom.
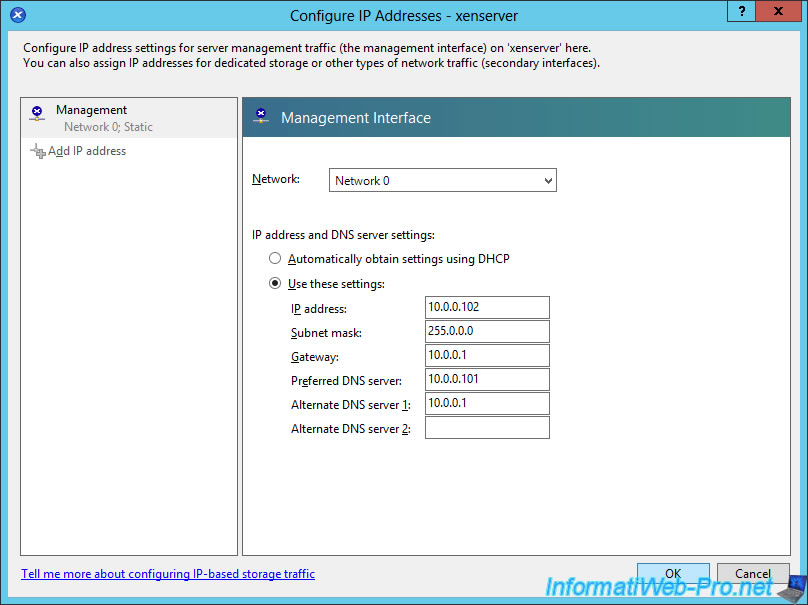
In the window that opens, you can :
- change the network configuration of your XenServer server
- change the DNS server (Preferred DNS server) of your XenServer server. Specify the IP address of your Active Directory server in this box.
- change the secondary DNS server (Alternate DNS server 1). Specify the IP address of your Box (or router) or a public DNS server, such as 8.8.8.8 or 8.8.4.4 that correspond to Google's public DNS servers.
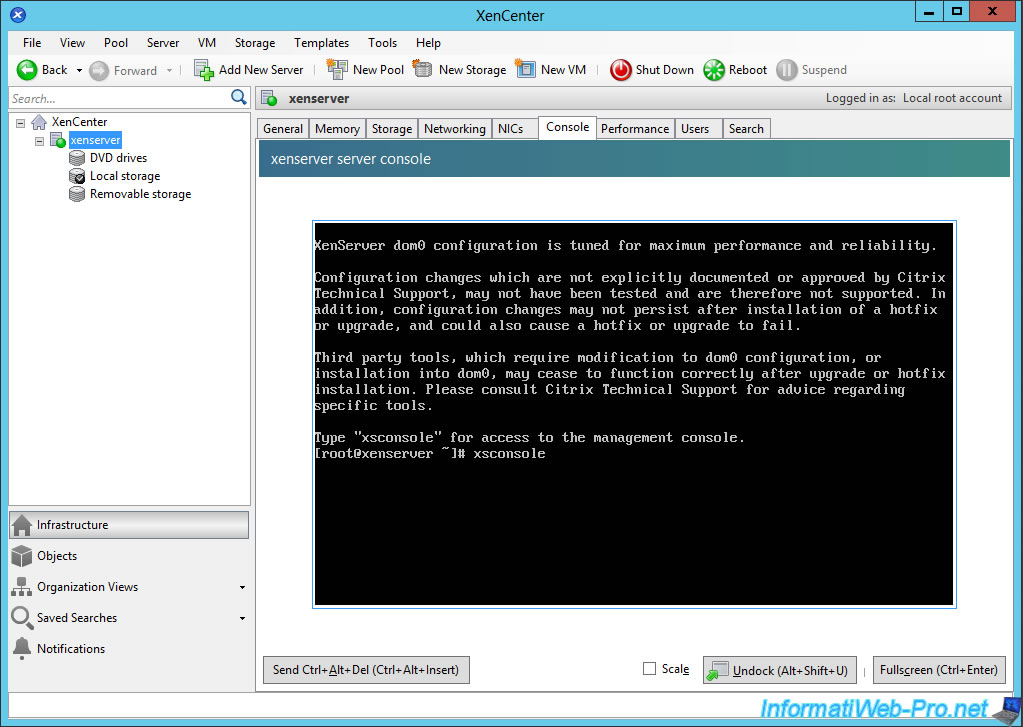
To configure the NTP server, go to the "Console" tab, press Enter and type this to display the XenServer console :
Bash
xsconsole
Then, follow the "Synchronize the date/time of your servers by NTP" section of our tutorial : XenServer - Pools and high availability (HA)
5. Adding users and groups to the Active Directory
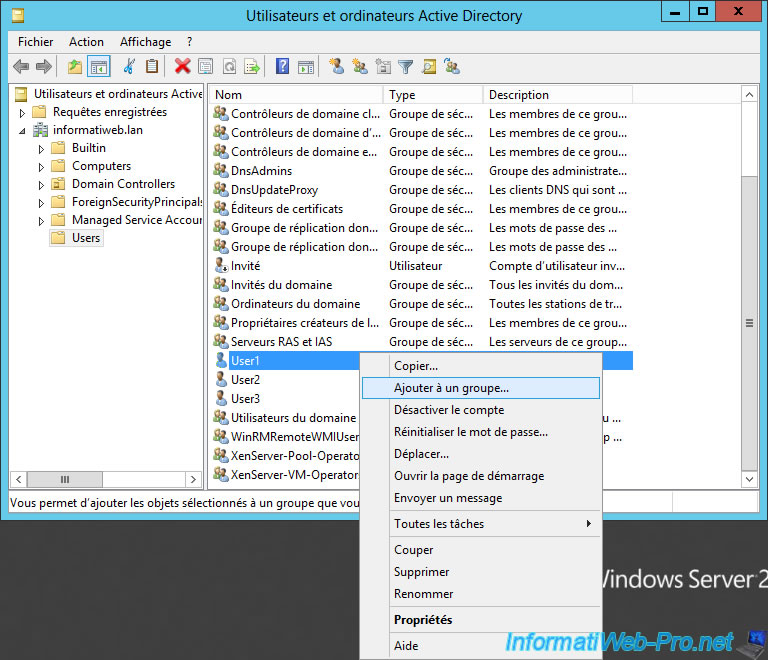
Since XenServer will authenticate our users with our Active Directory, we will create :
- 3 users : User1, User2 and User3
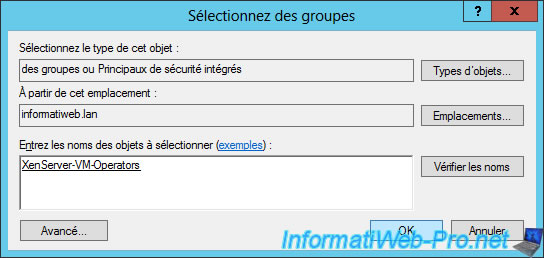
- and 2 groups : XenServer-Pool-Operators and XenServer-VM-Operators

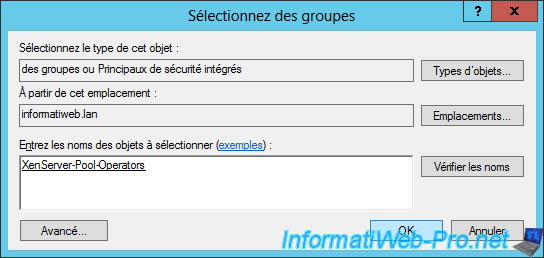
Next, we will add the "User1" user to the "XenServer-Pool-Operators" group.
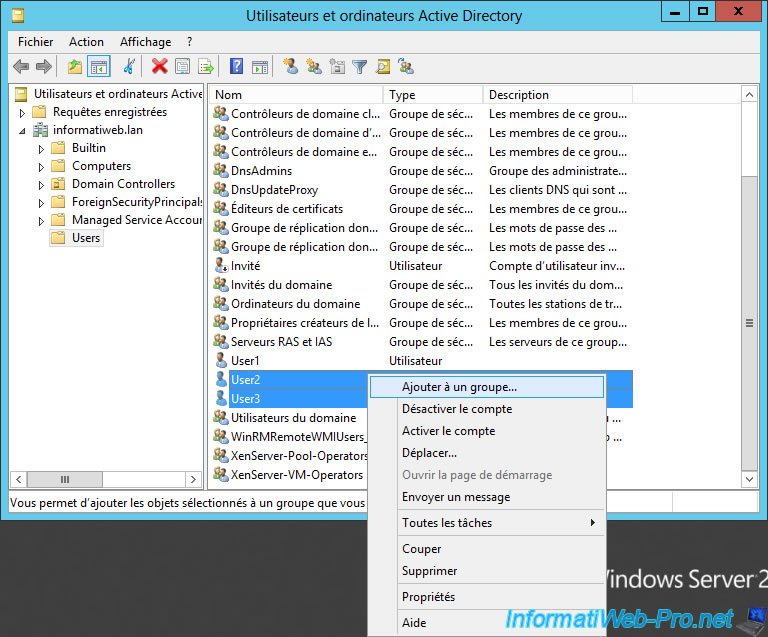
And add the "User2" and "User3" users to the "XenServer-VM-Operators" group.
6. Join the XenServer server to the Active Directory
Log in to your XenServer server using the root account.
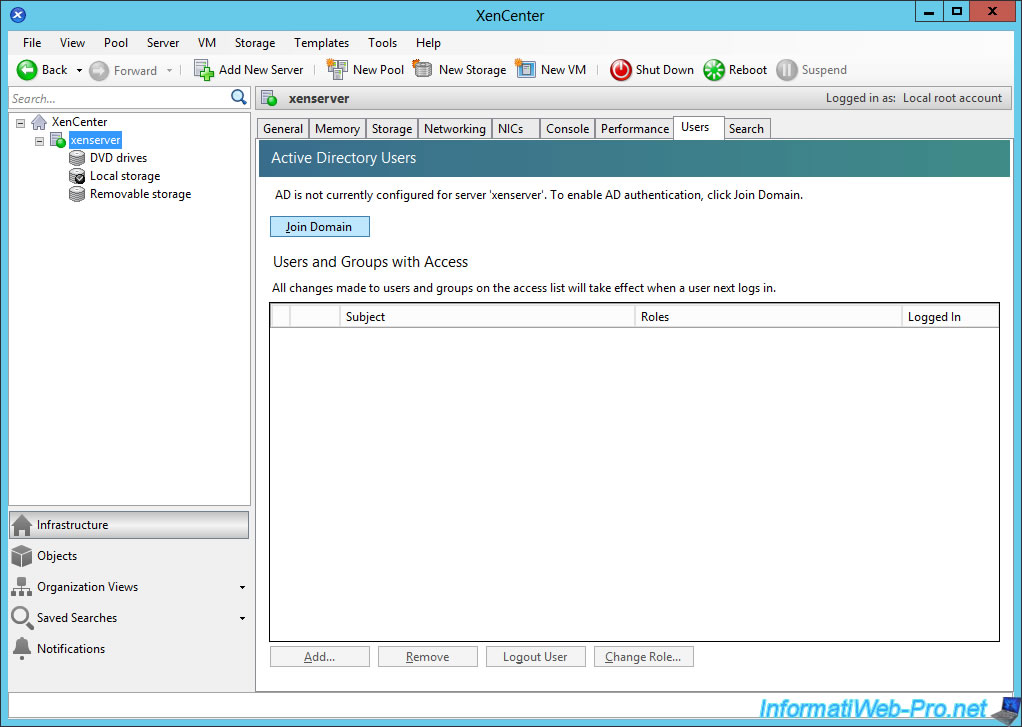
Then, select your XenServer server from the list on the left and go to the "Users" tab.
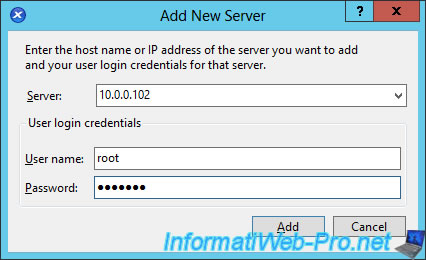
In this tab, click the "Join Domain" button.
Specify the domain name of your Active Directory to which you want to join your XenServer server and specify the credentials of an account that is authorized to join a machine to the domain.

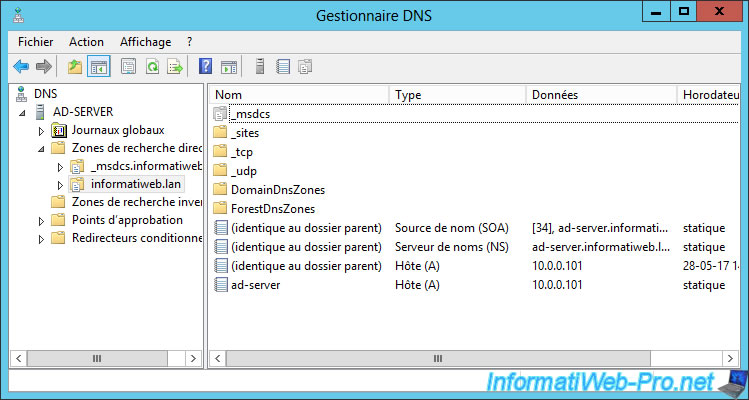
Once your XenServer server will be a member of your domain, you will see that a computer object with its name appears in your Active Directory.
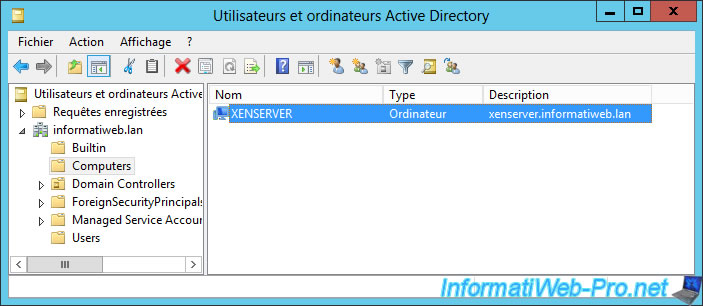
However, the associated DNS record may not be created automatically for your XenServer server.
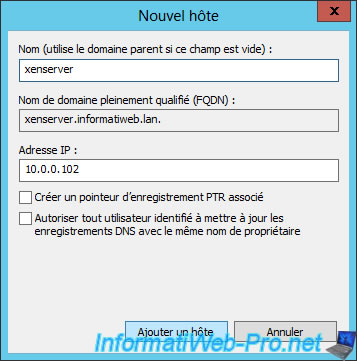
If the DNS record doesn't exist for your XenServer, create a new A record in the Forward Lookup Zone (domain name -> IP address) of your local DNS server.
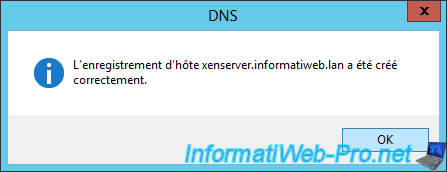
Enter the name of your XenServer server and its IP address and click "Add Host".
Share this tutorial
To see also
-
Citrix 12/30/2014
Citrix XenServer 6.2 - Installation, configuration and updates
-
Citrix 4/30/2015
Citrix XenServer 6.5 - Secure the connection using SSL (HTTPS)
-
Citrix 6/13/2017
Citrix XenServer 6.5 - Updating the server
-

Citrix 5/21/2016
Citrix XenServer 6.5 - VGA passthrough
No comment