Create a virtual desktop infrastructure (pooled virtual desktops) on Windows Server 2012 / 2012 R2 - RDS - VDI
- Windows Server
- 27 December 2019 at 12:53 UTC
-

- 3/6
6. Create a collection of virtual desktops
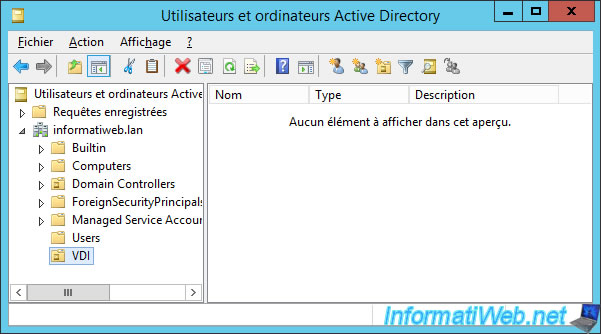
When you create a collection of virtual desktops, the wizard will ask you in which organizational unit (which folder) you want to store them.
This will later allow you to apply group policies to a collection of virtual desktops, for example.
In our case, we created an organizational unit called VDI.
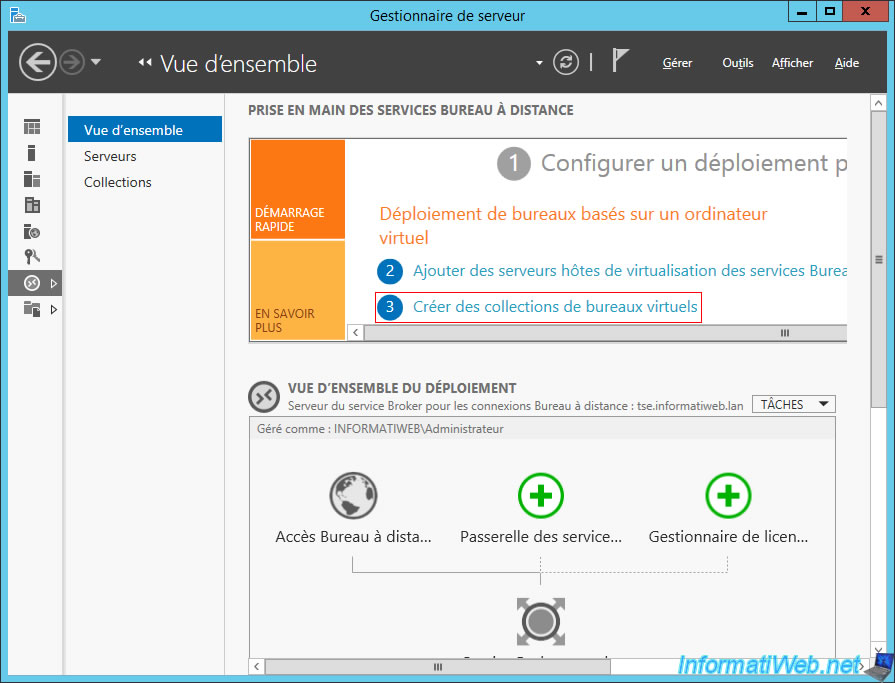
On your RDS server, go to Server Manager -> Remote Desktop Services -> Overview.
Then, click : Create virtual desktop collections.
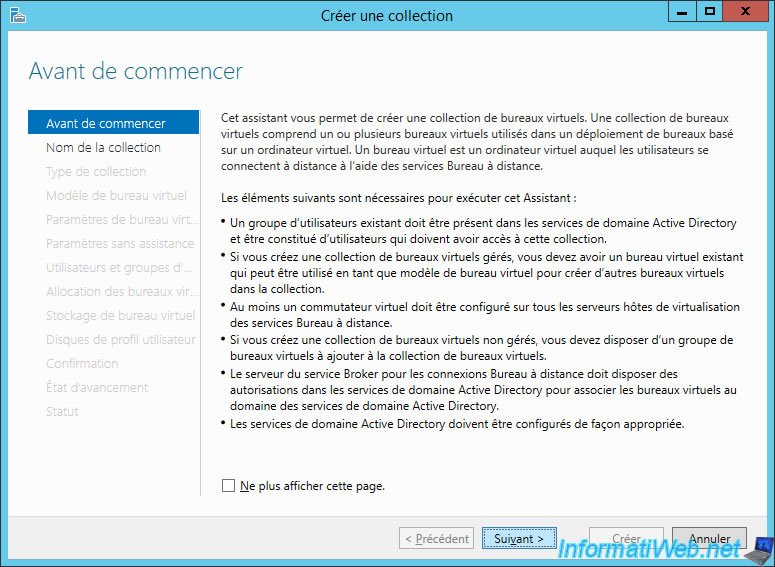
The "Create Collection" wizard is displayed.
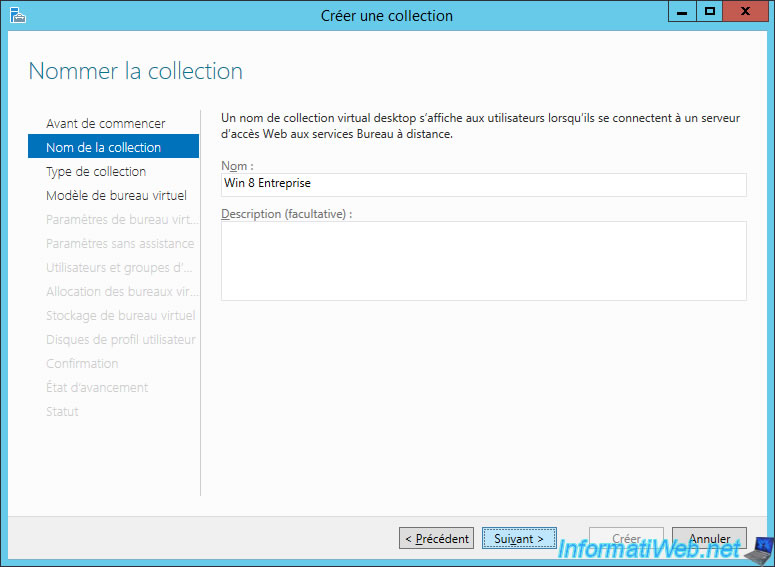
Enter a name for this collection.
In our case, we indicated : Win 8 Enterprise
Note : this is the name that will be displayed in the web access for your users.
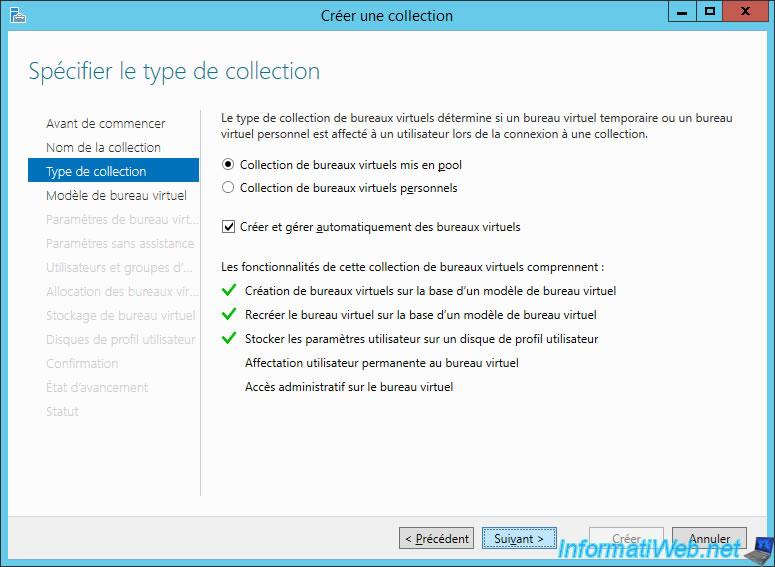
For the collection's type, you have the choice between :
- Pooled virtual desktop collection : virtual desktops will be dynamically assigned and unassigned based on their usage by your users.
- Personal virtual desktop collection : allows you to assign a virtual desktop to each user permanently. Once the virtual desktop is assigned to a user, it can no longer be used by other users even if the original user doesn't use it at this time.
In this tutorial, we will create a pooled virtual desktop collection.
The other possibility will be covered in a future tutorial.
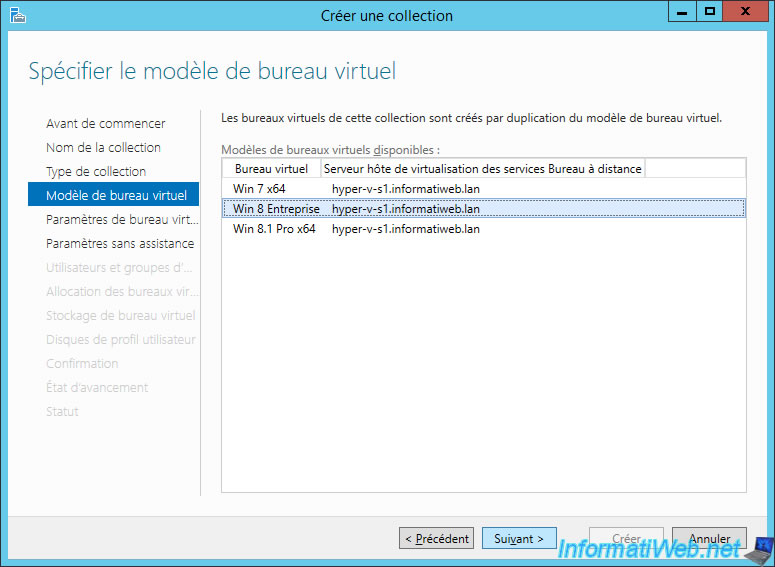
To create a virtual desktop collection, you must choose which virtual machine will serve as a template.
Important : the virtual machine selected here must be of generation 1 and have been prepared using sysprep.
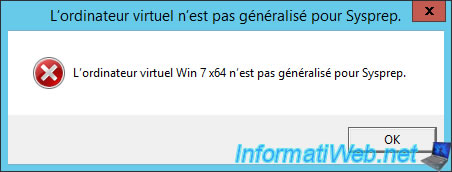
If you didn't launch sysprep on the selected virtual machine, this error will be displayed : The virtual desktop [name] is not Sysprep generalized.
For virtual desktop settings, you can choose a sysprep answer file to automatically configure Windows (unattended install).
Or choose to specify them directly in this wizard by selecting the "Provide unattended installation settings" option.
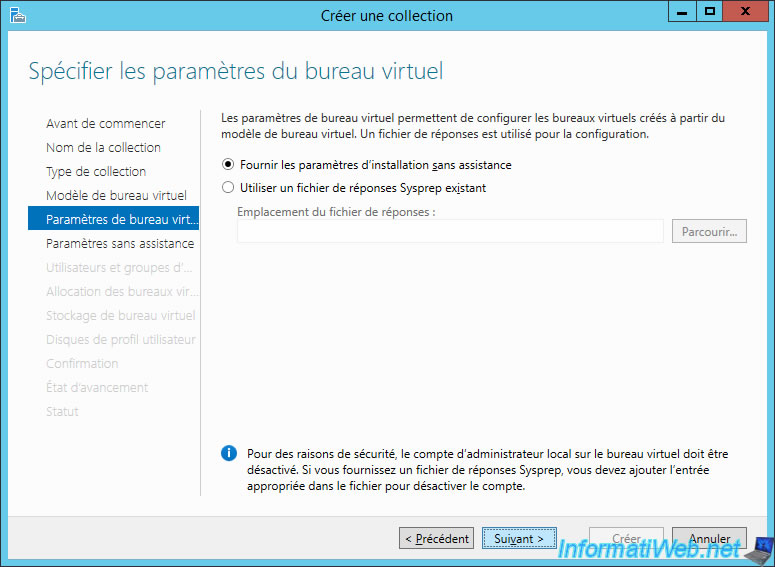
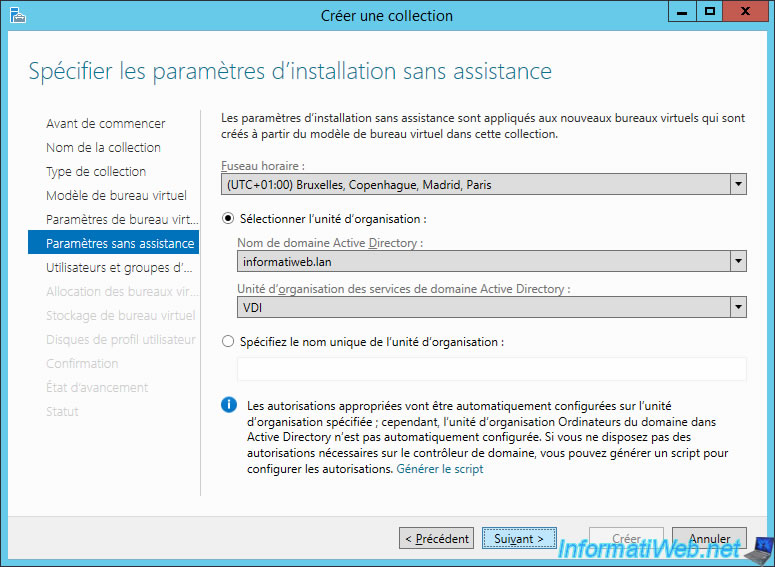
If you selected the "Provide unattended installation settings" option, the wizard will ask you :
- the time zone to use
- the Active Directory domain name to which you want to link your virtual desktops
- the OU in which you want to create computer accounts for these
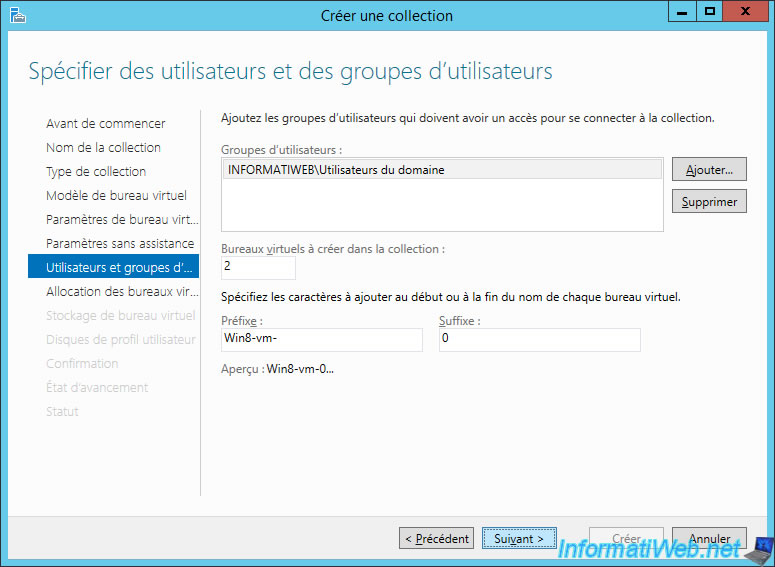
At the "Specify users and user groups" step, you will be able to :
- select the user groups that will be able to access these virtual desktops
- choose the number of virtual desktops to create in the collection. This will be the maximum number of users that will be able to use these virtual desktops simultaneously.
- choisir comment seront nommés les bureaux virtuels. Dans notre cas, nous aurons donc 2 bureaux virtuels nommés respectivement : Win8-vm-0 et Win8-vm-1.
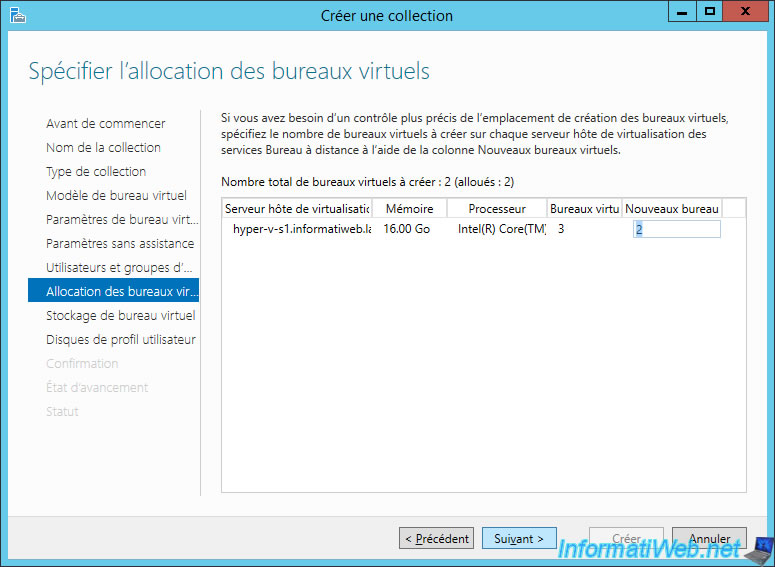
Since we have only one virtualization host (Hyper-V server), we will create all of them on the same server.
However, if you have multiple Hyper-V servers with the "virtualization host" role, you can distribute them to better manage the resources of your servers and the performance of your virtual desktops.
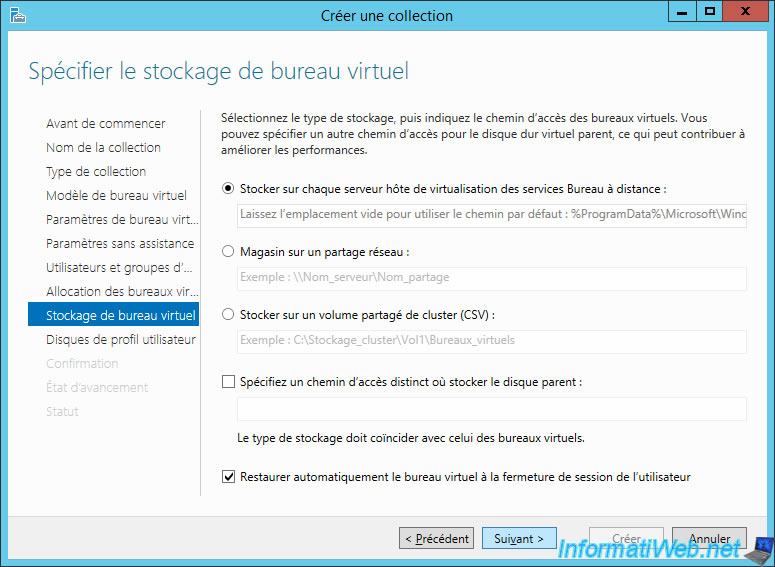
Since the wizard will create copies of the selected computer at the "Virtual Desktop Template" step, you will need to choose where you want to store these copies :
- store on each RD Virtualization Host server : each virtual desktop will be stored on the virtualization host server that will host it (at resource level : hard disk, RAM, and CPU)
- store on a network share : this allows you to store copies on a file server that would be protected by hardware RAID and/or high availability (real-time data replication on a secondary file server)
- store on a Cluster Shared Volume (CSV) : this is only possible on a failover cluster
Since these virtual desktops are pooled in our case, users will not necessarily get to the same virtual desktop each time (even if the user will not be aware of it).
It also means that the data created by your users will not be stored in the virtual desktop, but in a user profile disk.
It's therefore advisable to check the "Automatically roll back the virtual desktop when the user logs off" box. This also avoids having to repair a virtual desktop in the event that a user has done a bad job on it.
As previously stated, the changes made by the users will be stored in a user profile disk.
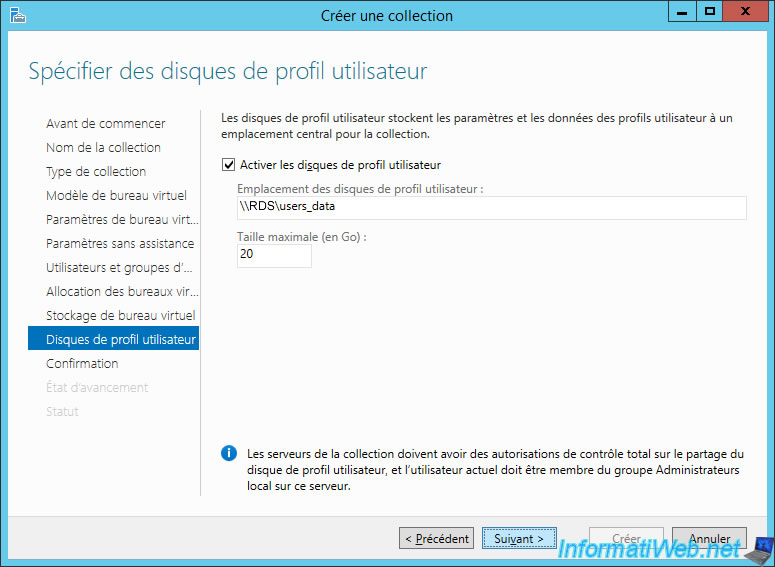
In order for these changes to be maintained over the days, you must check the "Enable user profile disks" box.
Then, specify the network path of the previously created shared folder (at step : 5. Storage of user profile disks).
Note the maximum size limits the data of each user to a precise size (default : 20 GB).
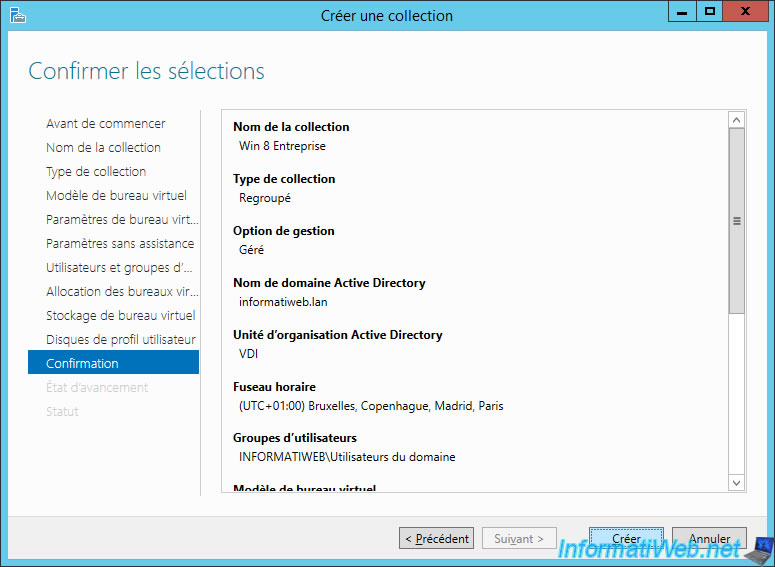
The wizard displays a summary of the configuration of your virtual desktops.
Click Create.
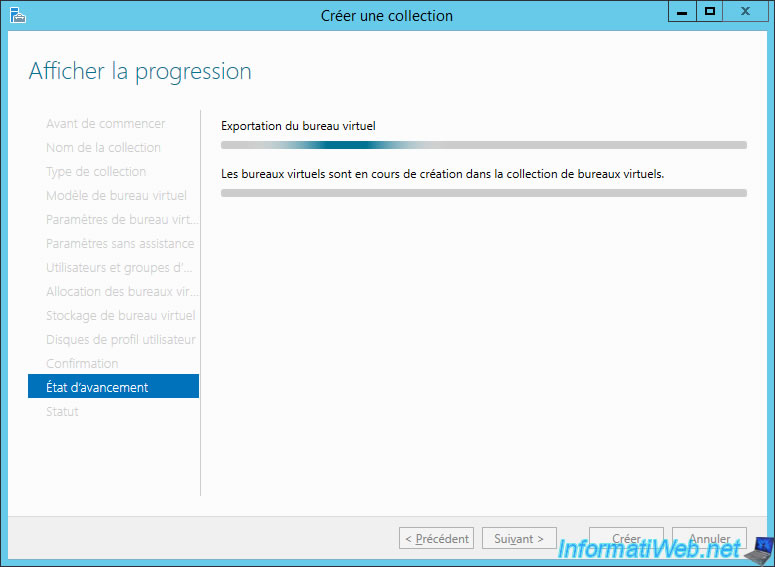
To begin, the wizard will export your virtual desktop.
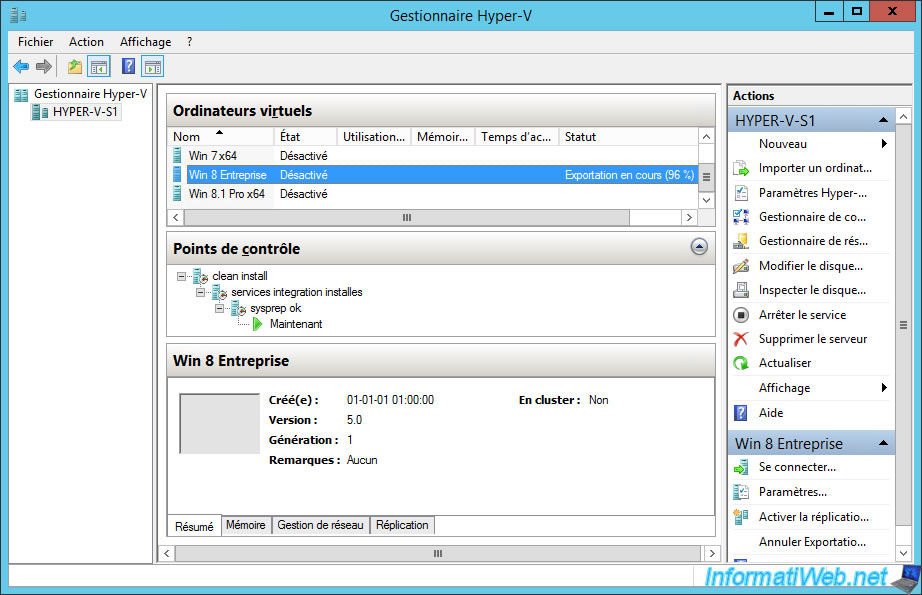
On your Hyper-V server, you will see that the virtual machine being templated will be being exported.
Then, the wizard will create the virtual desktops on your Hyper-V server.
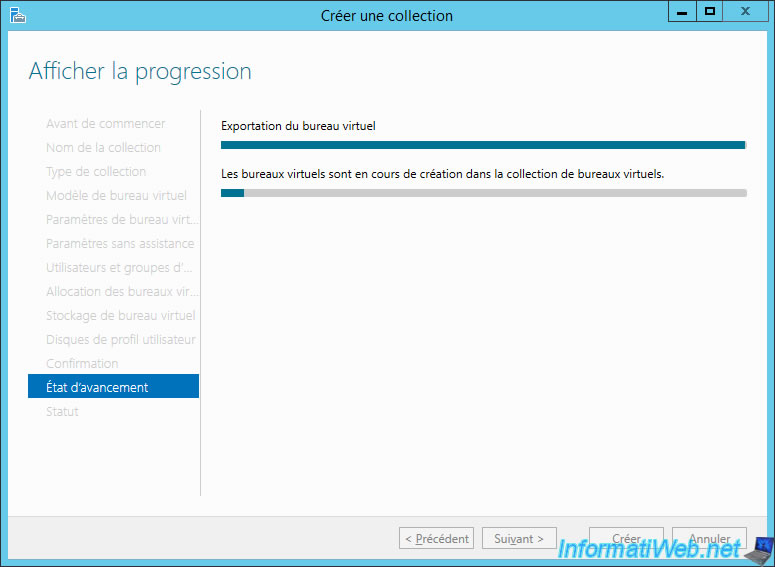
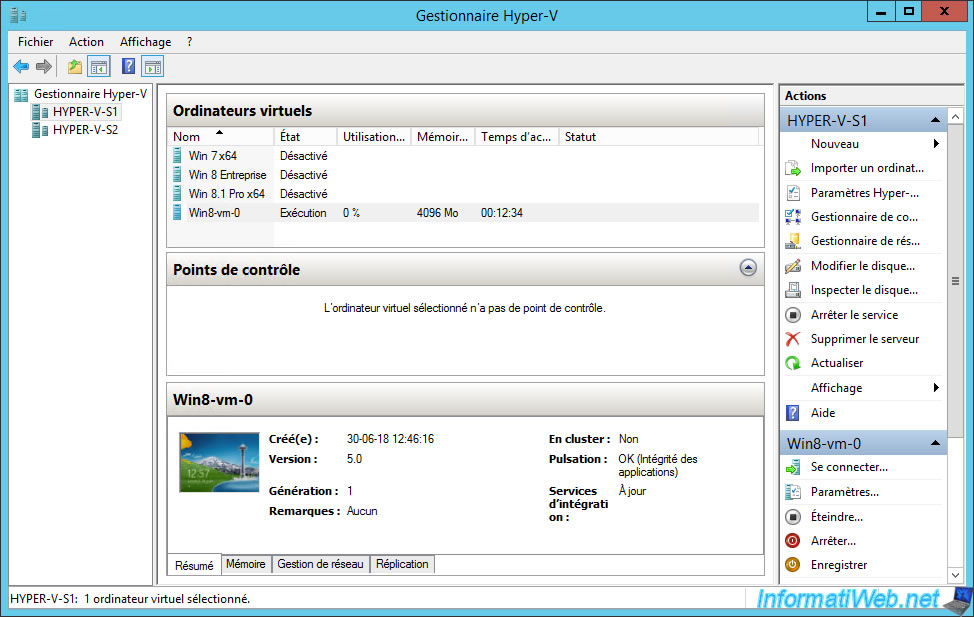
At that moment, you will see a 1st additional virtual machine (in our case : Win8-vm-0).
Thanks to the thumbnail, you can follow the beginning of its creation (and thus, detect a possible blue screen that would occur). This is very useful, otherwise you may lose 3 quarters of an hour of your time waiting unnecessarily until the wizard finally tells you that an error occurred during the creation virtual desktops.
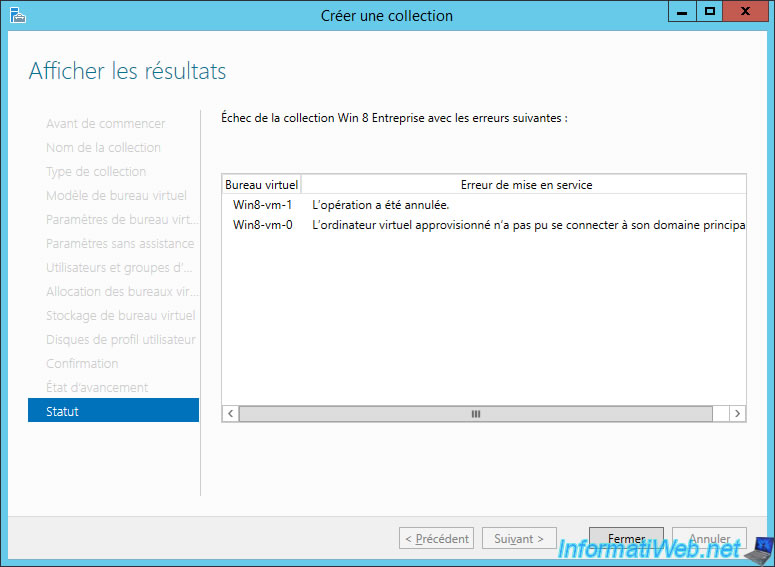
If the bottom bar doesn't move a millimeter for 15 minutes, there may be a problem with the virtual desktop generated by the wizard.

This happens especially when the created virtual desktop cann't connect to your Active Directory server.
In this case, the wizard will tell you, but after a long time : The provisioned virtual machine could not connect to its primary domain.
To solve the problem, verify that your Active Directory server is reachable by the virtual desktop and that your DHCP server is configured to send the IP address of your Active Directory server as the primary DNS server.
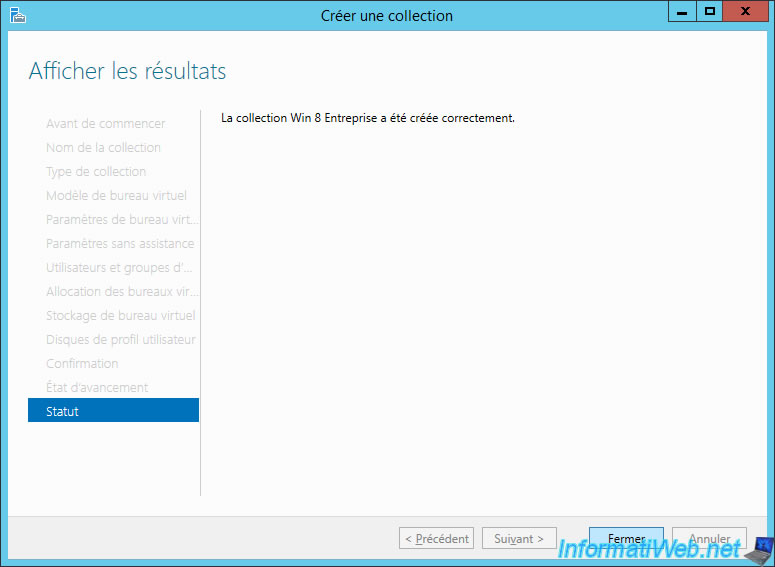
If all goes well, the "The collection [name of the collection] has been created correctly" message will be displayed.
On your RDS server, you will see that you have a "Win 8 Enterprise" collection containing 2 virtual desktops of type "Pooled Managed".
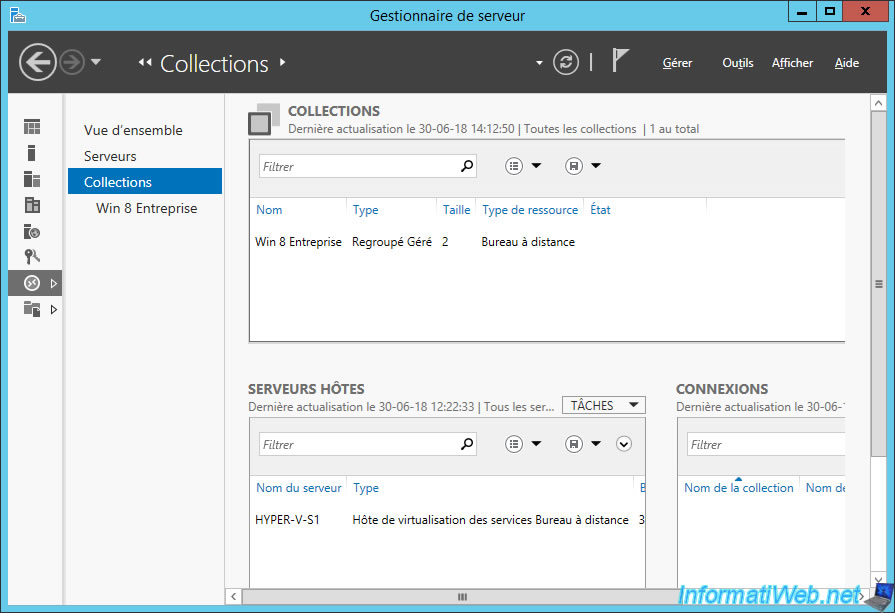
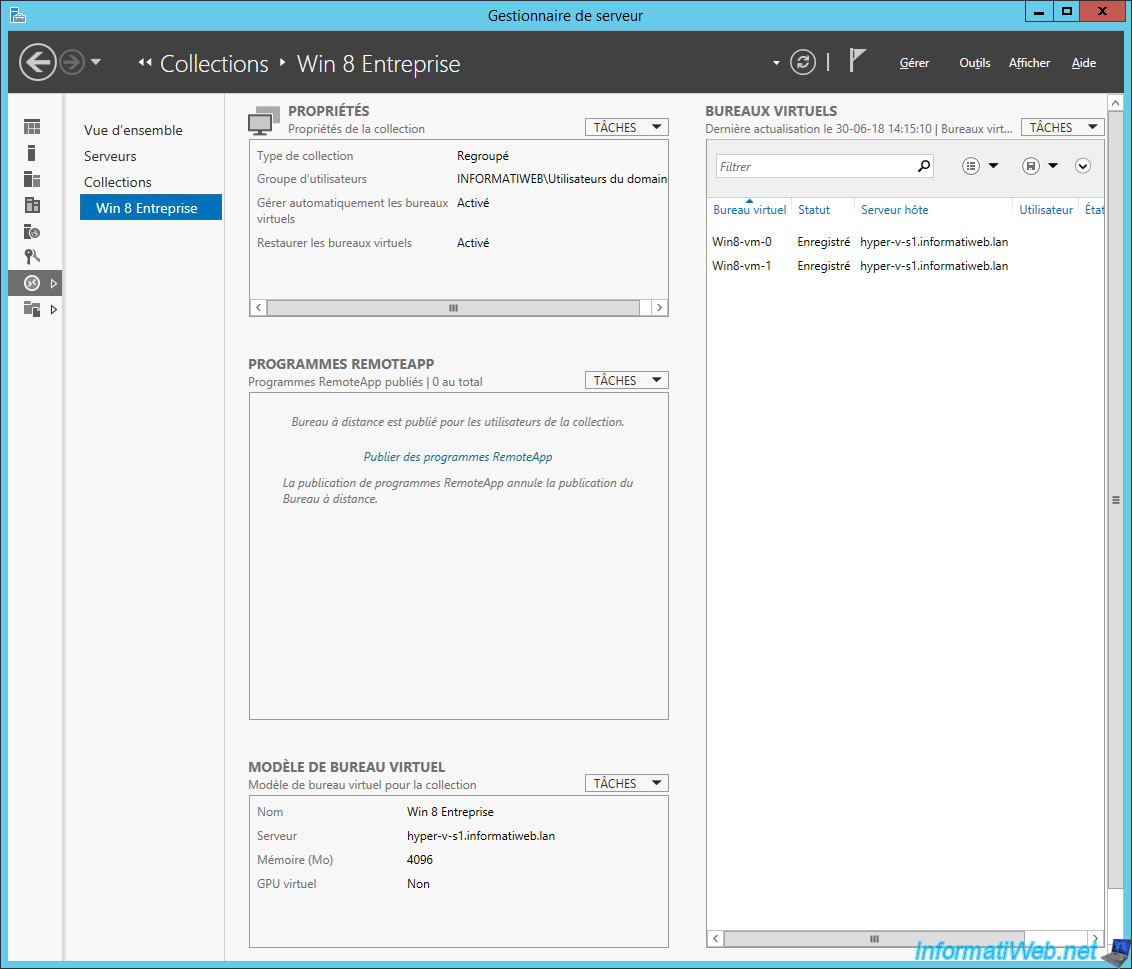
If you choose your collection on the left, you will see :
- the properties of these virtual desktops : the collection type, the user group allowed to access them, whether the desktops are automatically managed and whether they will be roll back automatically
- if RemoteApp applications are published from this desktop collection. Warning : publishing RemoteApp applications will cancel the remote desktop publishing.
- the name of the collection, the server hosting the virtual desktops, the amount of RAM allocated and whether a graphics card is dedicated to them or not
- the list of virtual desktops available, their status (registered, running, ...) and to which users they are assigned (if any)
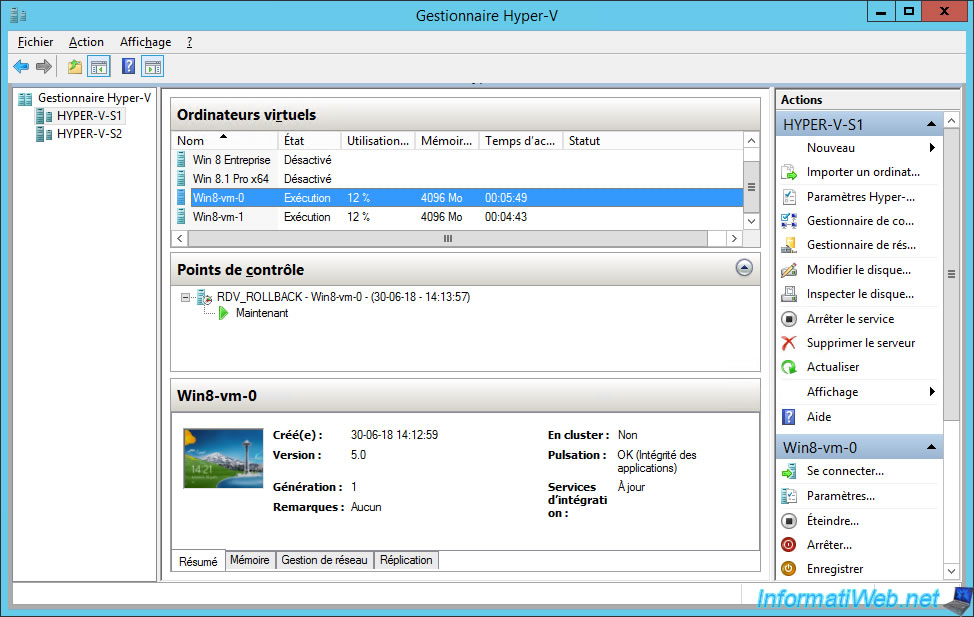
On your Hyper-V server, you will find your virtual desktops (Win8-vm-0 and Win8-vm-1 in our case).
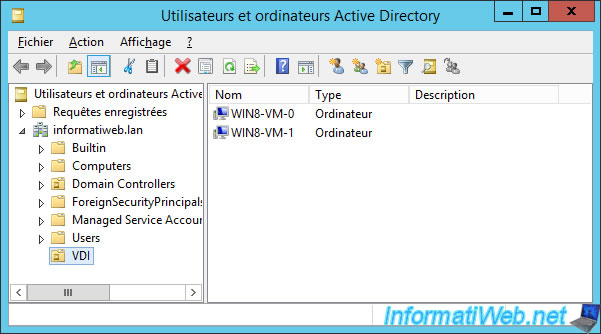
On your Active Directory server, you will find the computer accounts for your virtual desktops.
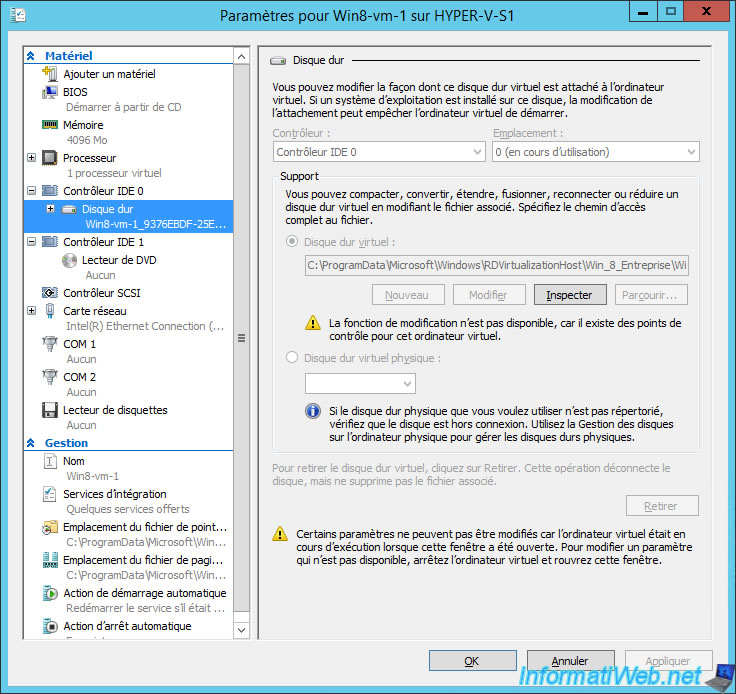
In the settings of your virtual desktops, you will see where their hard disks are stored.
In our case, this is the "C:\ProgramData\Microsoft\Windows\RDVirtualizationHost\Win_8_Entreprise\..." of our Hyper-V server.
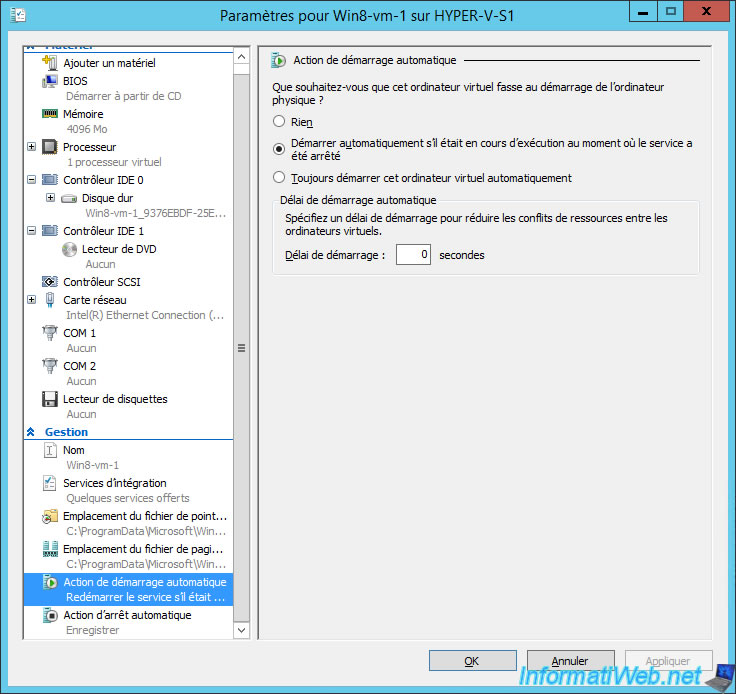
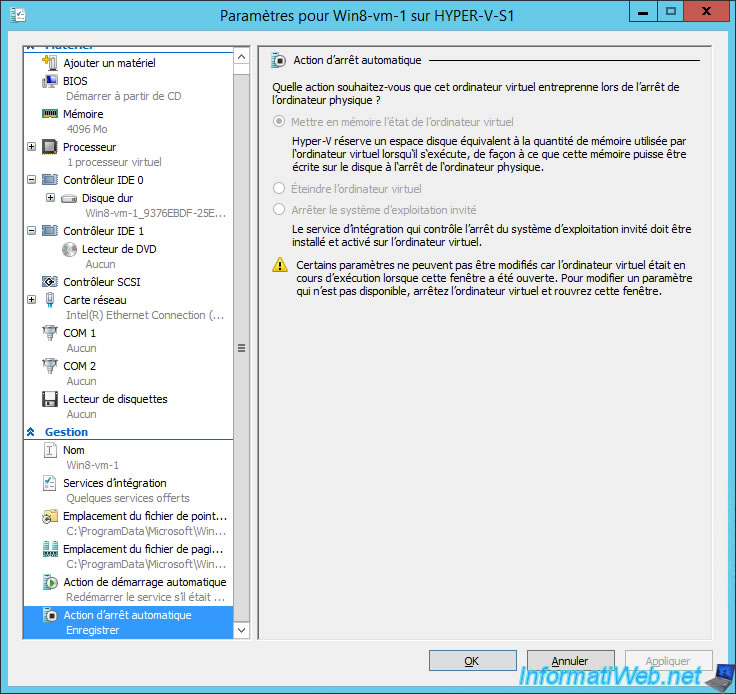
If you look at the startup and shutdown options, you will see that the virtual desktops are configured to :
- start automatically when the Hyper-V server starts if they were running when the Hyper-V server was stopped
- be stored when the Hyper-V server is stopped. (This will restart the virtual desktops in a very short time when you restart the Hyper-V server.)

No comment