Create a virtual desktop infrastructure (pooled virtual desktops) on Windows Server 2012 / 2012 R2 - RDS - VDI
- Windows Server
- 27 December 2019 at 12:53 UTC
-

- 2/6

4. Preparing the virtual machine for creating virtual desktops
Before creating your virtual machine on your Hyper-V server, be aware that virtual desktops can only be created for Generation 1 virtual machines.
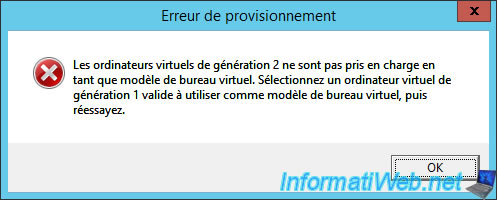
Otherwise, when you try to create the virtual desktops, you will get this provisioning error :
Plain Text
Generation 2 virtual machines are not supported as a virtual desktop template.
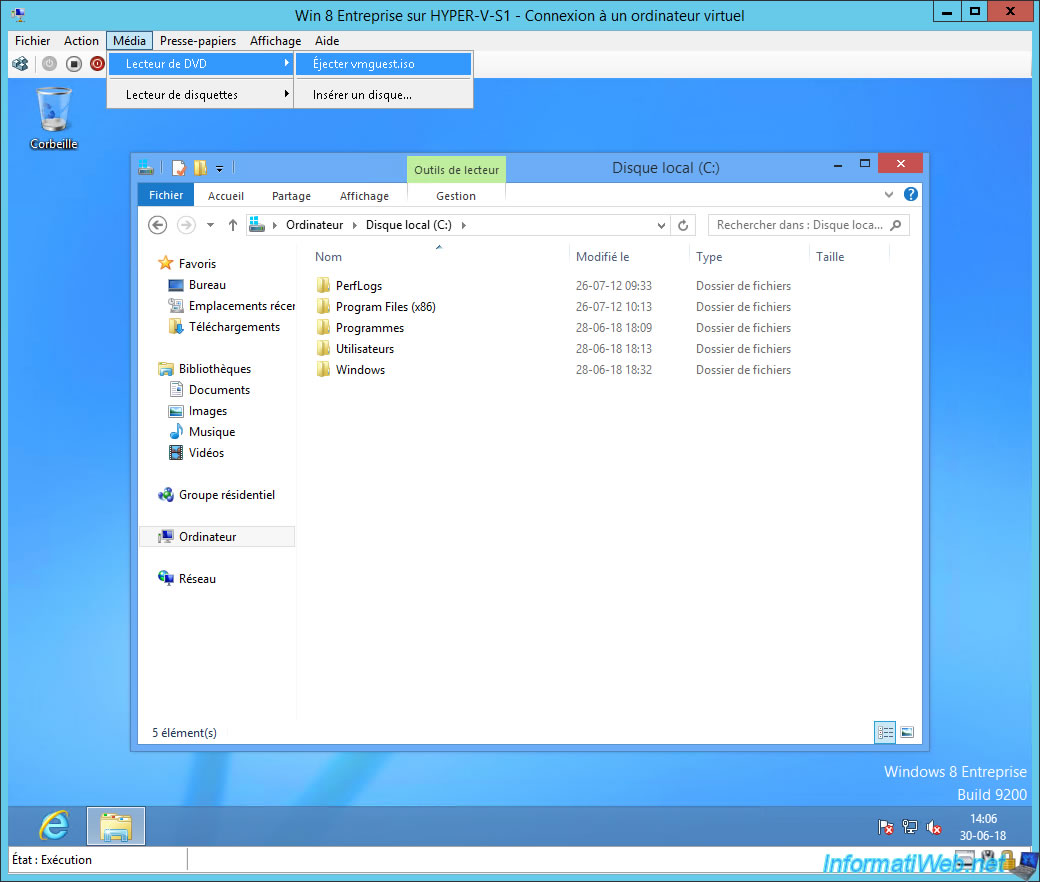
After you install Windows and the integration services provided by Hyper-V and configure this virtual machine, eject the CD from the virtual CD drive and shut down the virtual machine.
Enable RemoteFX to get better graphics performance if you want (if it's supported by the guest operating system).

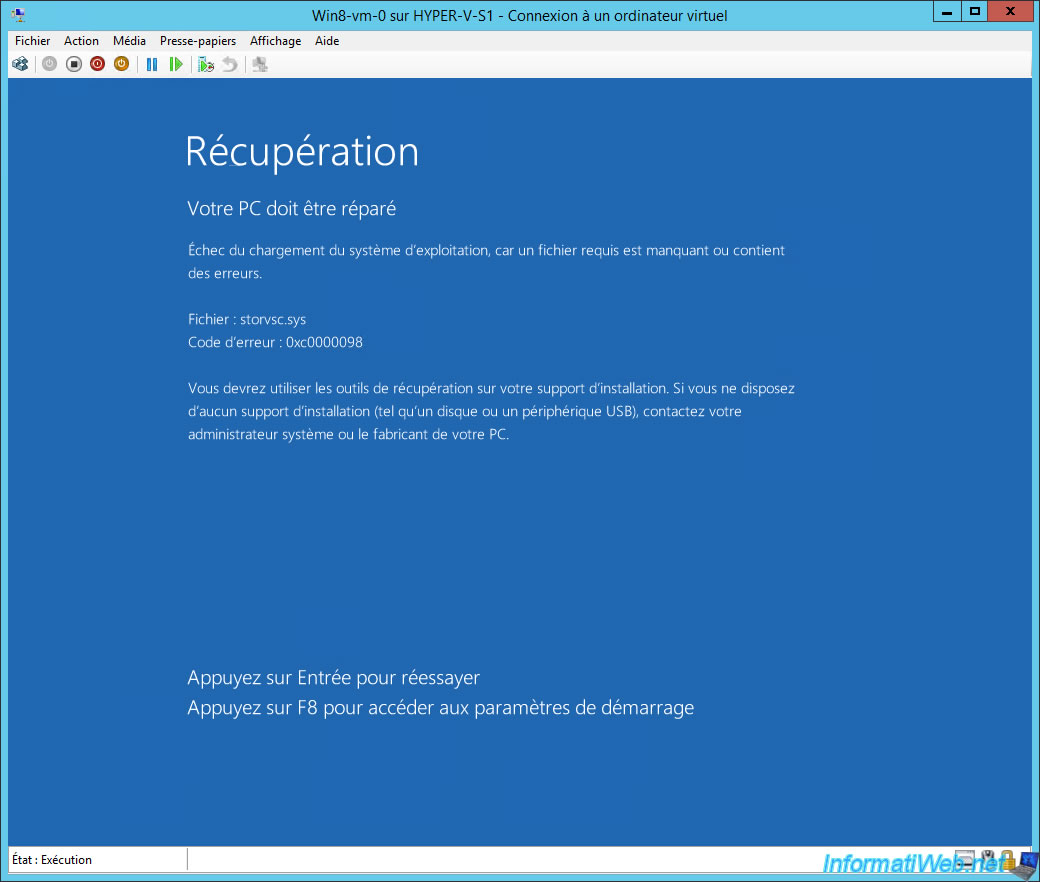
To avoid getting stuck because of a blue screen (like the one below), we recommend that you create a snapshot (checkpoint) before using sysprep.
In Windows 8 Enterprise, if you don't enable the VM mode of sysprep, your virtual machine will not start because of a blue screen :
Plain Text
Recovery
Your PC needs to be repaired.
The application or operating system couldn't be loaded because a required file is missing or contains errors.
File: storvsc.sys
Error Code: 0xc0000098
Note : in this tutorial, we will create Windows 8 Enterprise virtual desktops. Nevertheless, it also works with Windows 7 SP1 Enterprise and Windows 10 Enterprise.
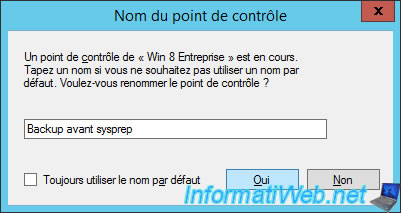
For example, specify "Backup before sysprep" as the name and click Yes.
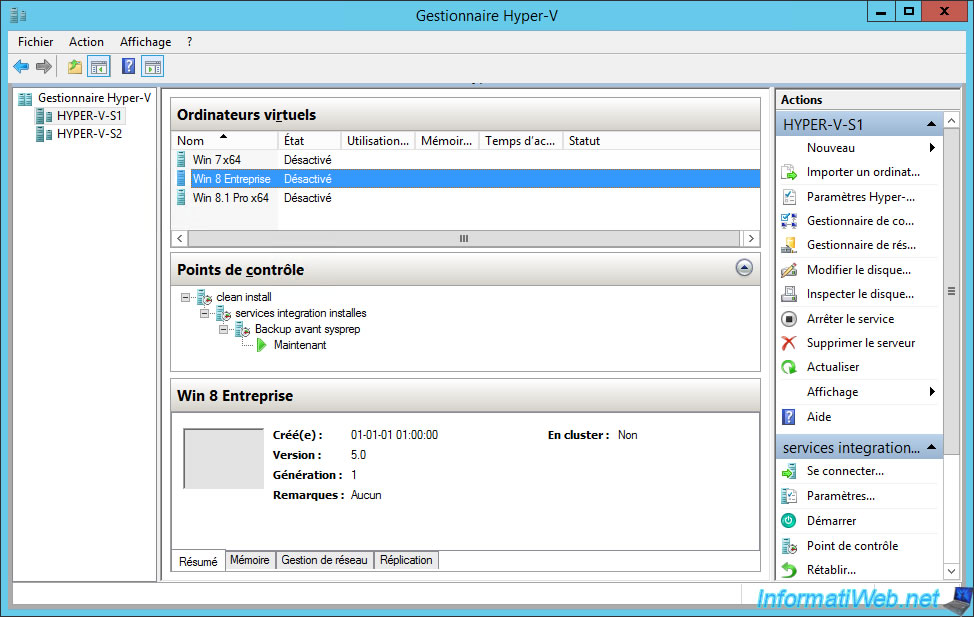
As you can see, we have our new snapshot (checkpoint).
Thus, in case of trouble, we can return to the previous state in an instant.
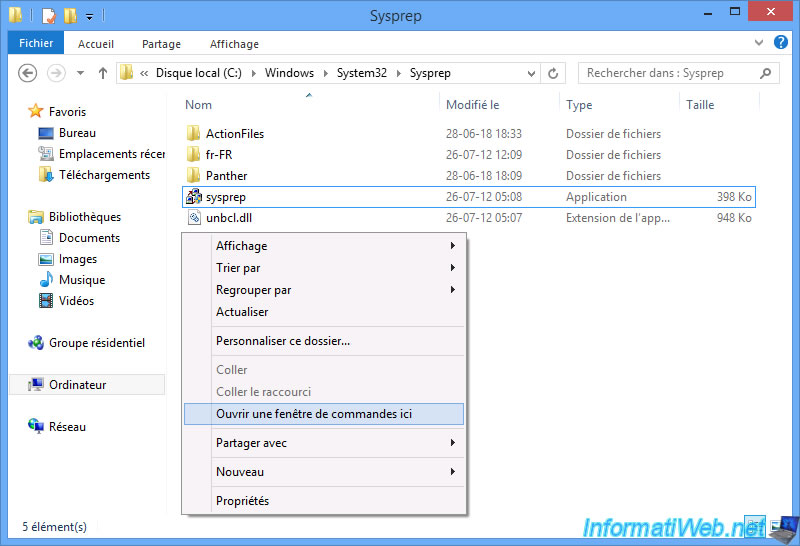
In the virtual machine, go to this folder : C:\Windows\System32\Sysprep
If you are running Windows 7 Enterprise or 10 Enterprise, you can run the sysprep program directly :
- select the "Enter System Out-of-Box Experience (OOBE)" system cleanup action
- check the "Generalize" box
- choose "Shutdown" for the shutdown option
But, on Windows 8 Enterprise, you will have to launch it on the command line.
To do this, hold down the "Temporary capitalization" key on your keyboard and right-click in the empty space of the folder.
This keyboard shortcut allows you to display an additional option : Open command window here.
Click on it.
A command prompt opens and is already in the sysprep folder.
Type this command and press Enter.
Batch
sysprep.exe /generalize /oobe /shutdown /mode:vm
Then, wait while systprep is working in the background.
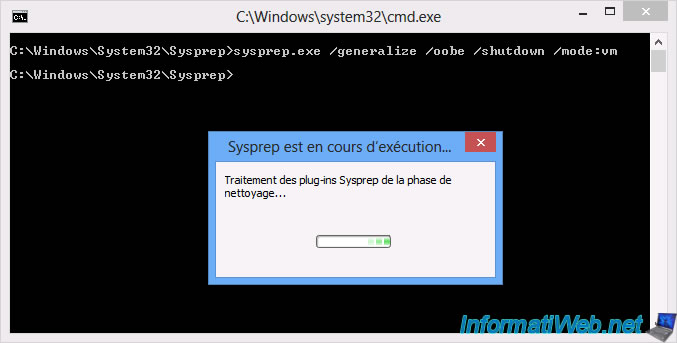
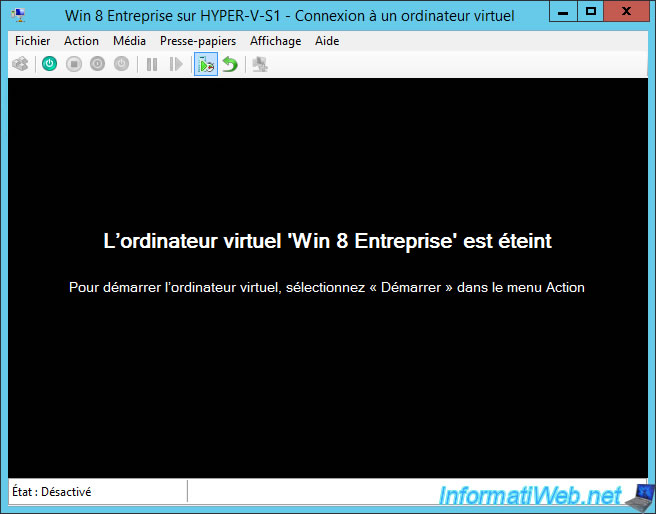
When sysprep finishes its work, the virtual machine will shut down automatically.
5. Storage of user profile disks
Since we will be creating a collection of virtual desktops and more specifically a virtual desktops pool, our users will not always get to the same virtual desktop each time.
To overcome this problem, Microsoft invented a user profile disk system that stores user data in disks separate from the virtual desktop used.
For the user, this is transparent because Windows Server somehow merges the 2 disks so that the user sees only one hard disk. But in reality, the data created by the user will go into his disk and not into the virtual desktop used.
In short, to start, on the RDS server (for example), create a folder that you will share later on the network.
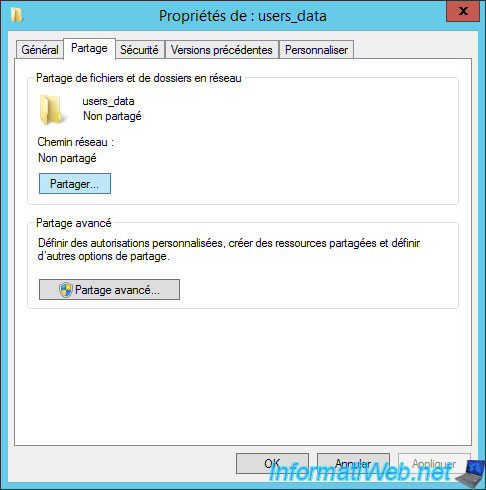
In our case, we created a "users_data" folder on our RDS server.

In the properties of this folder, go to the "Sharing" tab and click on "Share".
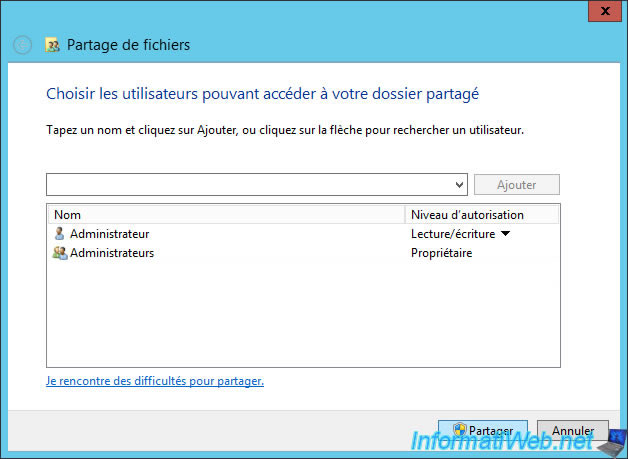
There is no need to change permissions because Windows Server will do this when creating the virtual desktop collection.
So, just click on Share.
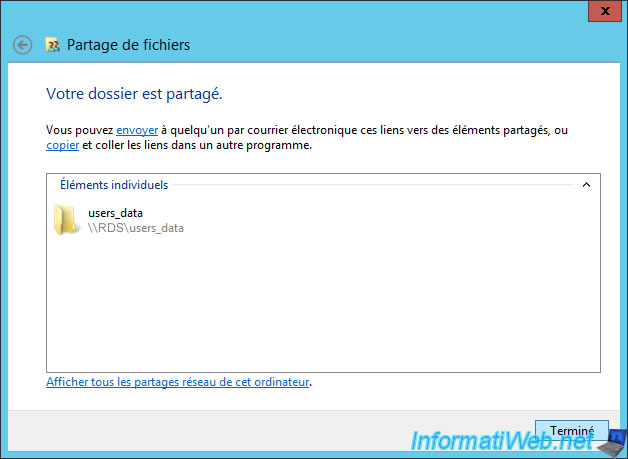
The wizard displays the network link for this shared folder.
Note : you will need it a little later.
No comment