Deploy a RDS infrastructure (session-based desktops) on Windows Server 2012 / 2012 R2 / 2016
- Windows Server
- 29 December 2018 at 15:17 UTC
-

- 6/6
8. Secure the RDS server with a valid SSL certificate
Now that you have a valid SSL certificate for your RDS server, go back to the Server Manager and go to : Remote Desktop Services -> Overview.
Then, click : Tasks -> Edit Deployment Properties.
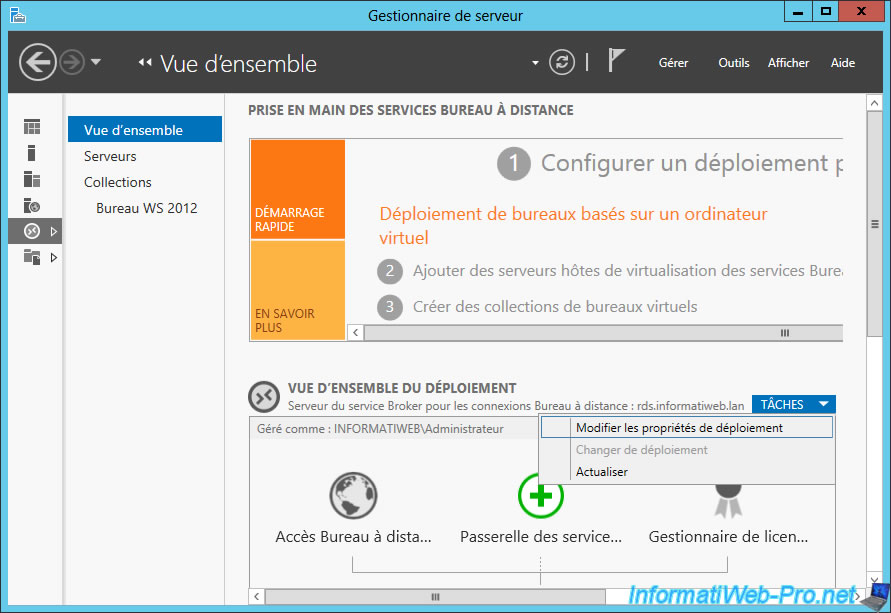
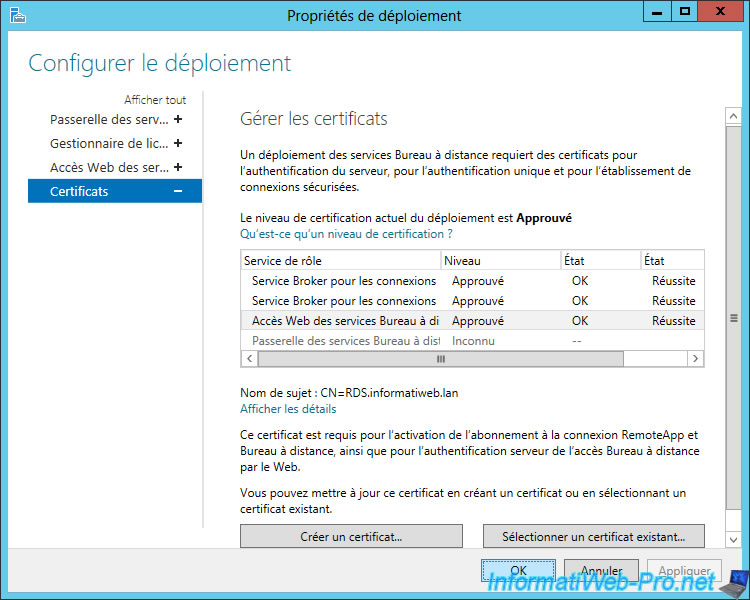
Since we have installed the 3 RDS services on the same server, we will be able to use the same certificate for these 3 services.
Select the 1st service, and then click "Select an existing certificate".
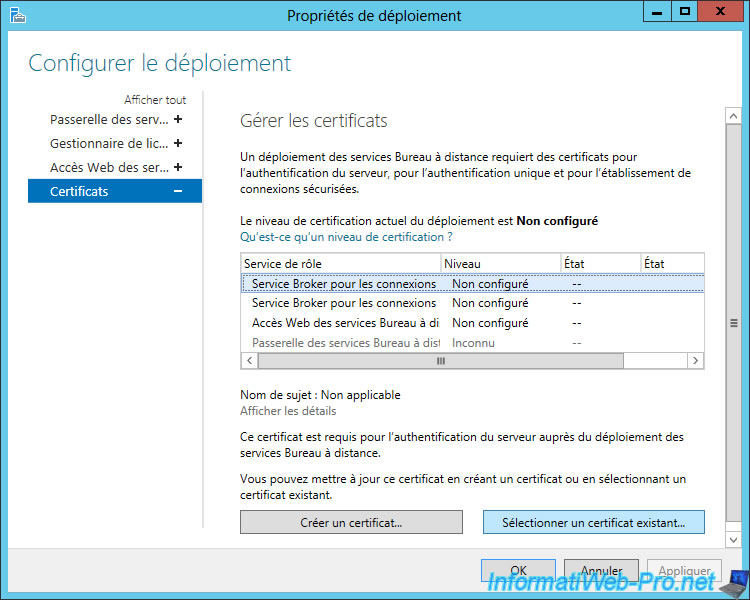
Select "Choose another certificate" and click "Browse".
Select the previously exported ".pfx" certificate, and specify the password you specified when you exported it.
Finally, check the "Allow the certificate to be added to the Trusted Root Certification Authorities certificate store ..." box (which is mandatory) and click OK.
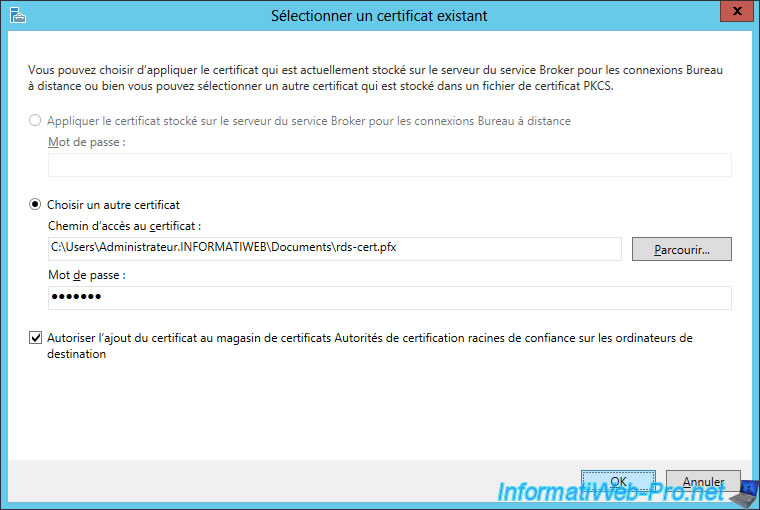
As you can see, we can only add one certificate at a time.
Click Apply, then do the same for the other 2 RDS services.
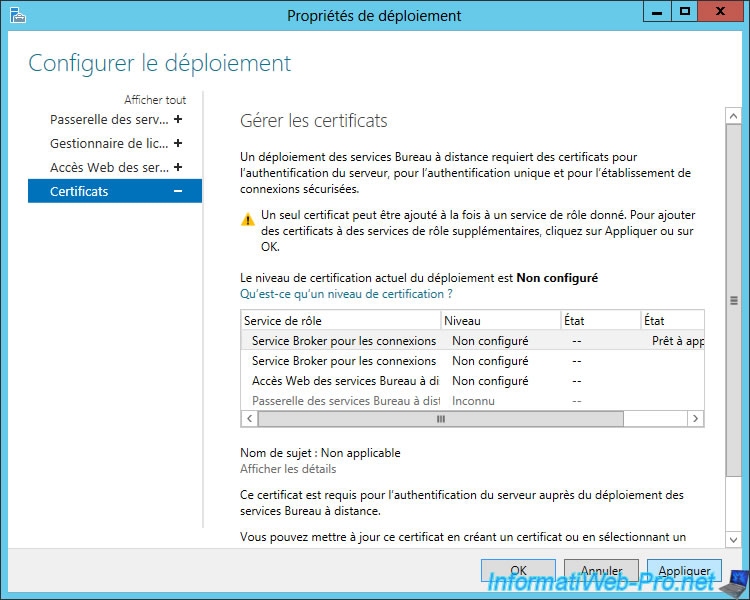
Once you're done, the certification level of the deployment will be : Approved.
Click OK.
9. Test of the web access and of the published desktop
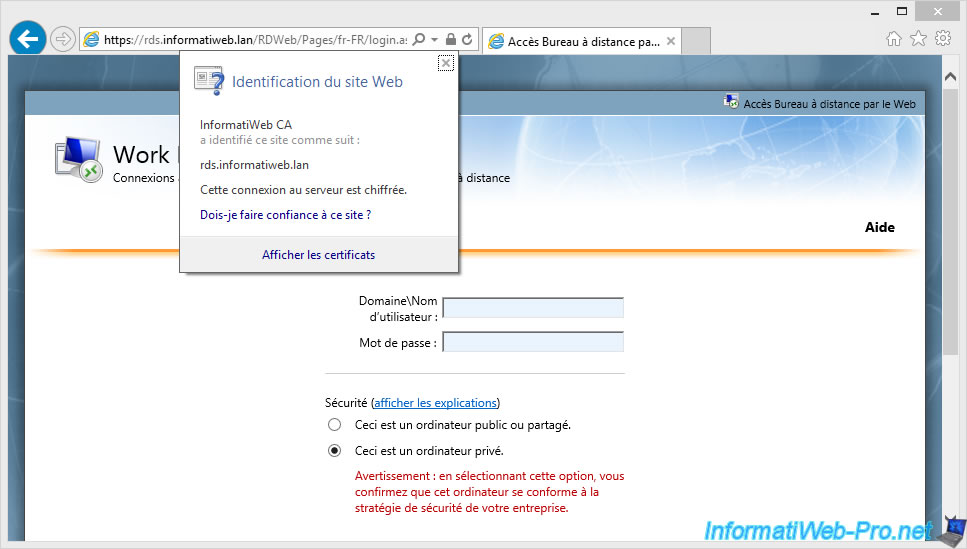
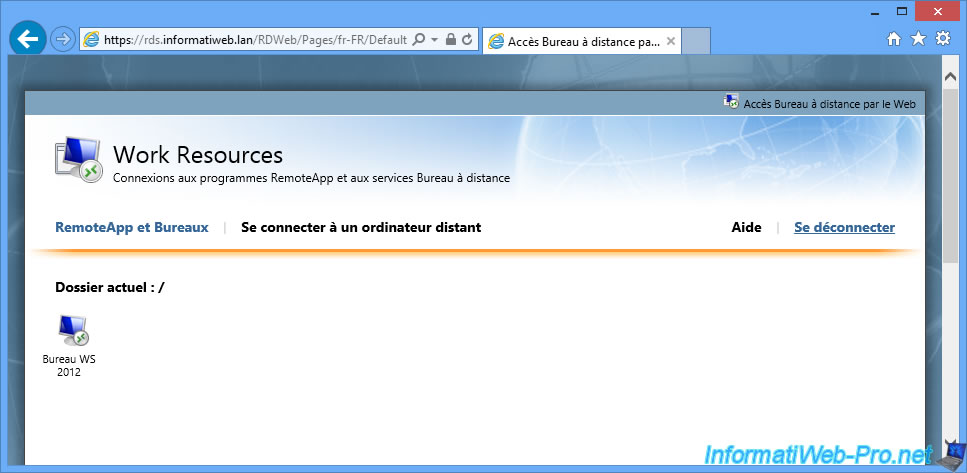
If your RDS infrastructure and your certification authority (CA) are well configured, you will have access to the web access of your RDS infrastructure.
As you can see, the SSL certificate is from our CA and this certificate is considered valid because the certificate from our CA is part of trusted CAs on our client computers.
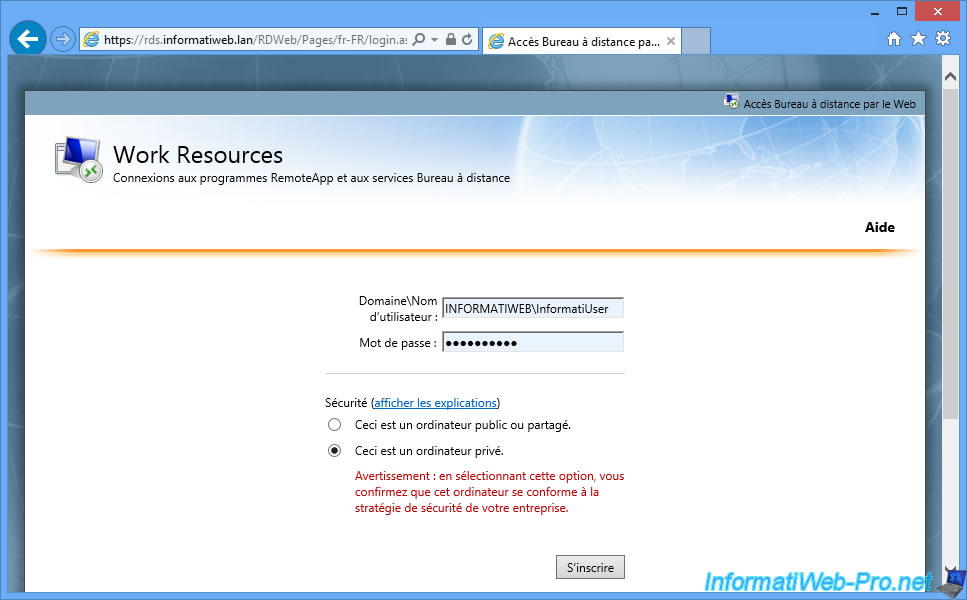
Log in with an Active Directory account that is allowed to use your desktop collection.
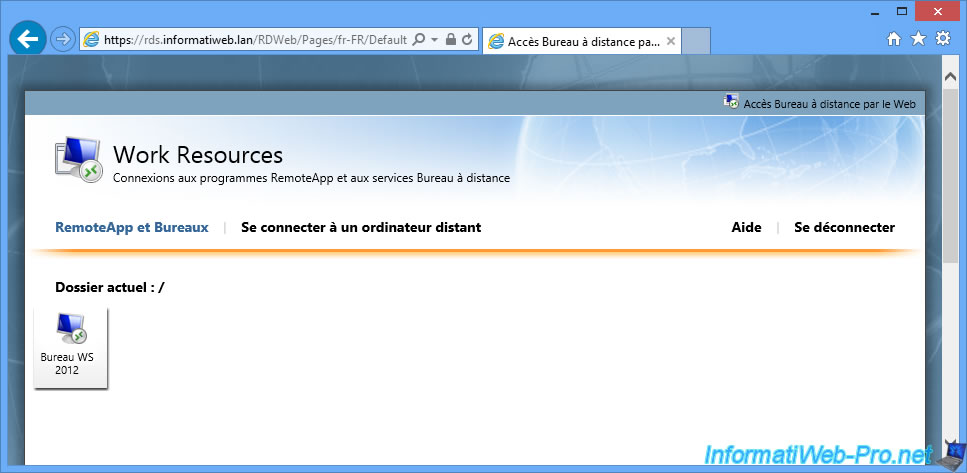
As you can see, we have access to our WS 2012 desktop.
By clicking on it, you will see that you are going to connect in Remote Desktop Connection on your RDS.informatiweb.lan server.
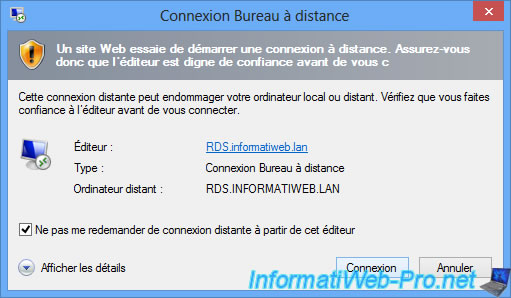
The Remote Desktop connection starts.
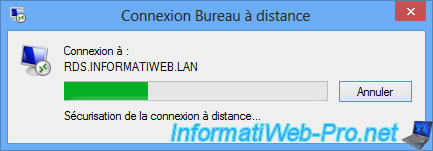
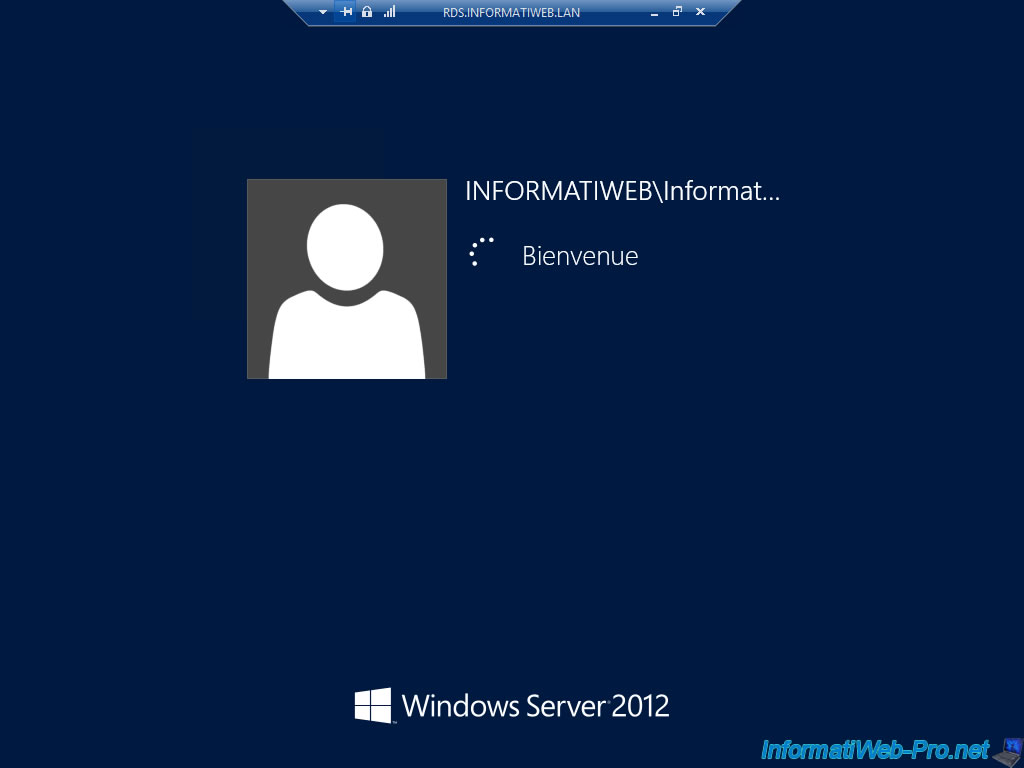
And your session will be open on the remote RDS server.
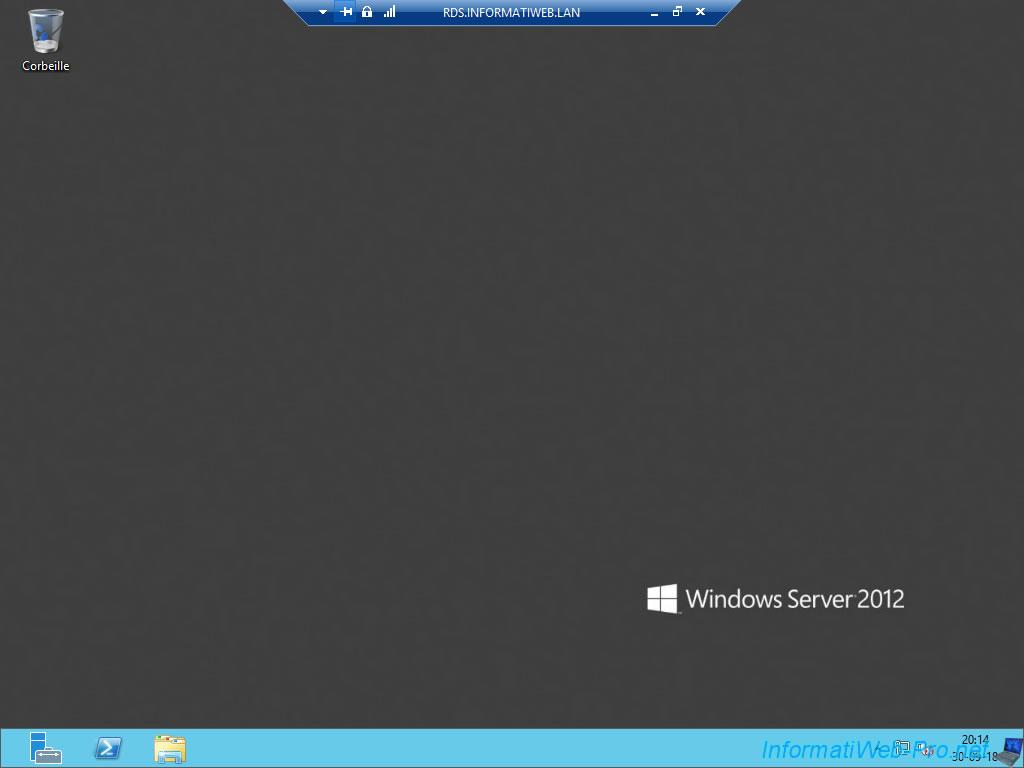
You have logged on to the remote server through the RDS infrastructure.
If you are using Windows 10 client PCs, avoid using Microsoft Edge, as you will see that the "Connect to a remote PC" tab will not be present.
Indeed, as indicated on the Microsoft site, this tab is managed by an ActiveX and these are only supported by Internet Explorer.
Microsoft therefore recommends that you continue to use Internet Explorer 11 in this specific case.
The 2nd problem is that Microsoft Edge will offer you to download a RDP file instead of launching the connection to the RDS desktop or to the desired RemoteApp.
You will then have to launch the downloaded file to connect to the desired desktop or the RemoteApp application.
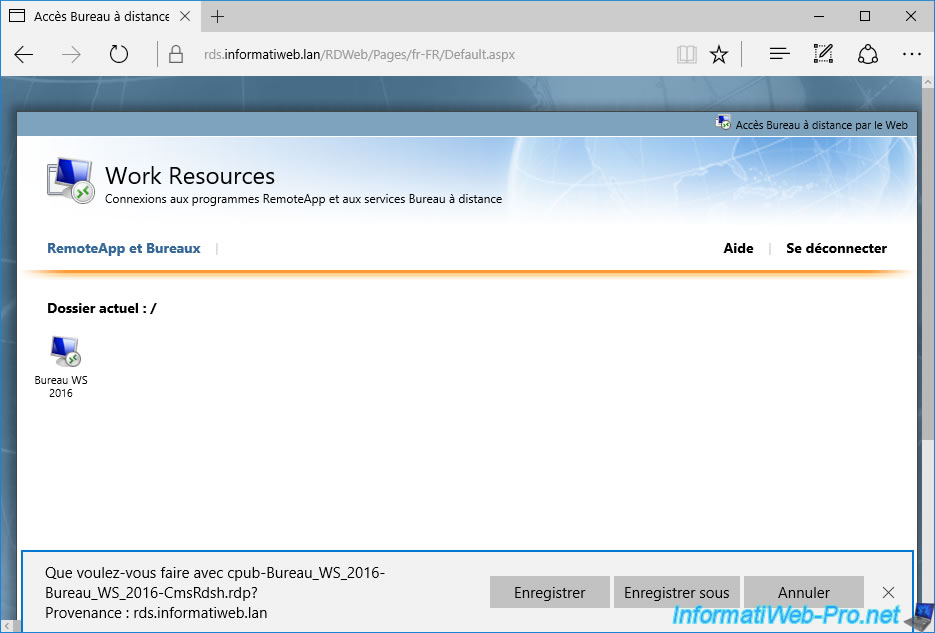
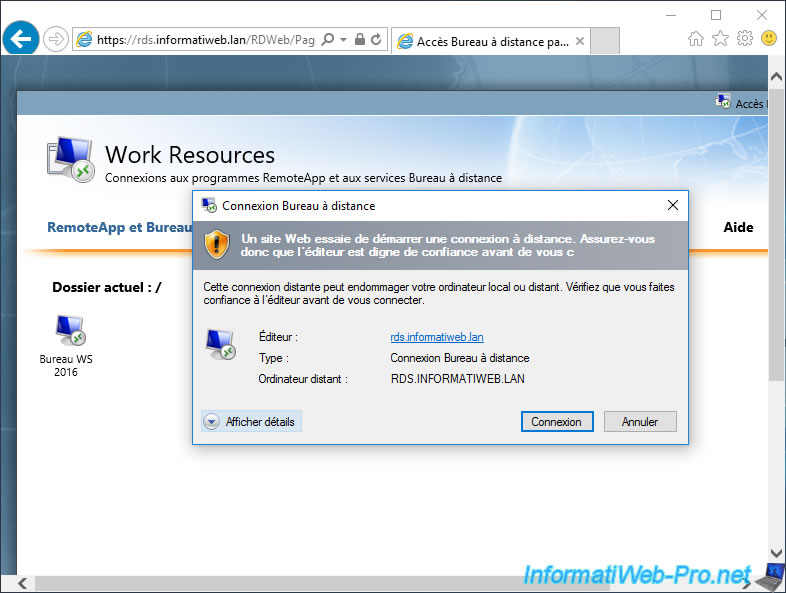
To avoid this problem and return to the normal behavior of this RDS web access on Windows 10, you just have to use Internet Explorer again.
In this case, when you click on a RDS desktop or a RemoteApp application, you will return to the normal connection window allowing access to the desired resource.
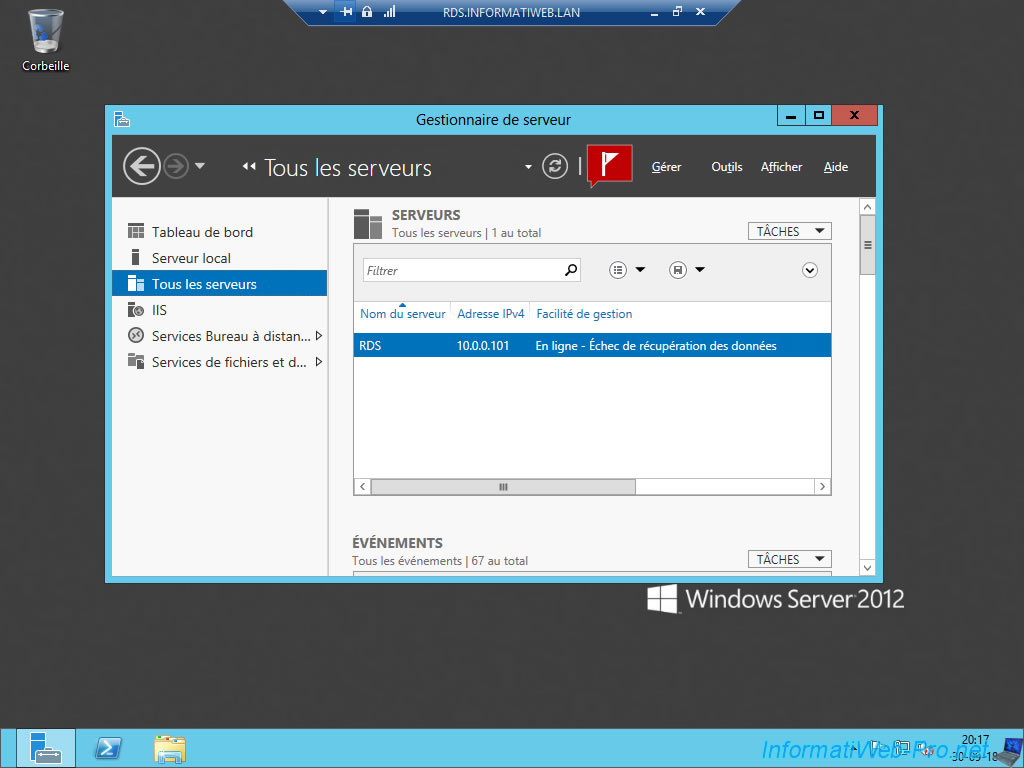
For the more curious of you, you may have noticed that the server manager and other management consoles were visible from your Remote Desktop session.
However, if you try to access them, you will see that you will not be able to change the server settings since you don't have the appropriate rights.
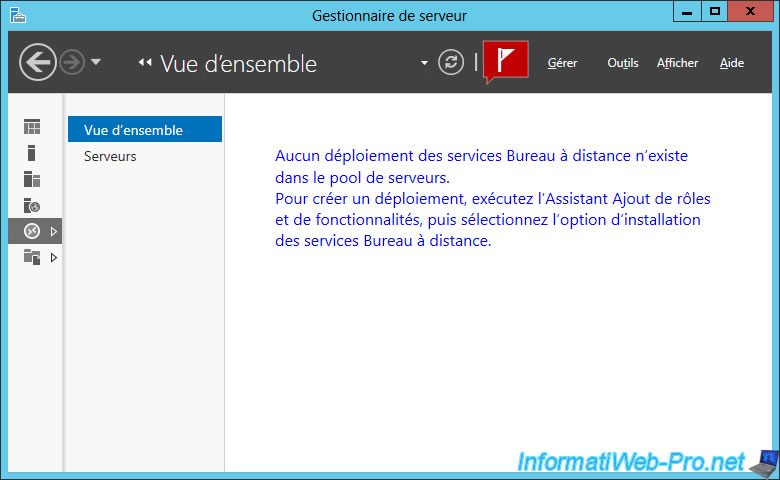
The RDS deployment will not be visible to your users as they are not allowed to manage it.
If you look at your Active Directory server, you will notice that disk image files have been created in the share created earlier in this tutorial.
These are the user profile disks and the template file for them.
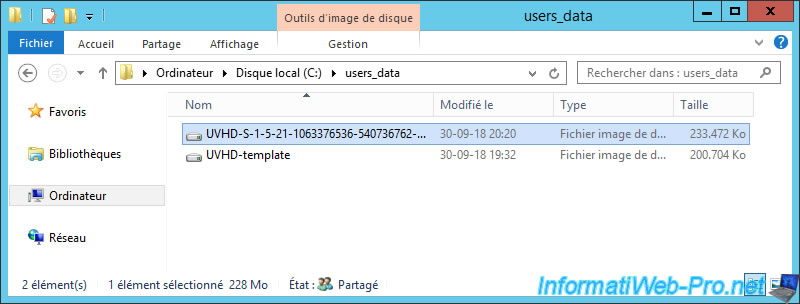
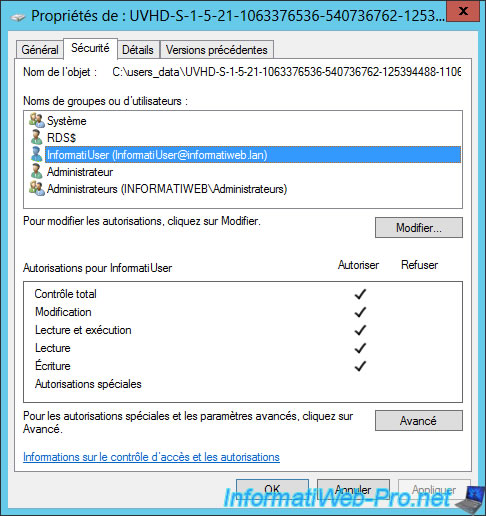
If you want to know who owns a user profile disk, just right click "Properties" on it and go to the "Security" tab.
In the top list, you will find :
- the name of the session host server that has access to this file : RDS$
- the name of the user who uses this user profile disk
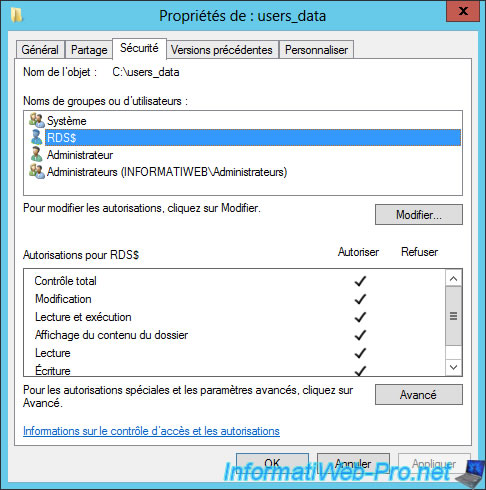
As you can see, Windows Server has automatically changed the NTFS permissions of this folder to allow the session host server to create, edit, ... files and allow it to create the different user profile disks.
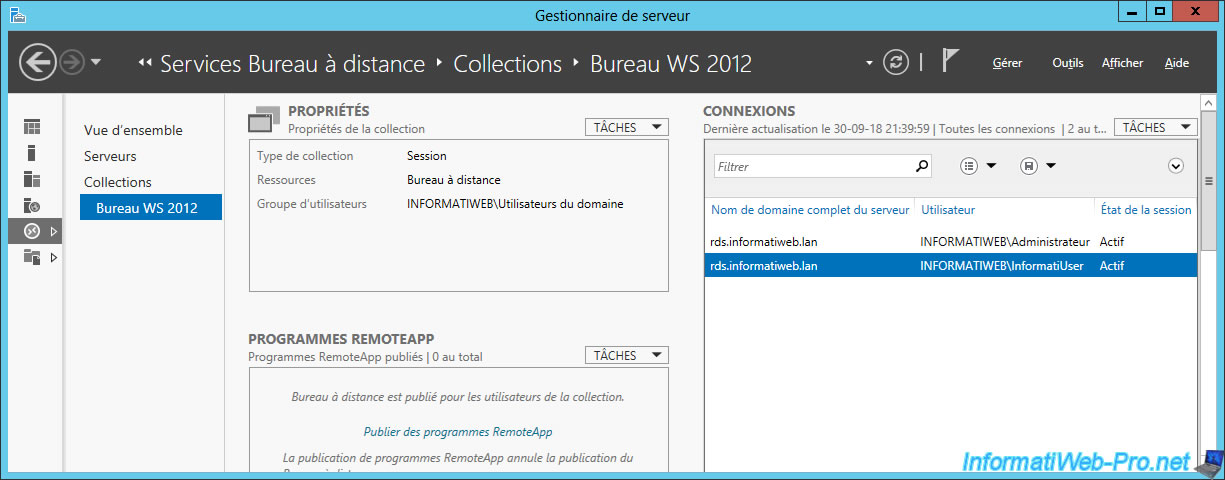
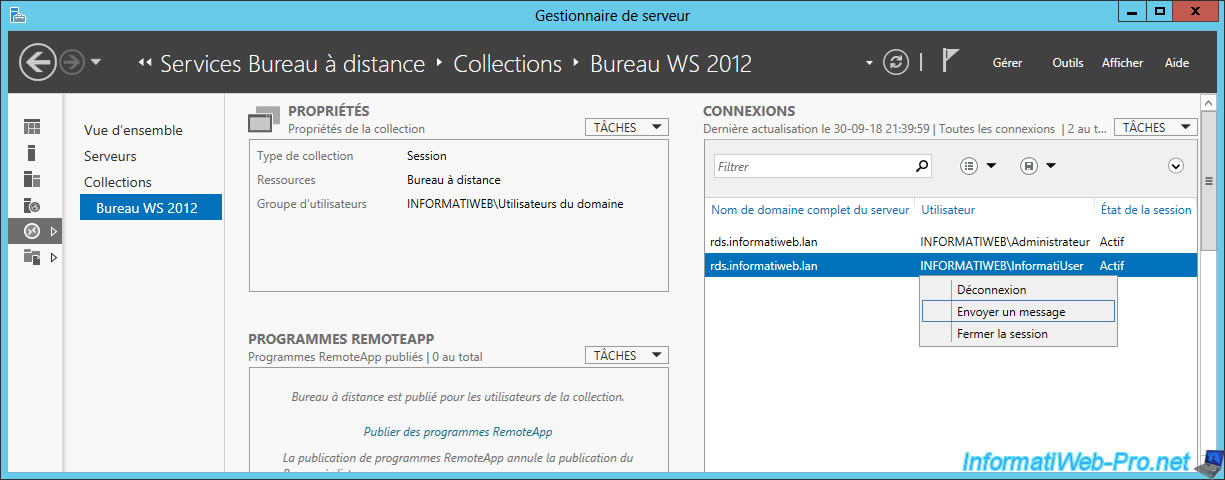
As an administrator, on your RDS server, you will be able to see who is currently connected to this collection and to which server your users are connected to.
As you can see, there are currently 2 connected users :
- InformatiUser : our remote user
- Administrator : us to manage the RDS server
Finally, be aware that you can easily send messages to your users by right-clicking "Send a message" on their behalf.
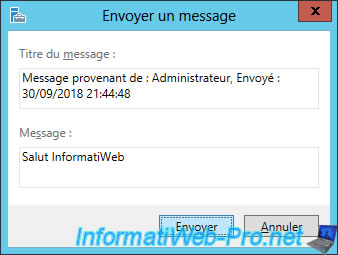
Enter a title and a message and click Submit.
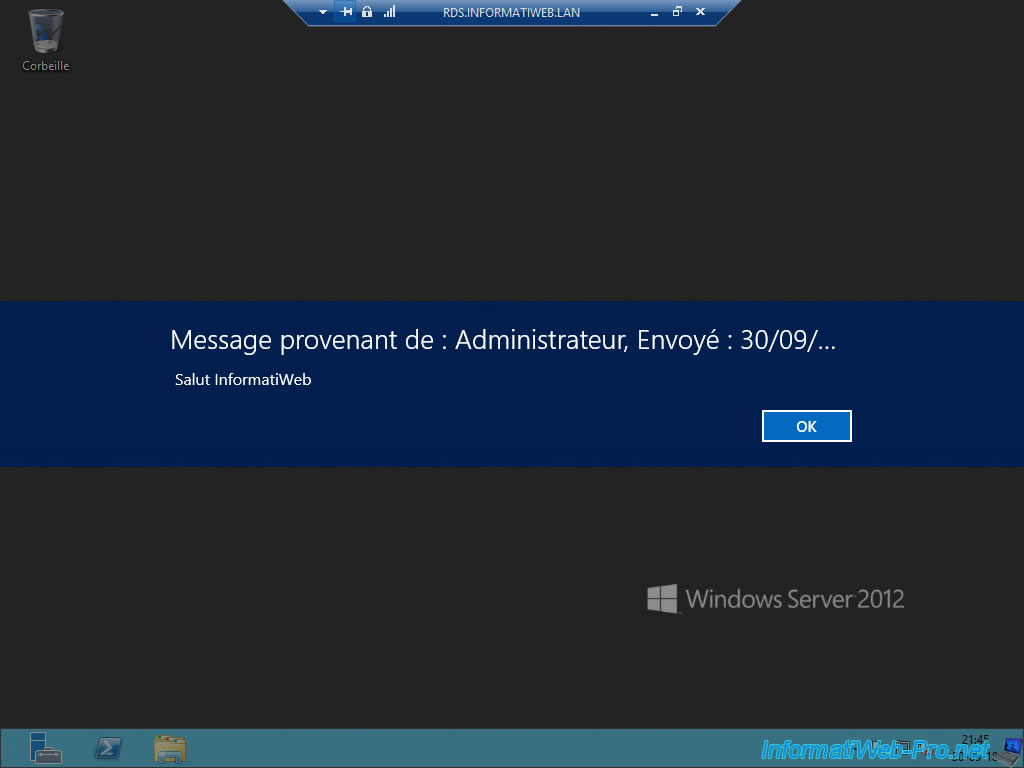
The message appears on your user's screen with an OK button.
To avoid falling short of user access licenses (if you chose this licensing mode), don't forget to explain to your users how to disconnect correctly from their sessions.
Indeed, if your users simply click on the cross at the top right, their session will remain open on the server.
This means that the user access license (CAL) will always be assigned to this user unnecessarily.
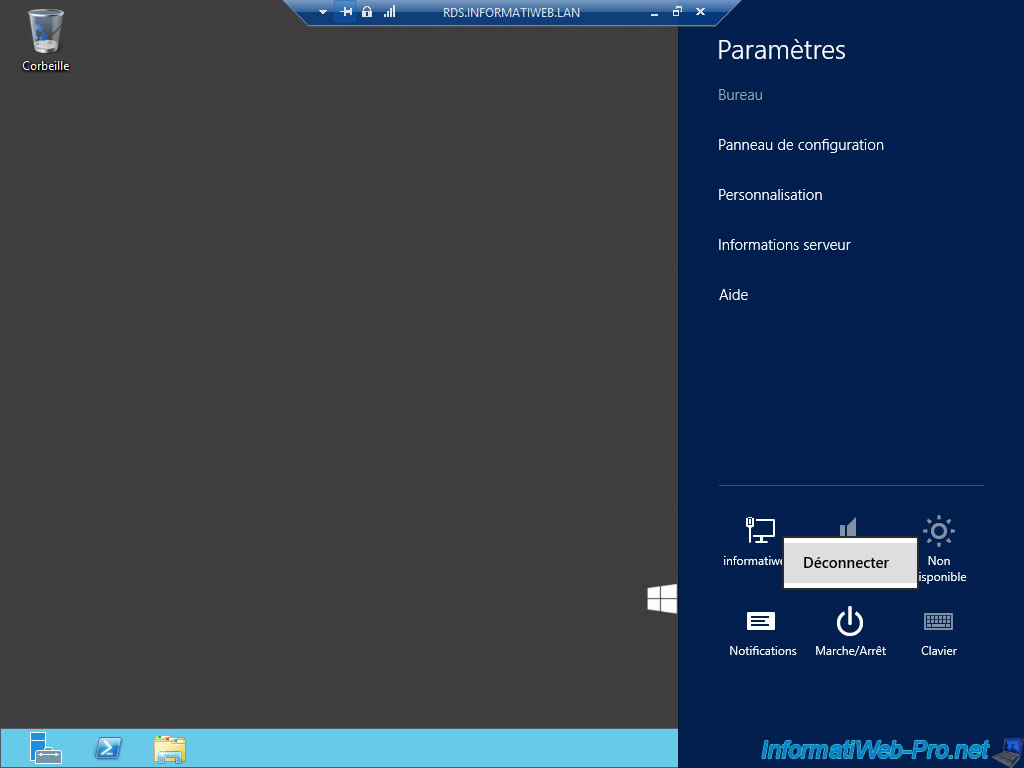
To avoid this problem, your users will have to become accustomed to disconnecting from the Windows Server interface.
Then, your users will also have to make the habit of disconnecting from the web access to prevent an unauthorized user from reconnecting under his name.
Share this tutorial
To see also
-
Windows Server 6/7/2019
WS 2012 / 2012 R2 - RDS - Set up HA on your RDS infrastructure
-
Windows Server 3/8/2019
WS 2012 / 2012 R2 / 2016 - RDS - Access RemoteApp via a modern application
-
Windows Server 4/28/2019
WS 2012 / 2012 R2 / 2016 - RDS - Attempt to unblock the session as a user
-
Windows Server 3/16/2019
WS 2012 / 2012 R2 / 2016 - RDS - Change the properties of RemoteApps

No comment