Deploy a RDS infrastructure (session-based desktops) on Windows Server 2012 / 2012 R2 / 2016
- Windows Server
- 29 December 2018 at 15:17 UTC
-

- 5/6

7. Get a valid certificate from its certification authority
If you have not yet created a certification authority (CA) on your server, install it on your Active Directory server by following these steps : Create an Enterprise Root Certification Authority (Root CA PKI)
Important : in order for your client computers to consider your certificates as valid SSL certificates, you must distribute the certificate of your authority to them.
The easiest way to do this is to use group policies as explained on this page : Distribute the certificate to the Active Directory clients
Once the policy is created, don't forget to update the policy on your client computers by launching the "gpupdate/ force" command on them or by restarting them.
7.1. Create a certificate template for the RDS server
To secure your RDS server, you will need a SSL certificate with at least the "Server Authentication" role.
This will allow your clients to authenticate the server and thus ensure that they connect to the correct server and not to the server created by a hacker.
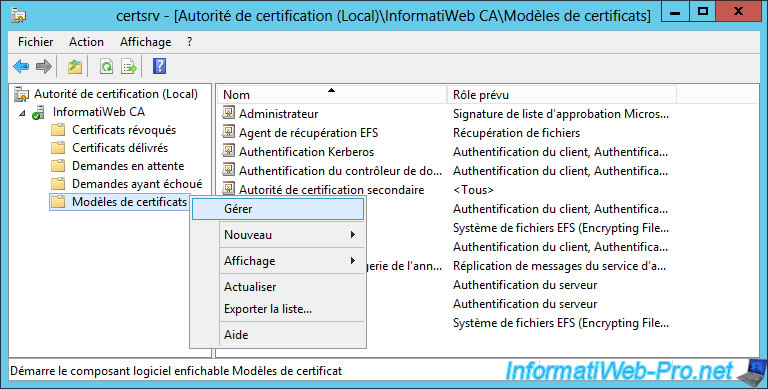
To create a new certificate template, open the "Certificate Authority" (or certsrv) program and right-click "Manage" on "Certificate Templates".
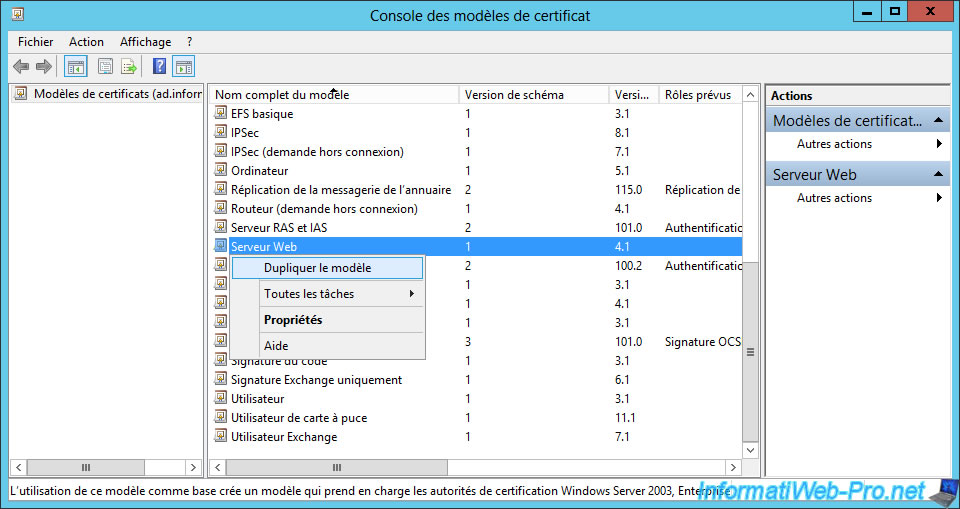
Duplicate the "Web Server" template.
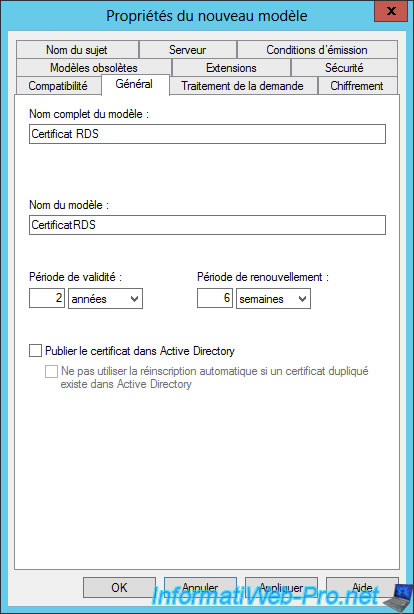
In the "General" tab, enter "RDS certificate" as the full name of the template.
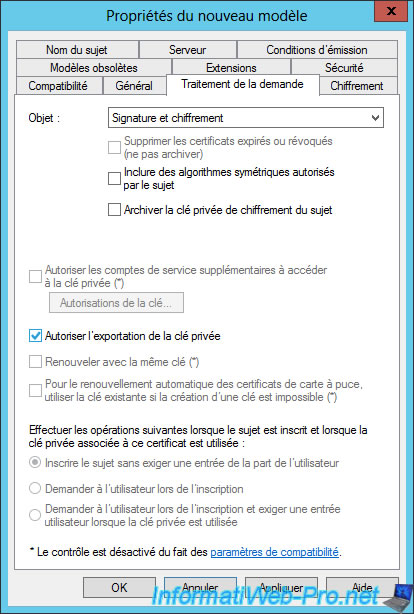
In the "Request Handling" tab, check the "Allow private key to be exported" box.
Note : this will allow you to obtain a ".pfx" (p12) format certificate that is required by the RDS server certificate management wizard.
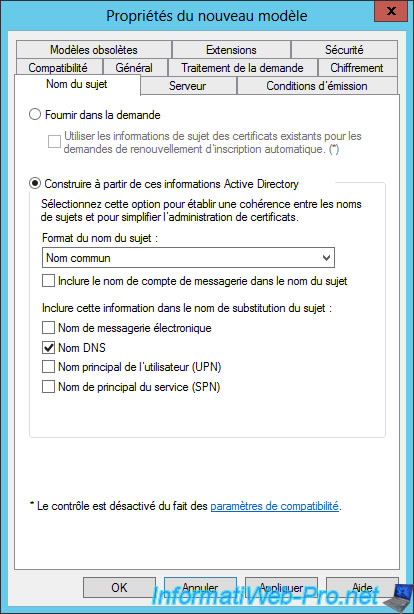
In the "Subject Name" tab :
- select : Build from the Active Directory information
- subject name format : Common name
- check only this box : DNS name
With these options, the certificate you request from your RDS server will automatically be valid for the name of your RDS server.
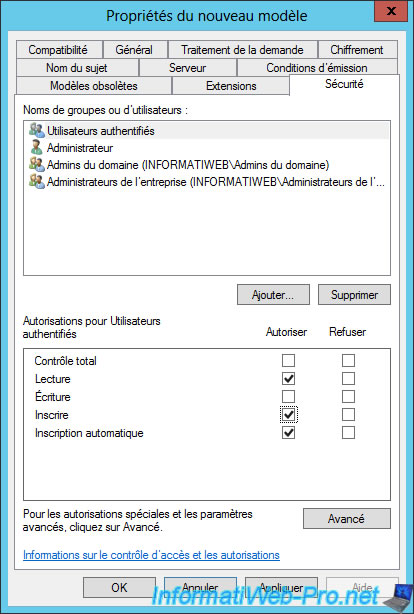
In the "Security" tab, allow the desired users to create certificates.
To do this, allow these rights : Enroll and Autoenroll.
Then, click OK.
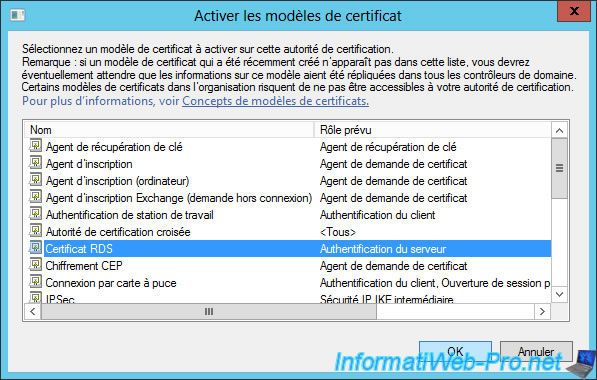
In your certification authority, right-click on "Certificate Templates" and click : New -> Certificate Template to Issue.
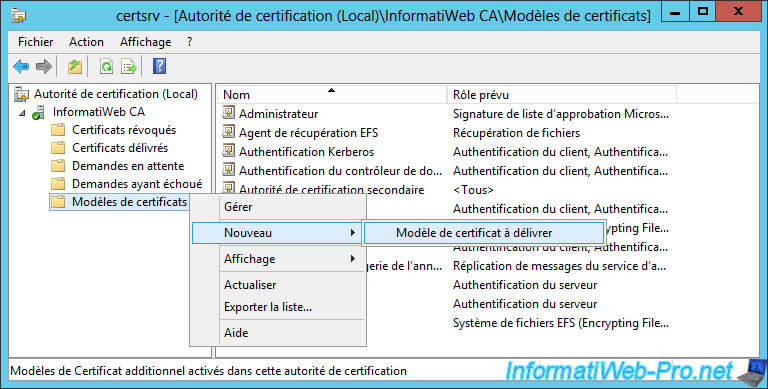
Select your "RDS certificate" template and click OK.
7.2. Request a certificate for your RDS server
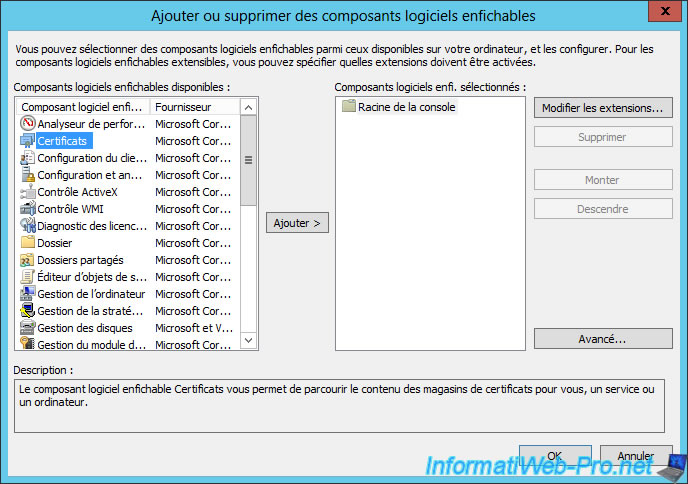
To request a certificate for your RDS server, go to it and launch the "mmc" program.
Then, in the "File" menu, click "Add/Remove Snap-in".

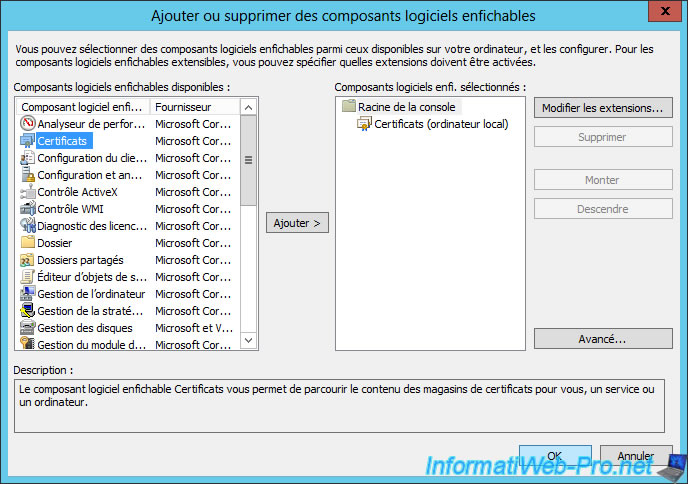
Add the "Certificates" component.
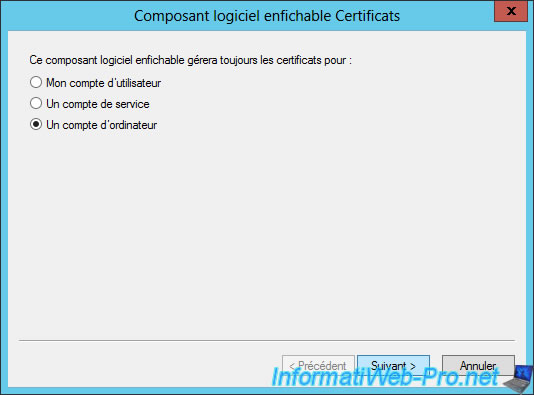
Select "A computer account".
Leave the "Local computer" option selected by default and click Finish.
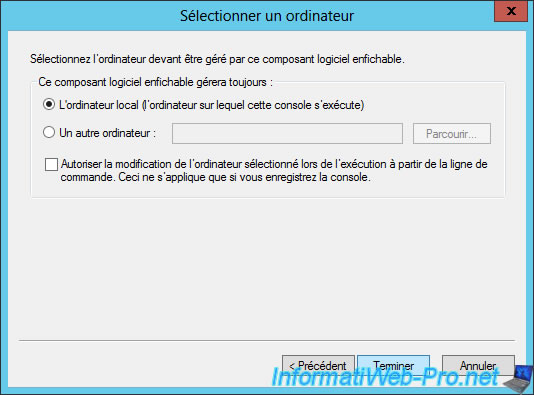
Click OK.
In "Personal", right-click on "Certificates" and click : All Tasks -> Request New Certificate.
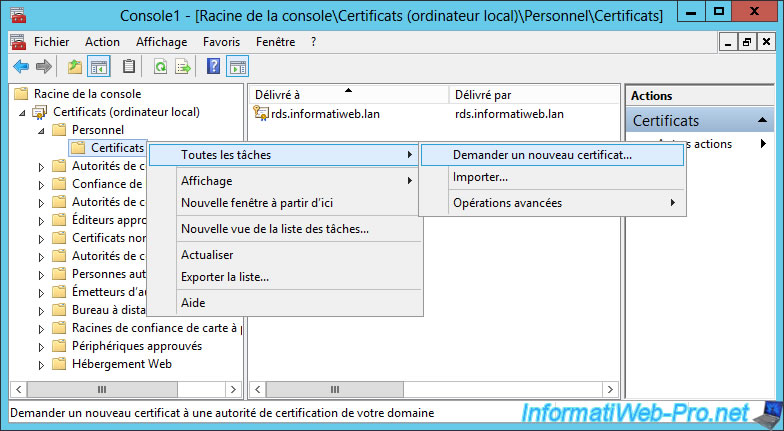
The "Certificate Enrollment" window appears.
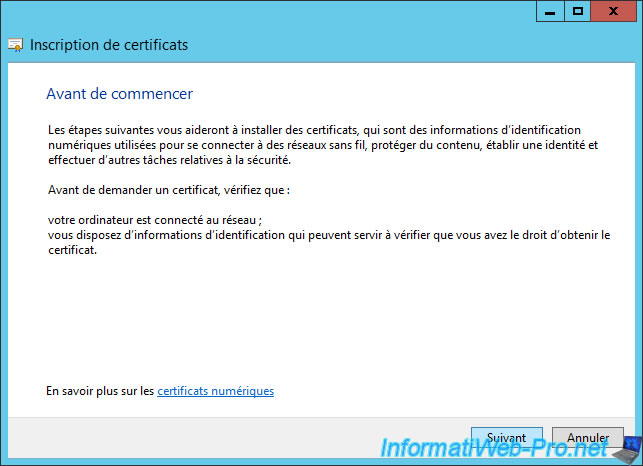
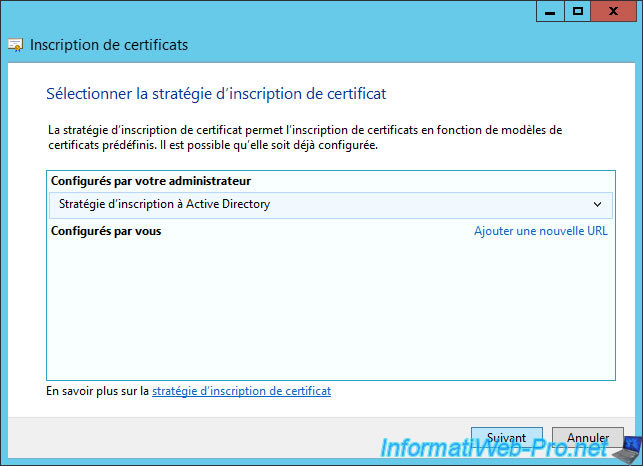
Click Next.
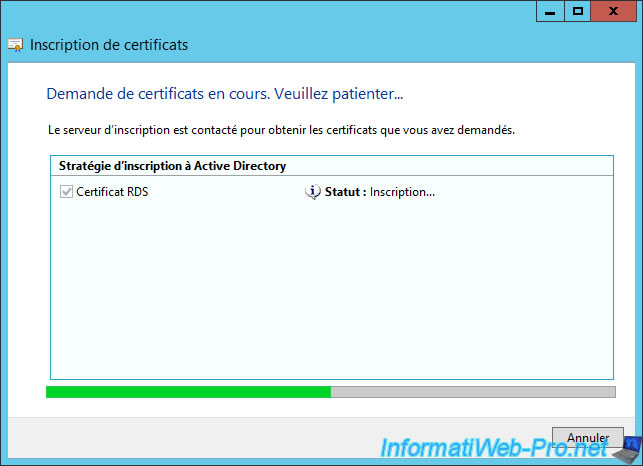
Check the "RDS certificate" box and click Enroll.
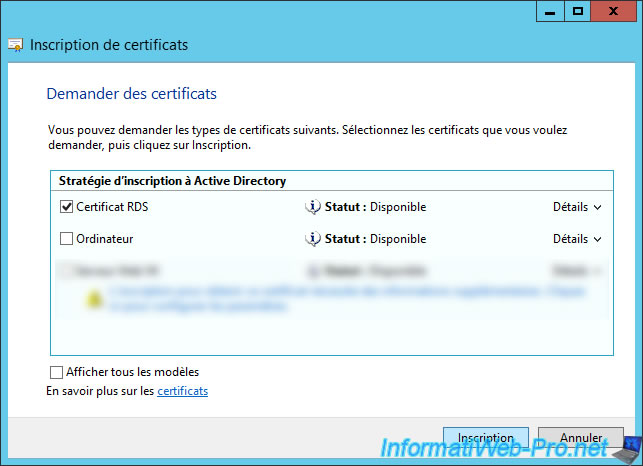
Wait while the certificate enrollment.
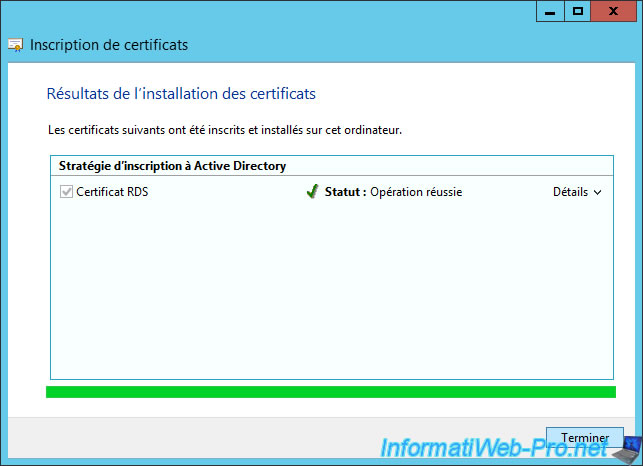
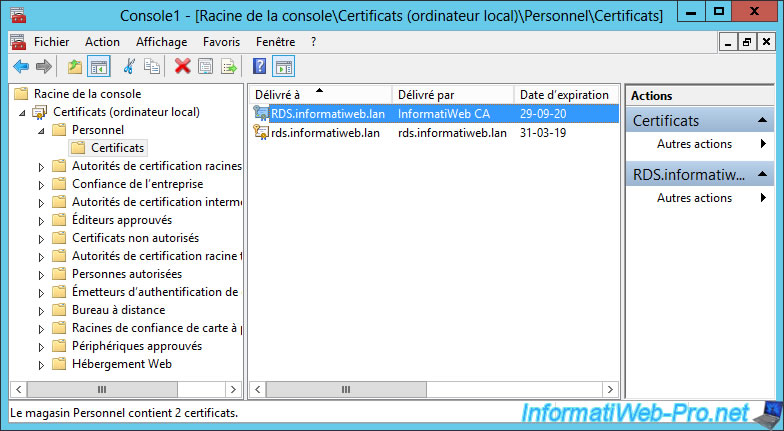
Now we have a certificate issued to our "RDS.informatiweb.lan" server and issued by our "InformatiWeb CA" certification authority.
7.3. Export the generated certificate
To be able to secure your RDS infrastructure with this certificate, you will first need to export it from your server's certificate store.
To do this, right-click "All Tasks -> Export" on this one.
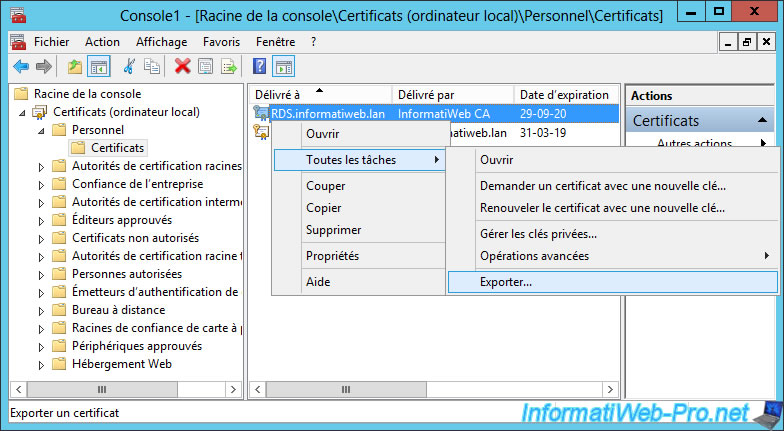
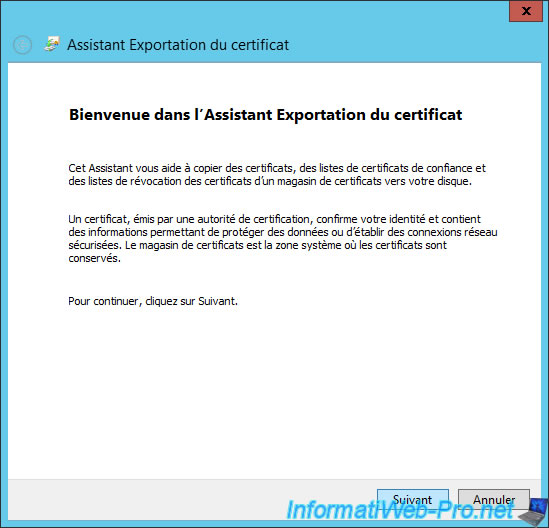
The Certificate Export Wizard appears.
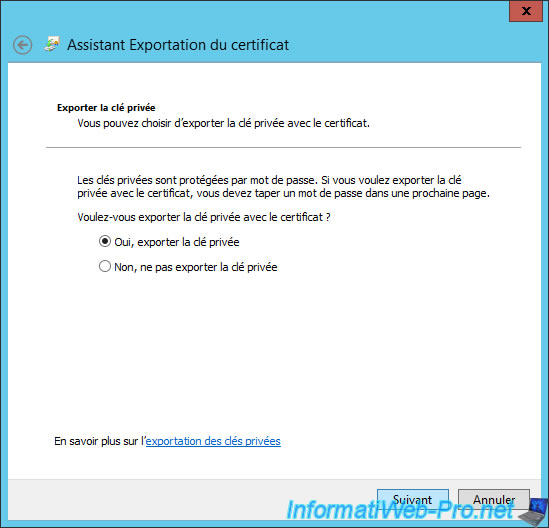
Since we have authorized the export of the private key, we can select the "Yes, export the private key" option.
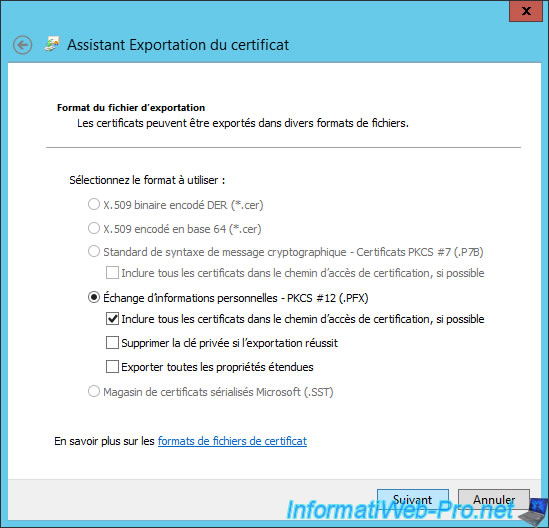
Select "Personal Information Exchange - PKCS #12 (.PFX)" and click Next.
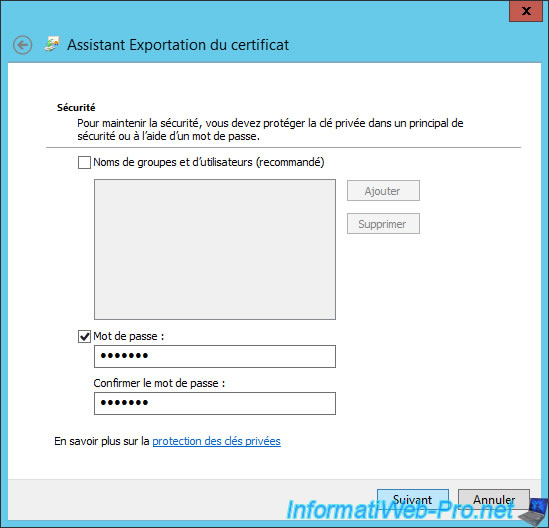
Specify a password to secure the private key that will be exported with the certificate to a pfx file.
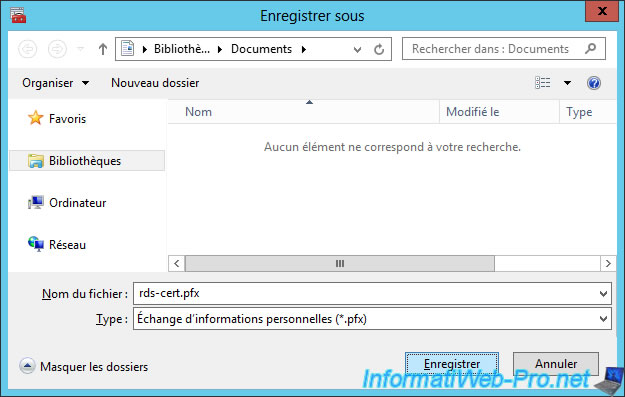
Click Browse.
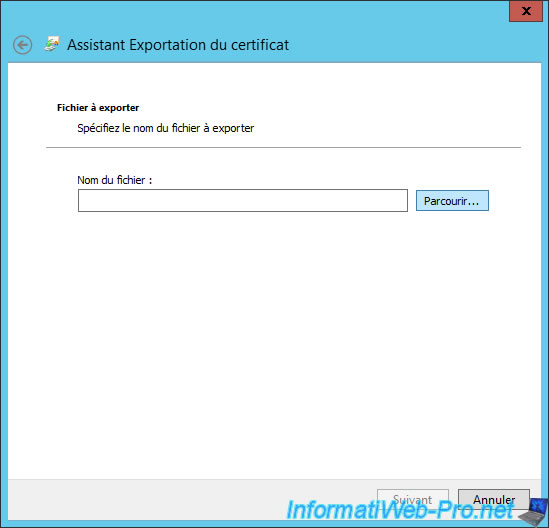
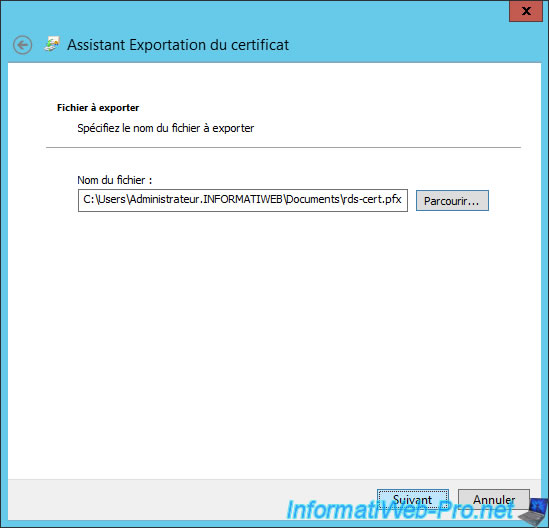
Enter a name for this file : rds-cert.pfx
Click Next.
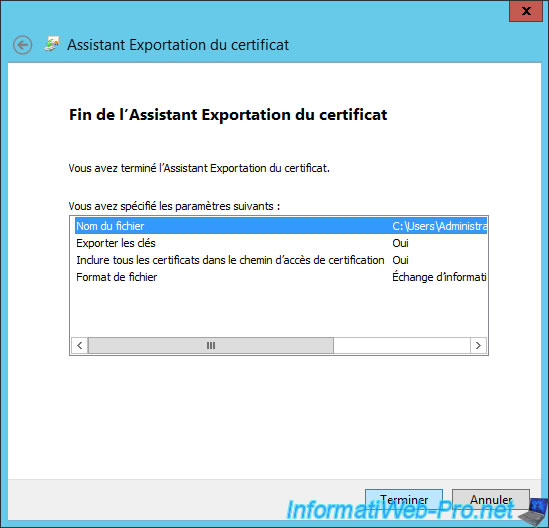
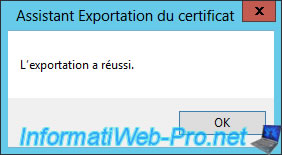
Your certificate has been exported.
Share this tutorial
To see also
-
Windows Server 6/7/2019
WS 2012 / 2012 R2 - RDS - Set up HA on your RDS infrastructure
-
Windows Server 3/8/2019
WS 2012 / 2012 R2 / 2016 - RDS - Access RemoteApp via a modern application
-
Windows Server 4/28/2019
WS 2012 / 2012 R2 / 2016 - RDS - Attempt to unblock the session as a user
-

Windows Server 3/16/2019
WS 2012 / 2012 R2 / 2016 - RDS - Change the properties of RemoteApps
No comment