Manage multiple Core servers remotely with WinRM on Windows Server 2012 / 2012 R2
5. Configure the server and client for remote disk management
To be able to remotely manage disks of a Windows (or Windows Server) computer, make sure that :
- the vds (or Virtual Disk) service is started
- the corresponding rules are activated in the firewall
And this, on both sides (client side AND server side).
5.1. Core server configuration
By default, the vds (Virtual Disk) service is not started on Windows Server 2012 and its startup type is : Manual.
To begin, open a command prompt (cmd) and change the startup type of the "vds" service to "Automatic" with the following command :
Batch
sc config "vds" start=auto
Plain Text
[SC] ChangeServiceConfig SUCCESS
Then, start this service with the command :
Batch
net start vds
Plain Text
The Virtual Disk service is starting.
The Virtual Disk service was started successfully.
Finally, enable the "Remote Volume Management ..." rules with this command :
Batch
netsh advfirewall firewall set rule group="Remote Volume Management" new enable=yes
Plain Text
Updated 3 rule(s).
Ok.
5.2. Client configuration
On the server from which you want to manage the disks of your Core server, you can use these same commands or do it through the GUI.
To get started, go to the list of Windows Server services (by simply launching the "services.msc" program) and locate the "Virtual Disk" service.
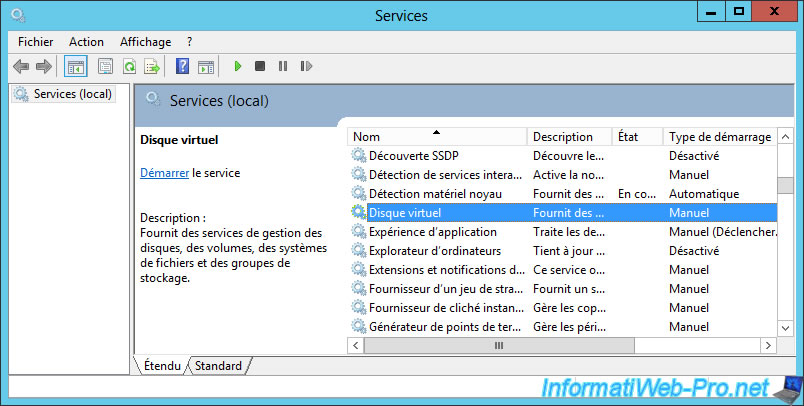
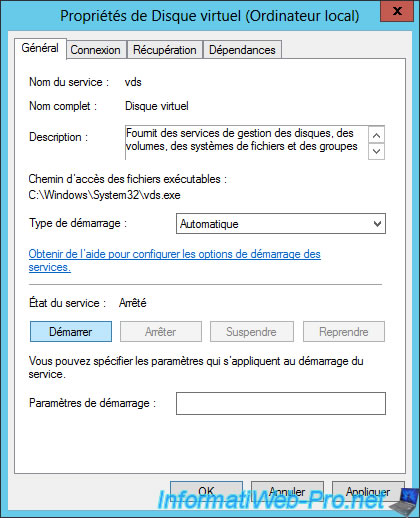
Change its startup type to "Automatic", then click Start.
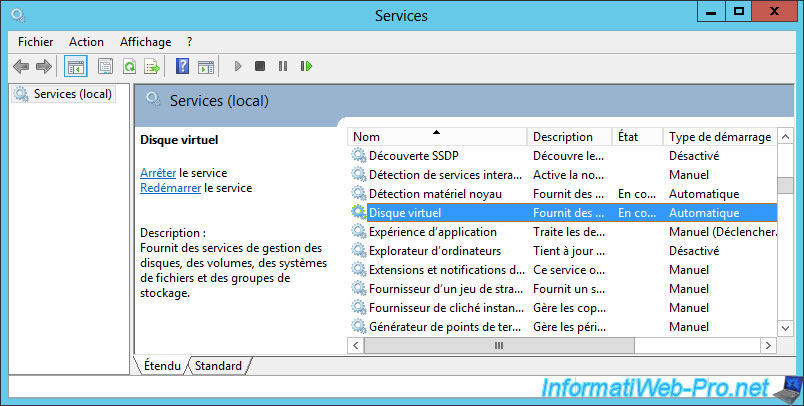
The "Virtual Disk" service is now running.
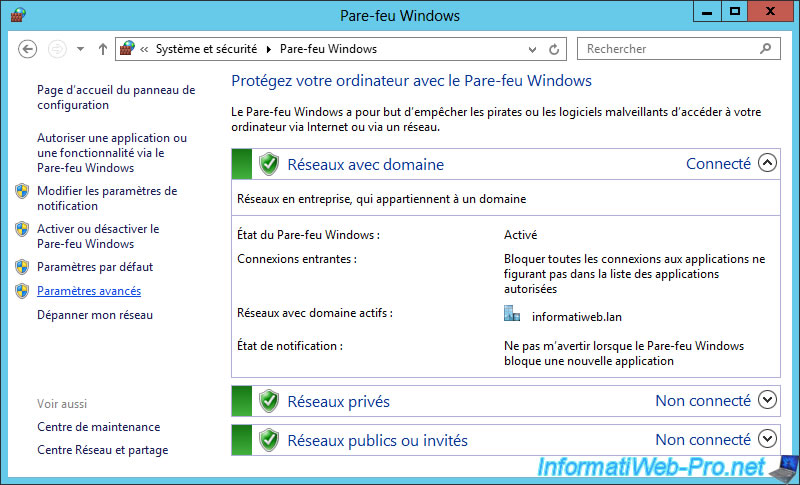
For rules to activate in the firewall, open the Windows Server Control Panel and go to : System and Security -> Windows Firewall.
Then, click on "Advanced Settings".
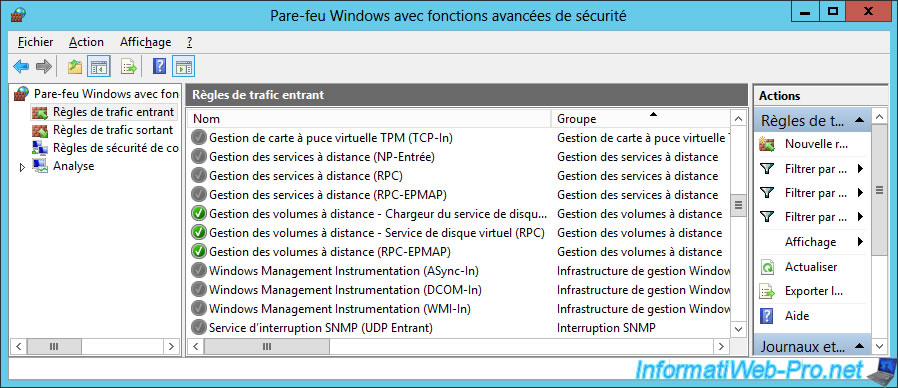
Sort the incoming traffic rules by group and look for those of the "Remote Volume Management" group.
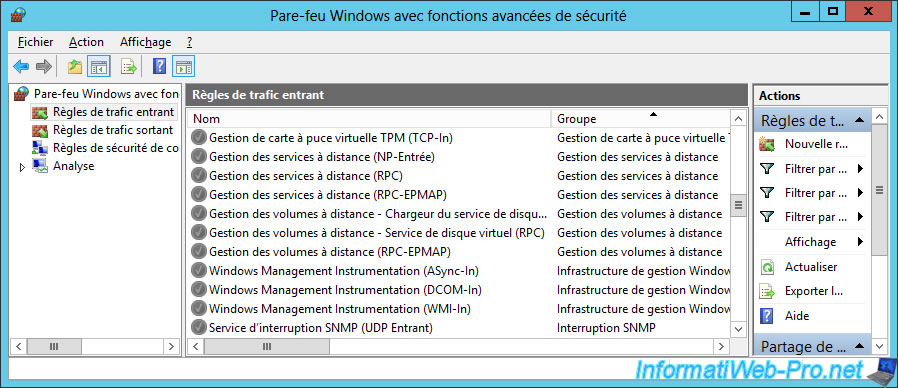
Enable these 3 rules :
- Remote Volume Management - Virtual Disk Service Loader (RPC)
- Remote Volume Management - Virtual Disk Service (RPC)
- Remote Volume Management (RPC-EPMAP)
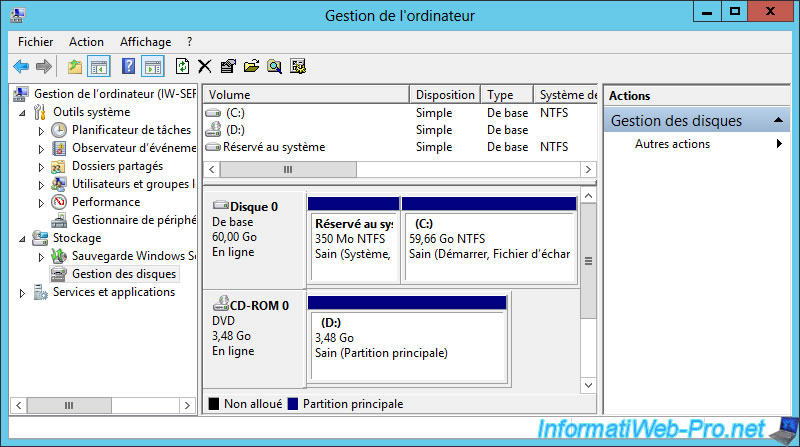
Now, you can manage the disks of your remote Core server via disk management.
6. Remote desktop activation on your Core server
For those who would like to enable the "Remote Desktop" feature on their Core server, here's how.
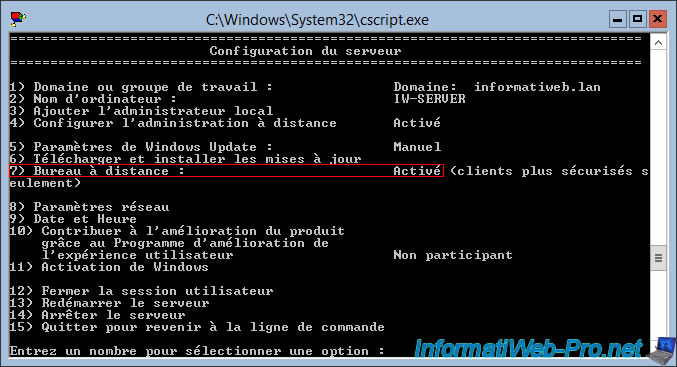
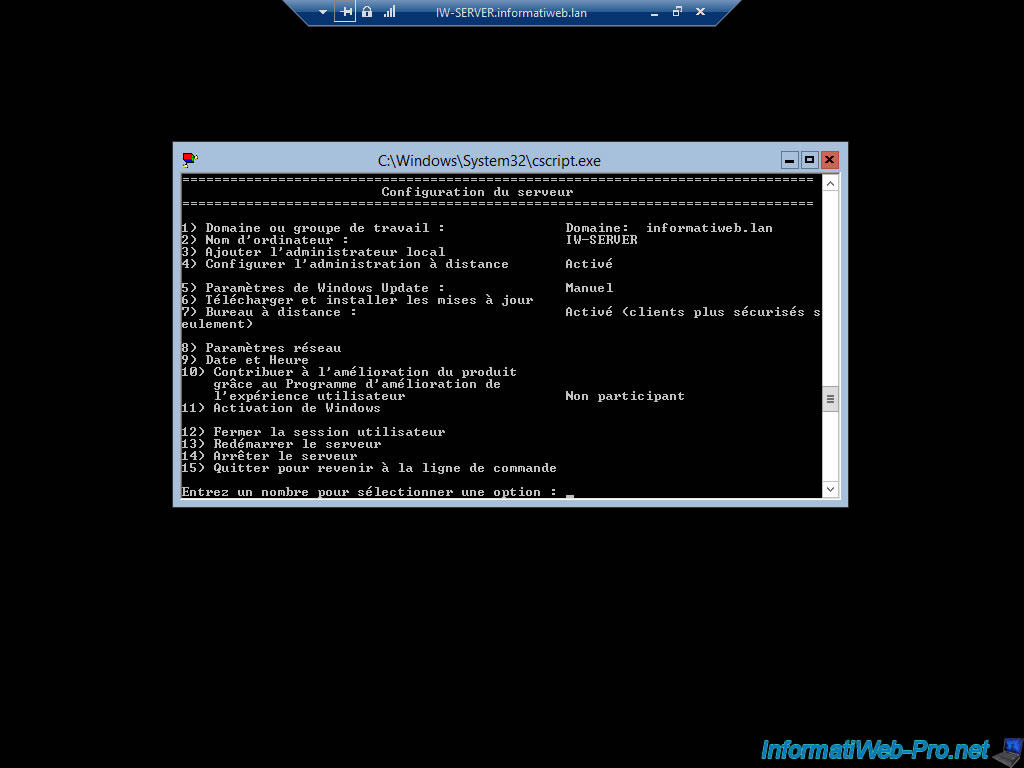
From the "sconfig" tool, choose :
- option 7 : Remote Desktop
- option A : Enable Remote Desktop
- option 1 : if you only use recent versions of Windows and/or Windows Server. As long as they support the NLA.
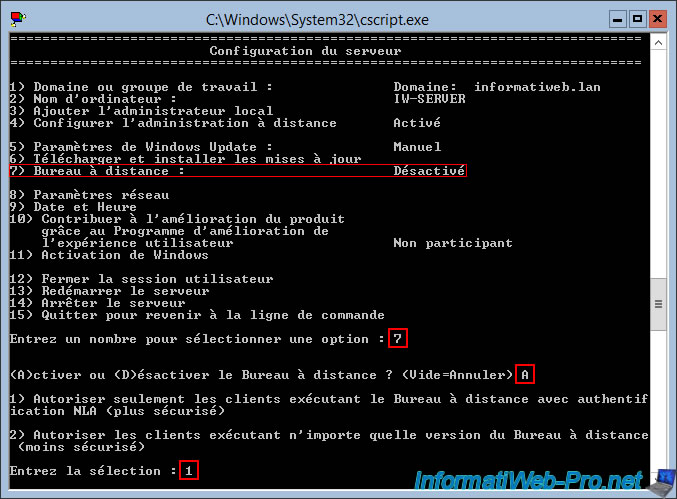
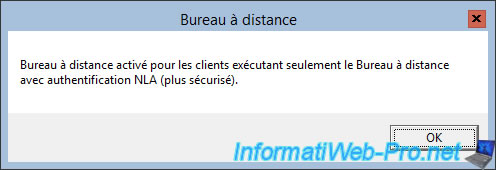
The remote desktop is enabled.
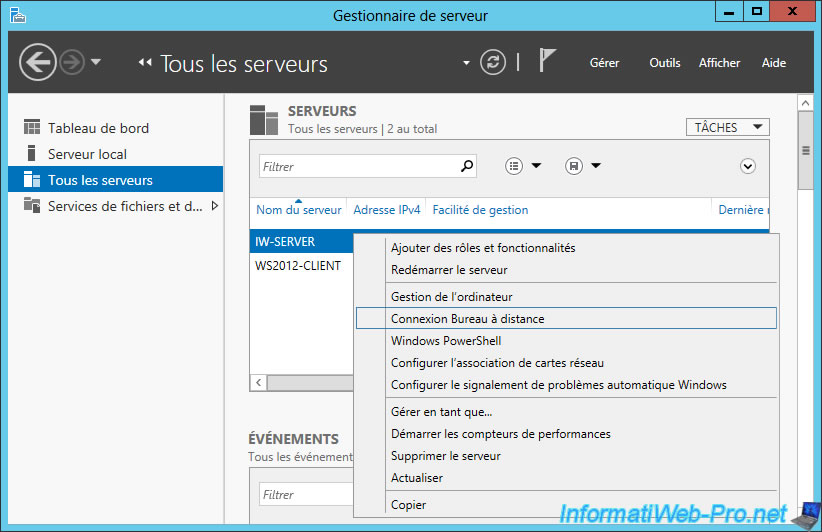
From the server manager, select your Core server and right-click "Remote Desktop Connection" on it.
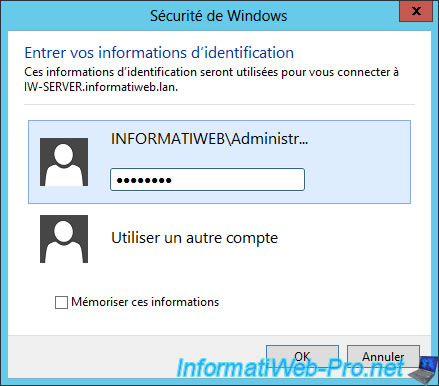
Specify the credentials of an account authorized to connect to this server.
And you will be able to remotely access your Core server.
7. Add roles on your Core server
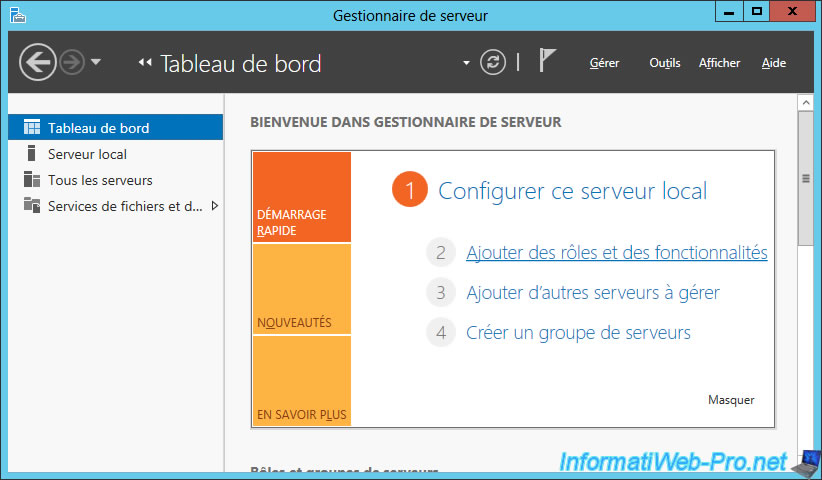
Thanks to the remote management of Windows Server, you can also install roles and/or features remotely on your Core server without going through the command line or powershell.
All you have to do is use the "Add roles and features" of the Server Manager.
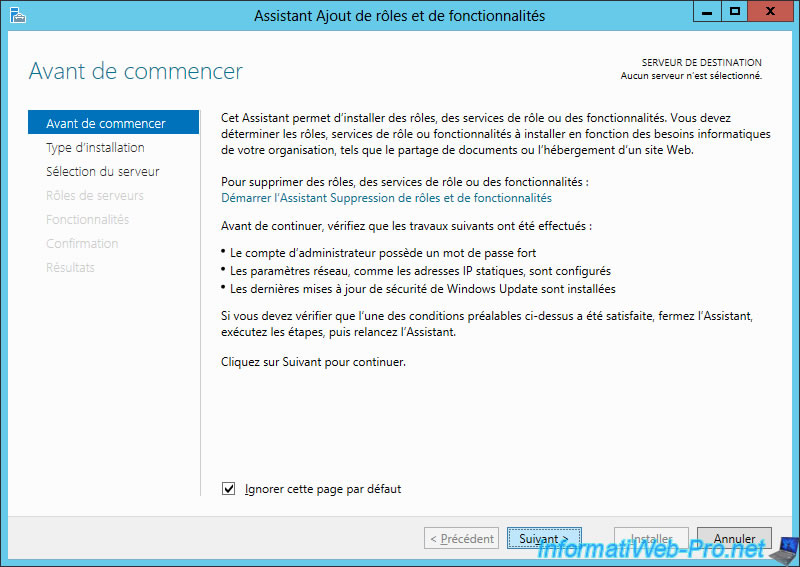
Click Next.
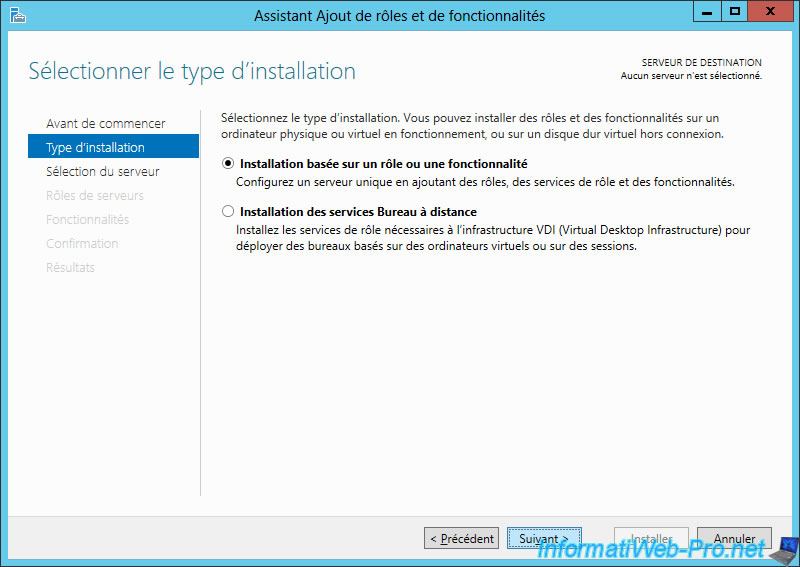
Choose the "Role-based or feature-based installation" option (for example).
Select your Core server.
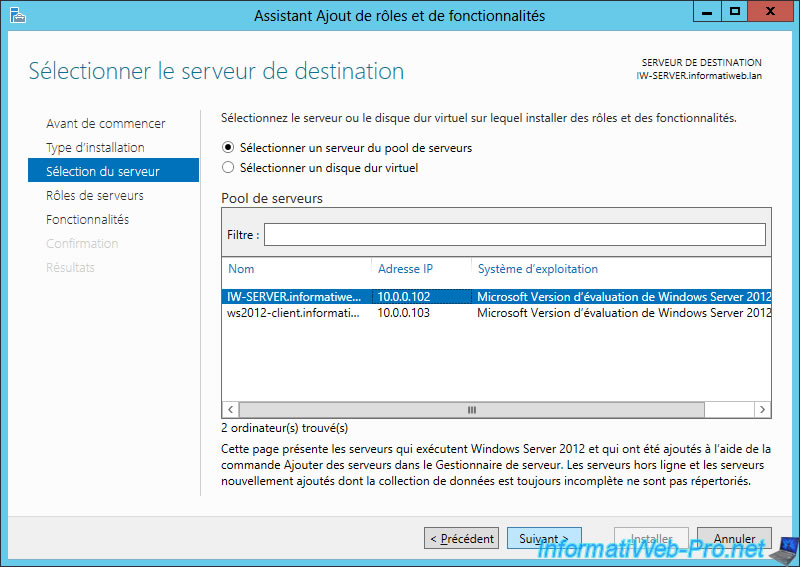
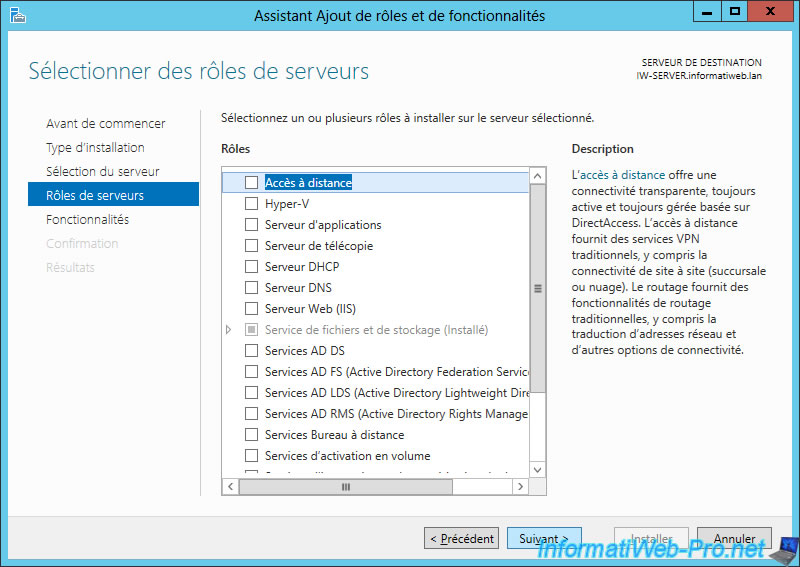
And install the desired roles and/or features remotely.
Note that to manage these roles, you will also need to install the corresponding RSAT tools on the server used as a client. (Only the RSAT tools and NOT the role)
Share this tutorial
To see also
-
Windows Server 11/9/2017
Windows Server - Remote Server Administration Tools (RSAT)
-
Windows Server 3/7/2021
Windows Server - Remote Server Administration Tools (RSAT) for Win 10 v1809 and later
-
Windows Server 4/3/2017
WS 2012 - Core mode
-
Windows Server 12/1/2018
WS 2012 / 2012 R2 - Manage multiple servers remotely (securely)

No comment