Install and configure DirectAccess on Windows Server 2012 / 2012 R2 with clients on Windows 7, 8 and 10
- Windows Server
- DirectAccess
- 12 September 2017 at 18:29 UTC
-

- 3/5

7. DirectAccess installation
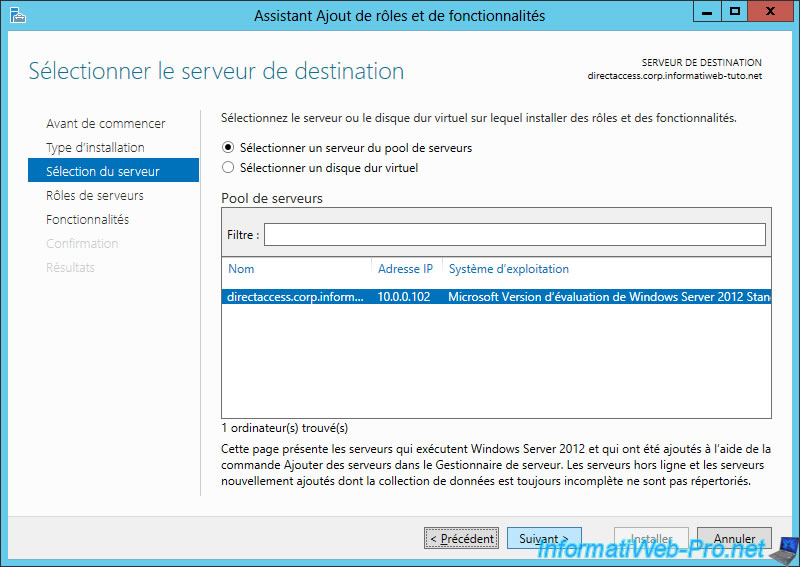
Now that all prerequisites have been set up, we will finally get to the heart of the matter by installing the "DirectAccess" technology on our 2nd server.
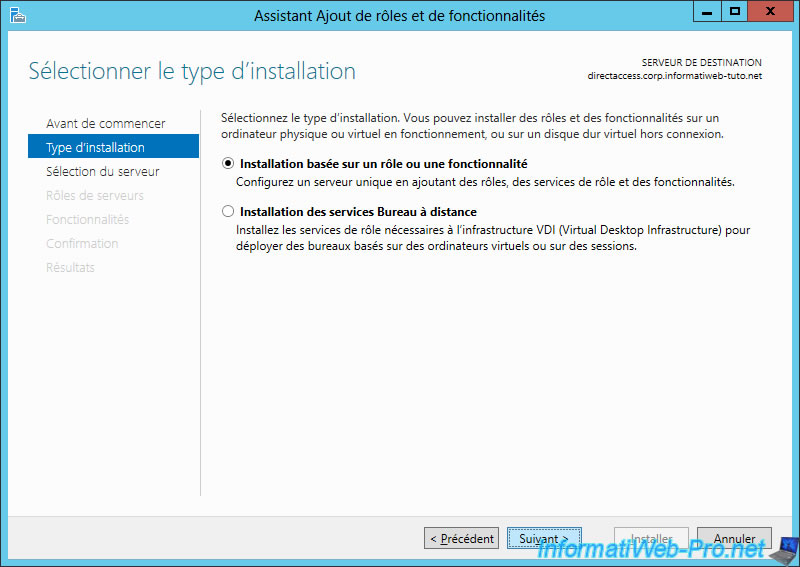
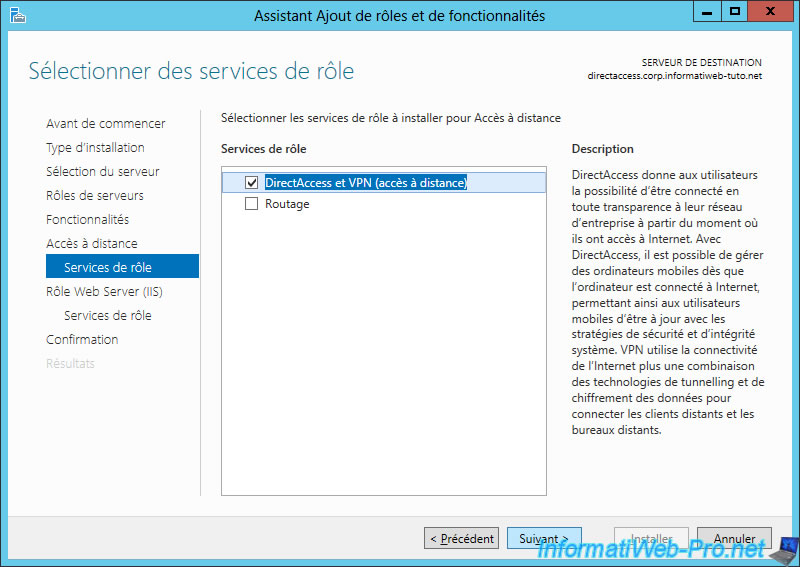
DirectAccess technology is in the "Remote Access" role.
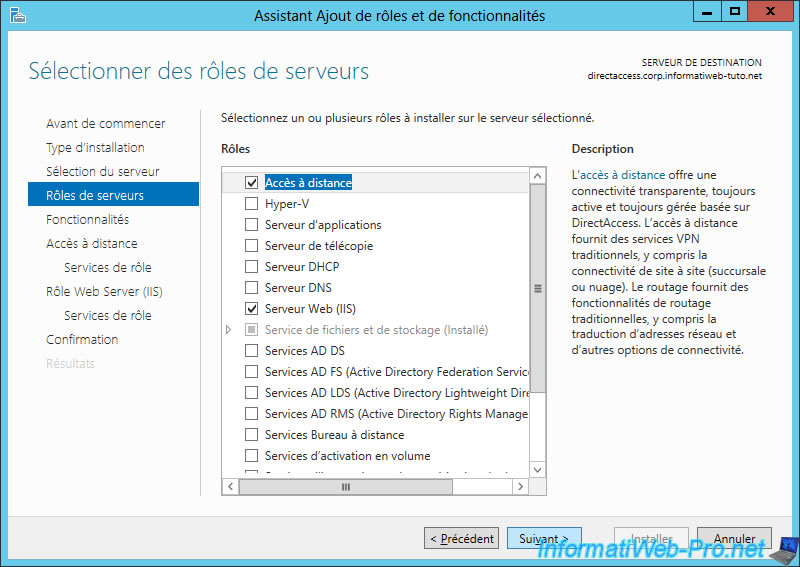
Windows Server introduces you to the DirectAccess feature.
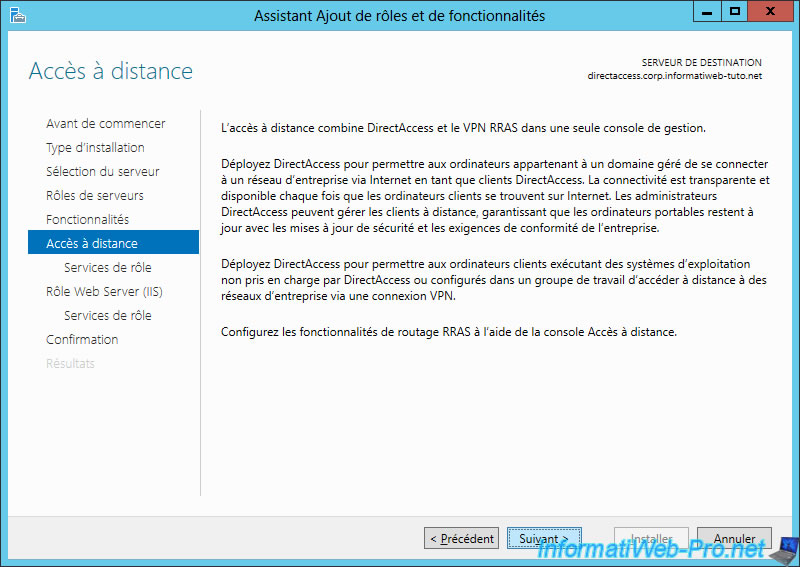
Check the "DirectAccess and VPN (RAS)" box.
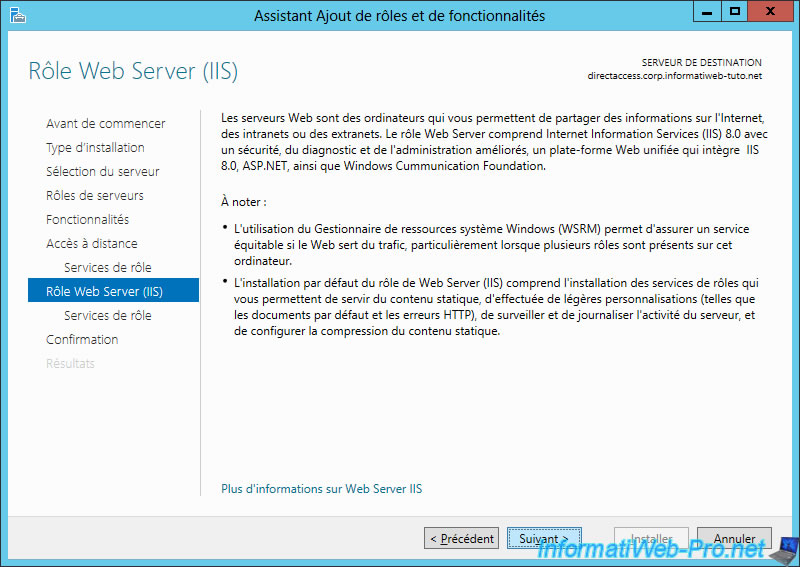
Because the DirectAccess server can be accessed over an IP-HTTPS connection, the IIS role will be required for the installation of DirectAccess.
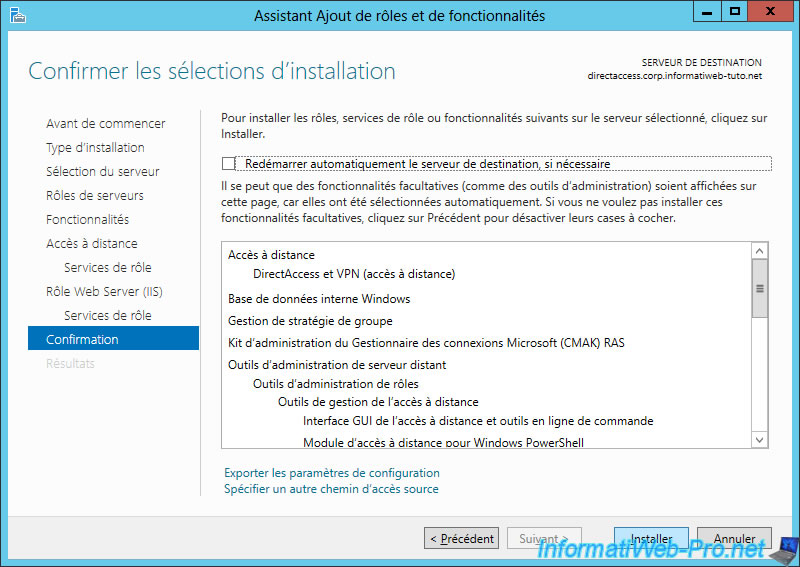
Click Install.
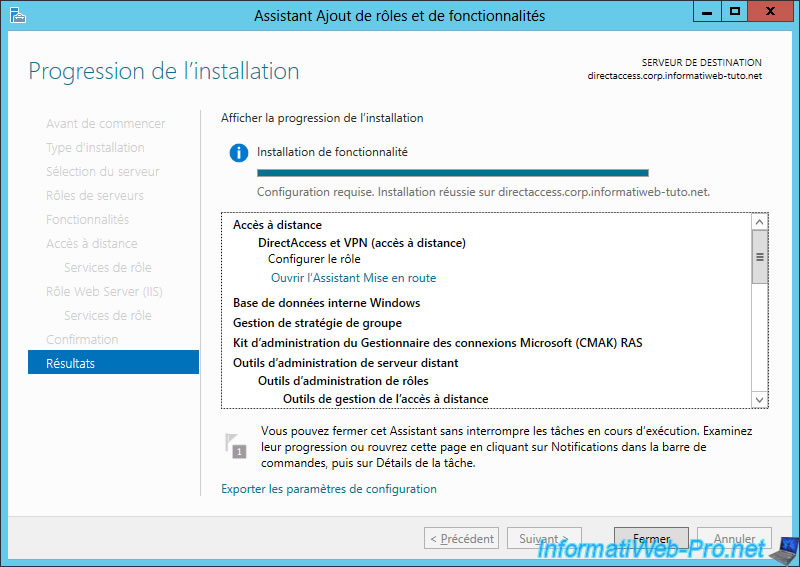
When the installation is complete, click on "Close" or on the "Open the Getting Started Wizard" link to start directly the getting started wizard.
8. DirectAccess configuration
8.1. Basic configuration
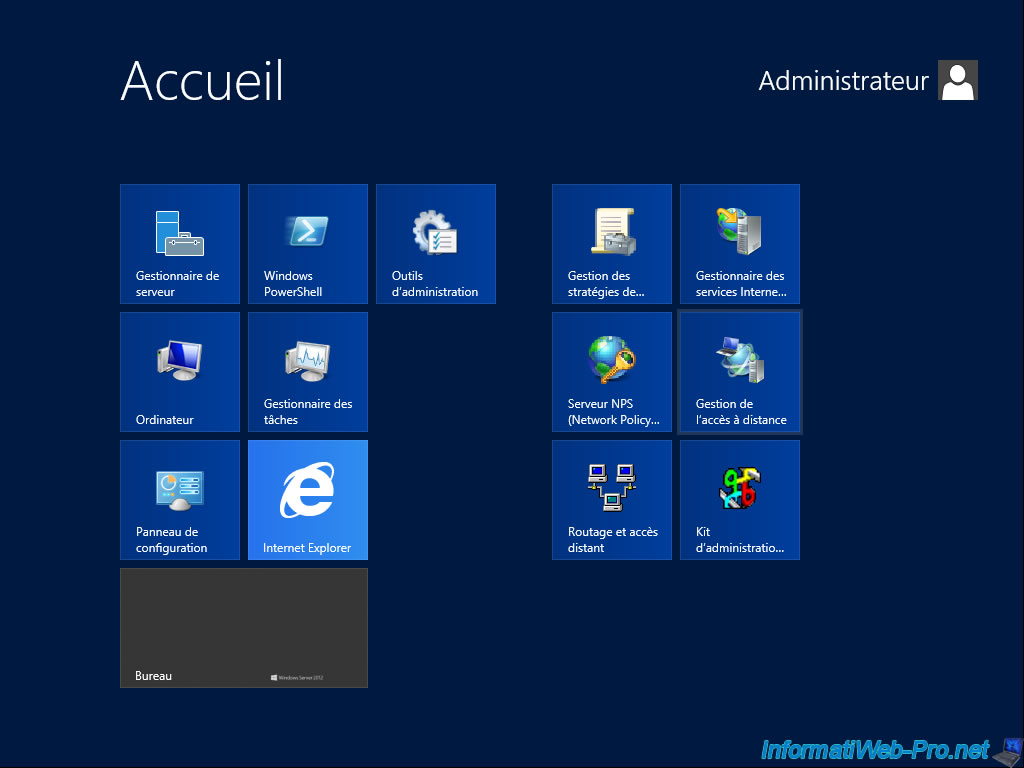
If you did not click the "Open the Getting Started Wizard" link, open the Windows Server 2012 home screen and click on "Remote Access".
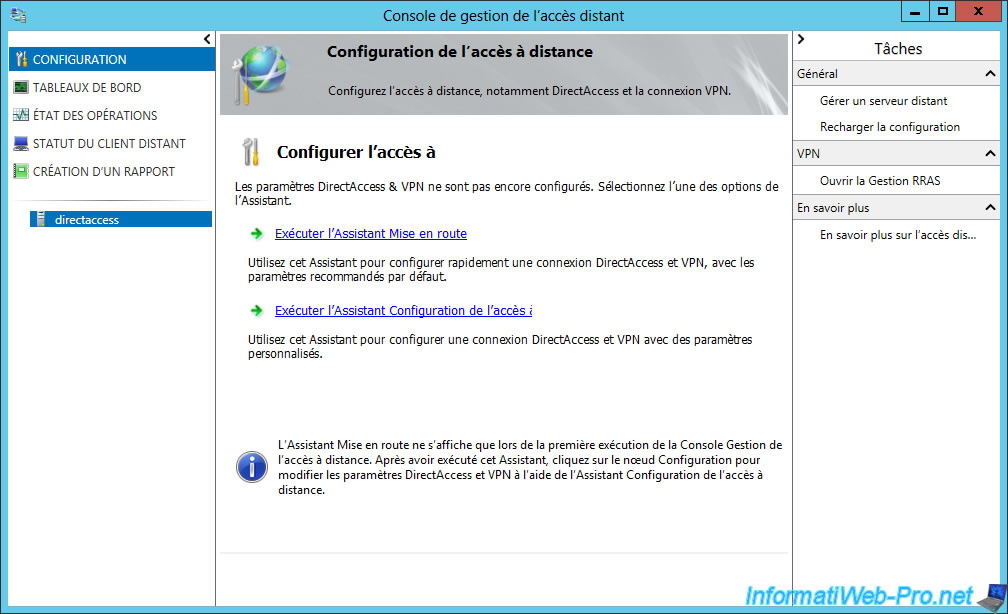
The "Remote Access" program starts.

Click the "Run the Getting Started Wizard" link.
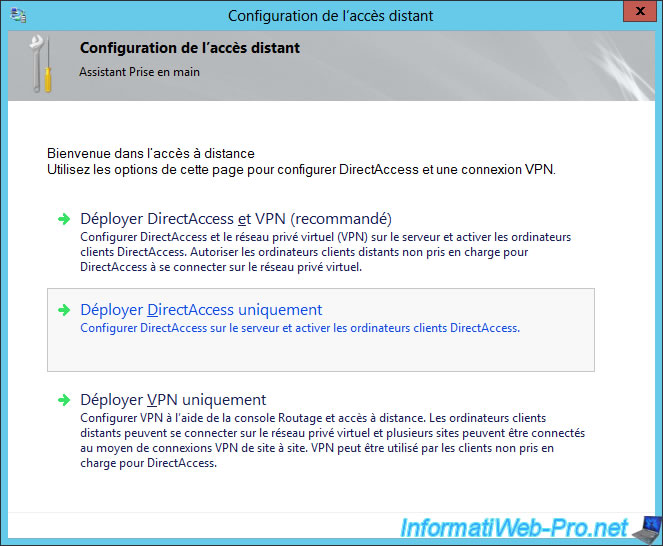
The "Configure Remote Access" window appears.
Click "Deploy DirectAccess only".
The wizard tests the configuration of your server.
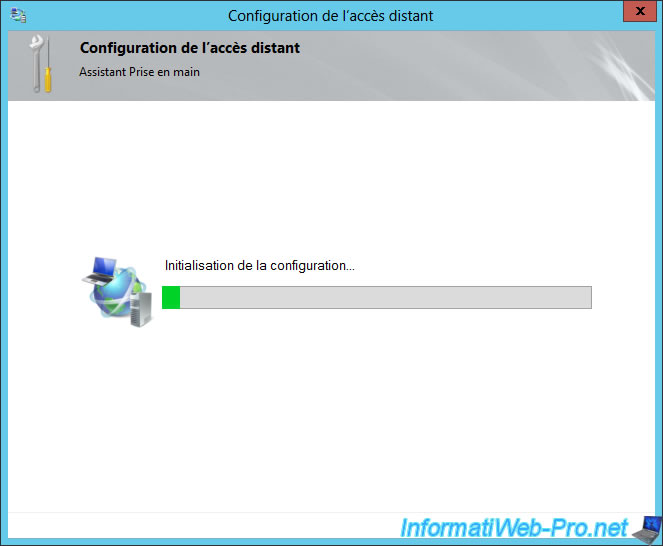
In our case, our server has only one network card.
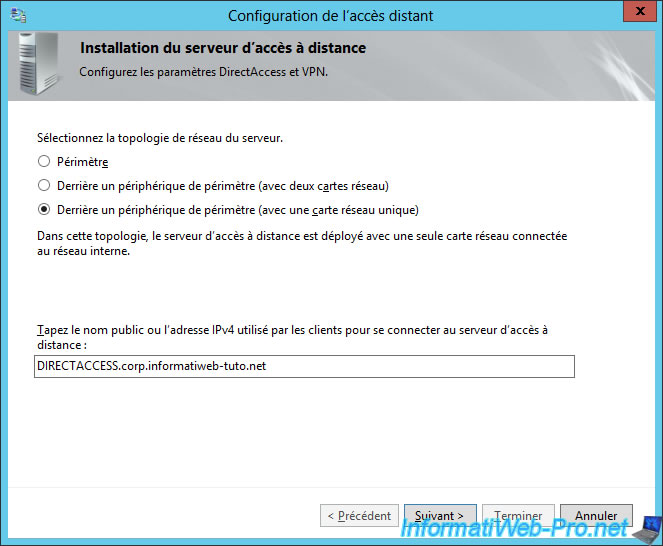
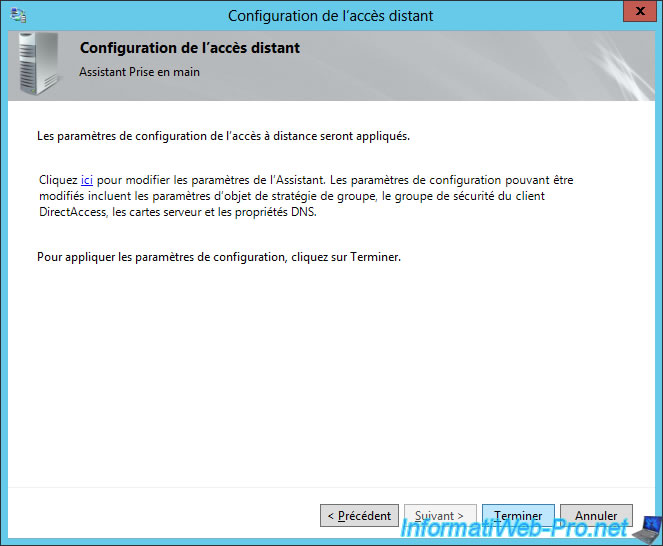
Click "Finish" to complete the basic configuration of DirectAccess.
The wizard deploys the remote access server behind NAT (a router).
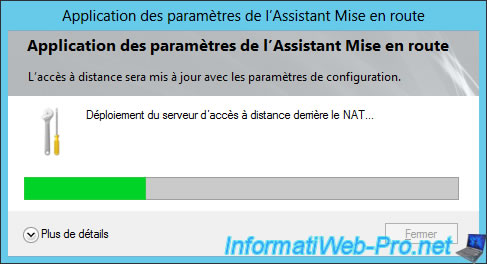
And performs some configurations.
Among all settings made, it's possible that you receive a warning about the NRPT table : The NRPT entry for the DNS Suffix ... contains the public name used by client Computers to connect to the Remote Access Server. Add the name ... as an exemtion in the NRPT
Note : we will fix this detail a little later.

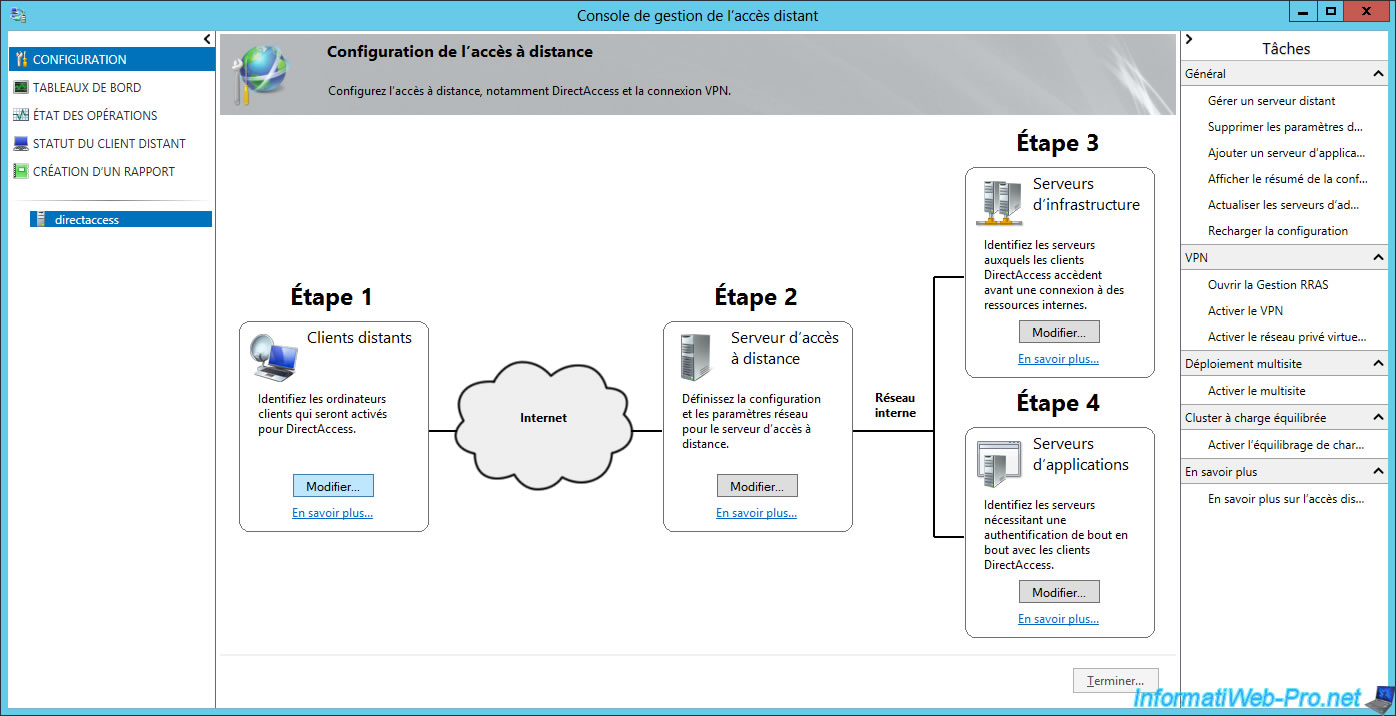
8.2. Step 1 : selection of client PCs allowed to connect via DirectAccess
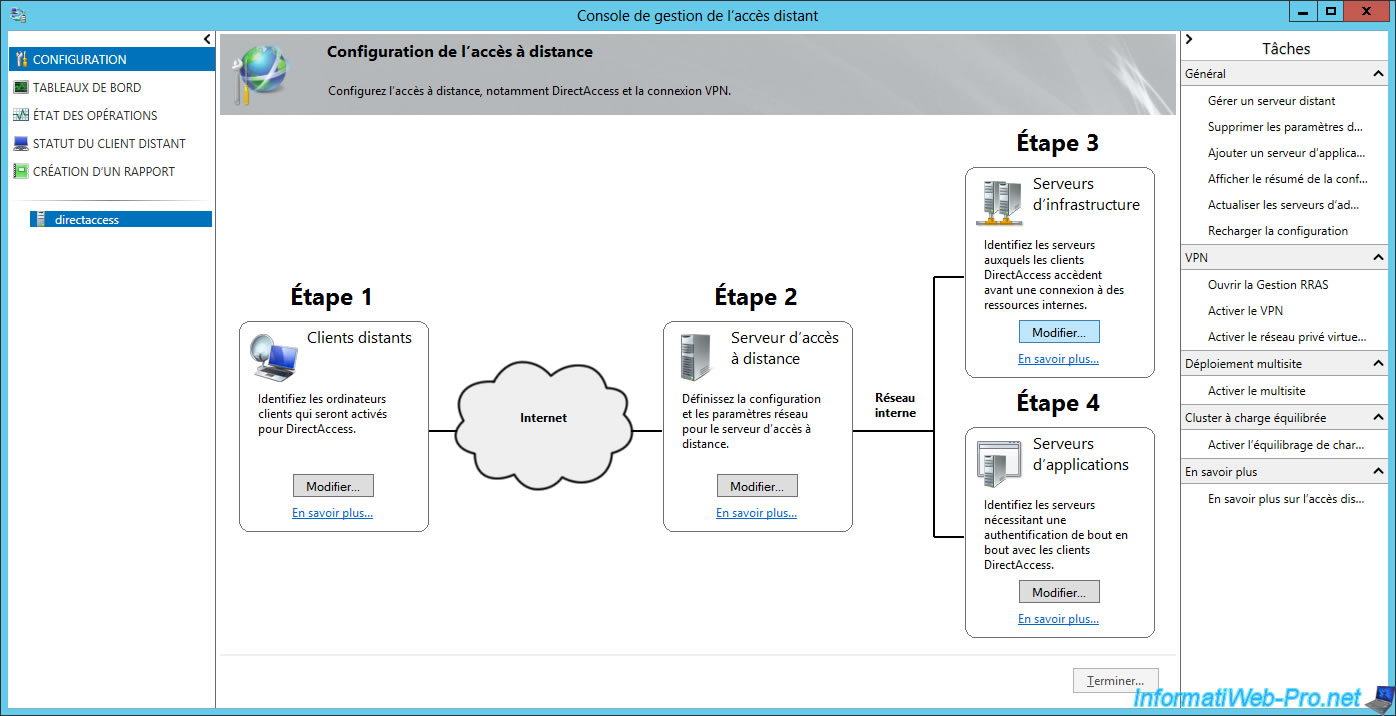
In the "Step 1 : Remote Clients" section, click Edit.
Note : if you are running Windows Server 2012, you must go to "Configuration -> DirectAccess and VPN" to get to this step.
Choose the "Deploy full DirectAccess for client access and remote administration management" option.
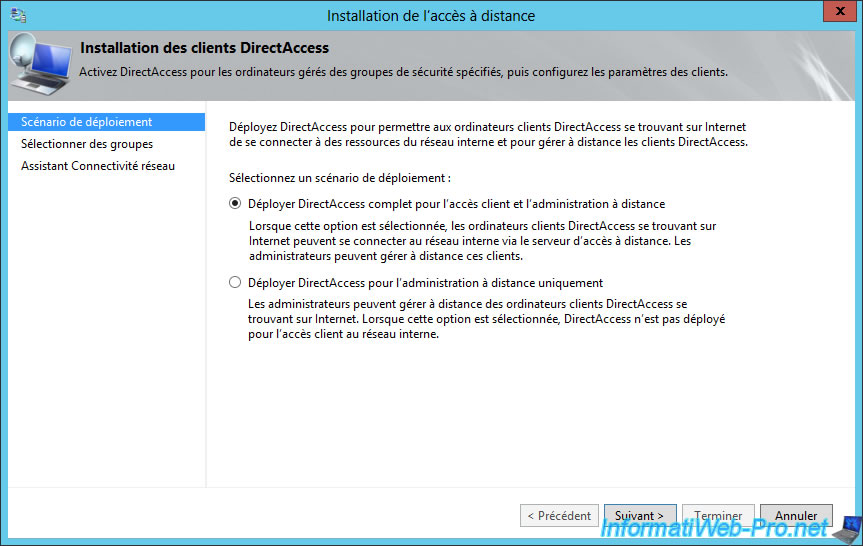
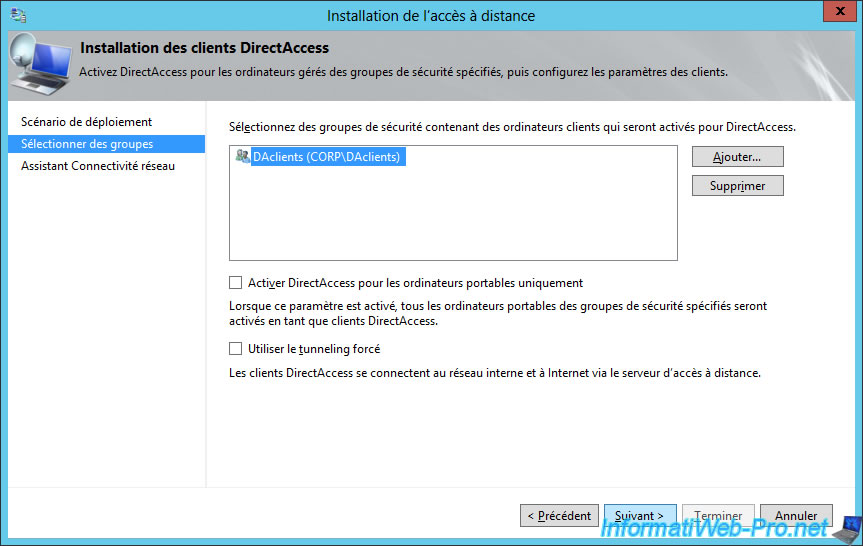
Then, remove the "Domain Computers" group present by default in the list.
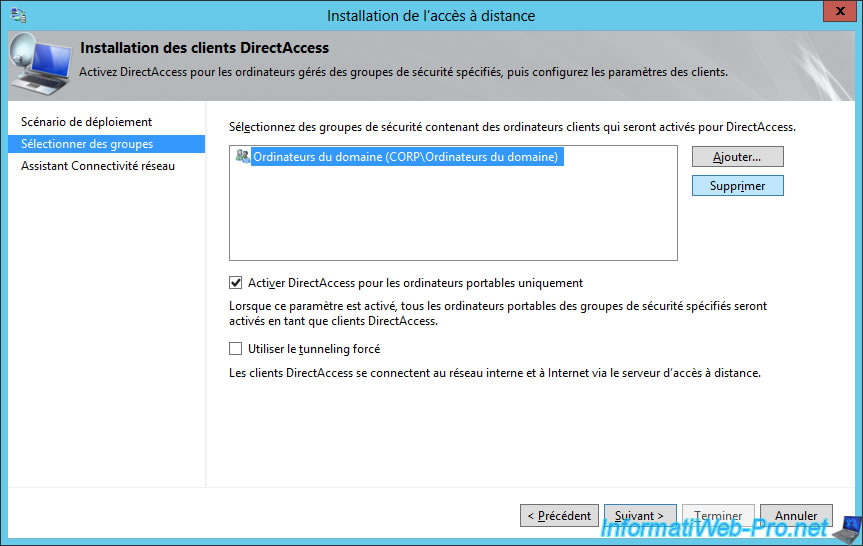
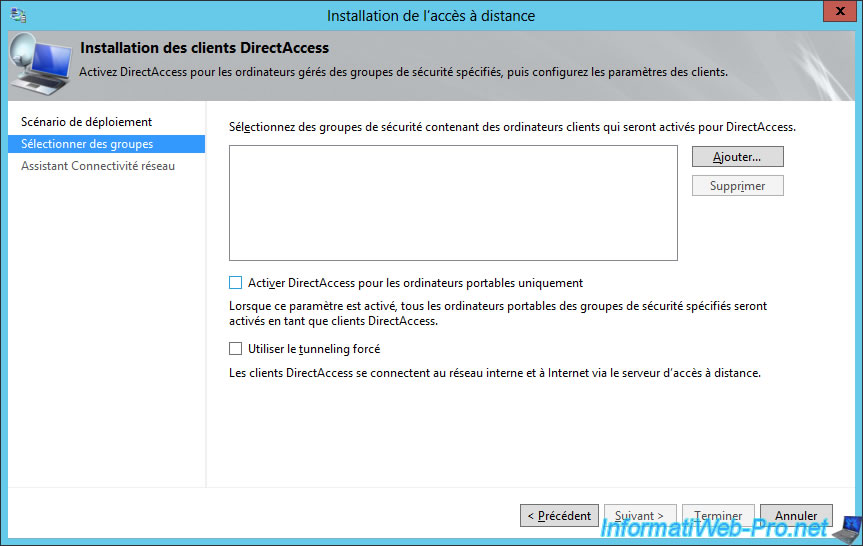
Uncheck the "Enable DirectAccess for mobile computers only" box to also allow fixed PCs to connect from outside via DirectAccess.
Then, click "Add".
Specify the name of the previously created group in the Active Directory.
In our case : DAclients.
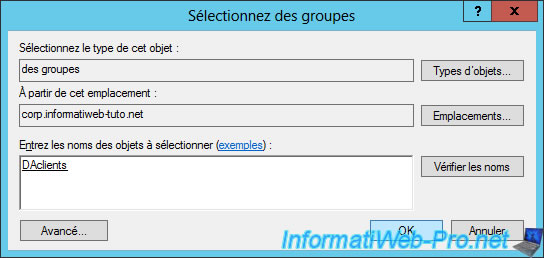
Click Next.
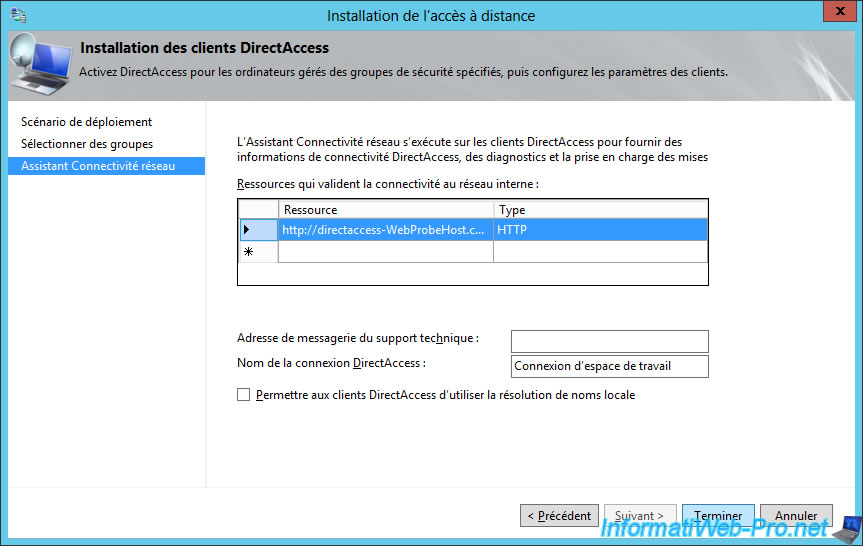
To connect to the DirectAccess server, client PCs will use a Windows service named "Network Connectivity Assistant" (as explained below).
By default, the DirectAccess connection will appear on the client PCs under this name : Workspace Connection.
8.3. Step 2 : remote access server configuration
In the "Step 2 : Remote Access Server" section, click Edit.

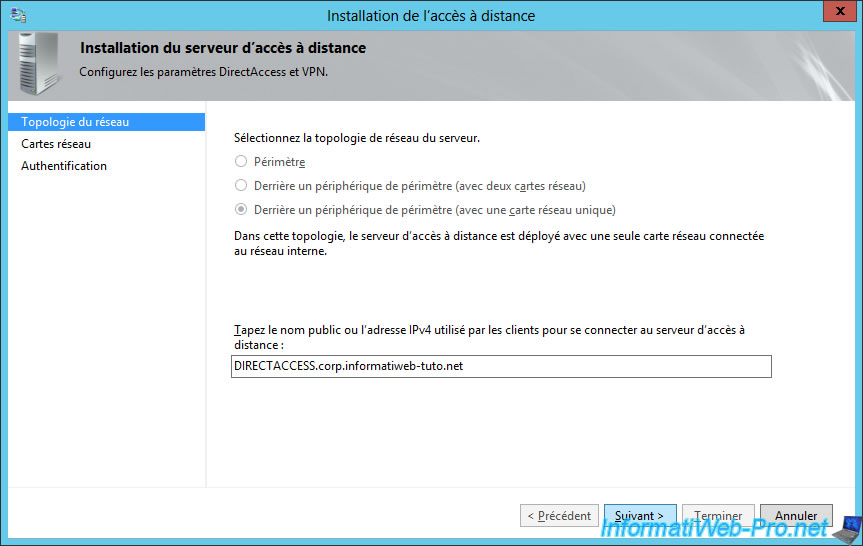
As you can see, the wizard shows you again the options for the network topology and the public name to use to connect to the DirectAccess server.
However, the network topology is no longer editable.
Click Next.
The wizard allows you to choose the network card and the SSL certificate to use for IP-HTTPS connections.
Click Next.

For client authentication, select "User authentication : Active Directory credentials (username/password)".
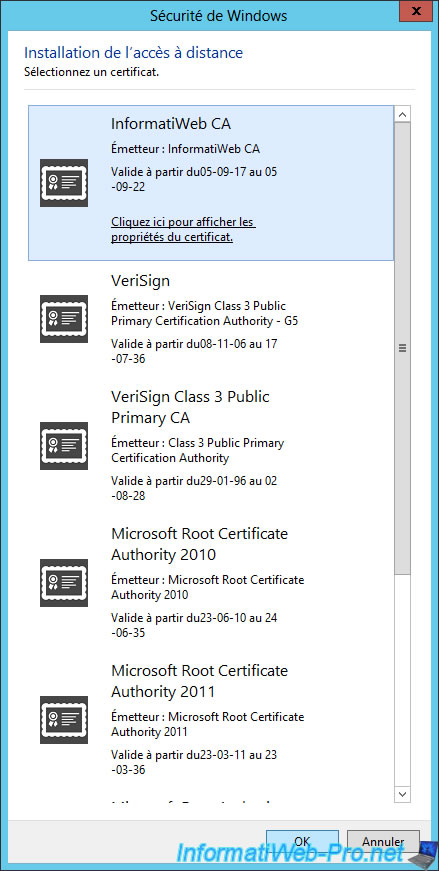
Then, check the "Use computer certificates" box and click on the "Browse" button.
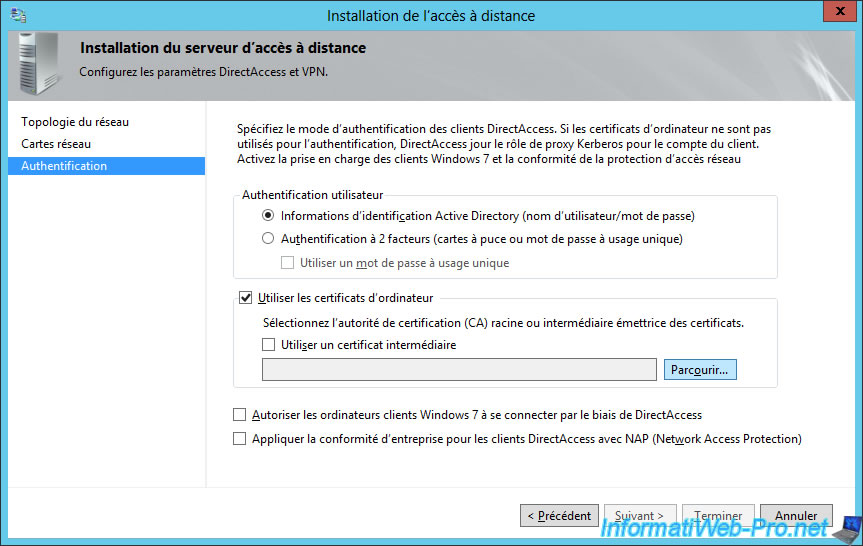
Select the certificate of your Certificate Authority (CA).
Finally, to also support Windows 7 clients, check the "Enable Windows 7 client computers to connect via DirectAccess" box.
Note : although the option for NAP is available on Windows Server 2012 and 2012 R2, please note that this option will no longer be available on Windows Server 2016.

Click "Finish" to apply the new configuration.

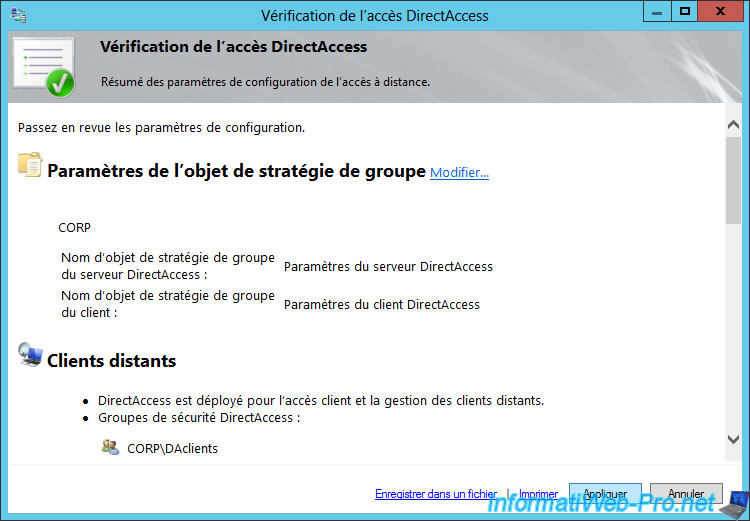
The wizard displays a summary of the configuration.
Click Apply.
Our remote access server is configured.

8.4. Step 3 : configure infrastructure servers
At the beginning of the DirectAccess configuration, the Getting Started wizard displayed a warning about a NRPT entry.
To fix this, go to the "Step 3 : Infrastructure Servers" section and click on Edit.
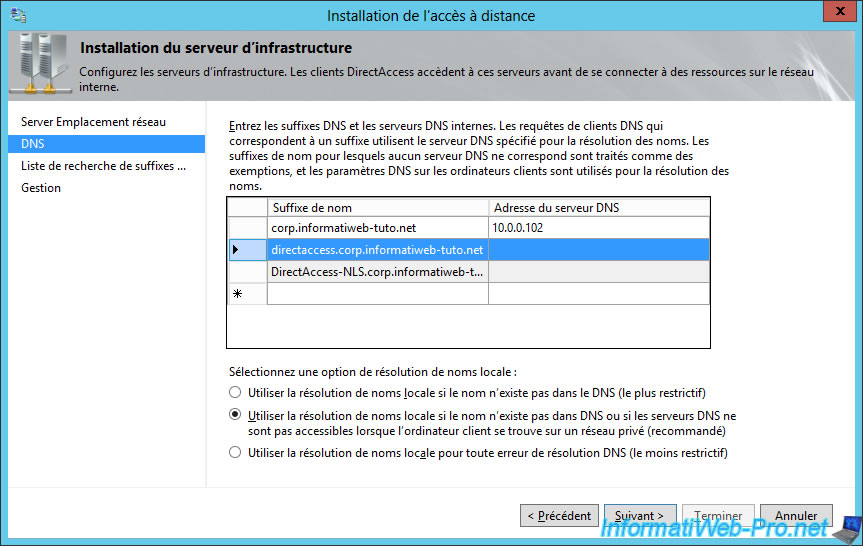
To correct this warning, we were asked to add an exemption for the name of our DirectAccess server.
This was done automatically by the assistant.
Indeed, if you read the text mentioned above the list, name suffixes for which no DNS server is specified are treated as exemptions.
You can then click Cancel to exit this wizard.
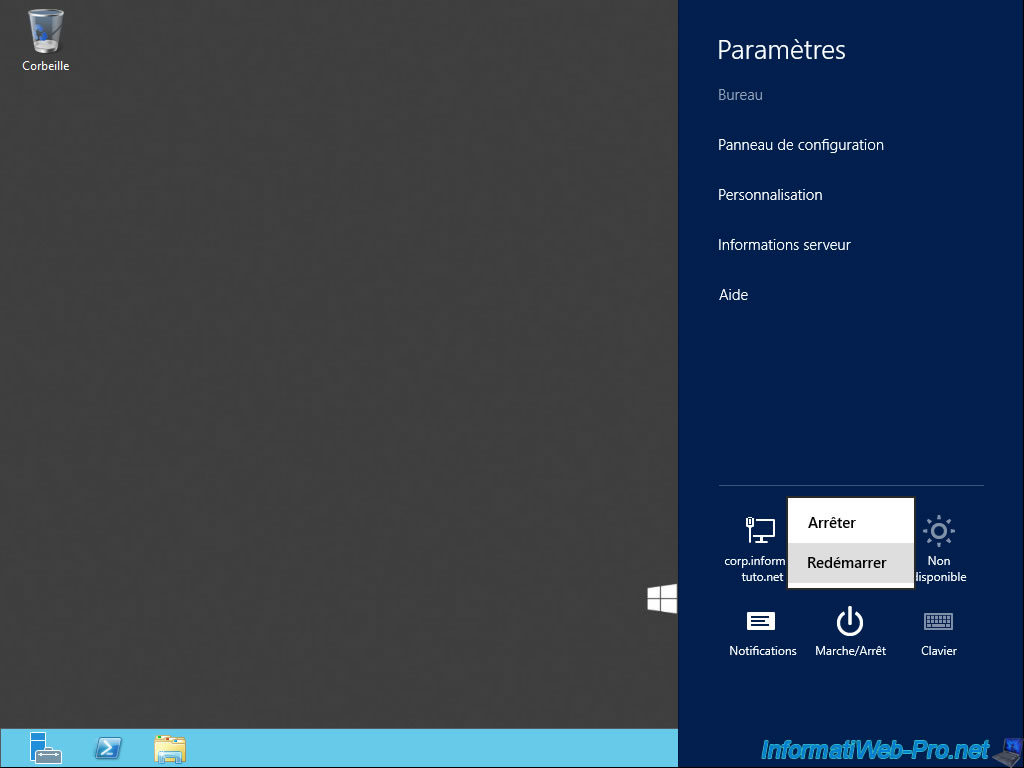
Finally, restart the server where DirectAccess was installed.
Start the "Remote Access Management" program again and wait for 1 minute.
Then, click on "Refresh" in the "Tasks" menu on the right.
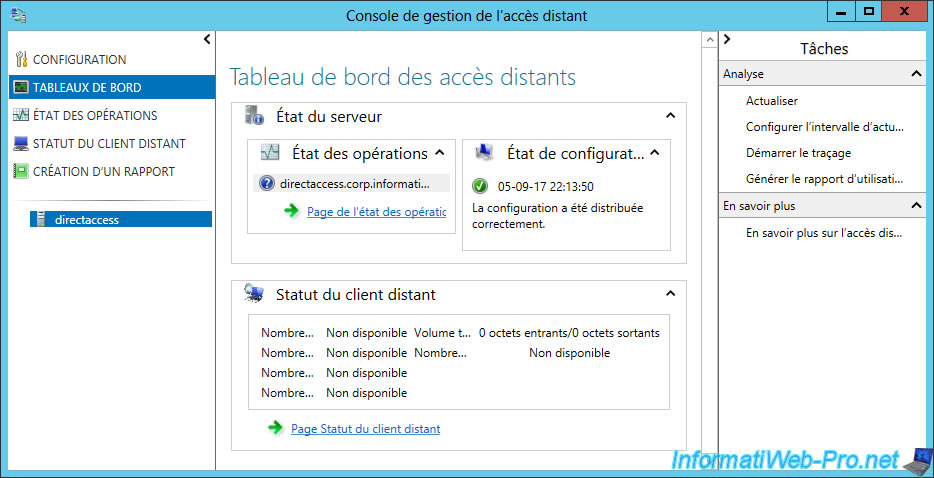
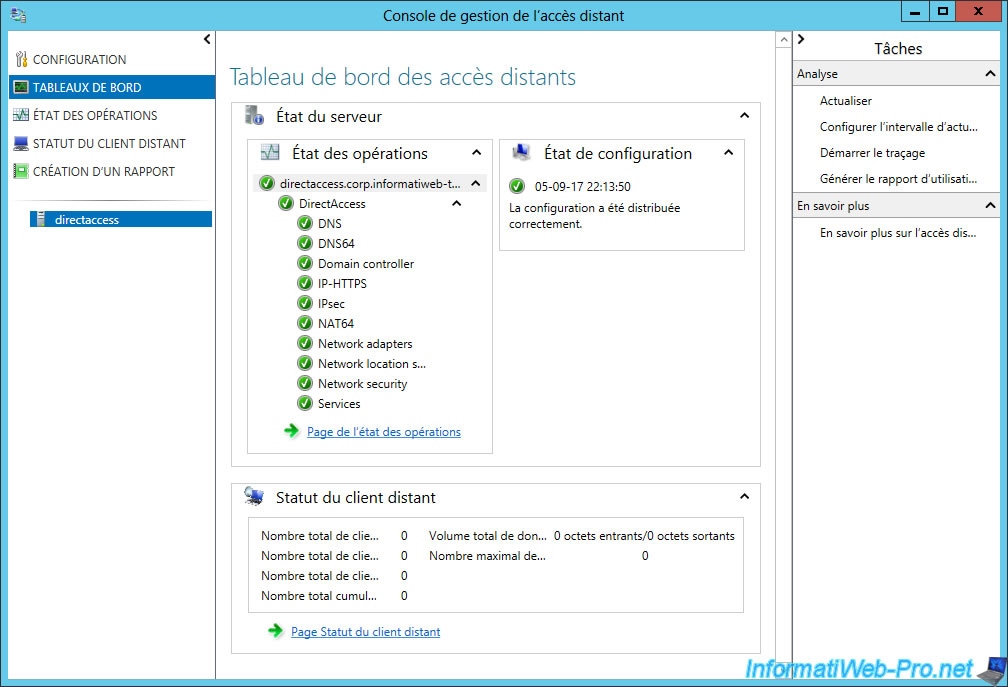
Normally, all services should be running.
As you can see, DirectAccess offers different components :
- DNS : allows domain names to be resolved to IP addresses
- DNS64 : allows you to obtain a special IPv6 address when the domain name resolved by the client points only to an IPv4 address and not to an IPv6 address. In summary, this is a compatibility mechanism to facilitate the transition from IPv4 to IPv6.
- Domain controller : displays the status of your domain controller
- IP-HTTPS : allows you to transport IPv6 packets over a non-IPv6 network over an HTTPS connection. This will facilitate the transition from IPv4 to IPv6 and is similar to 6to4 and Teredo tunneling.
- IPsec : security strategy to secure a VPN connection.
- Networks adapters : displays the status of your network cards.
- Network location service : highly available website that allows client devices to know whether they are inside or outside the company network.
- and more.
For those who would like to know what are 6to4 and Teredo tunneling, here is a quick description :
- 6to4 : transition mechanism from IPv4 to IPv6 allowing 2 IPv6 networks to communicate over an IPv4 network.
- Teredo tunneling : a transition mechanism from IPv4 to IPv6 to access the Internet via IPv6 via NAT (so via a router). To do this, Teredo encapsulates IPv6 packets in IPv4 UDP datagrams.
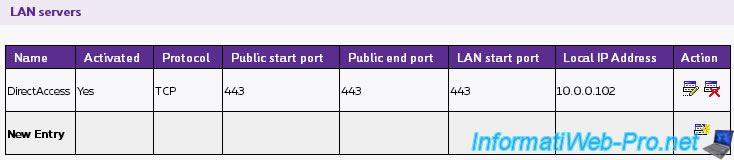
Because clients will access the DirectAccess server through an IP-HTTPS connection, they will connect to port 443 (HTTPS).
If your DirectAccess server is behind a router (which is our case), you will need to redirect port 443 TCP to your DirectAccess server.
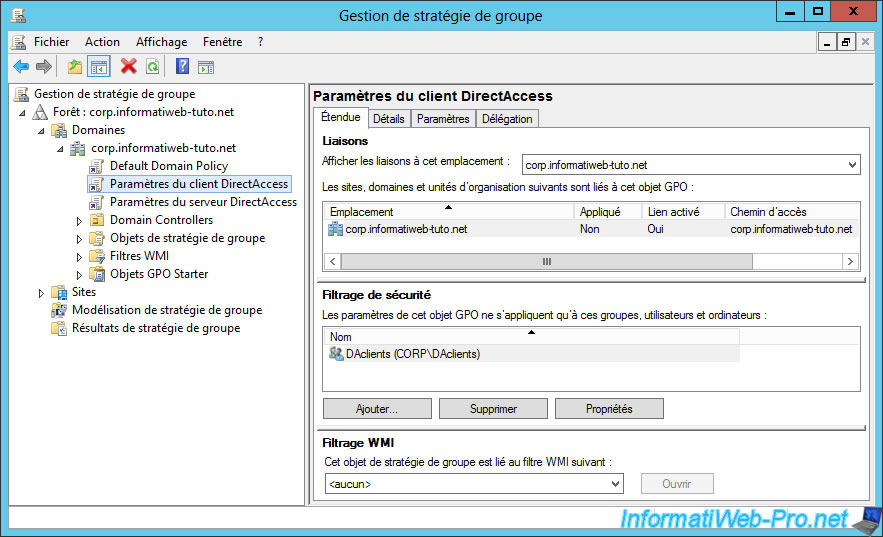
8.5. DirectAccess client-specific group policies
Note that the installation of the DirectAccess server will also have created 2 new elements for group policy management.
With these, you can also add policies that will be applied only to clients or the DirectAccess server.
Share this tutorial
To see also
-
Windows Server 10/15/2017
WS 2012 / 2012 R2 - DirectAccess - Manage a remote client (manage out)
-
Windows Server 10/3/2017
WS 2012/2012 R2 - DirectAccess - Configure a Windows To Go client
No comment