Install and configure an iSCSI server and an iSCSI client on Windows Server 2012
- Windows Server
- iSCSI
- 29 April 2017 at 11:28 UTC
-

- 2/2

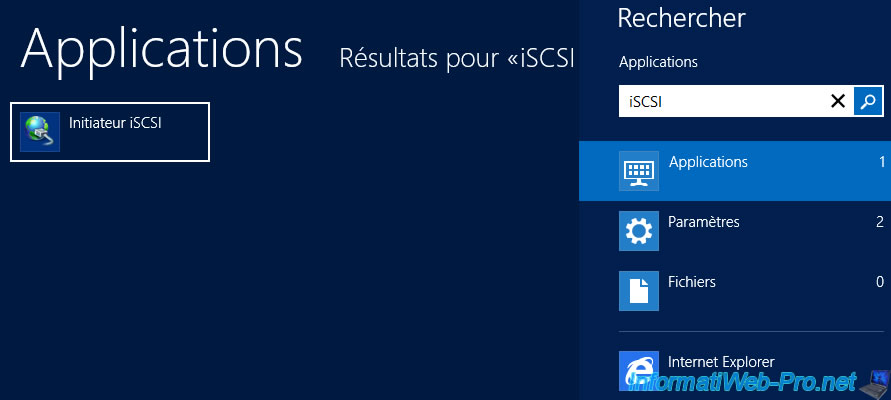
2. Configure the iSCSI Client
To configure the iSCSI client on Windows Server, simply run the "iSCSI Initiator" program.
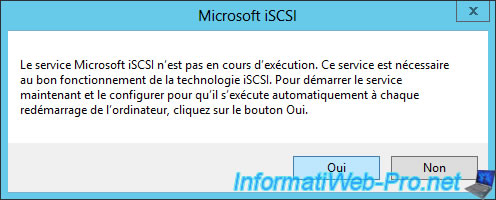
The first time, Windows will warn you that the "Microsoft iSCSI" service is not running.
Click Yes to start it. Then, this service will start automatically every time Windows starts.
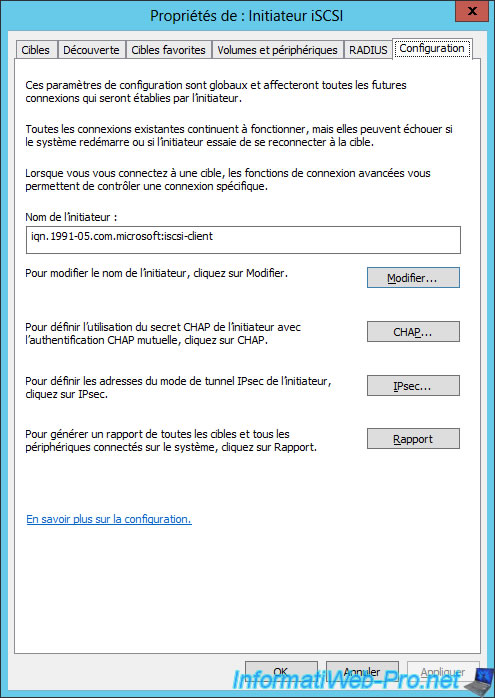
In the "Configuration" tab, you will find the iqn of your iSCSI client.
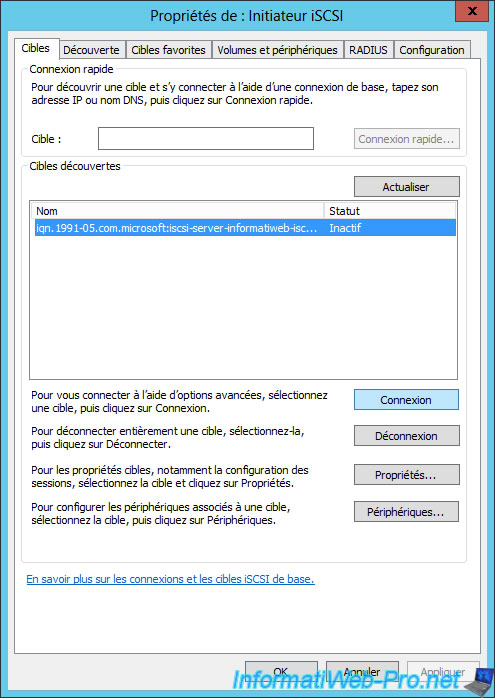
To start, go to the "Discovery" tab and click on the "Discover Portal" button.
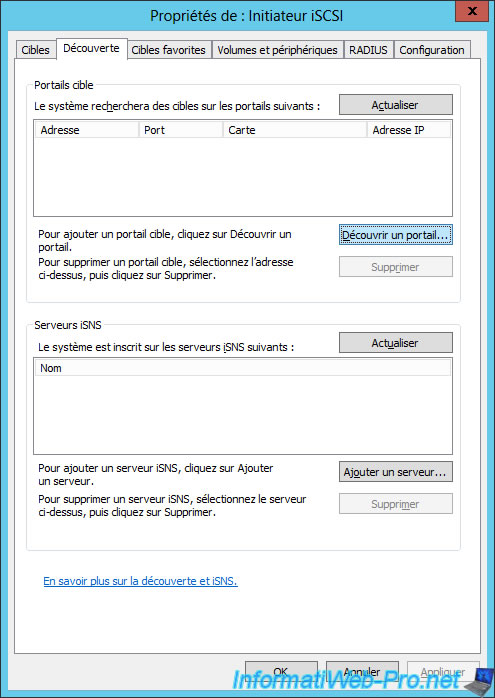
Specify the IP address or the DNS name of your iSCSI server, and then click OK.
Warning : If you click Advanced, Windows will suggest that you enable CHAP authentication. However, this CHAP authentication should not be enabled when discovering the portal. But, you will need to enable it later when connecting to the iSCSI share (iSCSI virtual hard disk).

If the connection was successful, your iSCSI server will appear in the list.
Select it and click "Login".
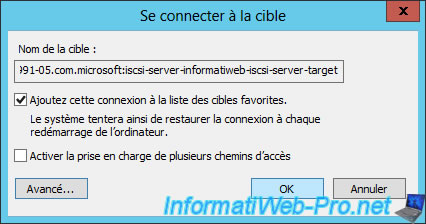
Click "Advanced".

And enable CHAP logon if you enabled CHAP authentication on your iSCSI server.
Specify the user name and password for CHAP authentication (if required), and then click OK.

Click OK.
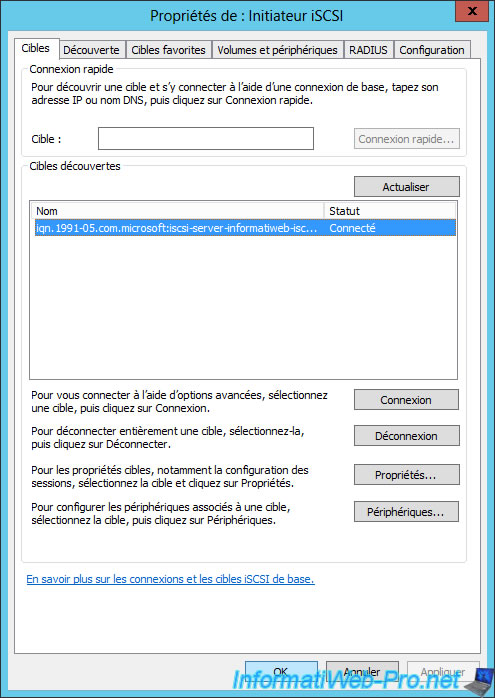
The status of the server will be : Connected.
Click OK.
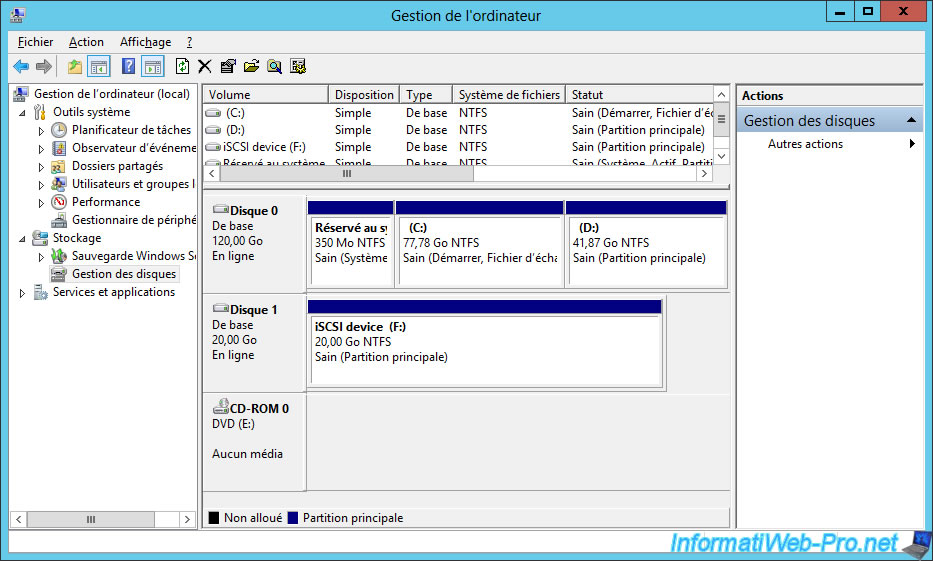
If you look into the disk management of your iSCSI client, you will see that Windows recognizes a new hard disk.
This hard disk does not really exist, because it's the iSCSI share available on your iSCSI server.
This shows you that Windows can use it as if it were a real local hard drive.
To use it, right-click on its name and click on "Online".
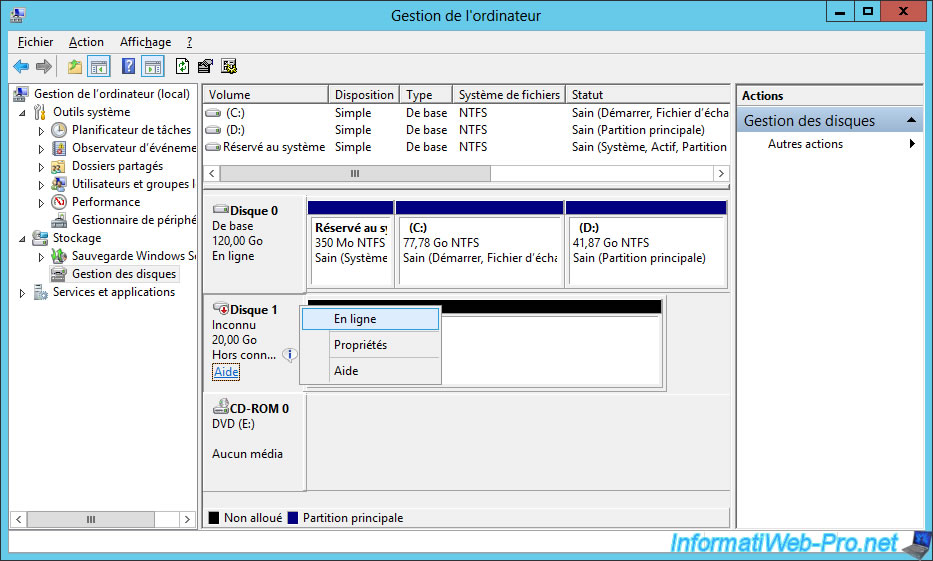
Then, initialize this disk (as you would with a real hard drive).

And finally, partition it as you wish.

Now, we can start storing data on this "hard drive".
Note : data stored on this disk will therefore be stored on your iSCSI server.
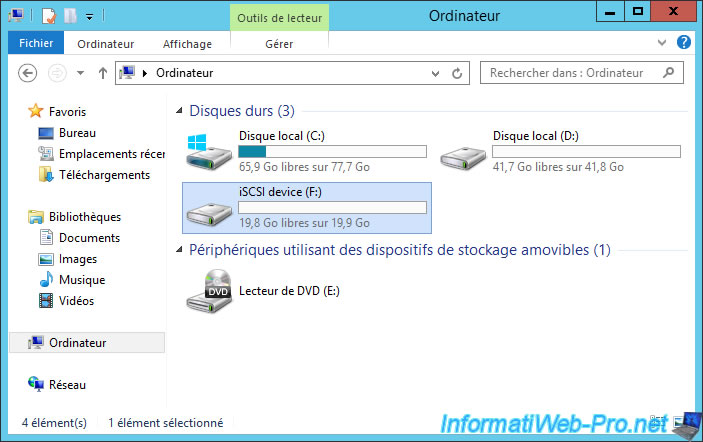
If you go to Computer, you will see that Windows will also recognize this partition.
Share this tutorial
To see also
-
Windows Server 5/7/2017
WS 2012 - Replicate data iSCSI data with StarWind Virtual SAN
-
Windows Server 6/28/2019
WS 2012 / 2012 R2 - Improve the performance of your iSCSI server with MPIO
No comment