Install and configure Windows Deployment Services (WDS) on Windows Server 2008
- Windows Server
- WDS
- 11 August 2012 at 16:11 UTC
-

- 3/5

3. Captures
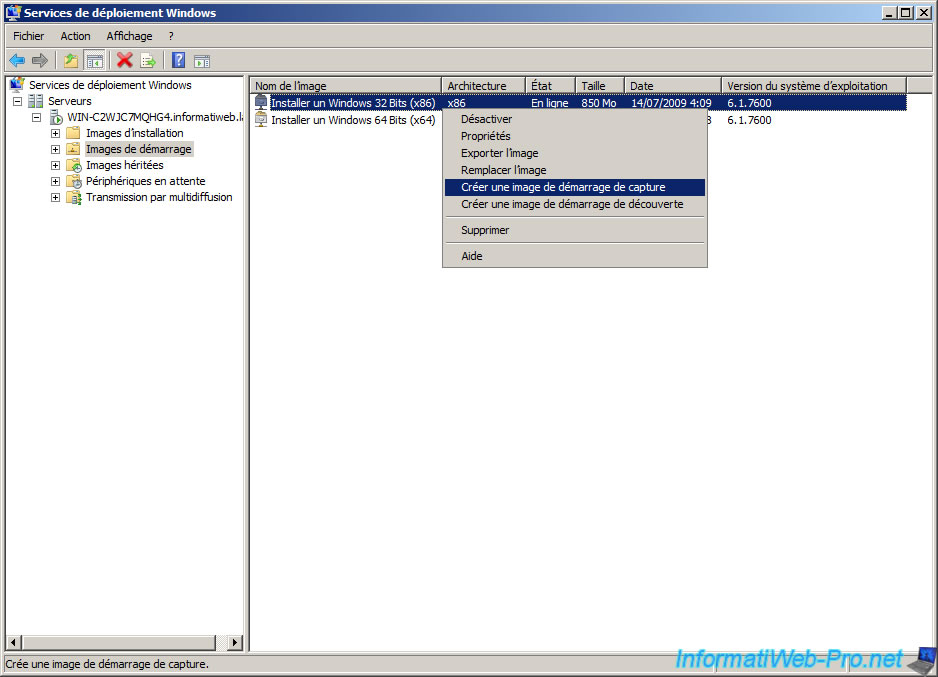
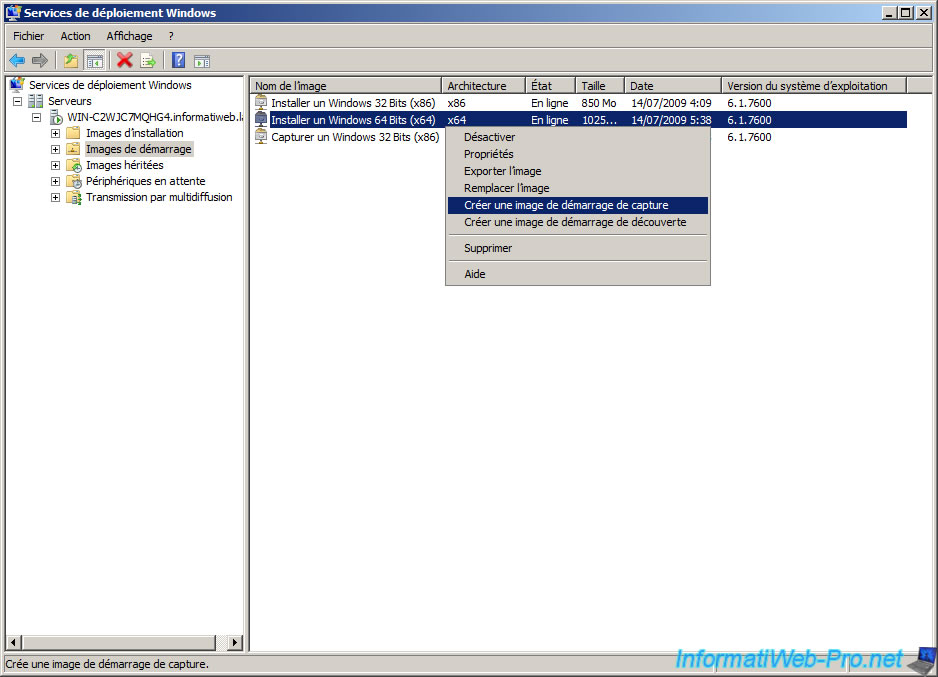
Right-click on the 32-bit boot image and click "Create a boot image capture".
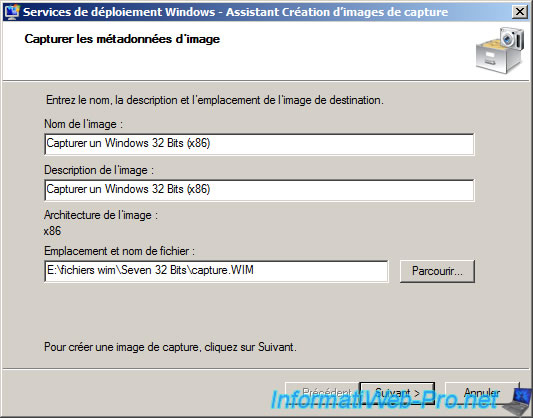
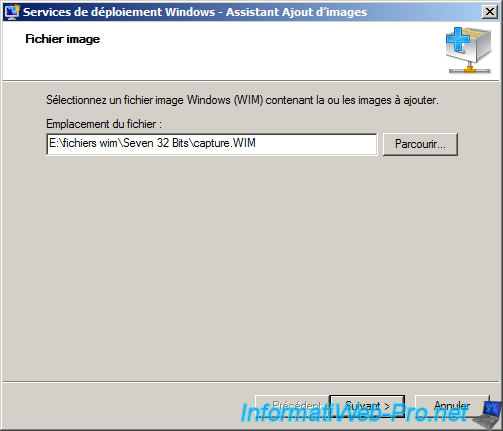
Specify a name and description for the image capture. Click the "Browse" button.
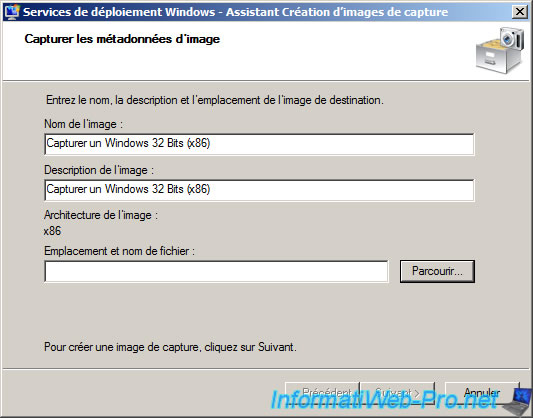
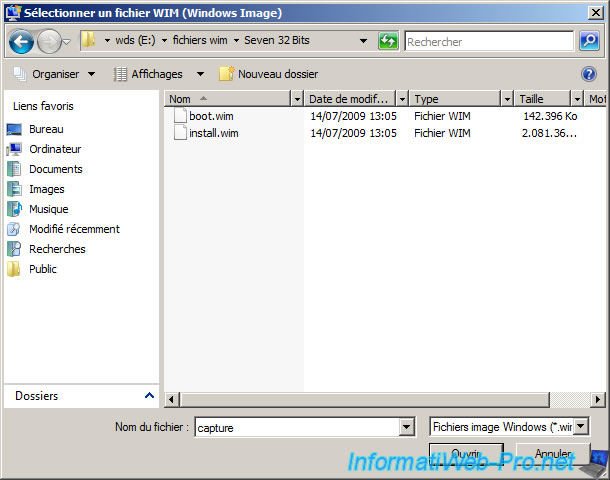
Enter a name to save the capture file format "wim". The file will not open and save as can believe me "Open" button.
Then click "Next".
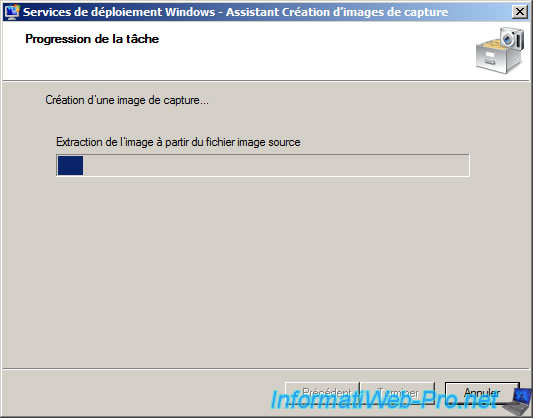
The wizard first extracted the files.
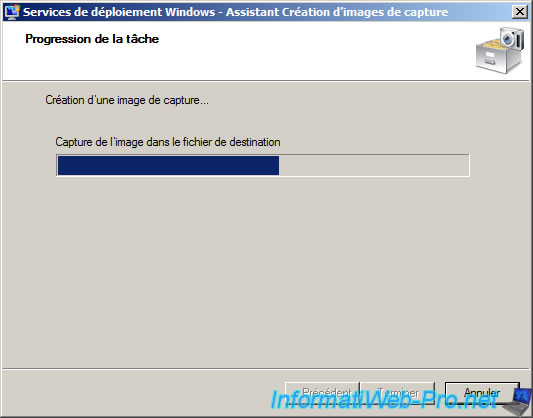
And then creates the image capture.
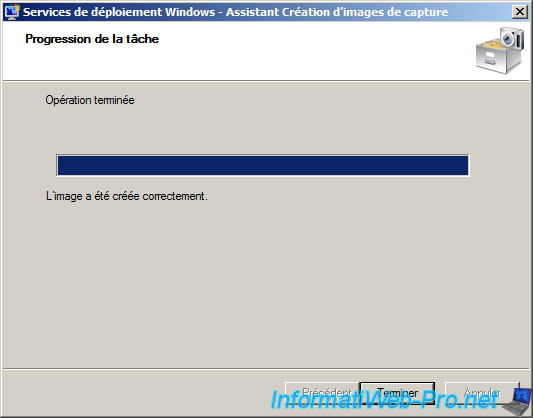
Once the capture image is created, click "Finish".
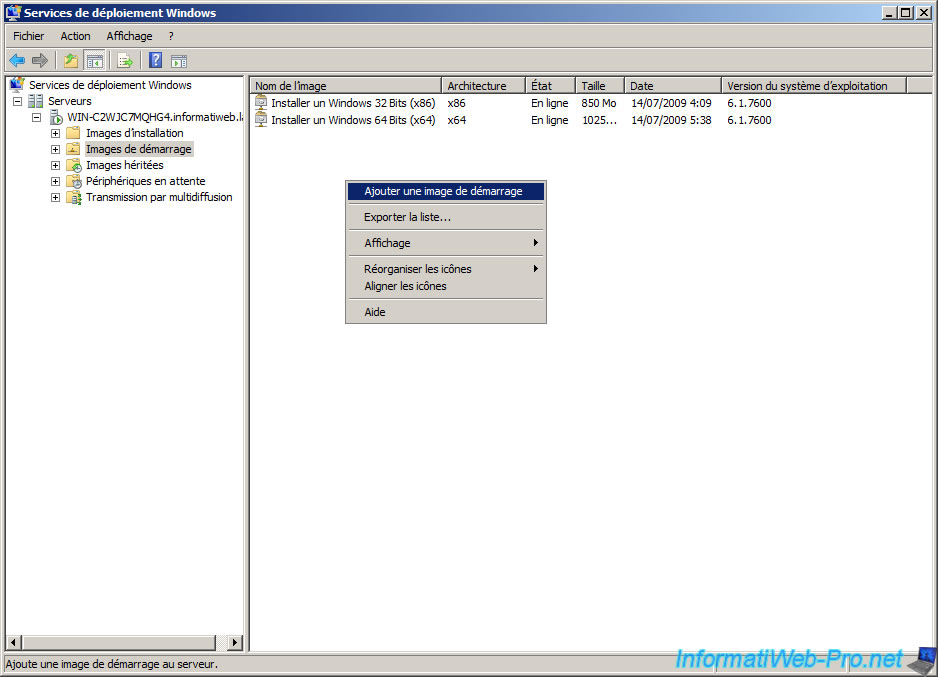
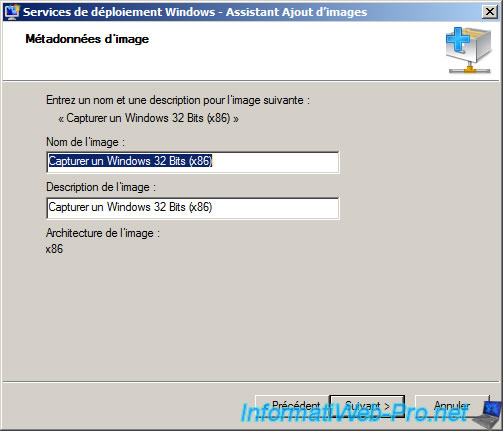
Oddly image capture is not added in the list automatically. Right click on the right side and click on "Add Boot Image".
Click "Browse" and select the file you just created (capture.wim) and click "Next".
Leave the name indicated. This is one that you just put it in when you created.
Click "Next".
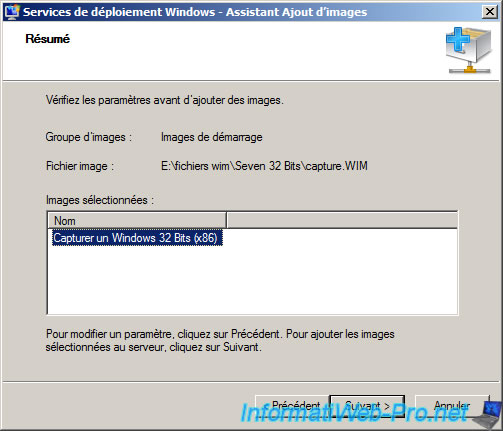
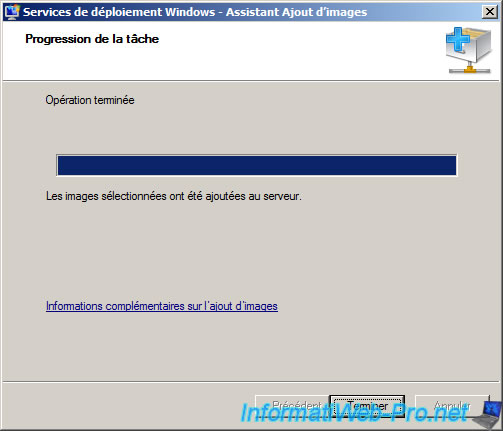
The wizard adds the capture image to the server. This process can take time.
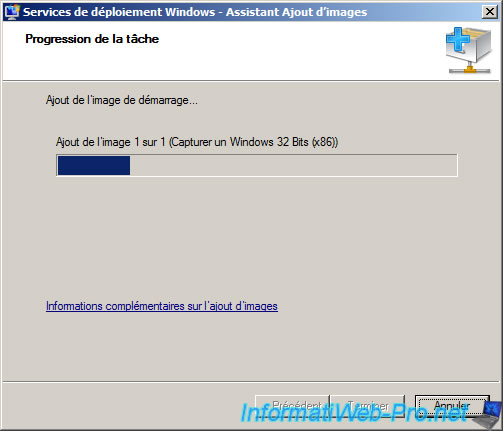
Once the image is added, click "Finish".
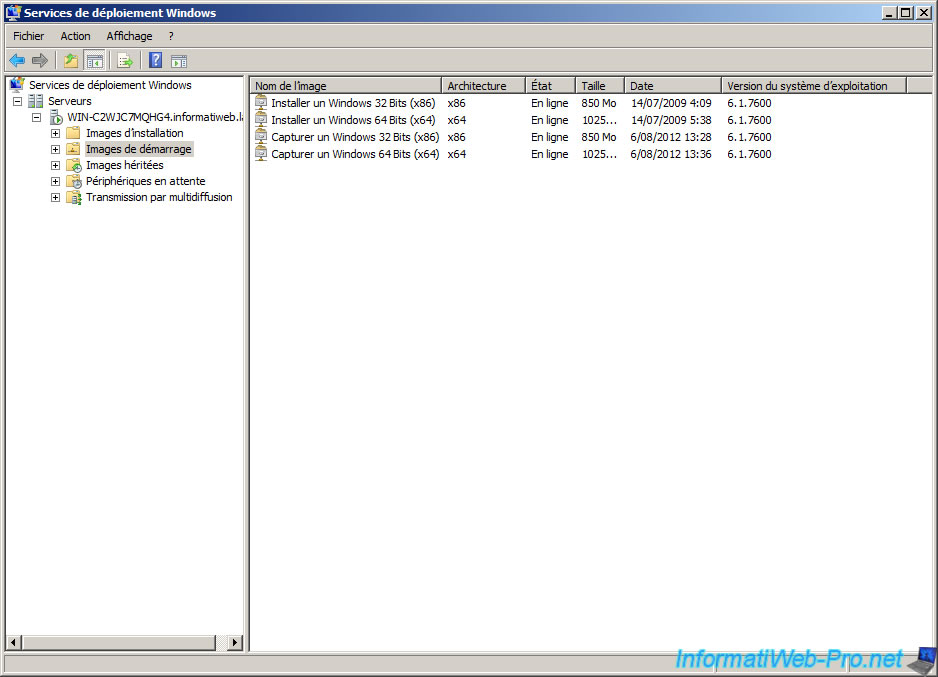
Do the same procedure for the 64-bit versions. And don't forget to add that you have created such as boot image for 32-bit file.
Once the capture image created and added you should get something like this.
4. Capture XP
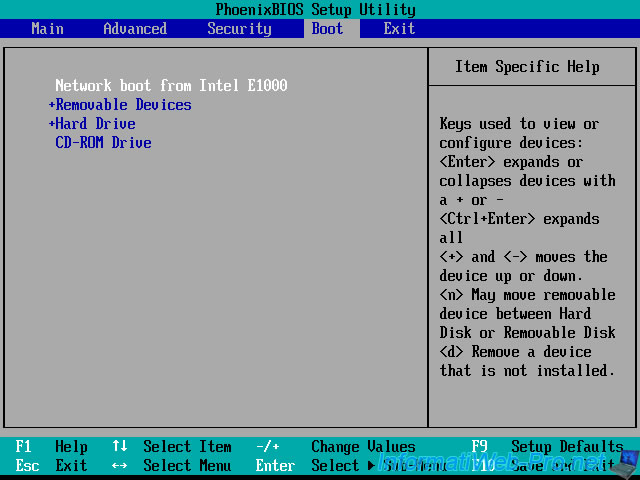
First on the computer Windows XP, go to the BIOS by pressing "DEL (Delete)" or "F2" following the motherboard. Change the boot order to put "Network Boot" or "PXE" first. Once done press Esc to cancel the startup network boot (PXE) and boot from the hard drive normally.


Then, to capture a Windows whatever, it must first be prepared with the sysprep utility provided by Microsoft. This utility is located in the "C:\Windows\System32\sysprep" folder from Windows Vista and on the Windows CD in question in the file "x:\Support\tools\deploy.cab" for older versions of Windows.
In the case of Windows XP, the utility is in this "DEPLOY.CAB" file on the installation CD. This is actually a CAB archive. Double-click on the archive to enter into it and copy all the files that are located in the new "sysprep" folder created in "c:\Windows\System32".

Once extracted and copied files, run "setupmgr.exe".

Click on "Next".
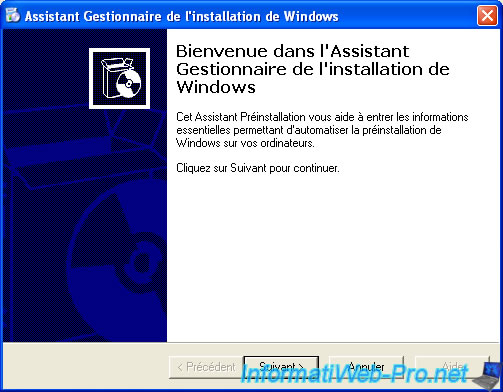
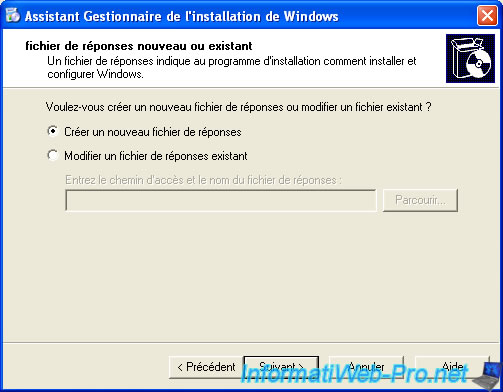
Select "Create new answer file".
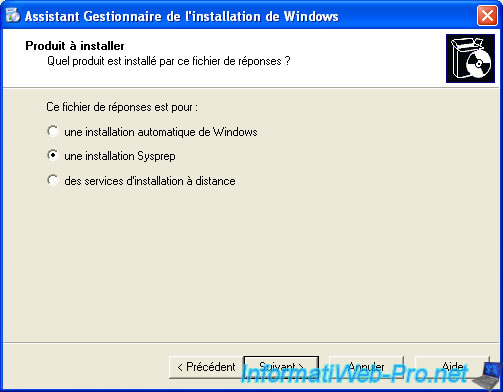
Select a "Sysprep setup".
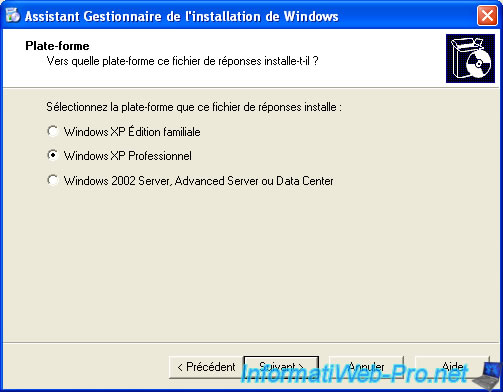
Select "Windows XP Professional".
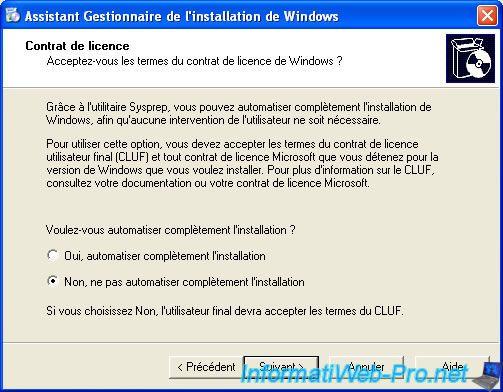
Select "No, do not fully automate the installation" to pass some information you would like to change for each installation. I think especially the serial number must always be different for every PC except in case you have a valid license for multiple computers.
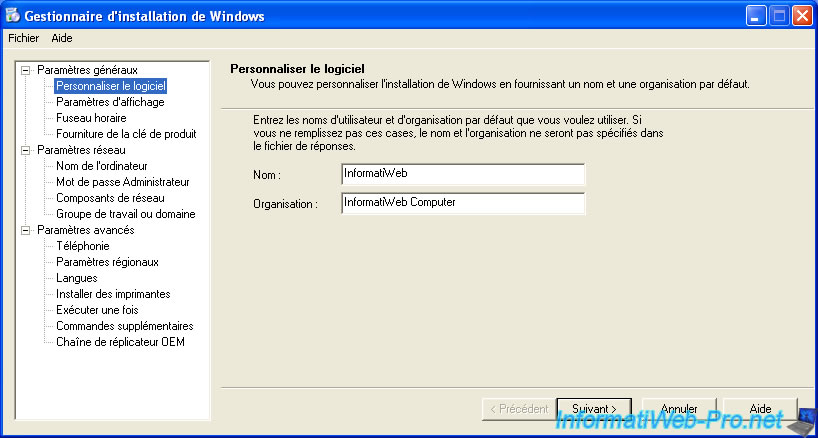
Specify a name and an organization (you can invented them).
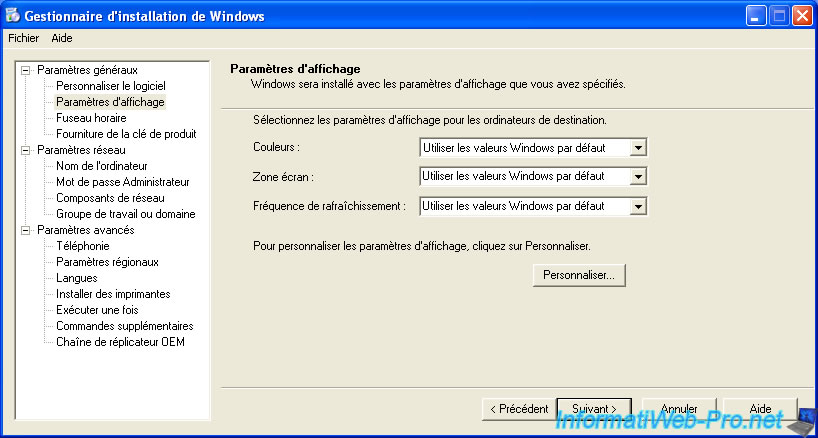
Leave the default values. Windows doesn't ask you during installation because it will take the default (factory).
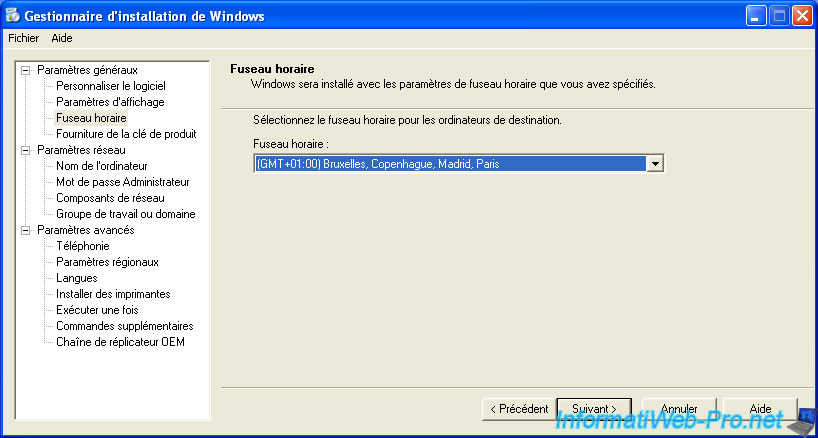
Select the time zone where you are. (Time zones used in particular to adjust the winter time and the summer time)
Leave these boxes blank unless you have a valid license for multiple computers and you don't want to retype it each time for facility but be careful not to exceed the maximum number of computers on your license and risk of blacklisted given Microsoft.

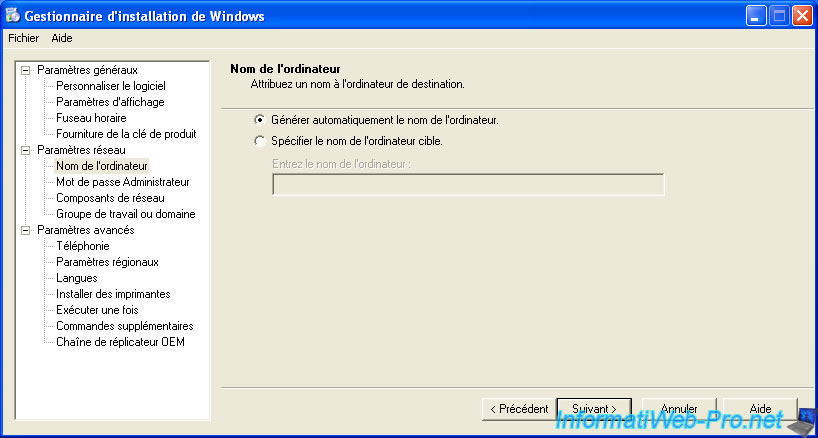
Select "Automatically generate computer name".
Select what you want but if you enter an administrator password, I suggest you check the "Encrypt admin password in a response file" box for safety.

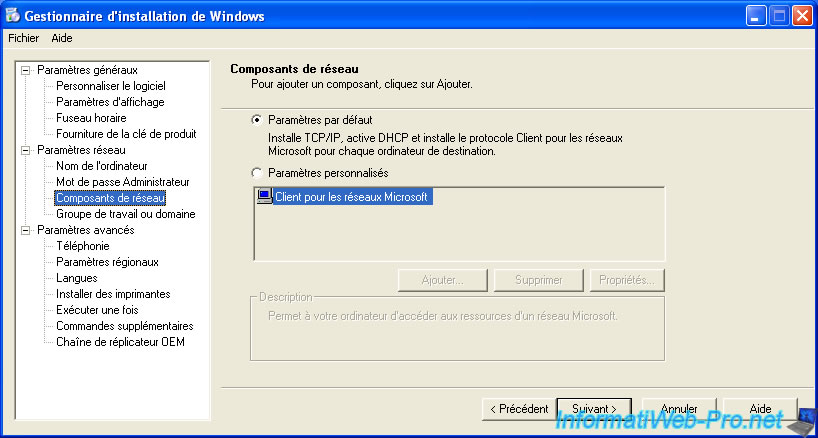
Select "Default".
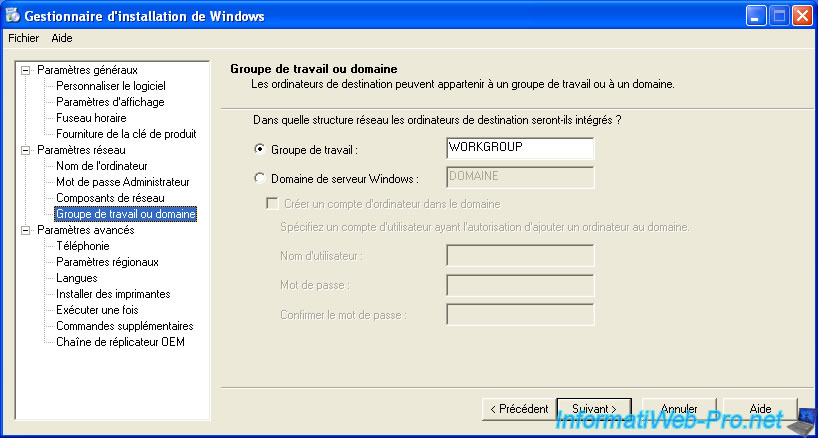
Select either "Workgroup" or "Windows server domain" to use the Active Directory of a Windows Server. The user account is used to enter a domain is the "Administrator" account on the server.
Leave these default options. It mainly used in the time of old 56k modems.

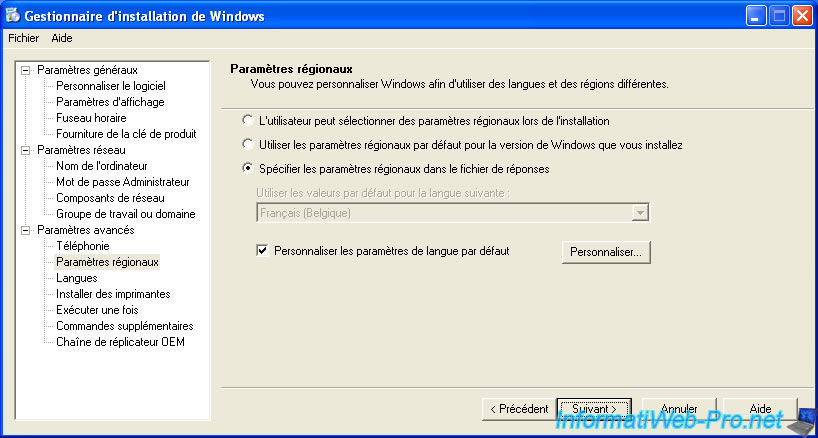
Select "Specify regional settings in the answer file" and click "Customize".
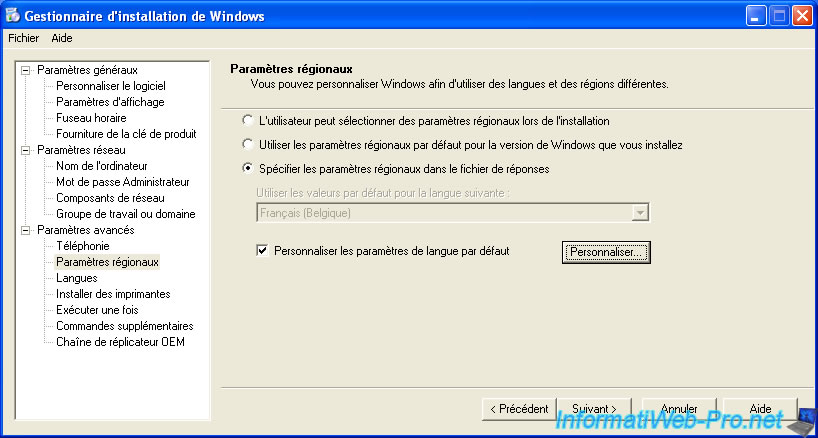
Select "English (United States)" according to the language of your keyboard.
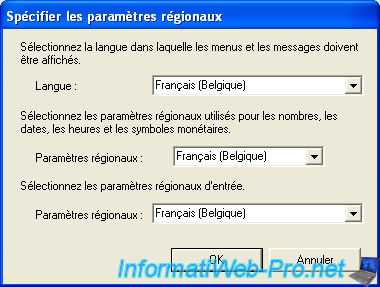
Once language defined click "Next".
Select the geo. area where you are and click "Next".
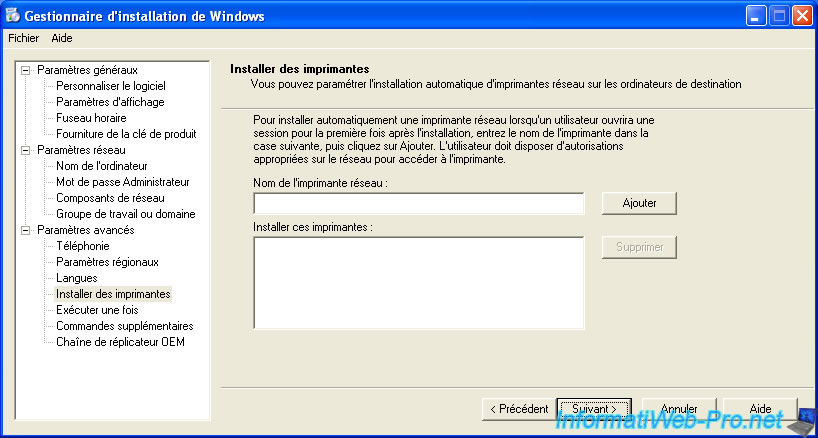
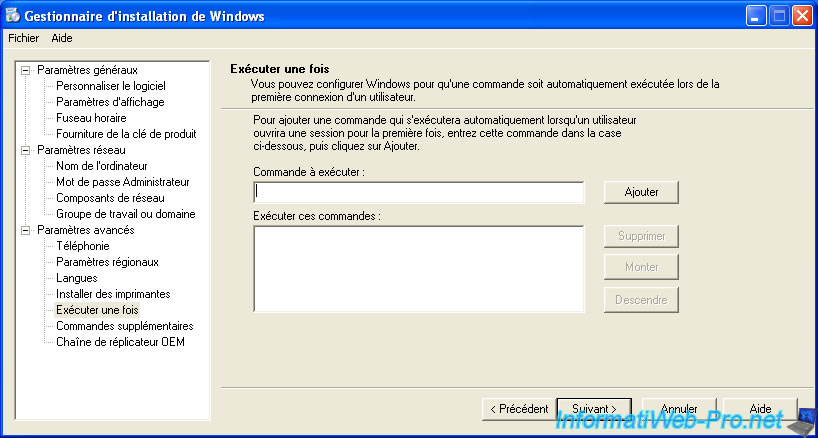
Add a printer if you want by typing its path like this : \Name of the computer where the printer is connected\Name of the shared printer.
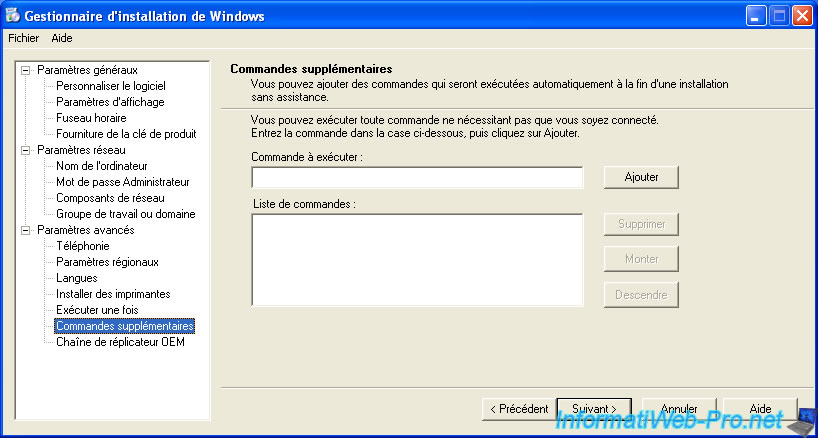
Then several commands can be executed at the end of the installation.
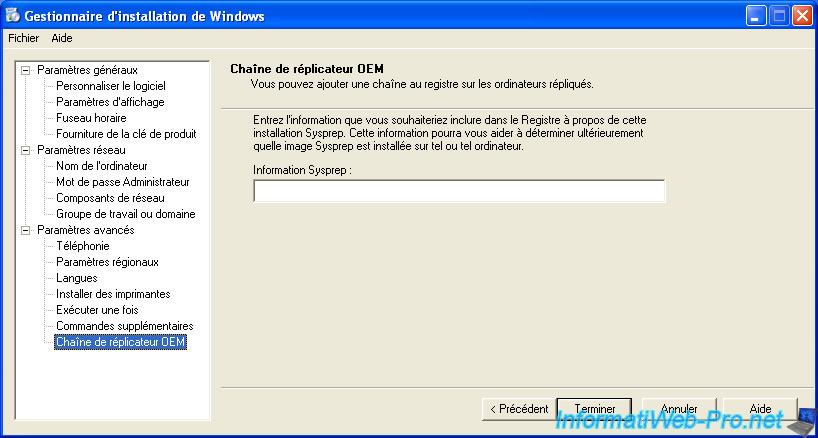
Once you have everything configured, click "Finish".
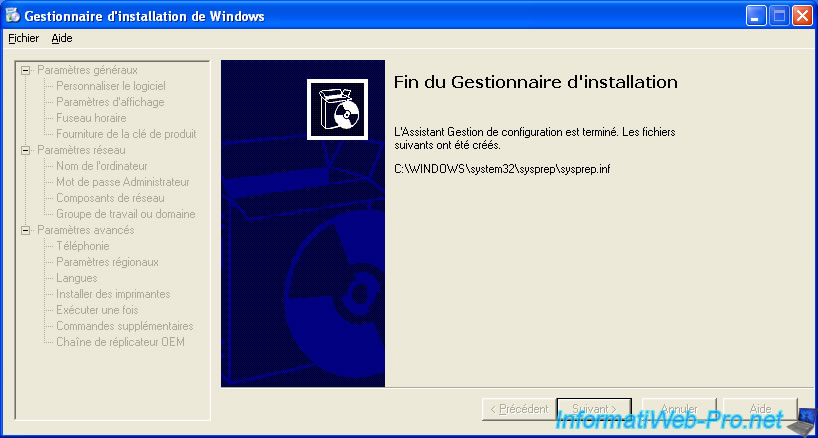
Let the file path of response to save and click "OK".
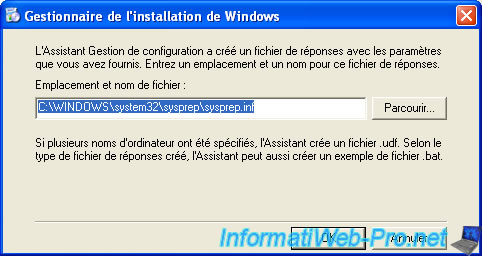
Once the file saved, you must exit the utility by clicking the red cross. (Microsoft's weird sometimes)
No comment