Unpacking and assembling the APC Back-UPS Pro 1500
- UPS
- APC Back-UPS Pro
- 18 August 2023 at 13:44 UTC
-

- 2/2
3. Connecting your APC UPS batteries
As mentioned earlier, your APC UPS batteries are not connected.
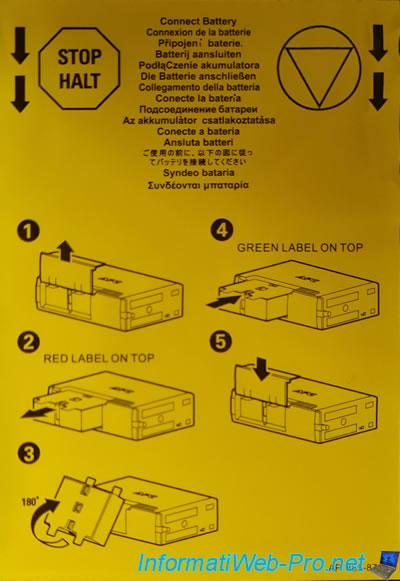
To connect them correctly, open the cover located under your UPS.

The hood can be completely removed by sliding it off.
As you can see, by default, you see red stickers.
This indicates that these batteries are not electrically connected to the UPS system.
To remove its batteries, slightly peel off the white parts of the sticker and pull the block out of the UPS.
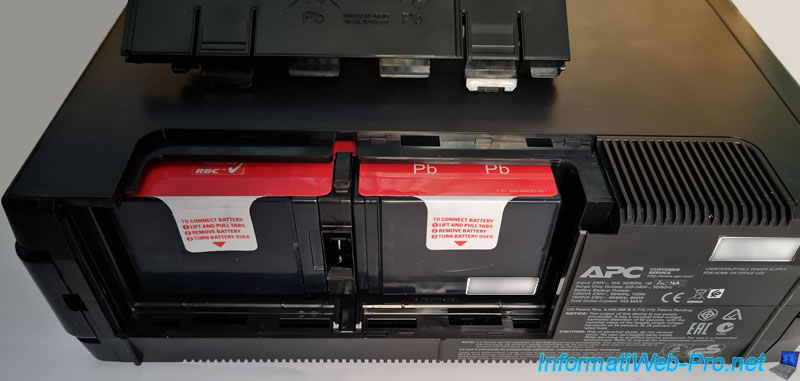
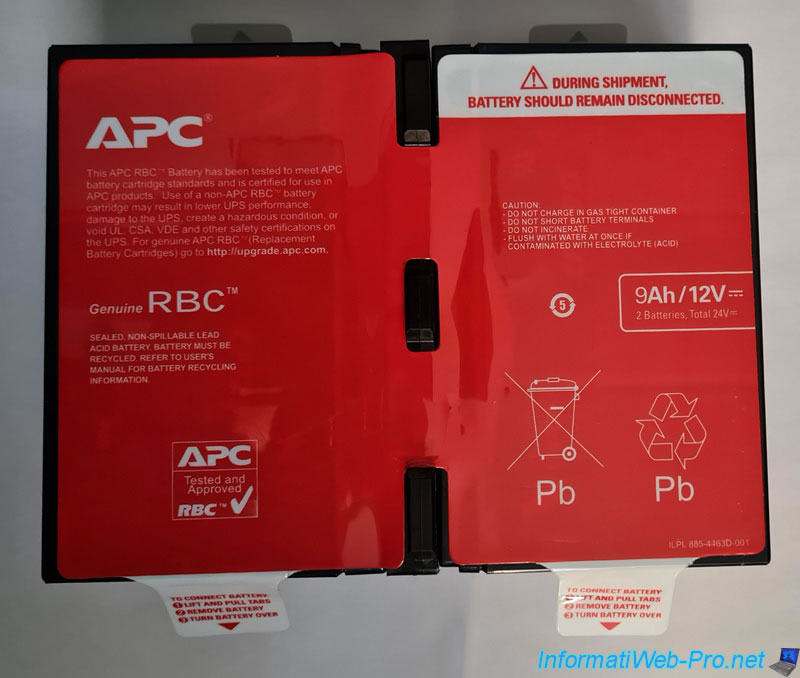
As indicated on the red sticker : during shipment, battery should remain disconnected.
Turn this block of batteries over and you will easily understand that these must be connected in the direction of the arrow (with the green sticker at the top).
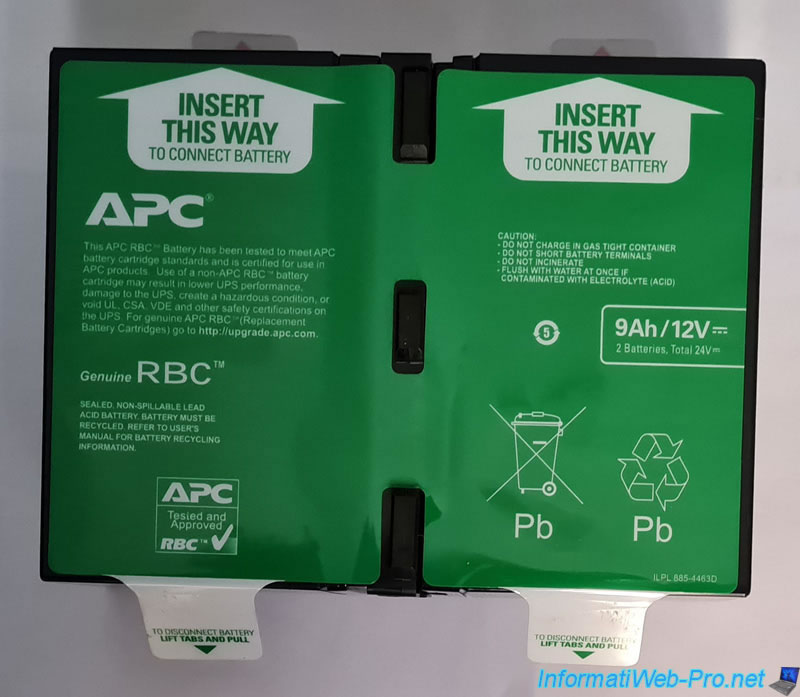
Insert the battery pack into the UPS so that you can see the green sticker.
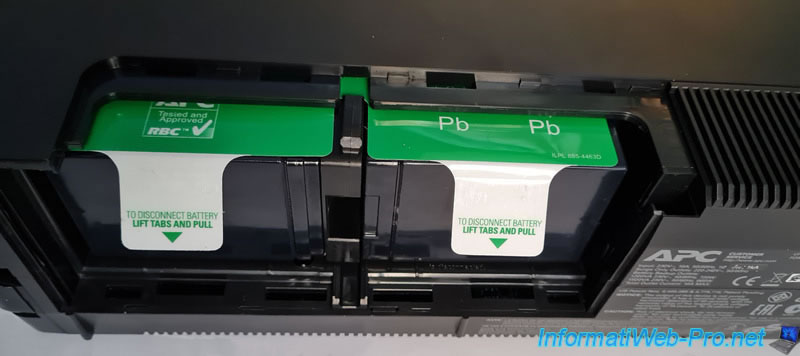
Close the cover underneath your APC UPS.
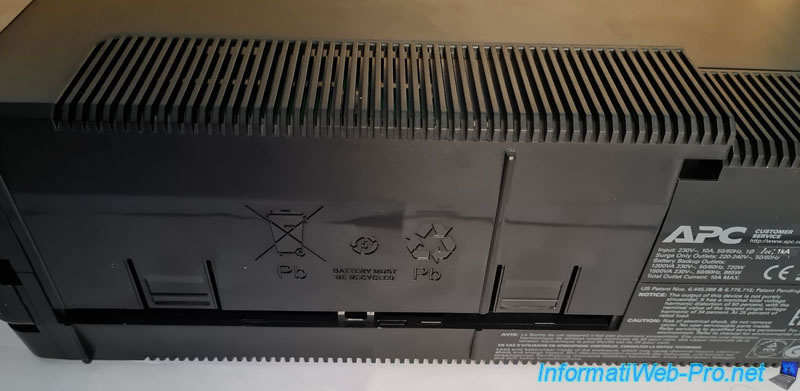
The cover is closed and the batteries are correctly connected in your UPS.
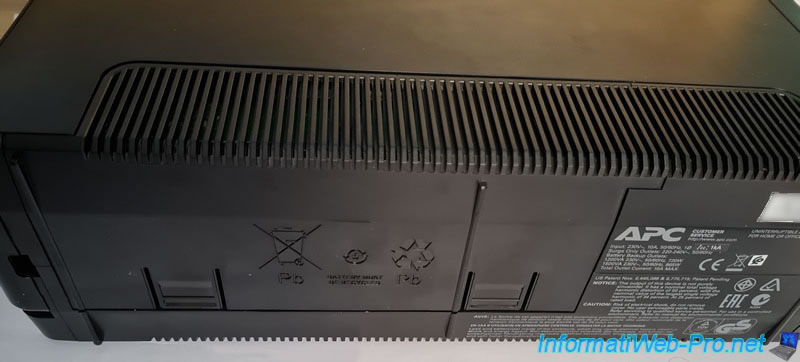
4. Connect the cables
Now that the batteries are correctly connected in your UPS, you will be able to start connecting the various cables.
Warning : as specified by APC, you should avoid exposing your UPS to direct sunlight and heat.
So, also make sure that the UPS is in a place where there can be enough ventilation so that it doesn't overheat.
To begin, you can protect your server's network cable from power surges (if desired).
To do this, plug a network cable into a port on your modem or router.
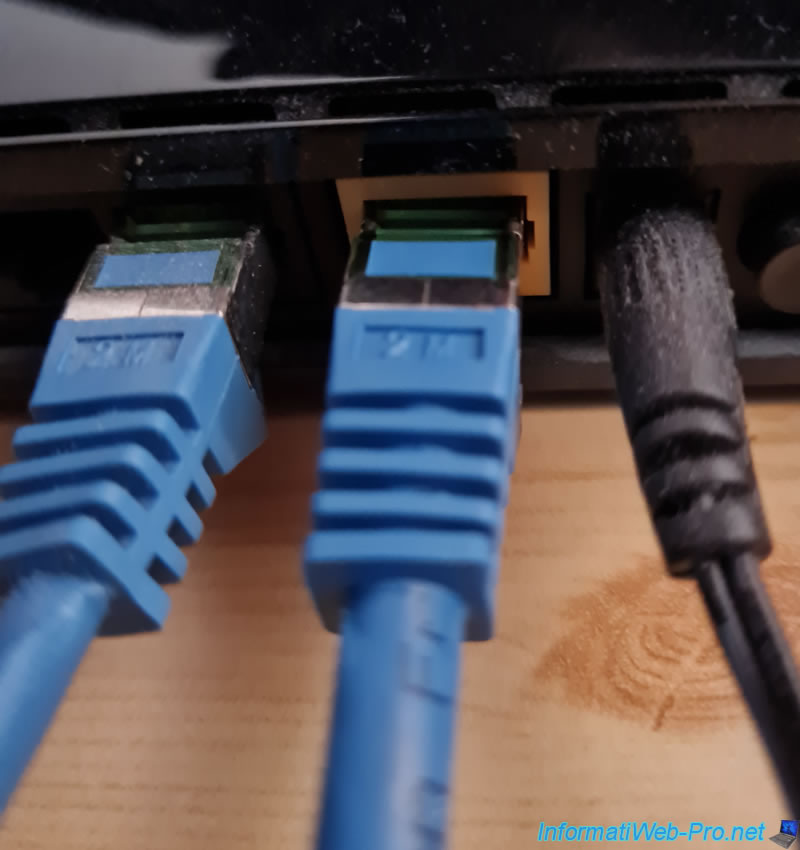
On the other side, plug this cable into the "Gigabit - In" port on the back of your UPS.
Then, connect a 2nd network cable to the "Gigabit - Out" port on the back of your UPS.
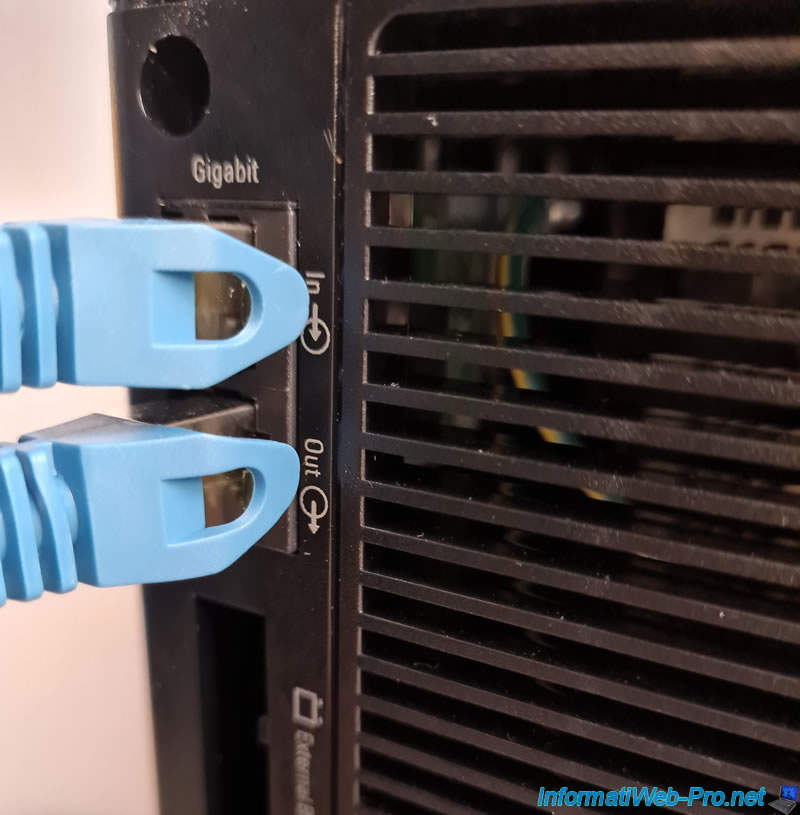
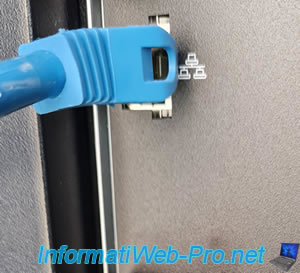
Connect the other side of this 2nd network cable to the wired network card of your server or computer.
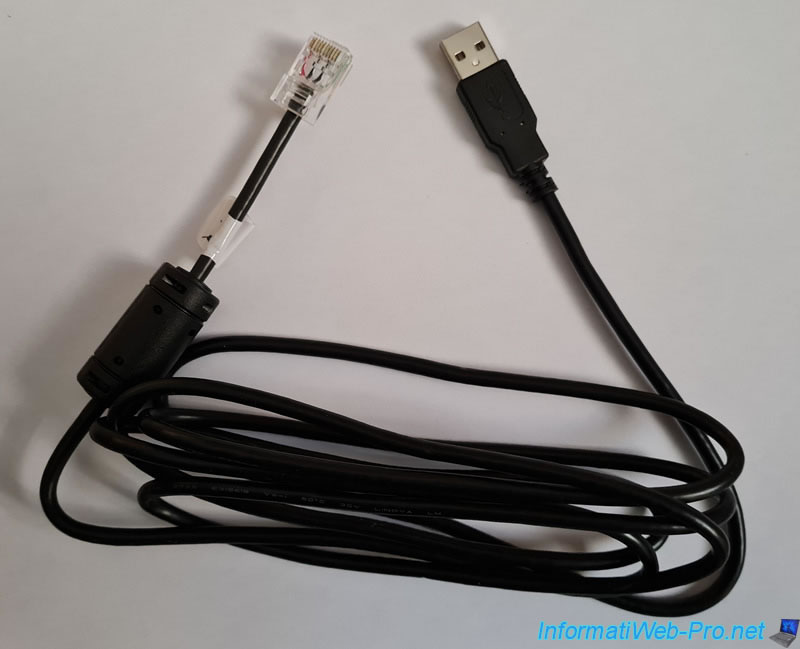
To be able to manage your UPS from your server and allow your UPS to warn your server in the event of a low battery level (to initiate the shutdown of your server), you must connect the data cable provided by APC between your UPS and your server.
As you can see, this cable has 2 types of connectors :
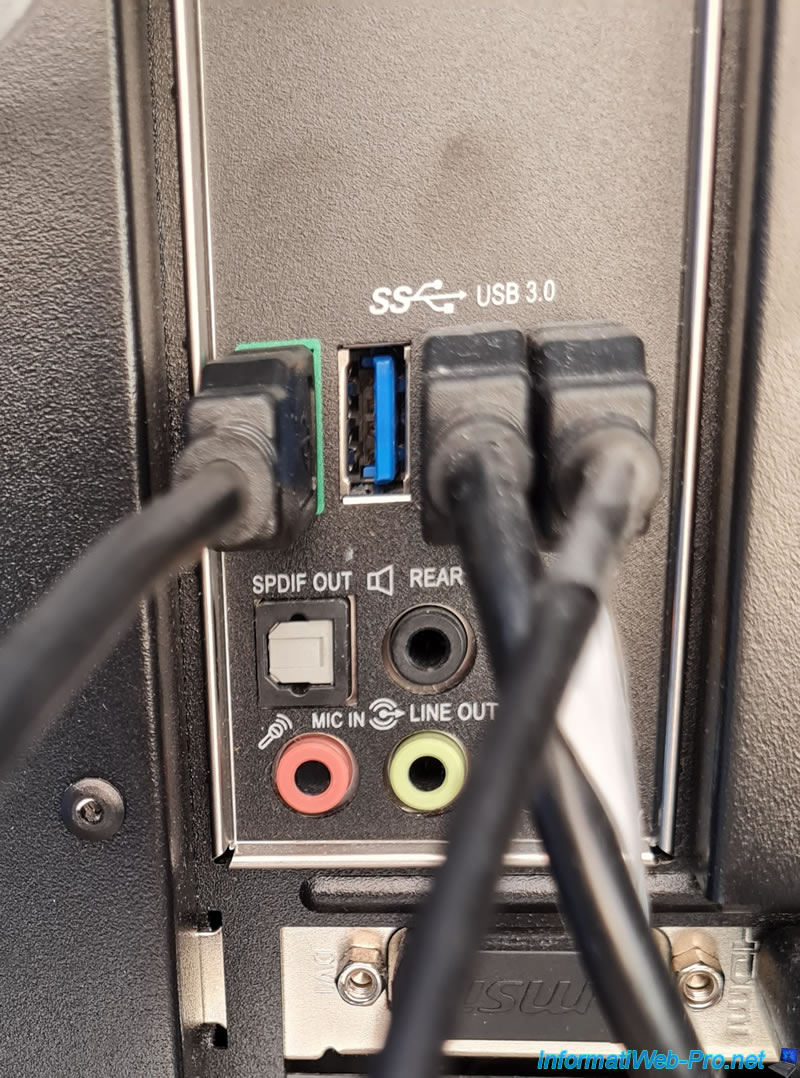
- 1 classic USB connector that you must plug into an USB port on your server
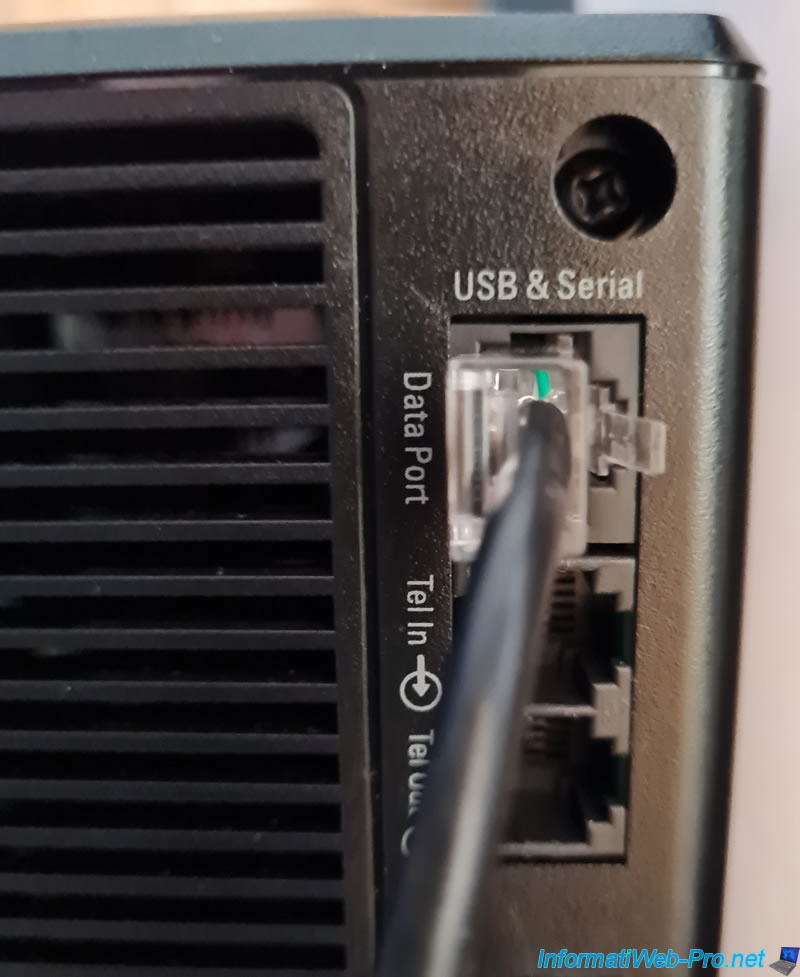
- 1 somewhat special connector resembling an RJ45 connector to plug into the dedicated port of your APC UPS
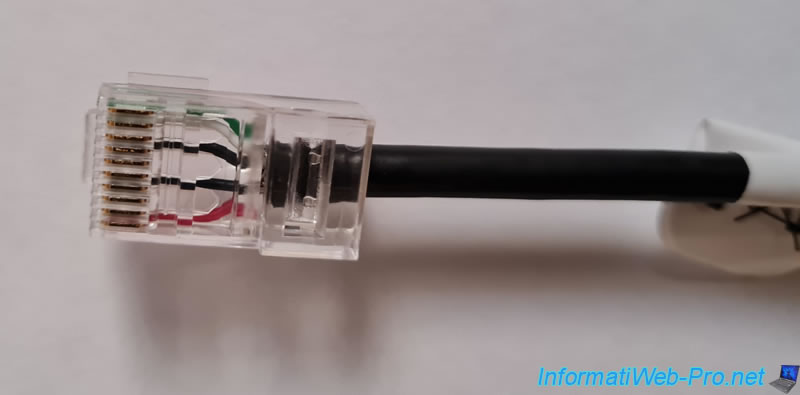
Plug the special connector (resembling an RJ45 connector) into the "Data Port - USB & Serial" port of your APC UPS.
Then, plug the USB connector of this same cable into an USB port on your server.
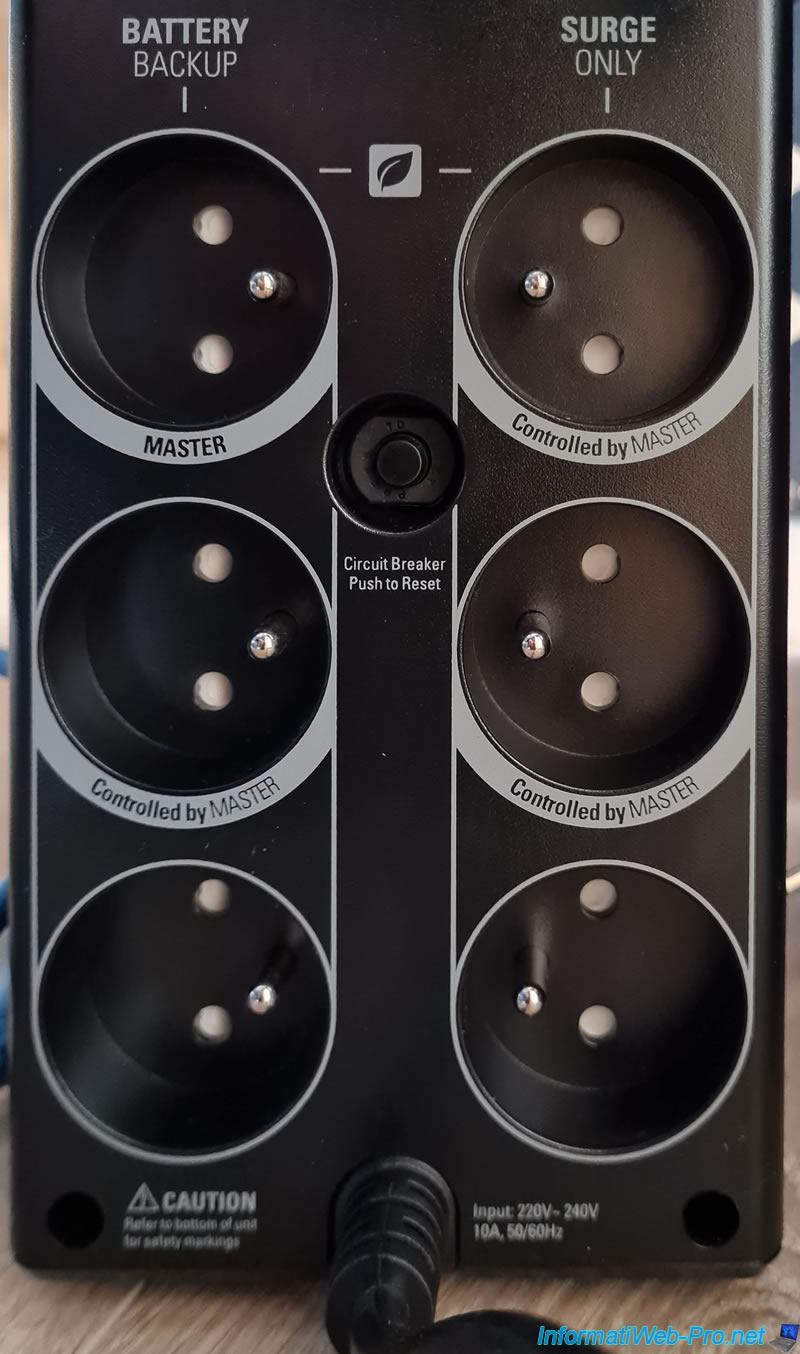
For the sockets, you will have the choice between 6 sockets :
- on the left : 3 sockets protected against power cuts (thanks to the UPS battery), as well as against overvoltages
- on the right : 3 sockets protected only against surges
If you want to protect a server, connect it to the "Master" socket.
If you want to protect a computer, you can use the energy saving feature of your UPS by connecting :
- the tower of your computer on the "Master" socket
- its various peripherals on the "Controlled by Master" sockets
Thus, if you enable energy saving, the UPS will be able to cut off the power supply to the "Controlled by Master" sockets when your computer is switched off.
This will allow you to save electricity and money since the peripherals that have become useless will consume absolutely nothing. Rather than consuming electricity unnecessarily by remaining "on standby".
In our case, we have a computer, a server, network equipment (router and switch), ... which are all connected to each other and which we wanted to protect with this UPS.
We therefore plugged our power strip into the "Master" socket to simplify things.
The power saving feature was not useful in our case.
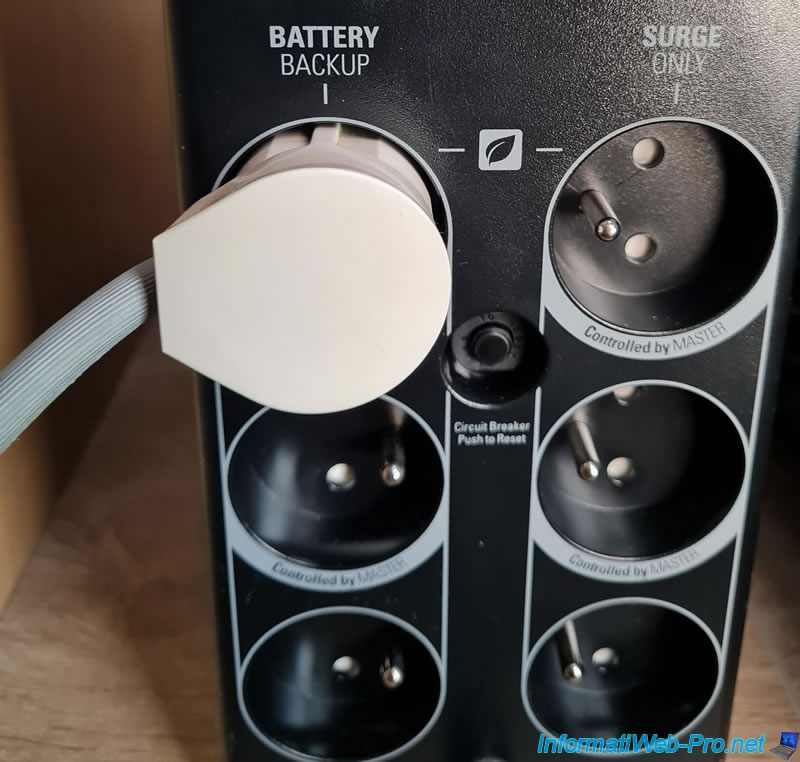
Finally, plug the power cable from your UPS into the wall outlet.
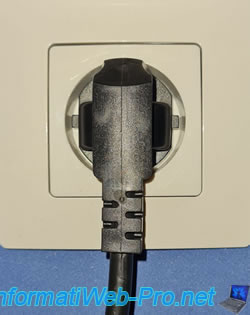
5. Information visible on the UPS display
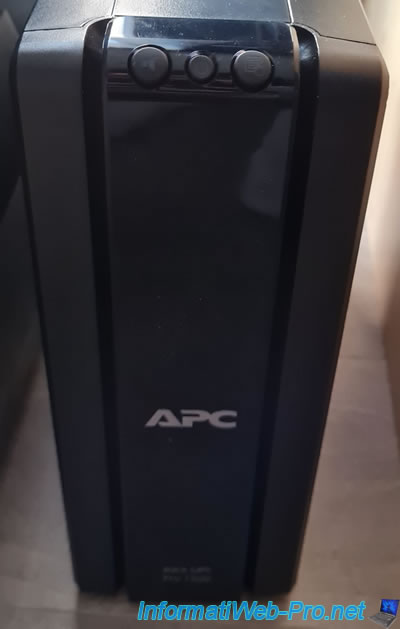
To begin, turn on your UPS by briefly pressing (0.2 sec) the center power button.
Once turned on, the 3 buttons will be backlit :
- left : "Mute" button
- in the center : "On / Off" button
- right : "Display" button
Important : devices plugged into the back of the UPS will only receive power when the UPS is turned on.
If you turn off the UPS, the power to the devices plugged into it will be cut off abruptly.
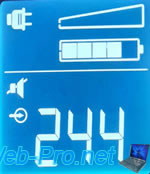
On the small screen that lights up, you will see that :
- AC power is currently connected (top left icon depicting an electrical outlet)
- no load is present on the UPS. In other words, what you plugged into the back of your UPS consumes little or nothing.
- the battery is approximately 80% charged when the inverter is used for the first time.
- the sound is muted in our case, because we wanted to do some tests (including some tutorials) before actually using it (to avoid power cuts and to better protect our IT equipment).
- the input voltage (in our case) is 244 Volts. The theoretical voltage in France and Belgium being 230 Volts.
Important : your APC UPS will perform a self-test each time you turn it on, then once every 2 weeks.
As described in the "Run Self-Test" section of the "PowerChute Personal Edition" software.
The purpose of which is to check that your UPS is working properly and to know when you will need to change its batteries. Theoretically, every 3 years.
Note that this test takes about 30 seconds, so your UPS may make some noise during this time. Similar to a noise from a transformer or power plant.
Then, it may make a slight transformer noise while it recharges its battery.
In the end, this noise will disappear and will only appear again in the event of an electrical problem (including power cuts).
Warning : as several people who have already bought an UPS have already specified in comments on the Internet, an inverter can give off a "strange" smell due to the resins used on the printed circuits.
What can smell strong and what can also trigger allergies.
So, we recommend :
- ventilate the room the first week
- or at least avoid closing the door of this room to prevent the smell from accumulating and giving you a headache
- if you are protecting a computer in your bedroom, remember to turn off the UPS, then unplug it and then ventilate the room before sleeping there.
After a week (or even 2) depending on your use, this inconvenience will disappear.
Source : Onduleur - Odeur désagréable ?
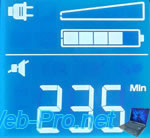
By pressing the "Display" button (the button on the right) several times, you will be able to browse the different information of your UPS.
For example : its autonomy in minutes (depends on the current load and the level of the battery).
The power consumed in Watts.
Here, nothing is on except our router, the switch and a screen that is on standby (off).
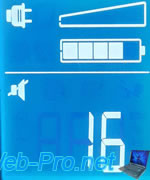
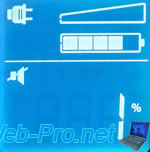
The percentage of usage (load) currently connected.
In our case, we haven't turned anything on yet (as specified above).
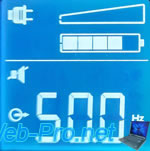
The output frequency : 50.0 Hz.
Once the server, the computer, as well as the screen are on, you can see that the load level has increased and that it currently consumes 368W (in our case).
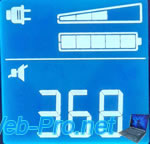
As you can see, our UPS indicates that it's currently being used at 41% of its maximum load.
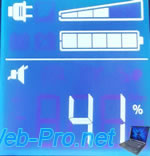
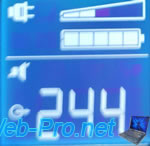
Of course, the output voltage will not change.
Even if it can vary by a few volts depending on the time.
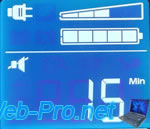
With the load currently connected to the UPS, we can see in our case that we have 15 minutes of autonomy in the event that a power outage occurs.
Share this tutorial
To see also
-
UPS 9/1/2023
APC PowerChute Personal Edition - Hibernation test during a power outage
-

UPS 8/25/2023
APC PowerChute Personal Edition - Installation, overview and testing

No comment