Load balancing with Citrix XenApp / XenDesktop 7.6
- Citrix
- Citrix XenApp / XenDesktop
- 14 May 2016 at 11:18 UTC
-

- 2/2
3. Create a load balancing policy
Now that the prerequisites are configured, we'll go to the part to do the load balancing.
Go to "Strategies", ignore the presentation that appears, and click "Create a policy" (on the right).
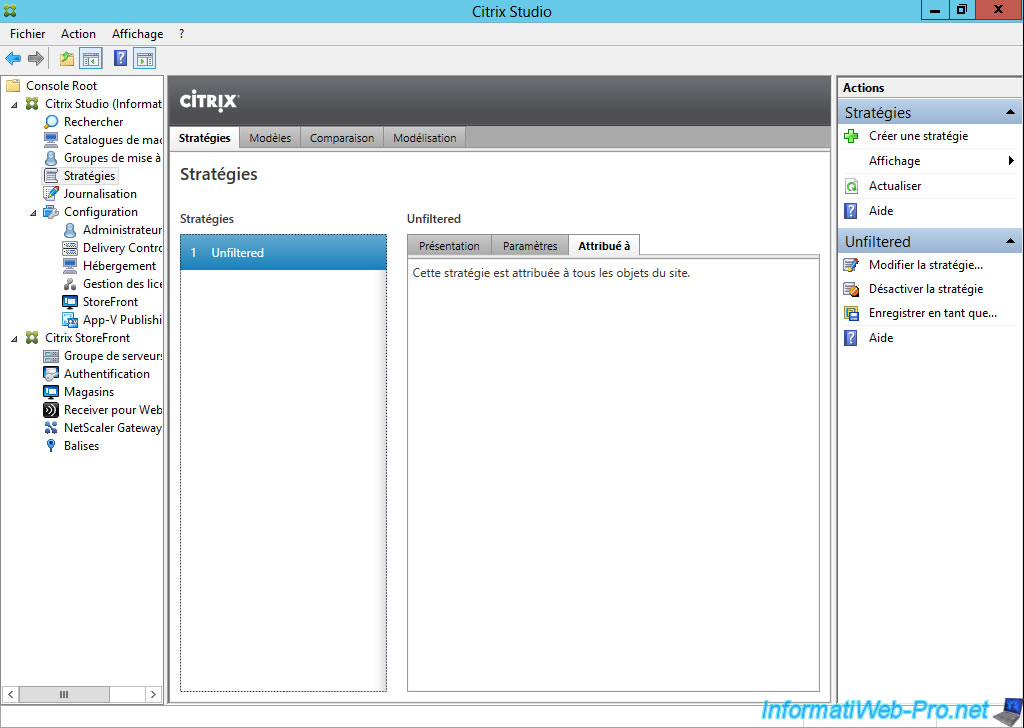
In the "All Settings" column, select "Load management".
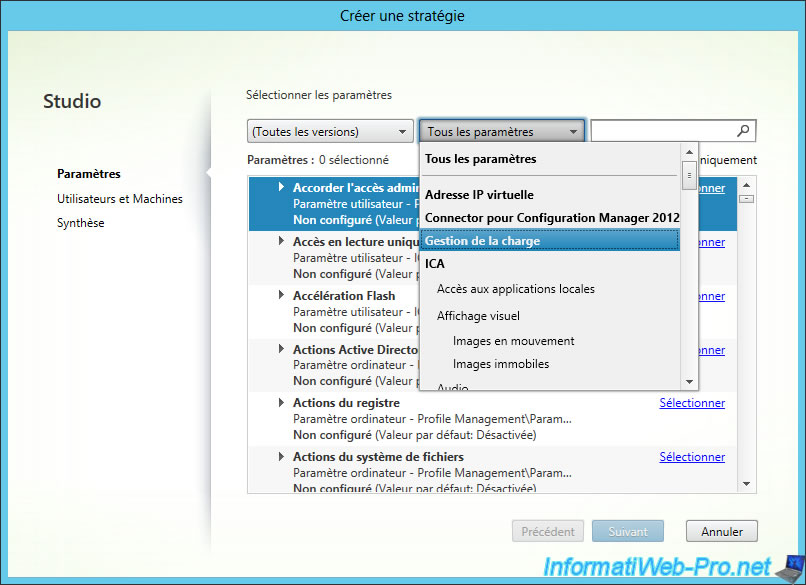
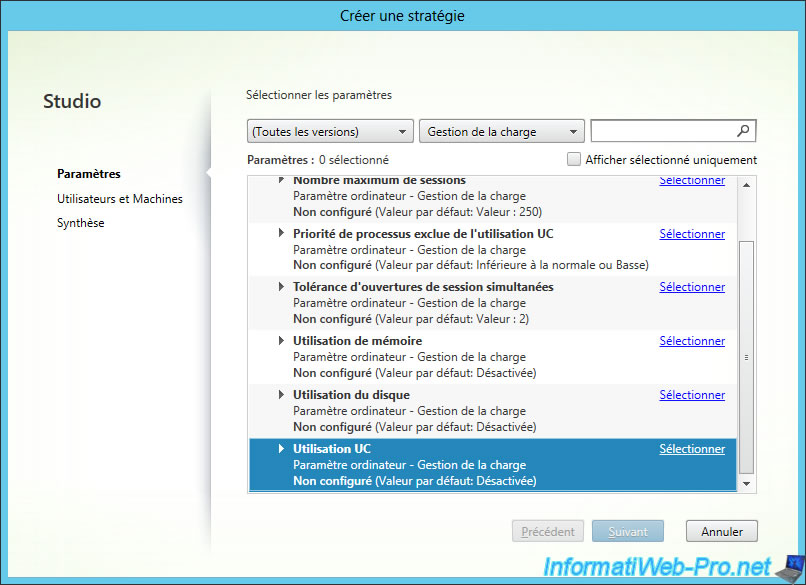
As you can see, Citrix allows you to use a load management based on many parameters : the memory usage, the processor (CPU) usage, the maximum number of sessions, ...
For example, select "CPU Usage" and click on the "Select" link.
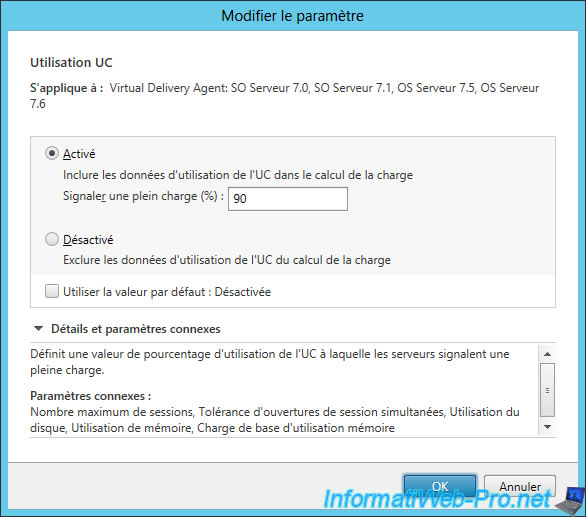
Check the "Enabled" and leave the default value, or adapt it according to the configuration required by published programs.
Then, select "Memory usage" and click on the "Select" link.
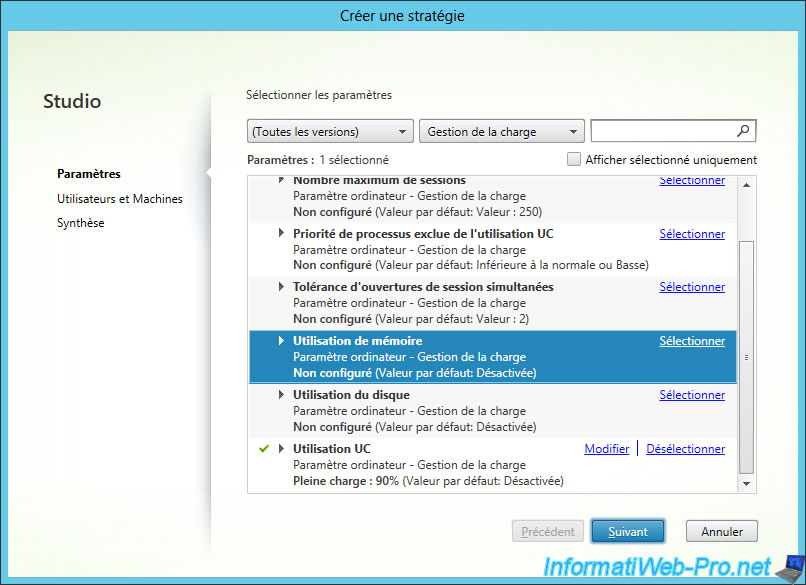
Select "Enabled" and leave the default value, or adapt it according to the configuration required by published programs.
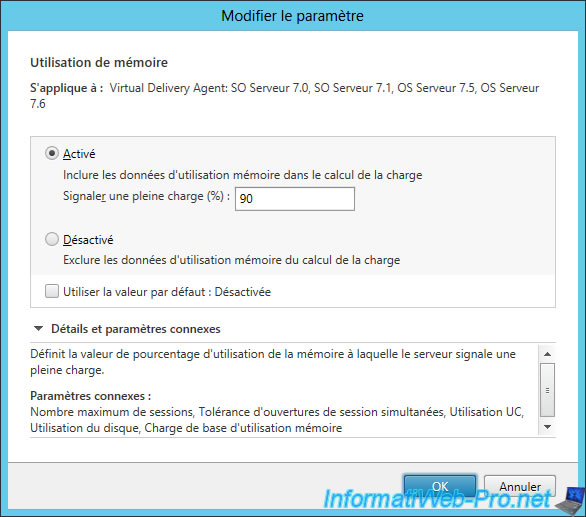
Then, click "Next".
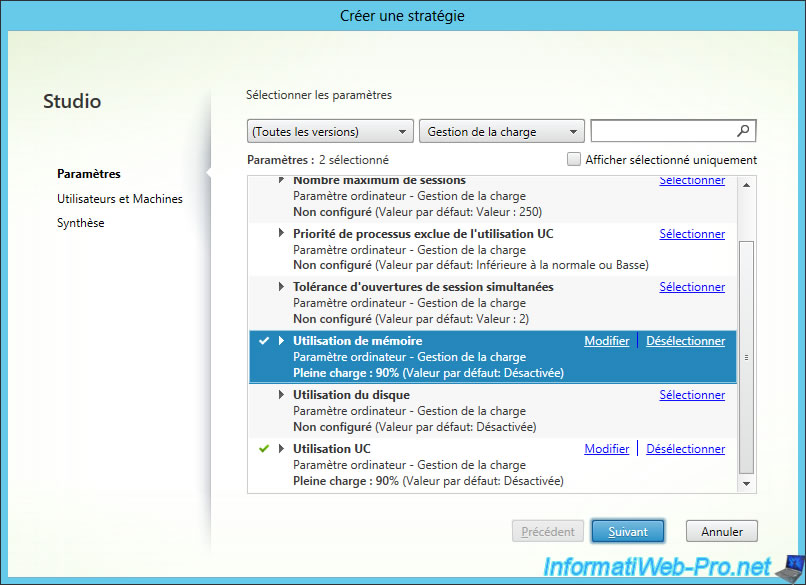
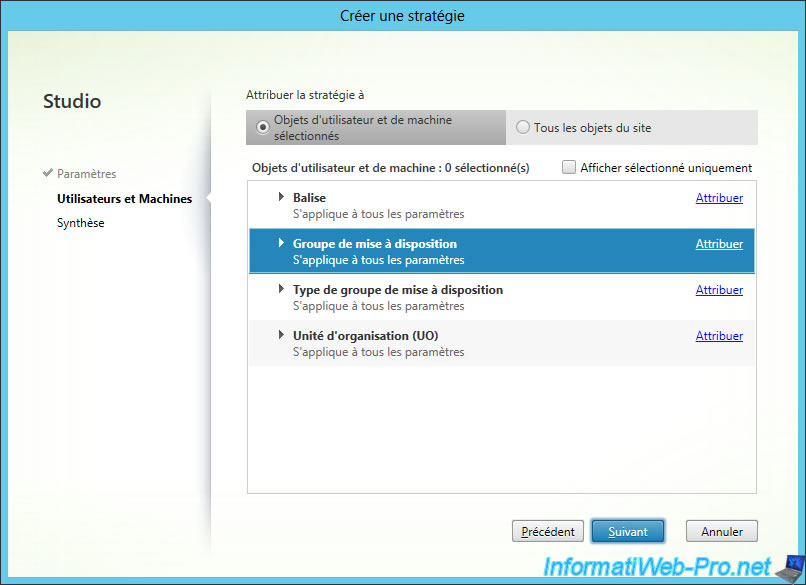
At this step, Citrix Studio allows you to apply this policy to :
- a tag
- a delivery group
- a delivery groupe type
- an organizational Unit (OU)
Select "Delivery group" and click on the "Assign" link.
Select the delivery group to which you want to apply this policy.
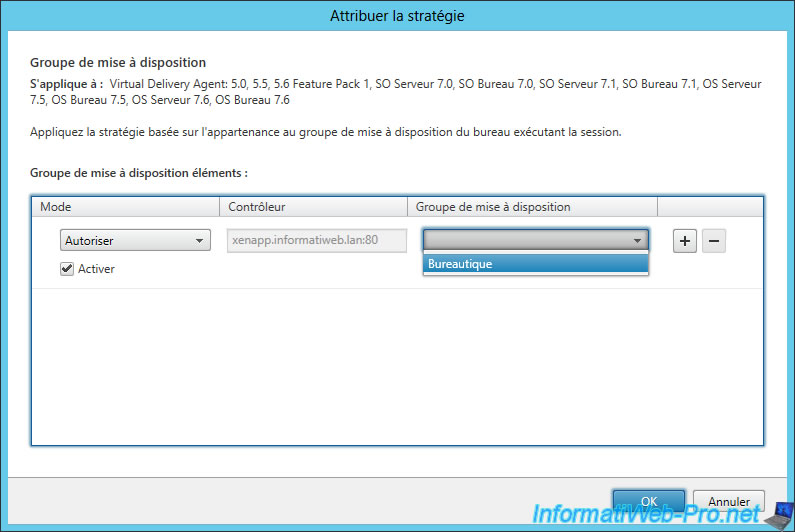
Click Next.
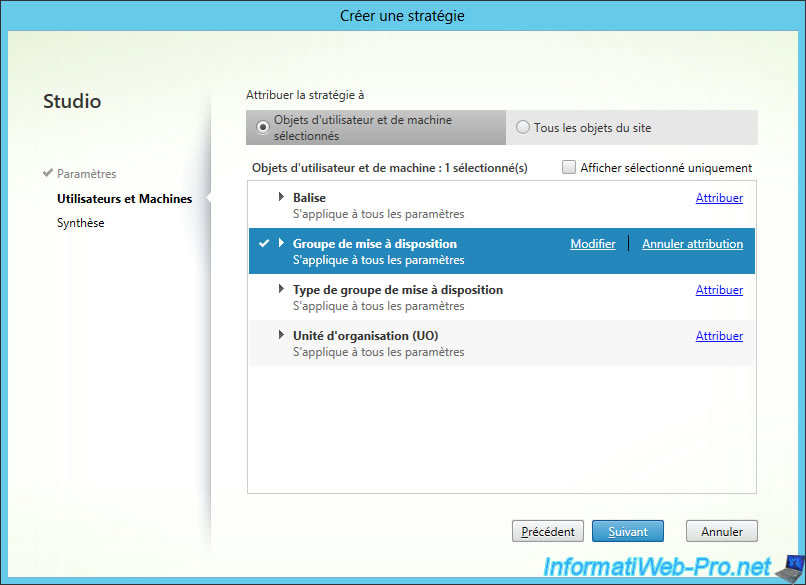
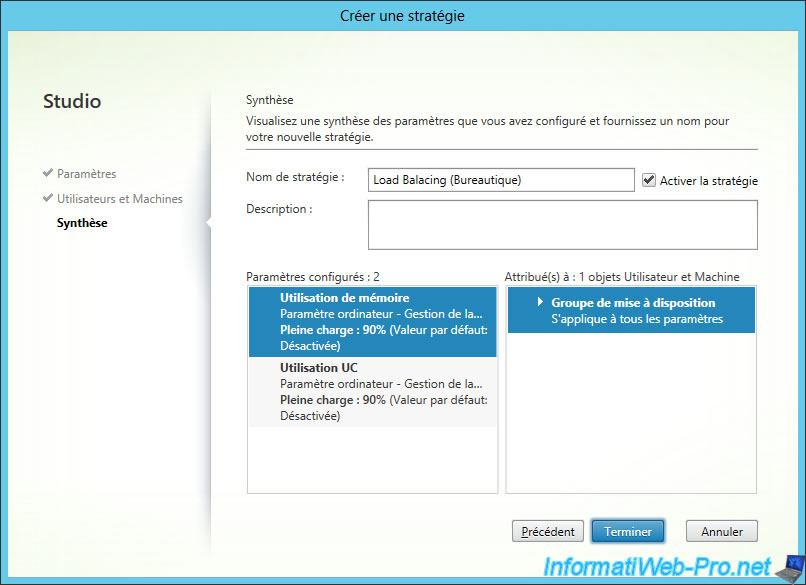
The wizard displays a summary of your configuration.
Specify a name for this policy.
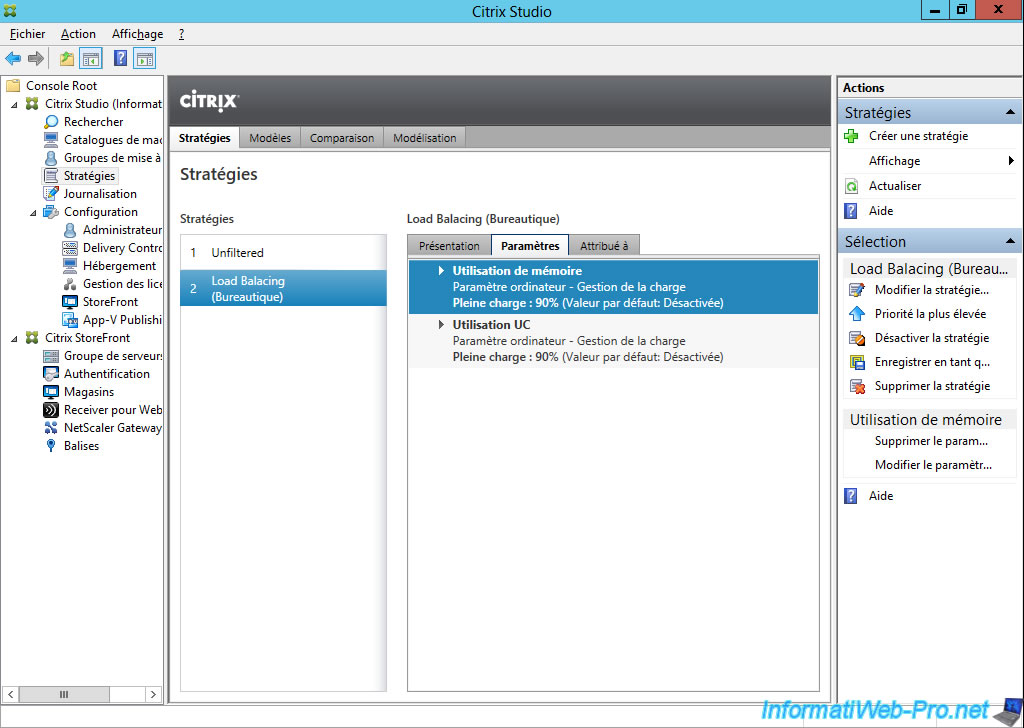
Our policy "Load Balancing (Office)" is displayed in the list of policies.
For each policy, you will see :
- his name
- his priority
- his status (enabled/disabled)
- his description (if there is one)
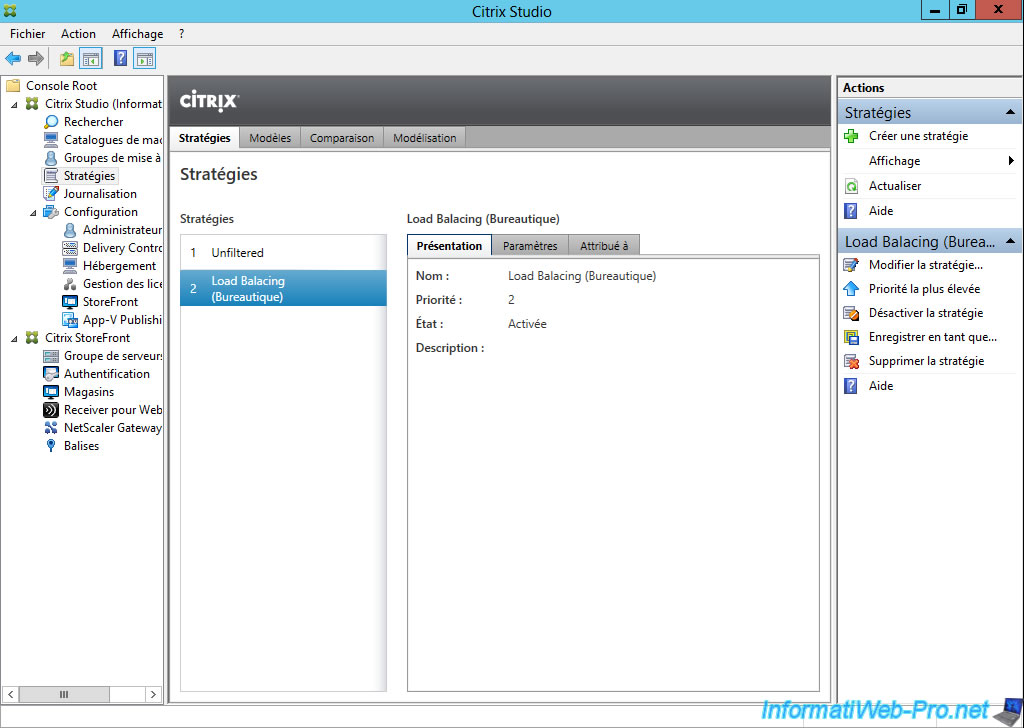
These parameters. In other words, conditions used for this policy.
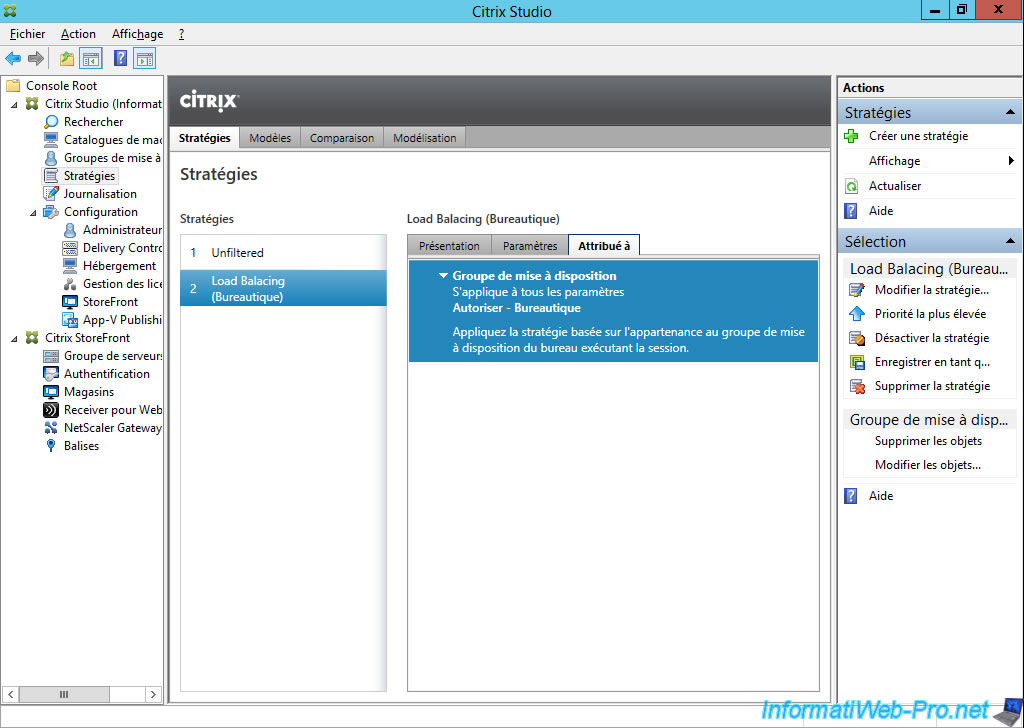
And to which delivery group, OU, ... it applies.
Procedure based on the official video of Citrix : Server Load Balancing in Citrix XenDesktop 7
Share this tutorial
To see also
-

Citrix 4/9/2016
Citrix NetScaler Gateway 11.0 - Configuration and integration with XenApp/XenDesktop
-

Citrix 5/13/2015
Citrix XenDesktop 7.6 - Deliver desktops by using MCS
-

Citrix 5/31/2015
Citrix XenDesktop 7.6 - Deliver desktops by using PVS
-

Citrix 3/27/2016
Citrix XenDesktop 7.6 - PVS - vDisks updates

No comment